
Pumping in Skate 4 converts your body compression and release into speed or extra height in bowls and on quarter pipes. A few specific settings and precise timing make the difference between accelerating through the transition and stalling out.
Configure pump options (recommended)
Step 1: Open the in‑game settings. From a lobby, press the Options/Menu button, select the cog icon in the top‑right, choose Settings, then open the Gameplay tab. This is where pump‑related toggles and sliders live.
Step 2: Enable the “Press forward to pump” option. This allows a forward press on the left stick to register as a pump input during transitions instead of only steering.
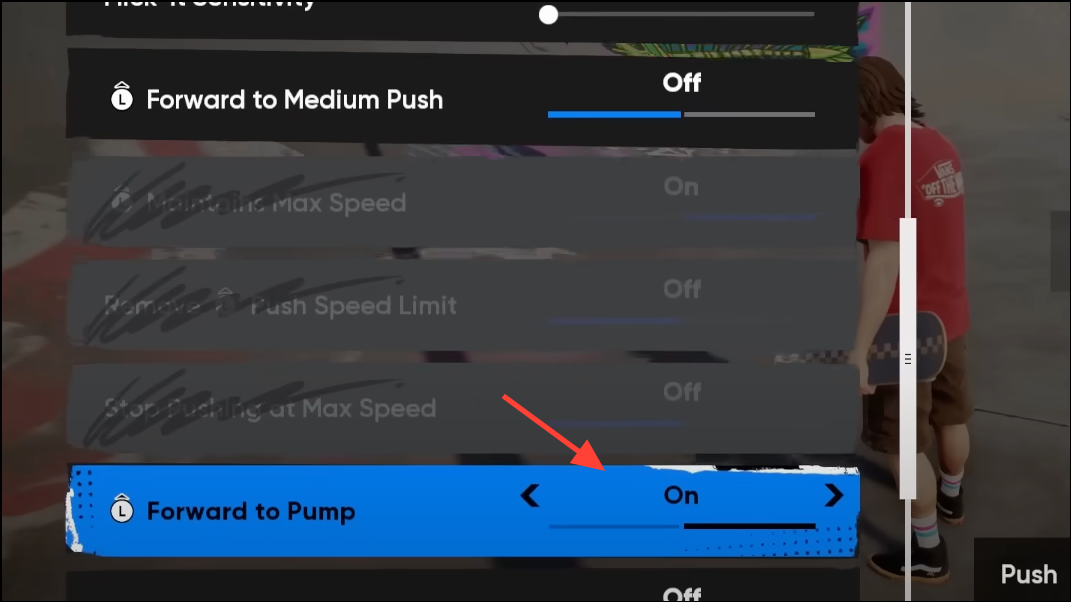
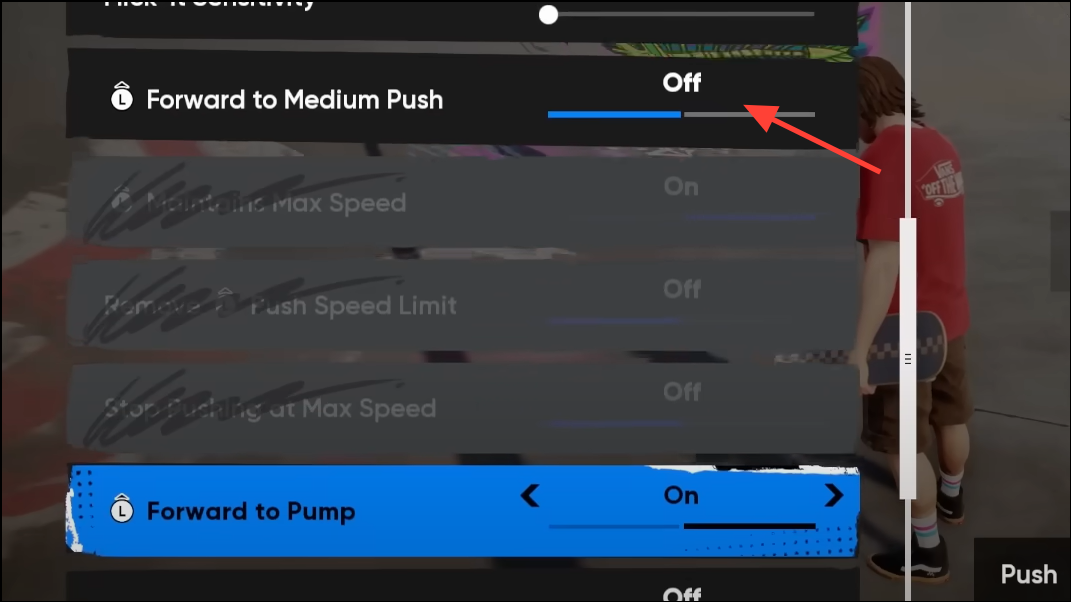
Step 3: Disable “Forward to push” if you use a button to push. When both are on, a forward press tends to trigger a push instead of a pump, which prevents speed gain at the ramp.
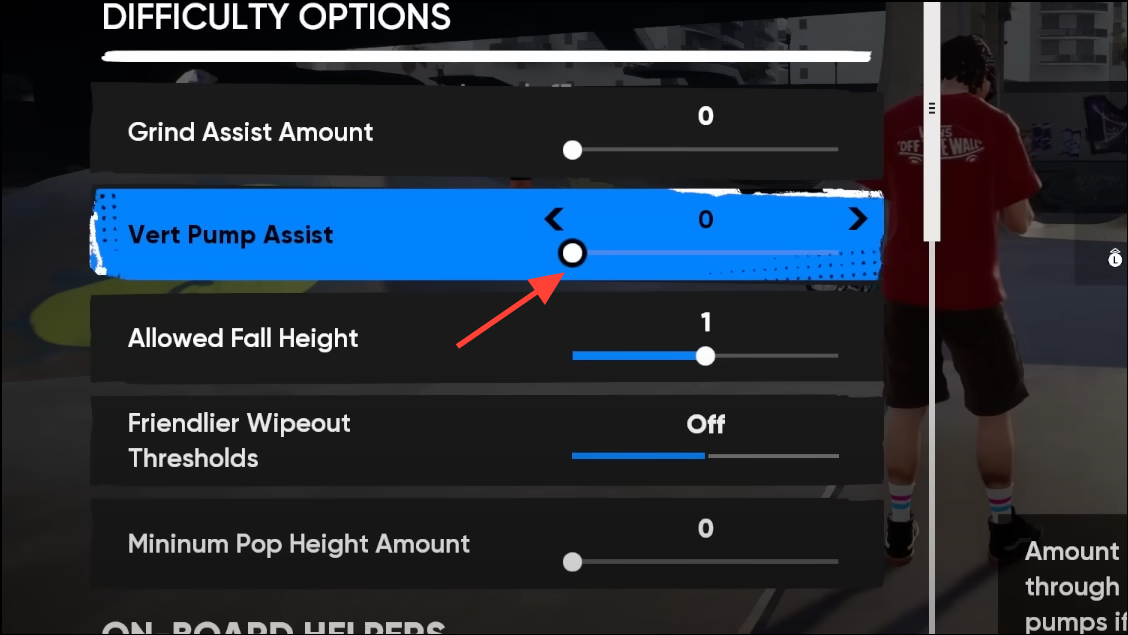
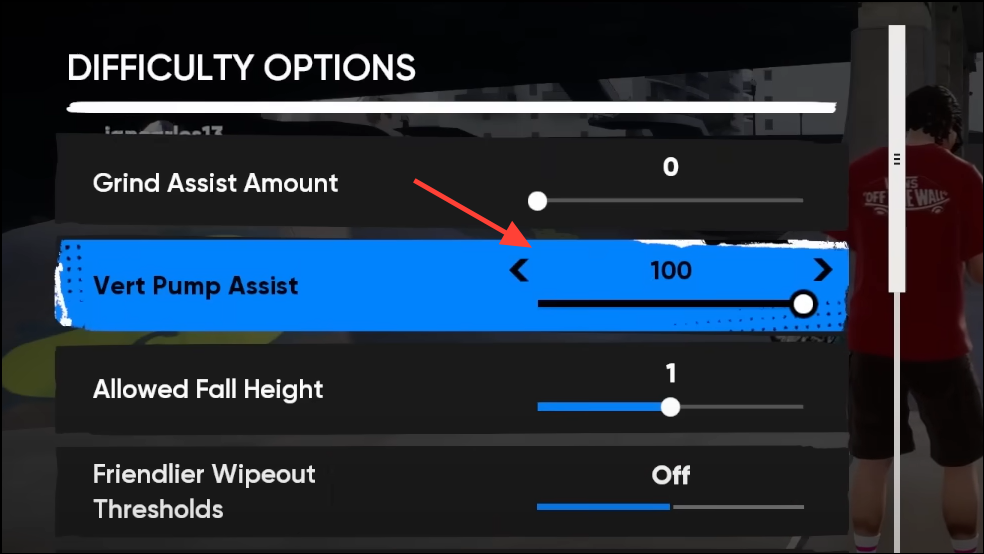
Step 4: Set the Pump Assist slider to match your preference. 0 favors fully manual control, around 70 provides frequent assistance with room for manual timing, and 100 automates pumps on small undulations for steady speed.
Step 5: Try “Semi‑auto pumping” if available. This option triggers part of the motion for you while still letting your manual input influence timing for bigger bursts.

Step 6: Pick a control preset you’re comfortable with (many players prefer Classic). The preset doesn’t change how pumping works, but familiarity helps you time inputs consistently.
Method 1 — Manual pump with the left stick (most consistent)
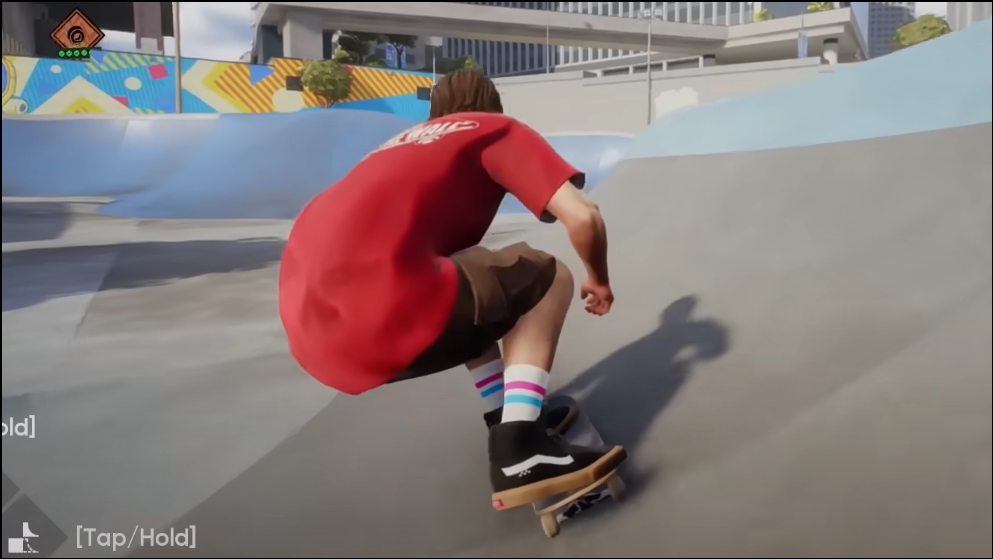
Step 1: Approach a ramp or bowl at a moderate roll speed. You want enough momentum to reach the transition without pushing just before the ramp.
Step 2: Press the left stick forward slightly before you reach the base of the transition. Starting the press a board‑length early gives the game time to register the compression as you enter the curve.
Step 3: Release the stick as you pass through the curve’s midpoint or as the board tips upward. Releasing too late on the steep upper section can bleed speed; releasing around the inflection point keeps you accelerating.

Step 4: Repeat this press‑and‑release on each wall. Look for a subtle “Pumping” readout in the trick feed and a light controller vibration to confirm your timing is registering.
Step 5: Add an ollie at the lip if you want height. Pumping builds speed; an ollie at the top converts that speed into extra air on vert.
Method 2 — Manual pump using crouch/grab (triggers)
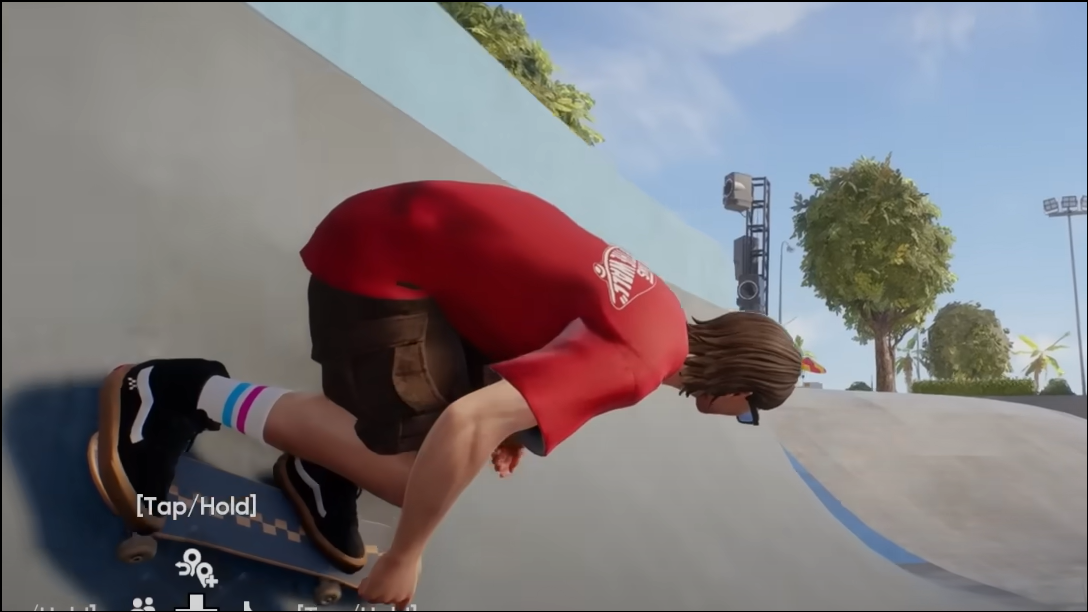
Step 1: Hold a trigger to crouch as your board enters the lower part of the transition. The idea mirrors real‑world pumping: compress as gravity pulls you into the curve.
Step 2: Release the trigger near the bottom as the board starts climbing the wall. The release throws your weight forward/up the ramp to carry more speed.

Step 3: Repeat the motion on the opposite wall to build a rhythm. Aim to compress low and release through the middle rather than holding the crouch into the steepest section.
Step 4: If the triggers feel unresponsive in your build, fall back to the left‑stick method or enable Pump Assist. Trigger‑based pumping has varied in reliability across updates.
Method 3 — Use Pump Assist (auto or semi‑auto)
Step 1: Set Pump Assist to 100 for fully automatic pumping. This generates frequent small pumps over every bump and wave, which is effective for flowing across uneven terrain.
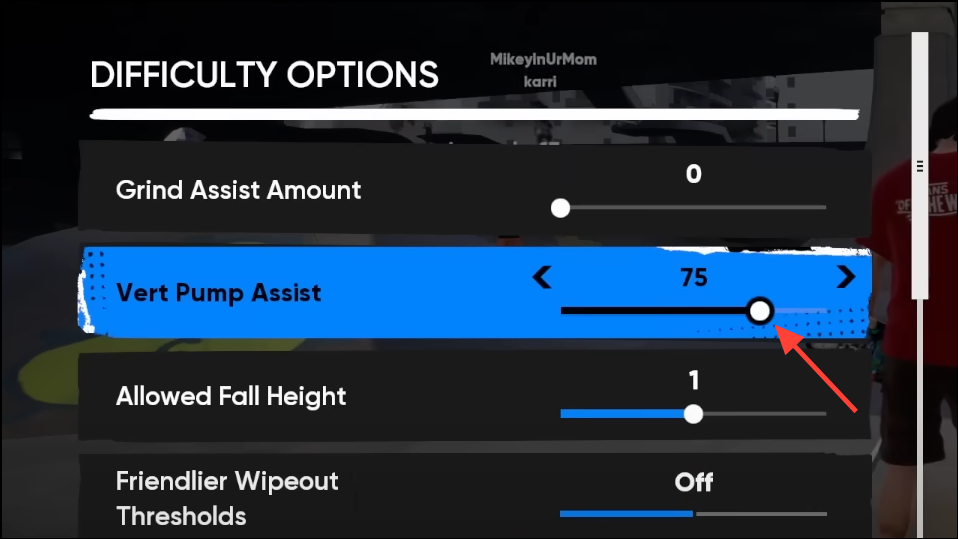
Step 2: Lower the slider to around 70 to combine frequent assisted pumps with manual timing. You’ll still get regular speed pickups while retaining the option for bigger manual bursts on key transitions.
Step 3: Drop to 0 if you want the strongest single pumps on simple transitions. Manual timing on clean quarter pipes typically yields more speed per pump than fully automated assist.
Step 4: If your goal is consistency rather than maximum burst speed, favor higher assist. For pure vert or big airs, rely more on manual timing.
Troubleshooting inconsistent or no pump
Step 1: Turn off “Forward to push” when using “Press forward to pump.” If forward presses still trigger pushes, the pump input won’t register at the ramp.
Step 2: Recheck settings after updates or restarts. Early builds have reset some gameplay toggles; confirm “Press forward to pump,” “Semi‑auto pumping,” and your Pump Assist slider are still set as intended.
Step 3: Verify the input is being detected. Watch for the “Pumping” text in the trick feed and feel for a light rumble; if you don’t see/hear feedback, your timing is off or the input isn’t mapped.
Step 4: Switch control presets temporarily. Some players find Classic maps crouch/trigger behavior in a way that makes timing easier versus Streamlined.
Step 5: Adjust timing by terrain. For raw speed, compress low in the transition and release through the middle; pumping higher on the wall tends to slow you.
Step 6: Use the left‑stick method if triggers aren’t working in your session. As a fallback for steady lines, raise Pump Assist to 70–100.
Step 7: If pumping feels different day‑to‑day, check for updates and try a quick game restart. Input reliability has varied between builds, and a restart often restores expected behavior.
Quick practice plan
Step 1: Find a small quarter pipe or a mellow pool. Simple, predictable transitions make it easier to feel the compression and release windows.
Step 2: Do 10 pump cycles with the left‑stick method without ollies. Focus on starting the press just before the ramp and releasing through the middle.
Step 3: Repeat with an ollie at the lip every second pass. Compare your air and landing distance to see how well you’re converting speed into height.
Step 4: Set Pump Assist to 70 and ride the same line. Notice how the frequency of smaller automatic pumps changes your speed compared with manual timing.
Step 5: Test the trigger method if available. If it doesn’t register, revert to the left‑stick method and keep practicing your release timing.
Additional tips
- Begin the pump earlier than you think; waiting until you’re already on the steep section usually stalls you.
- For speed lines, prioritize the lower half of the transition; for height, combine a solid pump with an ollie at the top.
- Auto‑pump excels on rolling, uneven surfaces; manual timing tends to produce stronger bursts on clean vert.
- If your pump suddenly becomes a push, revisit settings to ensure forward presses aren’t mapped to pushing.
Once your settings are dialed in and your timing is repeatable, pumping becomes a reliable way to build speed and keep lines flowing. Practice on a small ramp, then take the rhythm to bowls and bigger vert.