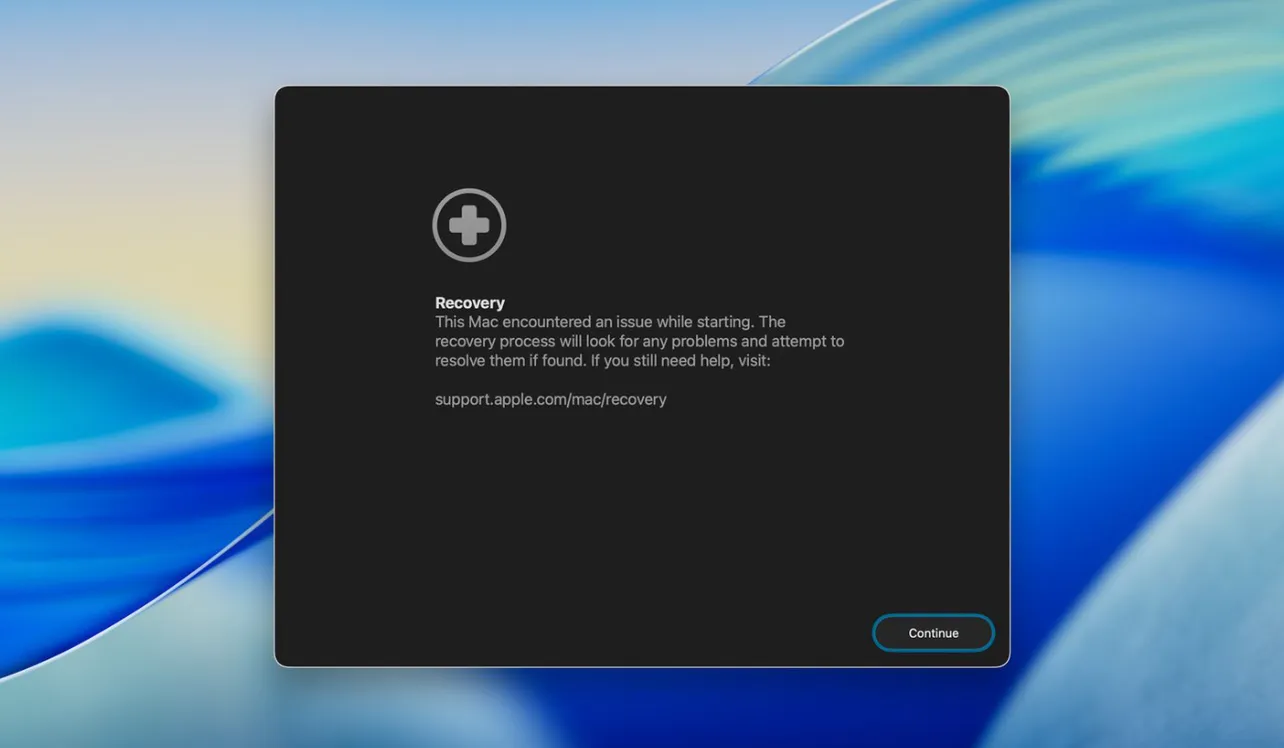
macOS Tahoe (version 26) introduces Recovery Assistant, an automated repair flow that launches when your Mac can’t complete a normal boot and attempts to diagnose and fix what went wrong. Apple outlines the tool in a new support article.
What Recovery Assistant actually does
When macOS detects certain startup failures, the Mac may restart itself and open Recovery Assistant. From there, you’re walked through a short, guided process that can:
- Unlock your startup disk (you may be prompted for an administrator password)
- Pull down the latest remediation logic from Apple’s servers
- Run targeted checks and apply known fixes
At the end, the tool reports one of three outcomes:
- Recovered successfully
- Unable to recover
- No known issues found
You’ll then restart the Mac to try a normal boot.
Privacy and diagnostics
Early in the flow, you can choose whether to send diagnostic data to Apple; that choice doesn’t change the repair result, and Apple says the data is handled under its privacy policy. If you prefer not to share, opt out and proceed.
Network and password requirements
Recovery Assistant needs internet access to download the latest issue signatures and repair steps. You’ll be prompted to join Wi‑Fi if needed. Two network limitations are worth noting:
- Captive portals (public Wi‑Fi that first shows a web sign‑in page) aren’t supported
- 802.1X‑authenticated Wi‑Fi is not supported during this process
If your usual network uses either, connect to a standard WPA2/WPA3 network or tether via a personal hotspot instead.
If your Mac starts afterward
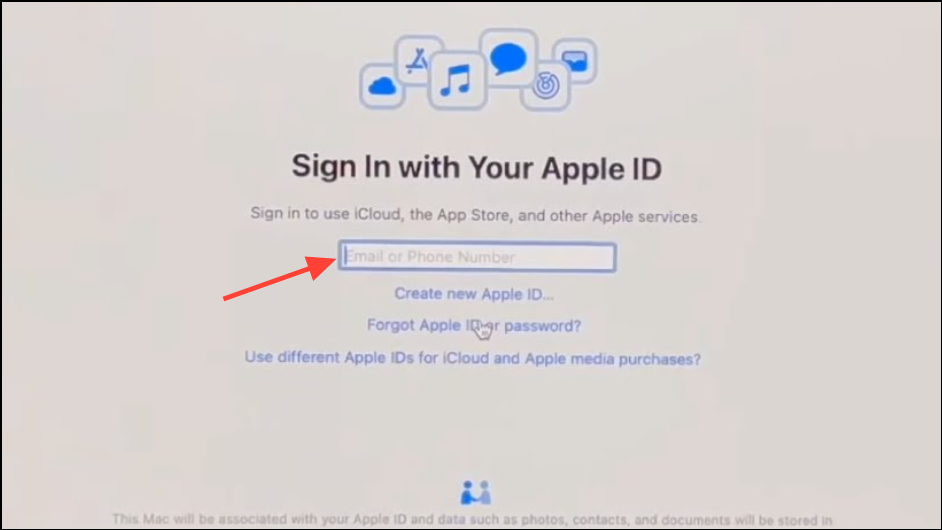
Upon a successful boot, you might see a notification to recover iCloud data. You can open System Settings from the notification, or go to Apple menu > System Settings and select Recover iCloud Data in the sidebar, then sign in with your Apple Account to complete that step.

If it still doesn’t start
Recovery Assistant isn’t a full replacement for deeper repair tools. If your Mac still won’t boot, Apple recommends moving on to established troubleshooting paths:
- Work through the guide for when a Mac doesn’t start up all the way
- Check and repair the startup disk in Disk Utility (instructions)
- Reinstall macOS from Recovery (steps)
How to open it manually
You shouldn’t need to launch Recovery Assistant yourself, but it’s available from the Utilities menu inside macOS Recovery. If you need a refresher on entering Recovery and navigating its tools, Apple’s documentation covers the basics. Tip: to quit Recovery Assistant and return to the main macOS Recovery screen, press Command‑Q or choose Device Recovery Assistant > Quit from the menu bar.
Where this fits across Apple platforms
The same concept extends to iPhone and iPad this year, with a comparable flow in iOS 26 and iPadOS 26. Apple explains the mobile version in a separate support article.
Practical checklist before you run it
- Ensure power is connected (especially on laptops)
- Have an admin user password ready (for disk unlock)
- Join a non‑captive, non‑802.1X Wi‑Fi network
- Give the process time; don’t interrupt while repairs are running
Notes for IT admins
On managed Macs, some Tahoe changes affect recovery workflows. Apple says accessory security policies now carry from macOS into macOS Recovery, including previously allowed USB accessories and the device management restriction allowUSBRestrictedMode (helpful when peripherals are needed during troubleshooting). FileVault can also be unlocked over SSH after a restart if Remote Login is enabled and network is available. These updates are outlined in Apple’s enterprise documentation.
Why it matters
Startup failures are high‑friction moments—often happening without the right tools nearby. By placing a guided, network‑aware repair flow directly in the boot path, Tahoe gives users and admins a quicker first pass at resolving software‑level issues. And because the tool’s outcome is explicit—fixed, not fixable here, or nothing known to fix—it’s easier to decide when to escalate to disk repair, a reinstall, or hardware service.


