
Marathon's extraction loop revolves around getting in, grabbing loot, and getting out alive. But surviving consistently means keeping a steady supply of shield recharges, medical consumables, and ammunition — all of which can drain your credits fast if you rely on direct purchases. The barter system offers a far more efficient alternative, letting you swap salvage materials found during runs for the gear you actually need.
Quick answer: Open your vault, navigate to the armory, and select any of the six traders to browse their barter offers. Trade salvage items (white, green, blue, or purple rarity) directly for consumables, ammo, and weapons — no credit cost involved.
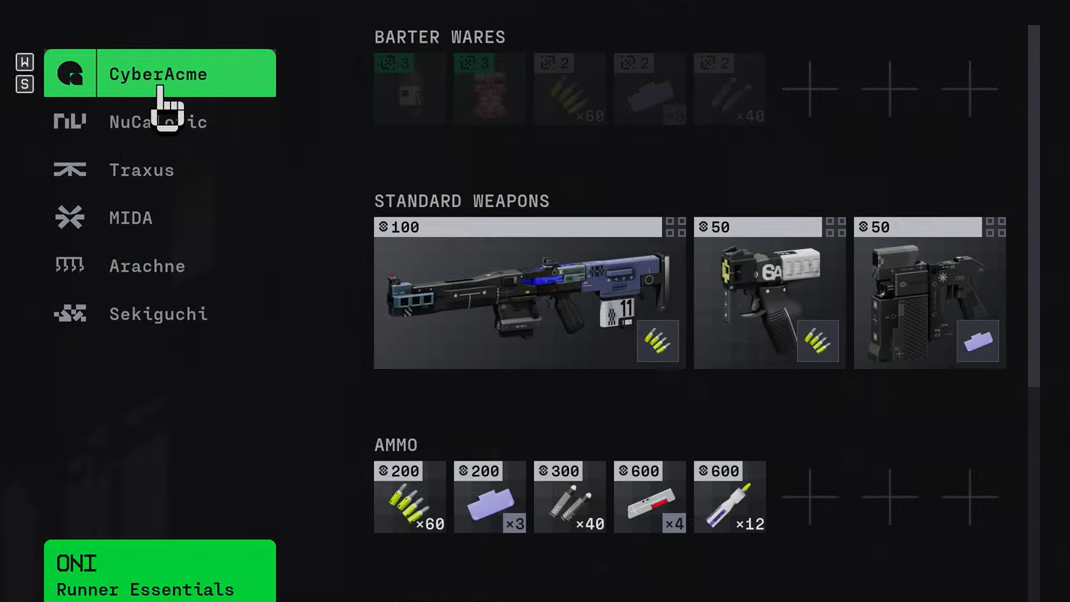
How to access traders in Marathon
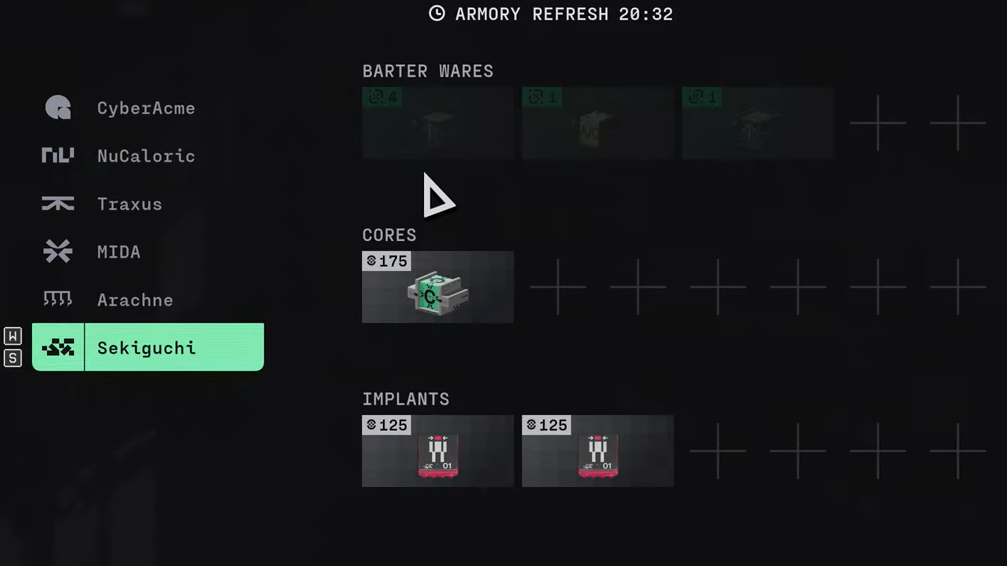
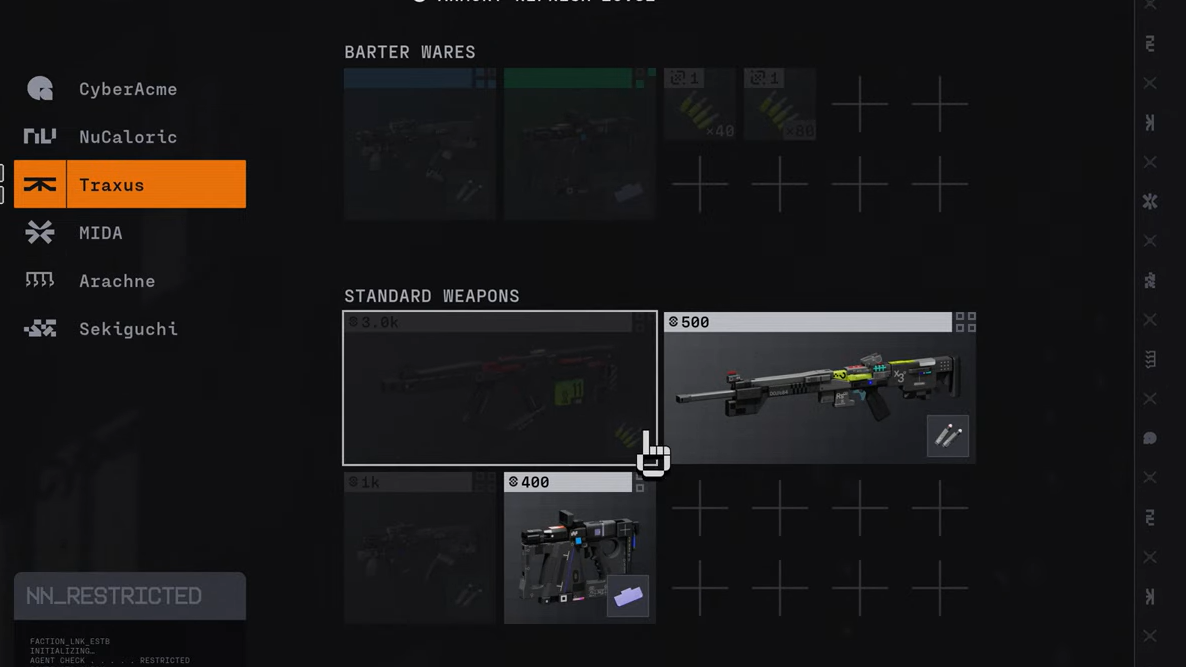
Traders live inside the armory section of your hub. To reach them, open your vault first, then navigate to the armory tab. Six traders are available, each stocking different categories of gear. You can buy weapons, ammunition, and medical supplies with credits, but the real value comes from their barter listings, which rotate and improve as you level up.

How bartering works
Barter trades let you exchange salvage materials you've collected during runs for specific items. Unlike credit purchases, barters have no per-transaction limit — if you have the materials, you can repeat the same trade as many times as you want in a single session. The barter catalog changes over time and scales with your trader level, so higher-level players see dramatically better conversion rates.
Salvage comes in four rarity tiers: white, green, blue, and purple. White salvage is the most common and drops frequently from enemies and containers. Blue and purple salvage is rarer but converts into significantly more valuable items per unit.
| Salvage Rarity | Drop Frequency | Barter Value |
|---|---|---|
| White | Very common | Basic consumables and ammo |
| Green | Common | Mid-tier consumables |
| Blue | Rare | Advanced consumables in bulk |
| Purple | Very rare | High-value gear and supplies |
At low levels, even simple trades are worthwhile. A single sparkleaf, for example, converts into three green shield charges. At midgame levels, the ratios become extremely generous — one blue salvage item can yield six Advanced Shield Recharges. Stockpile 10 of those blue salvage pieces, wait for that barter to appear, and you walk away with 60 Advanced Shield Recharges in a single batch.
Early game barter strategy
New players often struggle with consumable costs because credit prices for medical items and ammo are steep. Bartering bypasses this entirely once you complete the initial white salvage upgrades for your traders. Before those upgrades are done, credits feel like the only option — but push through the early trader progression and the barter economy opens up fast.
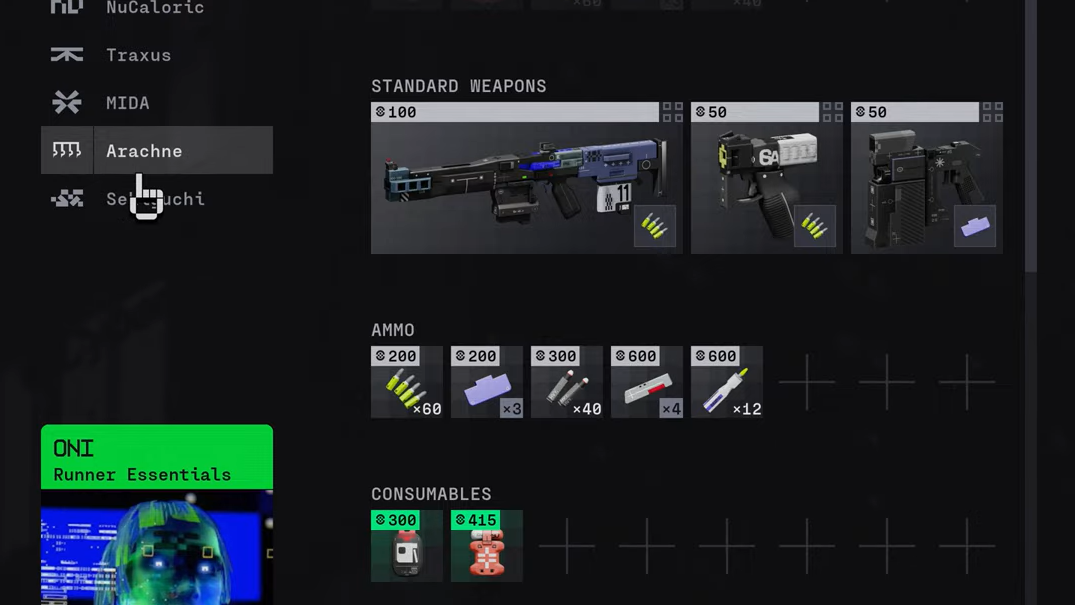
Ammo is also surprisingly cheap through barters. MIPS rounds, which cost a fortune in credits, can be acquired in stacks of 15 for a single white barter item. Sponsored loadouts typically include ammo crates as well, providing nearly a full stack of light ammo, heavy ammo, and some batteries at no additional cost. Turrets also drop light ammo frequently, so looting defeated turrets keeps your reserves topped off during runs.
Leveling traders for better barter offers
Trader level is the single biggest factor in barter quality. Higher trader levels unlock conversion rates that make consumable scarcity a non-issue. Reaching the midgame barter tier takes roughly 10 to 12 hours of play, which includes completing faction tasks and ranking up naturally through extractions.
One vendor even provides a free stack of green medical supplies each day after a specific upgrade, further reducing the pressure on your stockpile. If you're playing in a group and medical supplies are running thin, having one player run the triage class is extremely effective — the healing bot both heals teammates and shares the effects of medical consumables across the squad.
Barters vs. credit purchases
Credit purchases still have a role, but they function more as an emergency fallback when you've exhausted every barter material and consumable. The per-unit cost of buying shields or meds with credits is significantly higher than what you'd spend in salvage through a barter. Once you've cleared the initial trader upgrades, barters should be your primary supply method, with credits reserved for moments when you're completely out of resources.
| Method | Cost Efficiency | Best Use Case |
|---|---|---|
| Barter (white salvage) | High | Basic ammo and low-tier meds |
| Barter (blue/purple salvage) | Very high | Bulk advanced consumables |
| Credit purchase | Low | Emergency resupply when out of materials |
Selling items you don't need
If your vault fills up with gear you won't use, selling is straightforward. Go to your loadout screen, open your vault, hover over the item you want to sell, and hold the sell input to convert it into credits. This keeps your inventory clean and builds up a credit reserve for those rare moments when a direct purchase makes sense.
Tips for maximizing barter value
Stockpile salvage materials between runs rather than selling them immediately. Barter offers rotate, and a high-value trade might appear that converts a handful of blue salvage into weeks' worth of shield recharges. Blue salvage in particular is worth hoarding — it's rare enough that you might only find a few pieces per session, but the barter payoff is enormous when the right offer shows up.
Pick up every sparkleaf and barter-eligible item you encounter during runs, even if it seems low-value. Players who consistently collect these materials and survive to extraction rarely face supply problems. The ones who skip salvage or die before extracting are the ones who end up broke and under-supplied.
As more maps become available and players identify reliable salvage spawn locations, farming specific materials for high-value barters will likely become a core part of Marathon's endgame economy. For now, the simplest approach works best: grab everything, extract alive, and let the traders turn your junk into survival gear.