
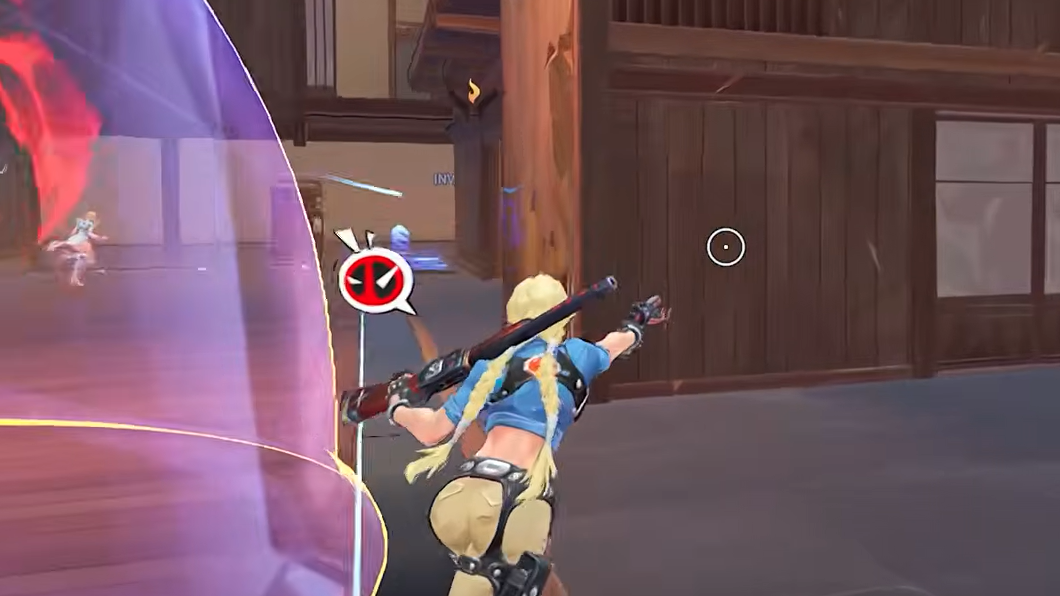
Elsa Bloodstone arrived in Marvel Rivals with the Season 6.5 update on February 13, 2026, and she's already shaking up the Duelist meta. A 275-HP burst damage dealer with two distinct weapons, creature-based utility, and one of the most aggressive self-sustaining damage loops in the game, Elsa rewards players who can chain abilities at speed and maintain constant momentum. She's rated at three-star difficulty, and that rating is earned — her kit looks simple on the surface but demands precise timing and positioning to unlock its full potential.
Quick answer: Elsa Bloodstone is a burst Duelist who cycles between her Double-Barrel Blaster (shotgun) and Monster-Piercer (elephant gun) by weaving in dashes. Build her Inherited Instinct passive to three bars to reduce Helix Advance's cooldown to two seconds, then spam dashes for constant bonus health and empowered rifle shots.

Elsa Bloodstone's Full Ability Kit
| Ability | Input | What It Does |
|---|---|---|
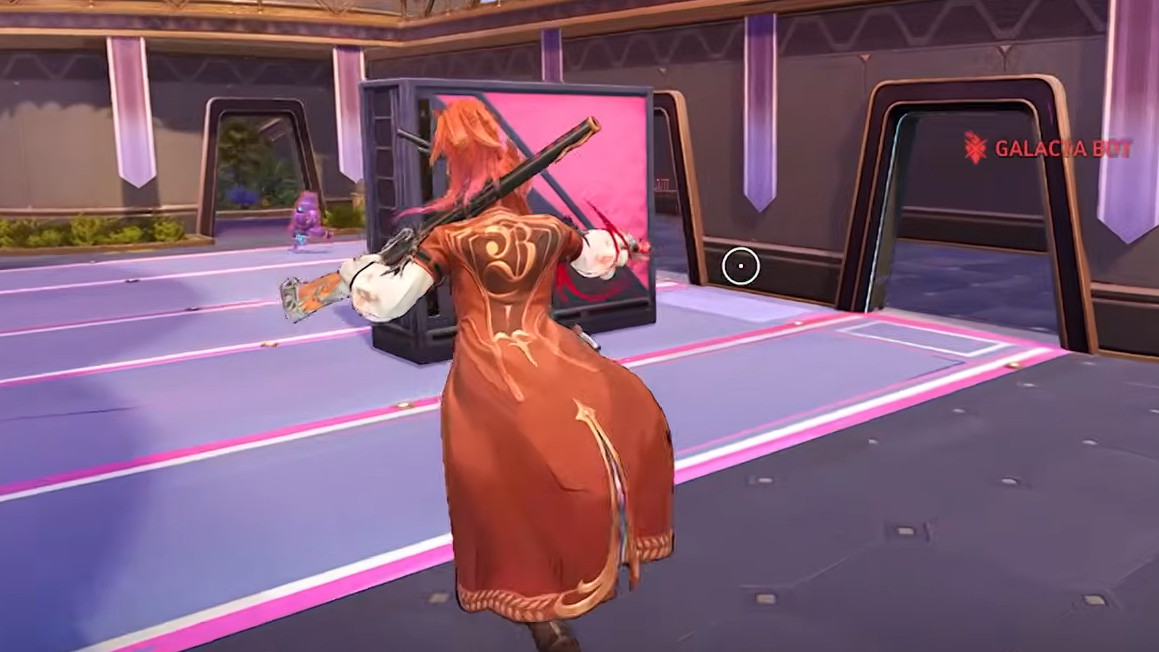
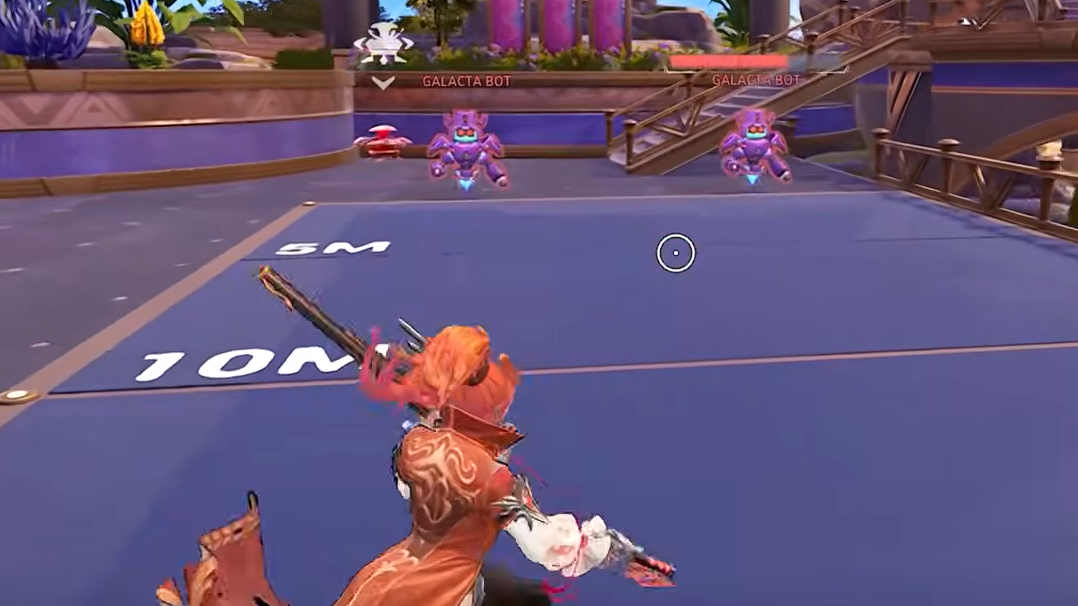
| Double-Barrel Blaster | LMB | Two-shot burst shotgun. Eight rounds total (four bursts). Each shot deals 45 damage (90 per burst), can headshot for up to 180. Hitscan with pellet spread — sweet spot is 10–15 meters. |
| Monster-Piercer | LMB (empowered) | Elephant gun that fires five horizontal bullets. Deals 90 damage at up to 45 meters. Pierces enemies. Cannot crit. Activated after any dash ability. |
| Helix Advance | Shift | Directional dash (horizontal only). Grants 40 bonus health (max 75 stacked) and loads one Monster-Piercer shot for six seconds. Cooldown scales from 8s down to 2s based on Instinct level. |
| Ruthless Pursuit | E | Two-part ability. First press dashes forward, grants 40 bonus health, and uppercuts enemies (30 damage, knocks up). Reactivation fires a blast that pushes you backward and slows enemies (30 damage). Each stage loads a Monster-Piercer shot. |
| Living Bullet | RMB | Fires a round that splits on impact and seeks nearby enemies within ~8 meters, marking them with Spectral Sigil for five seconds. Hitting marked targets grants a brief speed boost. Deals 60 damage per target. Extra damage to shields and bonus health. |
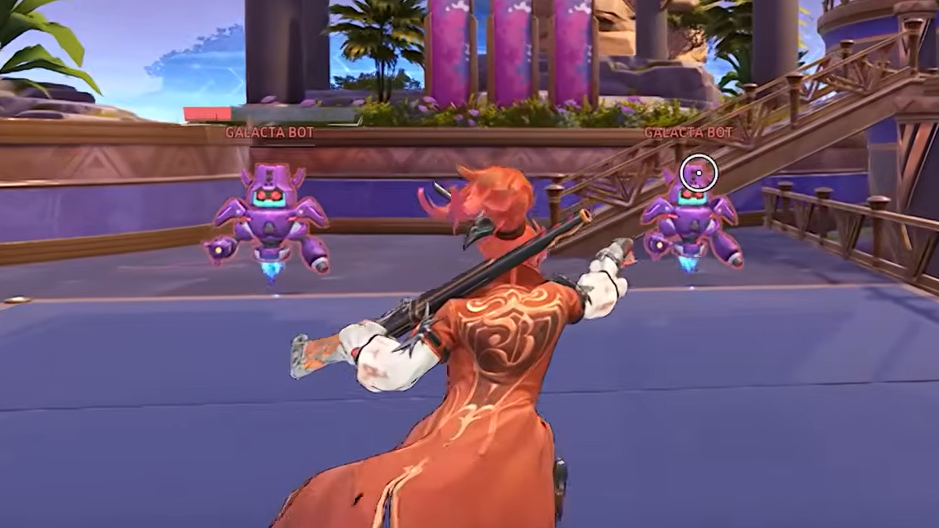
| Smoky Snare | F | Deploys the monster Diablo as an invisible, invulnerable trap. Immobilizes and damages enemies who trigger it (30 damage, ~1 second hold). Press F again to dash up to 30 meters to the trapped enemy. 12-second cooldown. Only one trap active at a time. |
| Inherited Instinct | Passive | Dealing damage fills three instinct bars. Kills grant a large chunk (over one full bar). Eliminating trapped enemies grants roughly 2.5 bars. Higher instinct reduces Helix Advance cooldown. Dying costs one bar. |
| Apex Predator | Q (Ultimate) | Summons Glartrox, a monster that charges forward and grabs enemies in its path. Press Q again to recall it — Glartrox drags captured enemies back to you. Deals heavy damage on collision with terrain or on return. Has 500 HP and can be destroyed. |
| Bloodstone's Boombox Bullets | Team-Up (with Deadpool) | Living Bullet becomes special rounds that taunt targets with Deadpool's chatter, slow enemies, and deal damage over time (~80 total). Elsa can recall the rounds for a small heal. |
How Inherited Instinct Drives Elsa's Entire Gameplan
Elsa's passive is the engine behind everything she does. Three bars sit beneath her health display, and they fill as you deal damage and secure eliminations. Each bar threshold directly reduces the cooldown of Helix Advance — one bar brings it to six seconds, two bars to four seconds, and a full three bars drops it to just two seconds. That two-second cooldown is where Elsa transforms from a decent poke character into a relentless damage machine.
At max instinct, you can dash every two seconds, and each dash grants 40 bonus health that lasts five seconds. Because the health decays slower than the cooldown refreshes, you can stack up to 75 bonus health, effectively walking around with 350 HP. Every dash also loads a Monster-Piercer shot, meaning you're constantly alternating between a 90-damage piercing rifle blast and your shotgun bursts. Death only costs one bar rather than the entire meter, so recovering from a bad fight isn't catastrophic — but staying alive is still critical to maintaining your tempo.
Eliminating enemies caught in Smoky Snare grants a massive instinct boost, roughly two and a half bars' worth. If you land a trap kill early, you can hit max instinct within the first minute of a round.
Weapon Switching and the Empowered Shot Mechanic
Elsa doesn't manually swap weapons. Instead, using any dash ability — Helix Advance or either stage of Ruthless Pursuit — loads a single Monster-Piercer shot that stays available for six seconds. Fire it, and she immediately returns to the Double-Barrel Blaster. The key technique is holding down the fire button after the rifle shot. When you do, she fires the Monster-Piercer and then instantly follows with a shotgun burst, squeezing out significantly more damage per window.
The Double-Barrel Blaster fires pellets (20 total per burst, 10 from each barrel). At close range, landing all pellets on a headshot deals 180 damage, which is devastating. But pellet spread means damage falls off quickly past 15 meters. The Monster-Piercer, by contrast, deals a flat 90 damage out to 45 meters with no falloff and pierces through multiple enemies. This piercing property becomes especially powerful during Glartrox's ultimate, when enemies are clustered together and stunned.
Core Combos You Need to Practice
Elsa's damage ceiling lives in her ability chains. The fundamental pattern is to weave dashes between empowered shots, and there are two primary sequences depending on range.
Ranged combo (five piercer shots): Start by using Helix Advance proactively before engaging. Wait a couple seconds for the cooldown to tick down, then fire the Monster-Piercer. Immediately dash again with Shift, fire another piercer. Press E to dash (Ruthless Pursuit), fire the piercer. Use the E follow-up (shoot the ground to bounce yourself upward), fire another piercer. Helix Advance one more time, fire the final piercer. That's five 90-damage rifle shots in rapid succession, and if you hold the trigger each time, you're weaving shotgun blasts between them.
Close-range combo (uppercut chain): Preload a piercer shot with an early Shift dash. Close in, fire the rifle. Press E to uppercut the enemy into the air (30 damage). Fire the piercer while they're airborne. Reactivate E to blast them away and slow them (30 damage). Fire the piercer again. Helix Advance in any direction, fire one more piercer. This sequence can deal upward of 700 damage when every shot connects, and it leaves most squishier heroes dead before they hit the ground.
Smoky Snare Placement and Trap Strategy
Diablo, the monster inside Smoky Snare, becomes invisible and invulnerable once fully deployed. It doesn't expire, but you can only have one active at a time — placing a new trap destroys the old one. Enemies caught in the trap are immobilized for about one second and take 30 damage. They can break free by dealing roughly 100 damage to Diablo.
The real power of Smoky Snare is the dash it enables. When an enemy triggers your trap, pressing F again lets you close up to 30 meters instantly, landing at the ideal 10–15 meter range for your shotgun. You have about a 1.5-second window to use this dash, even slightly after the enemy breaks free.
Place traps in flanking corridors or directly on top of your team's Strategist. If a diver like Black Panther or Spider-Man goes for your healer and hits the trap, you can instantly dash in and punish them. Kills on trapped enemies also supercharge your Instinct meter, making this a high-value play whenever it works.
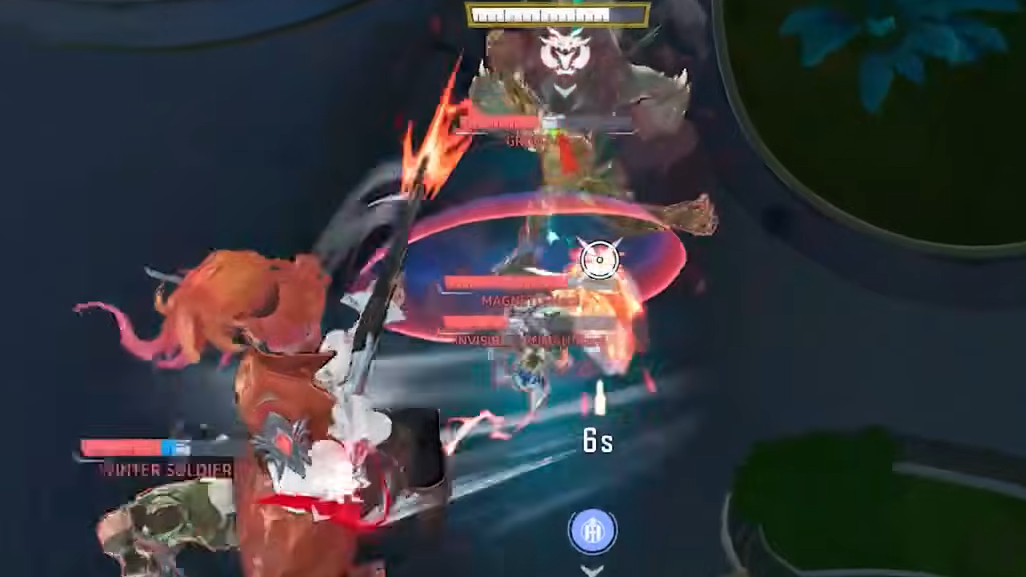
Apex Predator — Getting the Most From Glartrox
Elsa's ultimate sends Glartrox charging in a straight line, grabbing every enemy in its path and dragging them along. The monster travels up to roughly 90 meters if unobstructed and fully stuns captured enemies for the entire duration. It has 500 HP and can be destroyed, similar to Squirrel Girl's ultimate. CC-immune targets like Groot in his wall form or Emma Frost in diamond form cannot be grabbed, but Glartrox will pick up The Thing despite his immovable coding.
There are three primary ways to use Apex Predator. The first is environmental kills — on maps with ledges, you can drag enemies straight off the edge. The hitbox is forgiving, and grabbing two or three enemies at once is common. The second is displacement — simply pushing the enemy frontline off a payload or away from a contested point creates enormous space for your team. The third, and most effective in most situations, is the recall combo.
Send Glartrox out, immediately start firing empowered piercer shots into the stunned enemies (the shots pass through the monster), then press Q again to recall Glartrox before it hits a wall. The monster reverses direction and drags everyone back toward you. If you walk backward during the recall, you extend the total stun duration. Your team should be firing into the cluster the entire time. Recall timing is important — do it one to two seconds earlier than you think, because the monster moves fast, and hitting a wall ends the ultimate prematurely.
Glartrox is also a strong counter-ultimate tool. You can drag a Mantis out of her team during her ultimate, push enemies out of a Luna Snow healing zone, or catch Cloak & Dagger at her predictable final dash location and send her flying.
Team-Up With Deadpool
Elsa joins the "Mr. Pool's Interdimensional Toy Box" Team-Up alongside Deadpool and Jeff the Land Shark. When active, her Living Bullet transforms into special rounds that taunt enemies with Deadpool's visual and audio clutter, slow them, and deal damage over time (roughly 80 total damage). Elsa can recall the rounds for a small heal, around 40 to 50 HP. It's a modest bonus rather than a game-changer, but the slow and screen clutter add disruption value in teamfights.
Counters to Watch Out For
Elsa has 275 HP, limited self-sustain outside of her bonus health from dashes, and struggles when enemies close the gap and stay on top of her. Several heroes exploit these weaknesses effectively.
Blade is one of the hardest matchups. His close-range combo damage tears through Elsa's small health pool, and she lacks the tools to escape his sustained pressure once he's in her face. Deadpool presents a similar problem — his melee burst and mobility make Elsa's health bar disappear quickly. Hawkeye can outrange her with burst damage and has a stun trap that catches her off guard. Spider-Man is frustrating for a different reason: Elsa's combos work best against grounded targets, and Spidey's constant swinging makes him extremely difficult to pin down.
The general counter-strategy against Elsa is to either dive her aggressively with melee brawlers or stay highly mobile to avoid her combo windows. She thrives when she can control spacing — deny her that, and her effectiveness drops sharply.

Elsa Bloodstone occupies a unique space in the Marvel Rivals roster. She's not a straightforward point-and-shoot Duelist — she's a rhythm-based character who rewards players for maintaining momentum, chaining abilities cleanly, and choosing engagements wisely. Spend time in the practice range getting the empowered shot timing into muscle memory, and she'll reward you with some of the highest burst damage any Duelist can produce.