
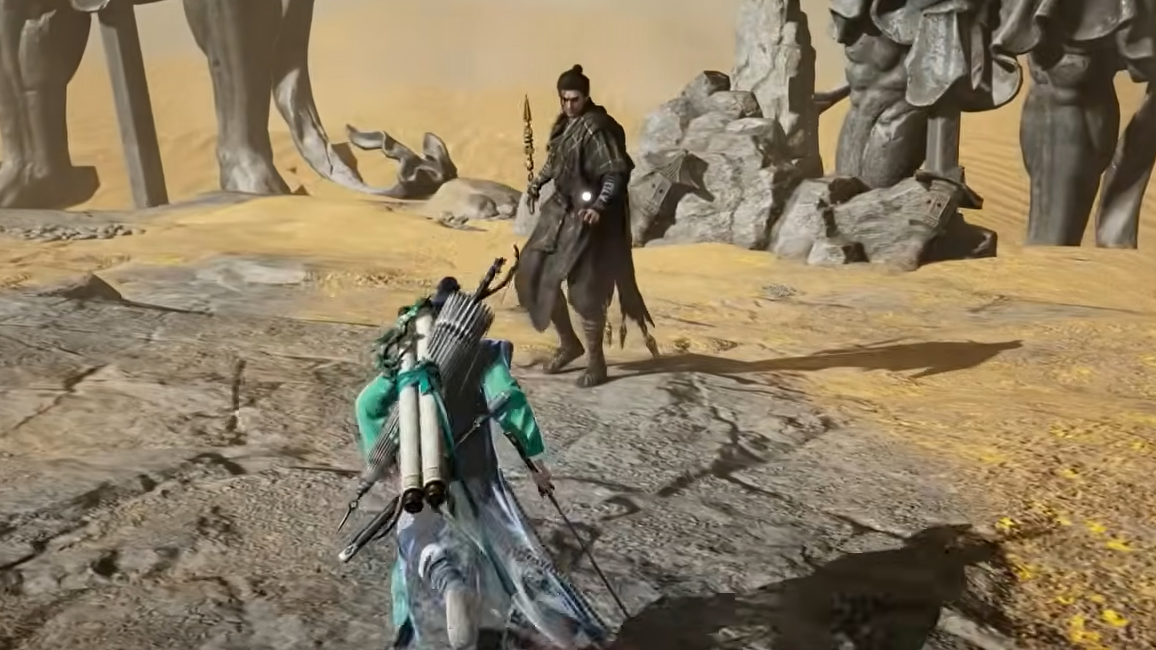
Miaoshan sits at the crossroads of story and systems in Where Winds Meet. In the lore, he is Tian Ying, a Later Zhou assassin who remade himself as a Buddhist monk to steer wars from the shadows. In the game, he is a hidden, high-end boss in Sundara Land that many players describe as both the best showcase of the combat system and its most frustrating outlier.
Who Miaoshan / Tian Ying is in the story
Tian Ying’s story runs through the Qinghe “hidden storyline” and the Bodhi Sea of Sins. As a child fleeing the chaos after the Sixteen Prefectures of Yan and Yun were ceded to the Khitan, he reached Qinghe and briefly lived as a blacksmith’s helper by Baoshan Lake. That fragile peace collapsed with further invasions and the fall of cities like Dingzhou, where General Ye Wanshan lost his family rather than surrender.
Over nearly three decades, Tian Ying moved from refugee to operative of the Suspended Sword network, operating in the spaces between open war: sabotaging alliances, stealing key texts like the Book of Luoshen, and assassinating envoys whose survival might redraw the map. One pivotal operation sent him south to Qingfeng Post Station, where he decapitated a Khitan envoy during a Southern Tang banquet and destroyed a planned Khitan–Southern Tang pincer attack.
In 955, Later Zhou emperor Chai Rong asked Tian Ying to take on a role that would make him a villain in the eyes of the faithful and a savior in the eyes of the state. Buddhist institutions had become a tax shelter and cover for corruption. Chai Rong needed temples broken, and statues melted into coin without appearing to wage open war on the Buddha. Tian Ying agreed to abandon his name, his reputation, and possibly his life to carry that burden.
From that decision, the monk persona Miaoshan was born. He never became a true believer, but he chose to imitate the Bodhisattva’s self-sacrifice in secular form: using the robe and the language of compassion to move armies and crowds, while quietly pursuing assassinations and covert interventions that would keep the Central Plains from fracturing further.
The Bodhi Sea of Sins storyline in Qinghe ties many of these threads together. It follows the long shadow of the Later Jin defeat at Zhongdu Bridge, Khitan atrocities, and experimental horrors like the Dream Puppet project. Tian Ying’s choices – which allies to sacrifice, which enemies to spare, and how far to weaponize faith – form the backbone of that arc. By the time players meet him as Miaoshan in Sundara Land, he is both penitent and uncompromising, carrying the weight of those decades into a final confrontation.
How Miaoshan connects to the “Lost Quotes” Wandering Tale
The Wandering Tale “Lost Quotes” frames Miaoshan from another angle: as a teacher whose words have scattered across Qinghe. Huijing, found pacing near Bodhi Sea, asks you to recover three volumes of Master Miaoshan’s Quotes with only three clues – greedy people, thieves, and a place Buddha might favor.
| Volume | Area cue | Mechanic involved |
|---|---|---|
| Miaoshan’s Quotes 1 | Southwest of Bloomveil Monastery Outpost | Time-of-day change and emote |
| Miaoshan’s Quotes 2 | Cliff north of Bloomveil Monastery Outpost | Celestial Seize theft |
| Miaoshan’s Quotes 3 | Cave guarded by Aureate Pavilion near Bodhi Sea | Combat clear |
Each book is placed to echo Huijing’s hints. One sits locked away by a stone stele that demands a sincere bow at the Wu hour. Another has been quietly pocketed by Wang Er, a lone onlooker you can relieve with Celestial Seize. The third is in a thieves’ den-style cave occupied by Aureate Pavilion guards, sitting almost casually on a box near a campfire once the fighting ends.
Returning all three volumes to Huijing yields Echo Jade, Qinghe exploration points, coins, and experience. More importantly, it paints Miaoshan not just as a killer, but as someone whose words linger in out-of-the-way corners: half revered, half forgotten. That duality underpins why his boss fight feels like both a lore payoff and a harsh mechanical test.
How to reach the Miaoshan boss in Sundara Land
Miaoshan is not marked as a routine world boss. Reaching him requires progression in both exploration and a specific dungeon chain in Region 1, followed by a timed ritual atop Halo Peak in Sundara Land.
Step 1: Clear the deep dungeon under the Heavens’ Pier mansion in Region 1. From the “Front Mountain” landmark at Heavens’ Pier, sprint up to the large mansion and head inside. Drop through the floor, break the barred gate, and interact with the lamp that unseals the door into the underground.
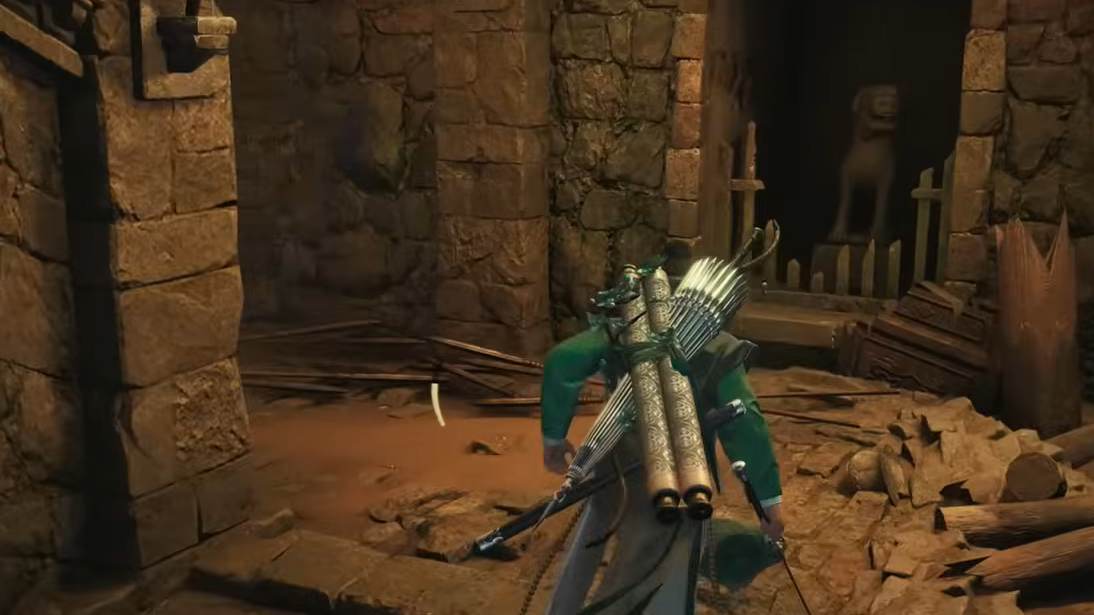
Step 2: Ride the elevator down, fight through the assassins that ambush you on the platform, and continue deeper. Your immediate purpose here is to unlock the lower section of the shaft by activating two wheel mechanisms behind a guarded right-hand door. Spin both “spinners,” then ride the elevator to its lowest level.
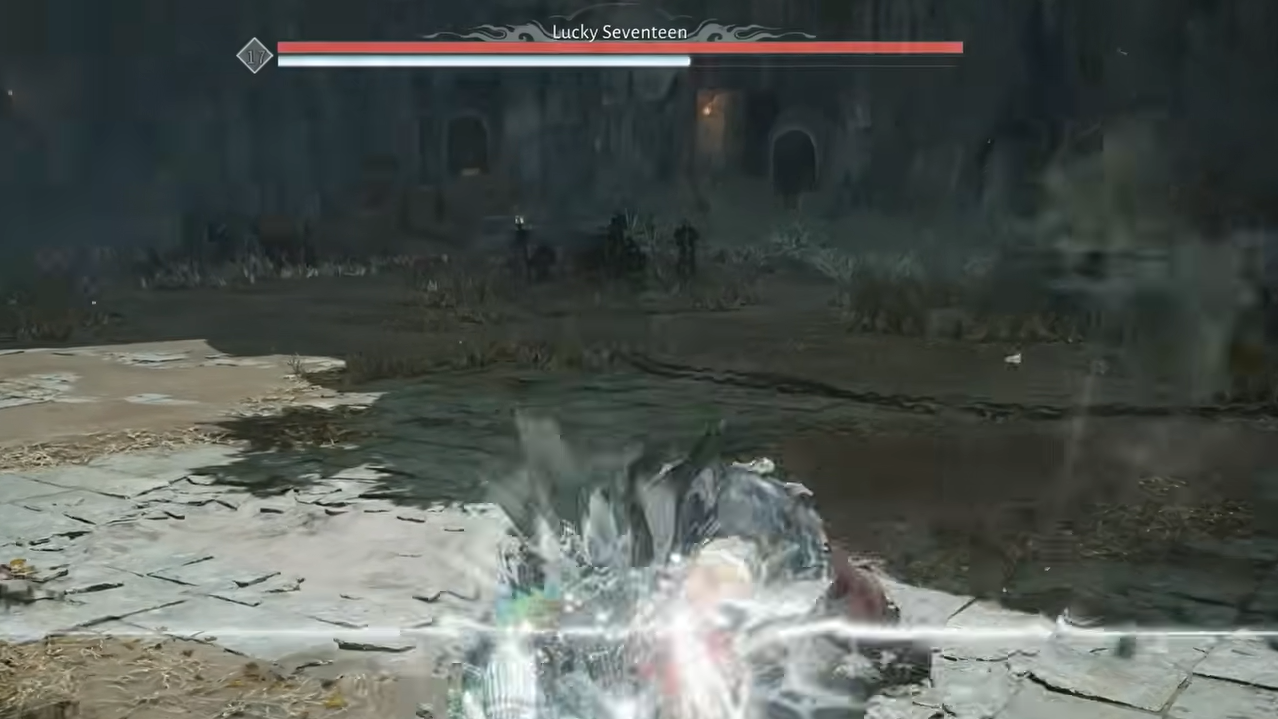
Step 3: At the very bottom, you face a boss often referred to as Seventeen. Her first phase is a straightforward parry test. During the second, an ability like Heavenly Steel lets you steal her empowered weapon and turn it against her, especially when she charges it for a lethal blow. Defeat her and pluck the special jade crystal from the dragon’s mouth in the arena. This “Buddha Light jade” is critical later.
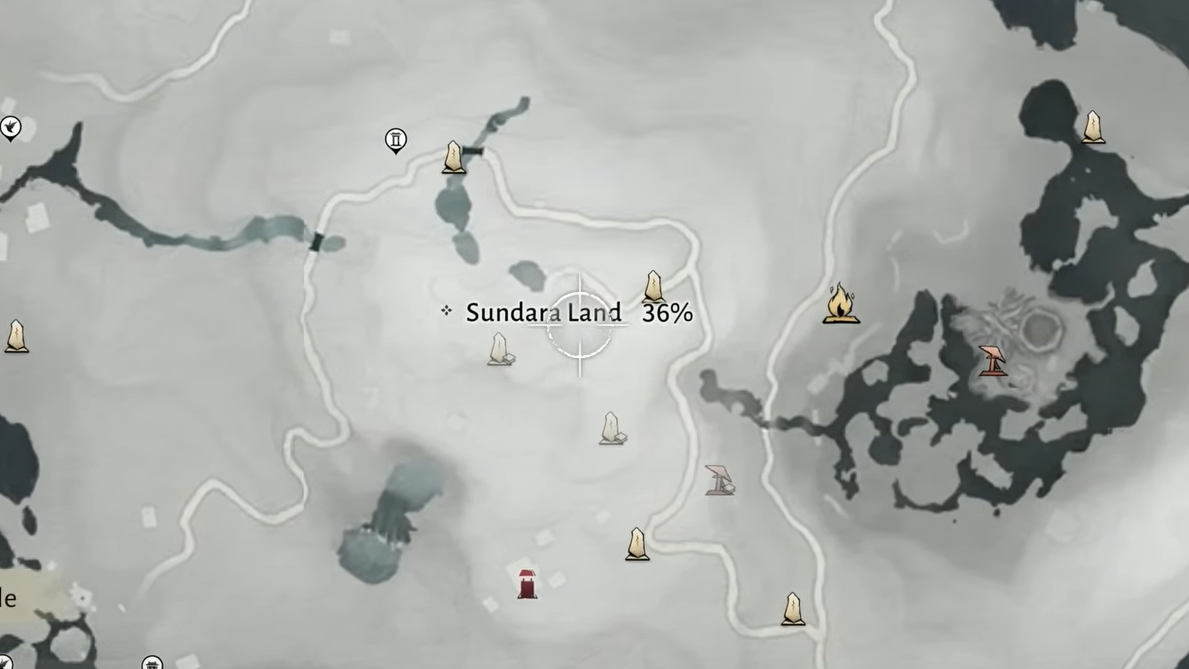
Step 4: Push your exploration score in Region 1 to 6,000. Almost every activity adds points: discovering landmarks, clearing outposts, killing world bosses, and interacting with secrets. The in-game region panel tracks both total exploration and which bosses remain alive.
Step 5: Once you have the jade and the exploration threshold, travel to the Halo Peak landmark in Sundara Land. Climb or fly to the summit tower. At its very top is a receptacle for the jade that only activates at the Wu hour. Open the system clock from the main menu and manually advance time to Wu if needed, then place the Buddha Light jade.
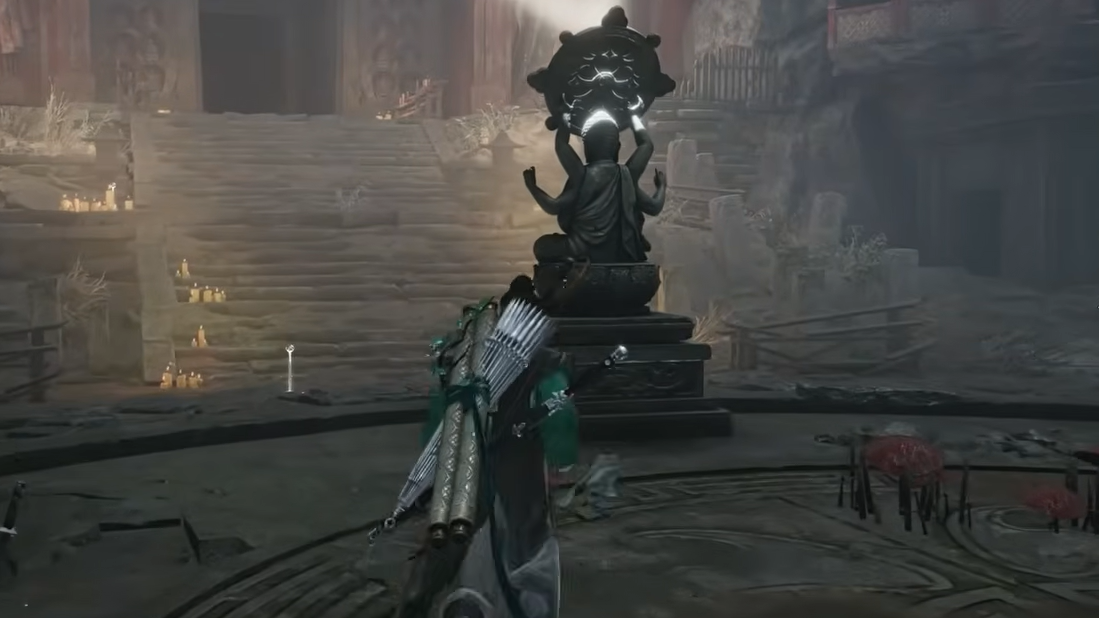
Step 6: The tower’s base opens, revealing a lift deeper into the Buddha-light structure. Below, a series of rotating Buddha statues form light puzzles. Use Meridian Touch to rotate the central Buddha so its beam strikes a golden flower-like sigil, opening the way ahead. Multiple levels repeat this logic.
Step 7: Further in, stone statues awaken and attack. They cannot be damaged directly; they only fall to deflects. If you struggle, the game’s accessibility settings allow auto-deflect to be toggled, which trivializes these sequences.
Step 8: A collapsing cavern section follows, built around jumping, wall-running, and timing. The goal is simply to reach the very bottom alive and rotate another Buddha to project its light, which finally opens the door to Miaoshan’s chamber.
What makes the Miaoshan boss fight so divisive
Miaoshan is framed as a “secret hardest boss” and that label is earned. The encounter has three phases with distinct move sets, camera demands, and resource pressures. Many players can eventually no-hit the early phases but still lose repeatedly in the third, which is where most of the frustration gathers.
Several traits repeatedly draw criticism:
- Length and phase gating. Three full phases on a human-sized target mean that practice on phase three is gated behind playing well in the first two, unless you specifically use the Trials system to isolate phases.
- Heavy trial-and-error design. His short windups, delayed hits, and varied follow-ups reward memorization far more than on-the-fly reading. Many attacks will kill or stun-lock you from full health until you learn them by repetition.
- Unforgiving camera behavior. In phase two, large sand statues and swirling effects can block your view while the lock-on camera clings to a small, mobile target. In phase three, Miaoshan repeatedly goes invisible and reappears by dashing behind the camera, forcing you to rely on sound and timing rather than clear telegraphs.
- Hostility to NPC helpers. Summoned allies die quickly to arena-wide or statue-based attacks in phase two, and in phase three, they can be shredded while Miaoshan is invisible and off-screen, with no reliable way to pull him off them.
- Healing economy pressure. Potions in Where Winds Meet are crafted consumables, not recharging flasks. Entering a long, punishing three-phase fight invites hoarding behavior, especially on first attempts, and the game further limits healing effects on first kills of certain world bosses.
Some players argue that this combination pushes past “tough but fair” into cheapness: hitboxes that do not match animations, overlapping threats from clones and the main body, and AI patterns that reward standing at a precise distance and baiting only two or three safe moves. Others enjoy the high parry demands and consider the third phase a pure execution test once the patterns are internalized.
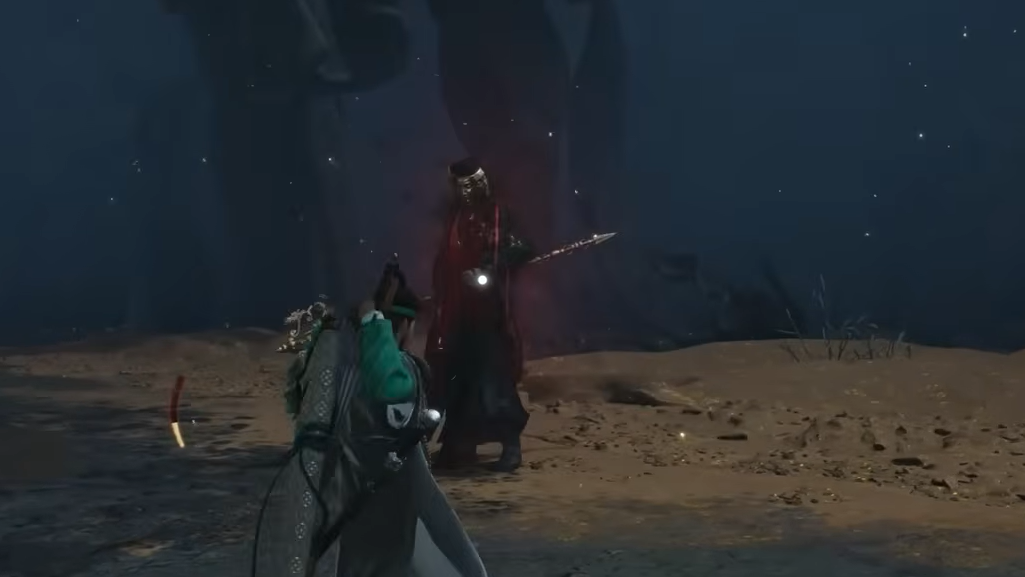
Phase 1: ranged Buddha light and early parries
Miaoshan opens as a staff-wielding caster, relying on golden waves and pillars of energy. This is the phase where you should lose as few potions as possible.
Key patterns
- A forward golden shockwave that travels along the ground.
- A vertical energy strike from above, triggered by a staff slam.
- A channeled multi-wave “cavern blast” that fills much of the arena.
Meridian Touch plays a larger role here than in many other fights. Fingerpoint interrupts some of his longer channels, canceling dangerous wide-area waves before they go off. Ranged options like the umbrella or fan can chip him safely whenever he recovers from a canceled cast.
Most of his projectiles in this phase can either be blocked with proper timing or sidestepped at mid-range. The best rhythm is to stay just outside his melee reach, close in for a short combo after quick-cast attacks, and save your big weapon arts for when his poise finally shatters. Treat this as a resource management check: finish phase one with almost all potions and weapon cooldowns intact.
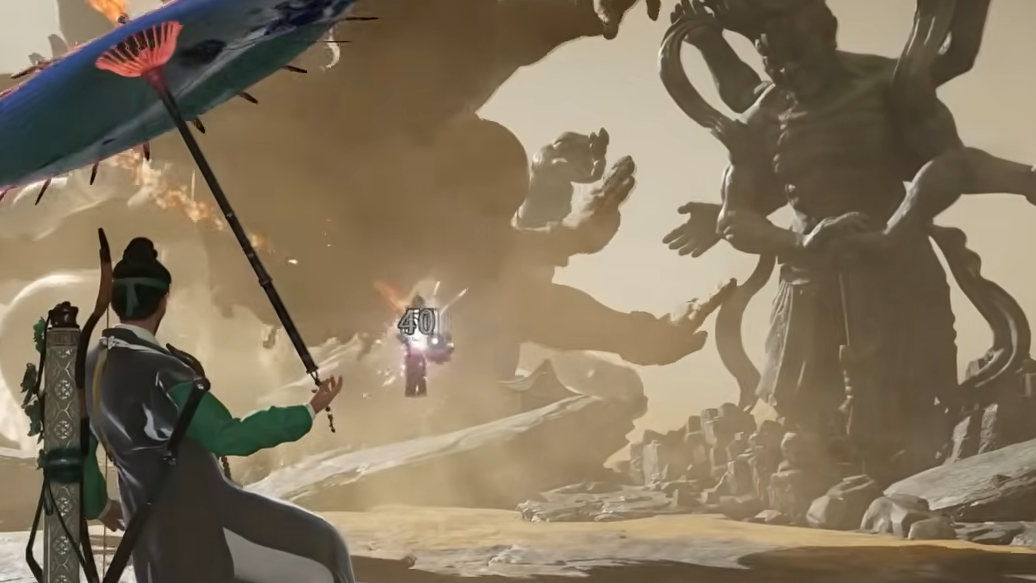
Phase 2: sand statue arena and extended kick strings
Phase two shifts from caster to martial monk. Miaoshan switches to rapid kicks and punches while projecting a towering sand statue that smashes the arena in patterns. This is where many players first feel the camera and telegraph issues.
Spacing and baited kicks
Standing roughly one dash length away from him tends to coax specific strings: an upward kick, a spinning kick, and variations on that basic chain. These are all parryable, but the multi-hit spinning kick is notorious. At point-blank range its first hit can whiff due to animation–hitbox mismatch while the follow-up still connects, making the timing extremely tight.
A more consistent approach is to stay slightly farther away so you only need to parry the last two hits of the spin. That window lines up better with the audio and visual cues, making repeated success less dependent on guesswork. Holding guard while you feel out the timing reduces the punishment for early or late inputs.
Managing the sand statue
At intervals, a large sand statue appears and prepares slow but very wide attacks. While the statue’s visuals can obscure the view, its swings are heavily telegraphed. You can deflect the individual hits, but you can also use its wind-up to heal, reposition, or throw ranged damage at Miaoshan himself.
When the statue floats and prepares a full arena shockwave sequence, the safest response on foot is to sprint as far as possible to the arena’s edge and anchor your position relative to distant background statues or features so you can run to that same relative spot the next time. With a ranged secondary weapon, it is possible to run to a far corner, fire at Miaoshan’s body, and avoid both the slam and the wind rings. On some builds, an airborne move like Buddha Fist or sustained umbrella fire can also punish his gap-closing leaps while sidestepping their hitboxes.
Again, the goal is not to race him down. It is to exit this phase with your potion count still close to full while pushing his poise gauge whenever his kick chains or statue sequences leave him vulnerable.
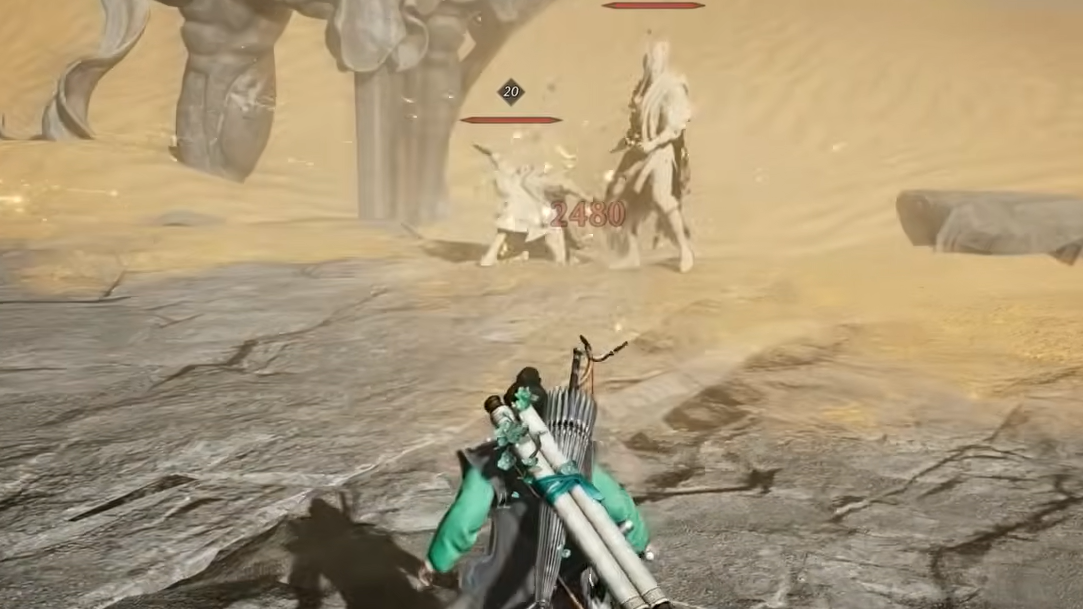
Phase 3: invisibility, clones, and pure parry discipline
The final phase discards most of the visual clarity the fight has left. Miaoshan now spends large chunks of time invisible, materializing in a flurry of assassination-style dashes that often start directly behind your camera. He also summons three sand clones that swing at you independently, creating overlapping audio cues.
Reading the real Miaoshan
The core idea is simple: ignore the clones and parry only the real attack. Every successful parry deletes one clone; after the third, Miaoshan staggers and becomes open to a heavy punish. The difficulty is that clones and the main body all generate sound, and the dash that heralds the real strike starts from off-screen much of the time.
Practical adjustments help:
- Lock on and let the camera track him instead of trying to whip it manually.
- Hold guard by default once clones are out, then transition into parry as soon as the distinctive assassination sound and animation begin.
- Keep roughly one dash length of distance to encourage straightforward dash-attacks instead of more chaotic close-range strings.
Some players opt into flight-based strategies here, matching his airborne phase with umbrella machine-gun patterns and using vertical position to dodge grabs. That can work, but the fight’s design clearly pushes toward grounded parry play.
Mitigating the clone phase
Defensive tools can soften this section. Thundercry Blade’s shield, paired with the Golden Body Mystic Art, allows you to tank clone hits while you focus purely on parrying Miaoshan’s dash. Golden Body, in particular, turns the clone barrage from lethal into background noise.
If you are willing to use accessibility toggles, auto-parry trivializes much of this phase. That option exists in the settings and interacts with the statue sequences earlier in the tower as well.
Ultimately, though, phase three lives or dies on your ability to maintain steady parry timing under pressure. It is less about reaction to clear on-screen telegraphs and more about internalizing the rhythm of his attacks and committing to inputs you cannot visually confirm until the last moment. That design choice is what makes the encounter satisfying for some and intolerable for others.
Practical setup tips before attempting Miaoshan
A few preparations ease the learning curve:
- Stock cheap potions via merchants. Healing materials can be purchased for modest amounts of coin; buy in bulk and craft a large stack of the lowest-tier healing potions so you are not afraid to use them while learning.
- Use Trials to isolate phases. In the Wandering Paths > Trials menu, selecting Tian Ying in the Qinghe section allows you to practice individual phases and even lower difficulty. This is the fastest way to drill phase three without replaying the entire fight.
- Favor parry-friendly weapons. Strategic Sword pairs well with the fight’s poise breaks, and fan or umbrella weapons give flexible ranged options for phase one and statue windows in phase two.
- Consider defensive Mystic Arts. Golden Body, shields like Thundercry Blade, and parry-enhancing inner ways can all turn brutal combinations into survivable mistakes.
Even fully optimized, Miaoshan remains a long, high-commitment duel. The encounter is built around the game’s parry system at its strictest and least forgiving. Understanding Tian Ying’s past – the assassin hiding inside the monk’s robes – gives some context for why the fight is so punishing. Mechanically, though, the path through it is narrower than other bosses: learn his rhythms, hold your nerve on parries, and treat every early-phase attempt as an investment in reaching that final sequence more composed than the last.