
Switching the taskbar to a second monitor on Windows 11 changes how you interact with open apps and notifications, especially in a dual or multi-monitor environment. Unlike previous Windows versions, Windows 11 does not allow dragging the taskbar to another screen or unlocking it for repositioning. Instead, the taskbar follows the monitor set as your primary display, and customization options are managed through system settings. Understanding these changes is key to optimizing your workspace and workflow.
Move the Taskbar to a Second Monitor Using Windows Settings
Step 1: Open the Windows Settings panel by pressing Win+I. This shortcut brings up the main settings interface where display and personalization options are located.
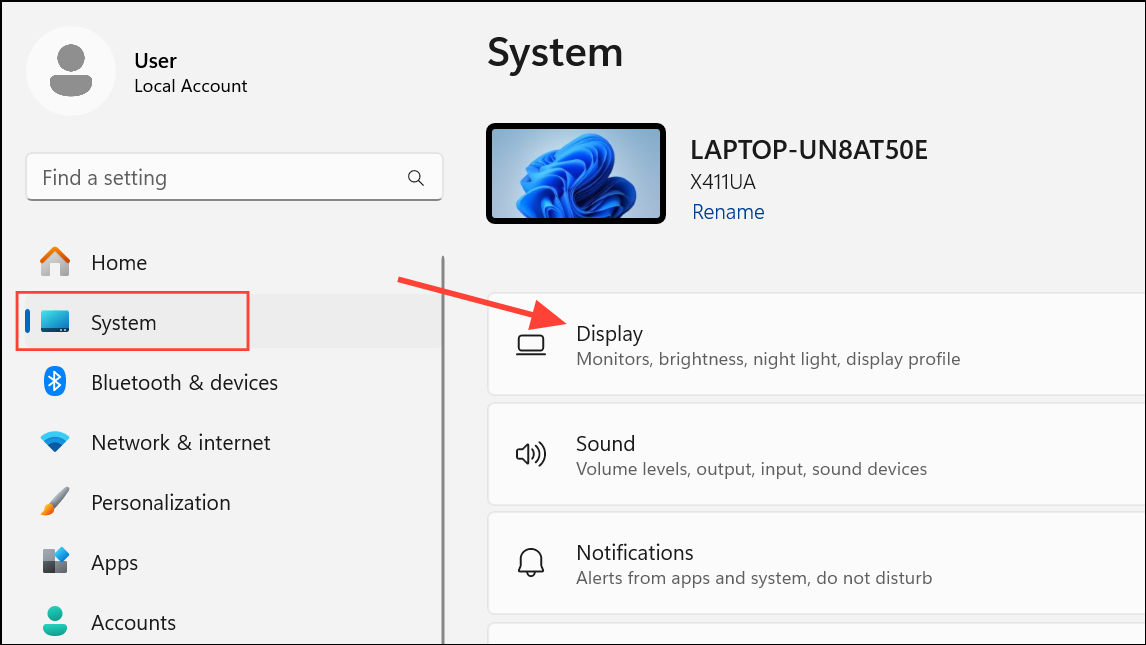
Step 2: Click on the System category in the left sidebar, then select Display on the right. Here, you’ll see a visual arrangement of your connected monitors. If you’re unsure which monitor is which, use the Identify button to display numbers on each screen.
Step 3: Click on the monitor where you want the taskbar to appear. This step is crucial because the taskbar will move only to the display set as the main display.
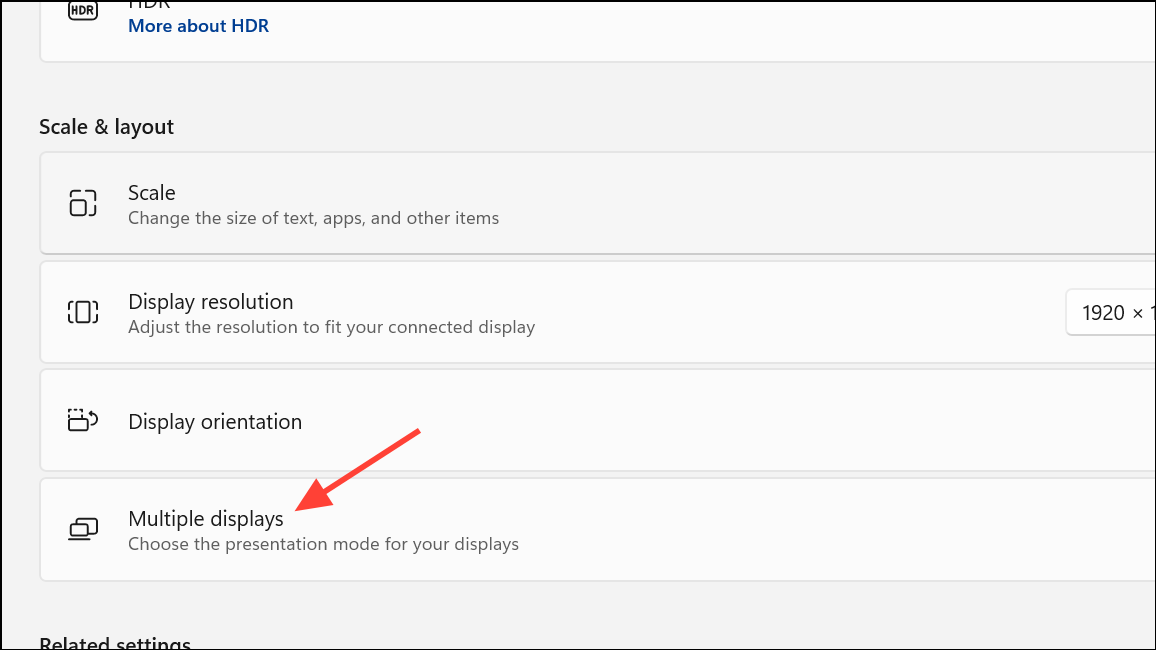
Step 4: Scroll down to the Multiple displays section and check the box labeled Make this my main display. This action designates the selected monitor as your primary display, causing the taskbar to move to that screen. Be aware that after this change, new apps and windows will also open on the designated main display by default.
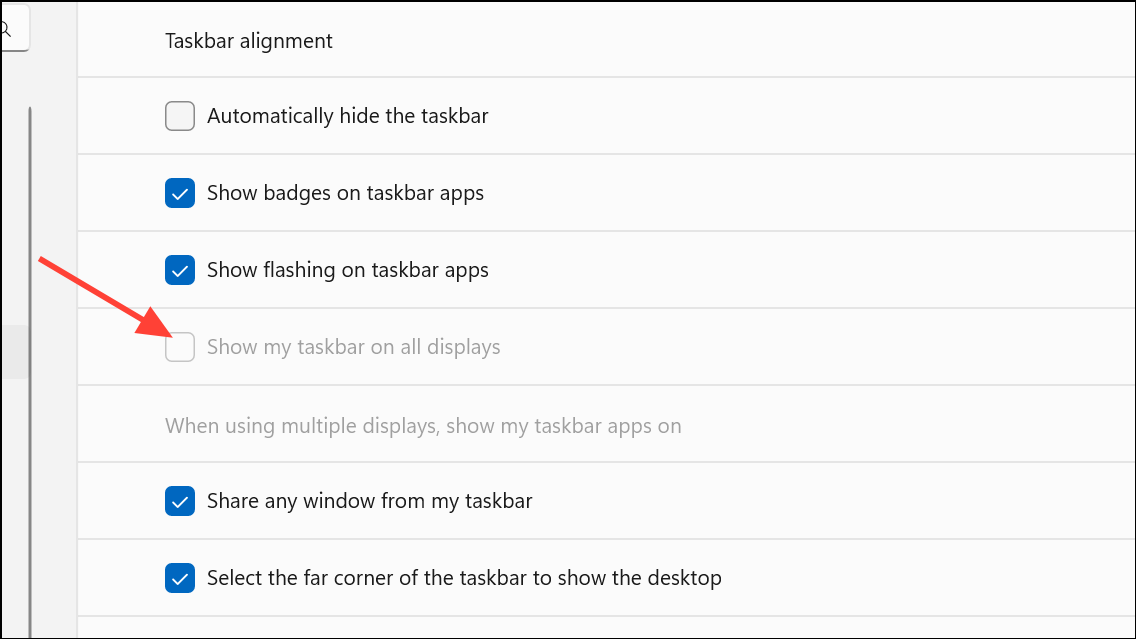
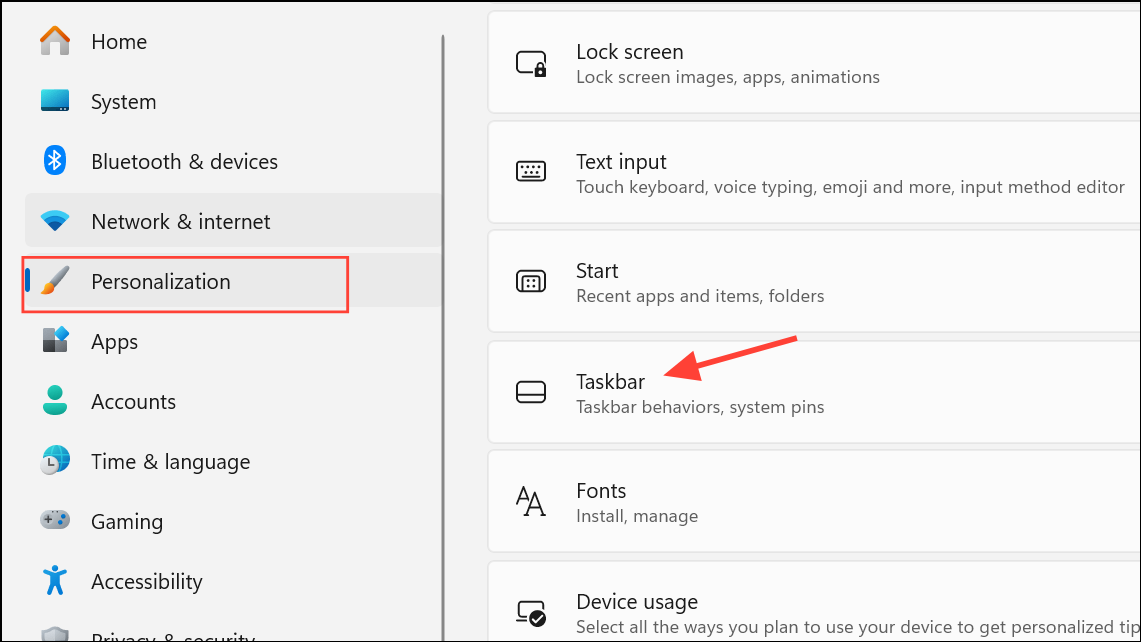
Step 5: If you want the taskbar to appear only on the new main display, go to Personalization in the left sidebar, then select Taskbar. Expand the Taskbar behaviors section and make sure Show my taskbar on all displays is unchecked. This will restrict the taskbar to your chosen monitor.
This method works reliably for moving the taskbar, but it also shifts your system’s “main display” status, affecting where apps and games launch. If you require the taskbar on a monitor that is not your main display, Windows 11 does not natively support this configuration. Changing the main display is the only built-in method to relocate the taskbar to another screen.
Show the Taskbar on All Monitors
For users who want the taskbar visible on every connected monitor, Windows 11 provides a straightforward option in system settings. This can be especially useful for multitasking or keeping an eye on notifications across different screens.
Step 1: Open Settings with Win+I and select Personalization from the left sidebar, then click on Taskbar.
Step 2: Scroll down and expand the Taskbar behaviors section. Check the box labeled Show my taskbar on all displays. The taskbar will now appear at the bottom of every monitor, with the system tray and notification area remaining on the main display.
Step 3: Adjust how app icons are displayed by using the drop-down menu under "When using multiple displays, show my taskbar apps on." You can choose to show all app icons on every taskbar, only on the main taskbar and where the window is open, or only on the taskbar where the window is open. This setting allows for more tailored control of your workflow.
Unchecking the Show my taskbar on all displays box will revert the taskbar to display only on the main monitor.
Use Third-Party Tools for Advanced Taskbar Placement
Windows 11 restricts taskbar movement to the main display, which can be limiting for users who want the taskbar on a secondary monitor while keeping a different screen as primary. To bypass this limitation, several third-party applications offer more flexibility.
StartAllBack: This utility restores classic taskbar behavior, allowing you to unlock and drag the taskbar to any monitor, similar to Windows 10. After installing StartAllBack, right-click the taskbar, unlock it, and drag it to your preferred screen. This method enables you to keep your primary display unchanged while placing the taskbar on a secondary monitor. Note that StartAllBack is a paid program, but it is well-reviewed for reliability and customization.
DisplayFusion Pro: Another advanced tool, DisplayFusion Pro, provides comprehensive multi-monitor management, including custom taskbars for each monitor. While DisplayFusion’s taskbar does not replace the Windows system tray, it offers extended multi-monitor features for those needing more granular control.
Before installing third-party software, consider system compatibility and create a restore point. Some users have reported issues with certain utilities, so choose reputable programs and check for recent updates.
Troubleshooting and Additional Tips
- If the taskbar does not move after changing the main display, restart Windows Explorer from Task Manager (
Ctrl+Shift+Esc), find "Windows Explorer," right-click, and select "Restart." - Graphics driver updates can affect multi-monitor behavior. If displays are not detected or the taskbar does not appear as expected, update your graphics drivers through Device Manager or the manufacturer’s website.
- Registry edits and unsupported tweaks for taskbar placement are not recommended, as they can cause system instability or unpredictable behavior in Windows 11.
- If you frequently disconnect monitors or use power-saving features, the taskbar may revert to the main display. Utilities like PersistentWindows can help restore window positions, but taskbar location will still follow the main display unless using third-party tools.
Switching the taskbar to a different monitor in Windows 11 is now a matter of changing your main display or enabling multi-monitor taskbars. For setups that require the taskbar on a non-primary monitor, reliable third-party software like StartAllBack offers the needed flexibility.
With these methods, you can streamline your workflow and keep your favorite apps and notifications exactly where you want them—whether that’s on your main monitor or spread across your entire workspace.