
Mysterious Colossus is a Fragment Chapter (Lost Chapter) quest in Where Winds Meet that takes place in Qinghe and directly bridges into the Gleaming Abyss campaign. It is light on combat but heavy on environmental puzzles, emotes, and Mystic Skills.
Where to find Mysterious Colossus
The quest is tied to the colossus hidden in the foggy Gleaming Abyss area of Qinghe’s Moonveil Mountain. On the world map, look for the Wraith (also called Haunted) Village Boundary Stone in Qinghe, then move toward the marked objective in the Desolate Woods-style fog bank.
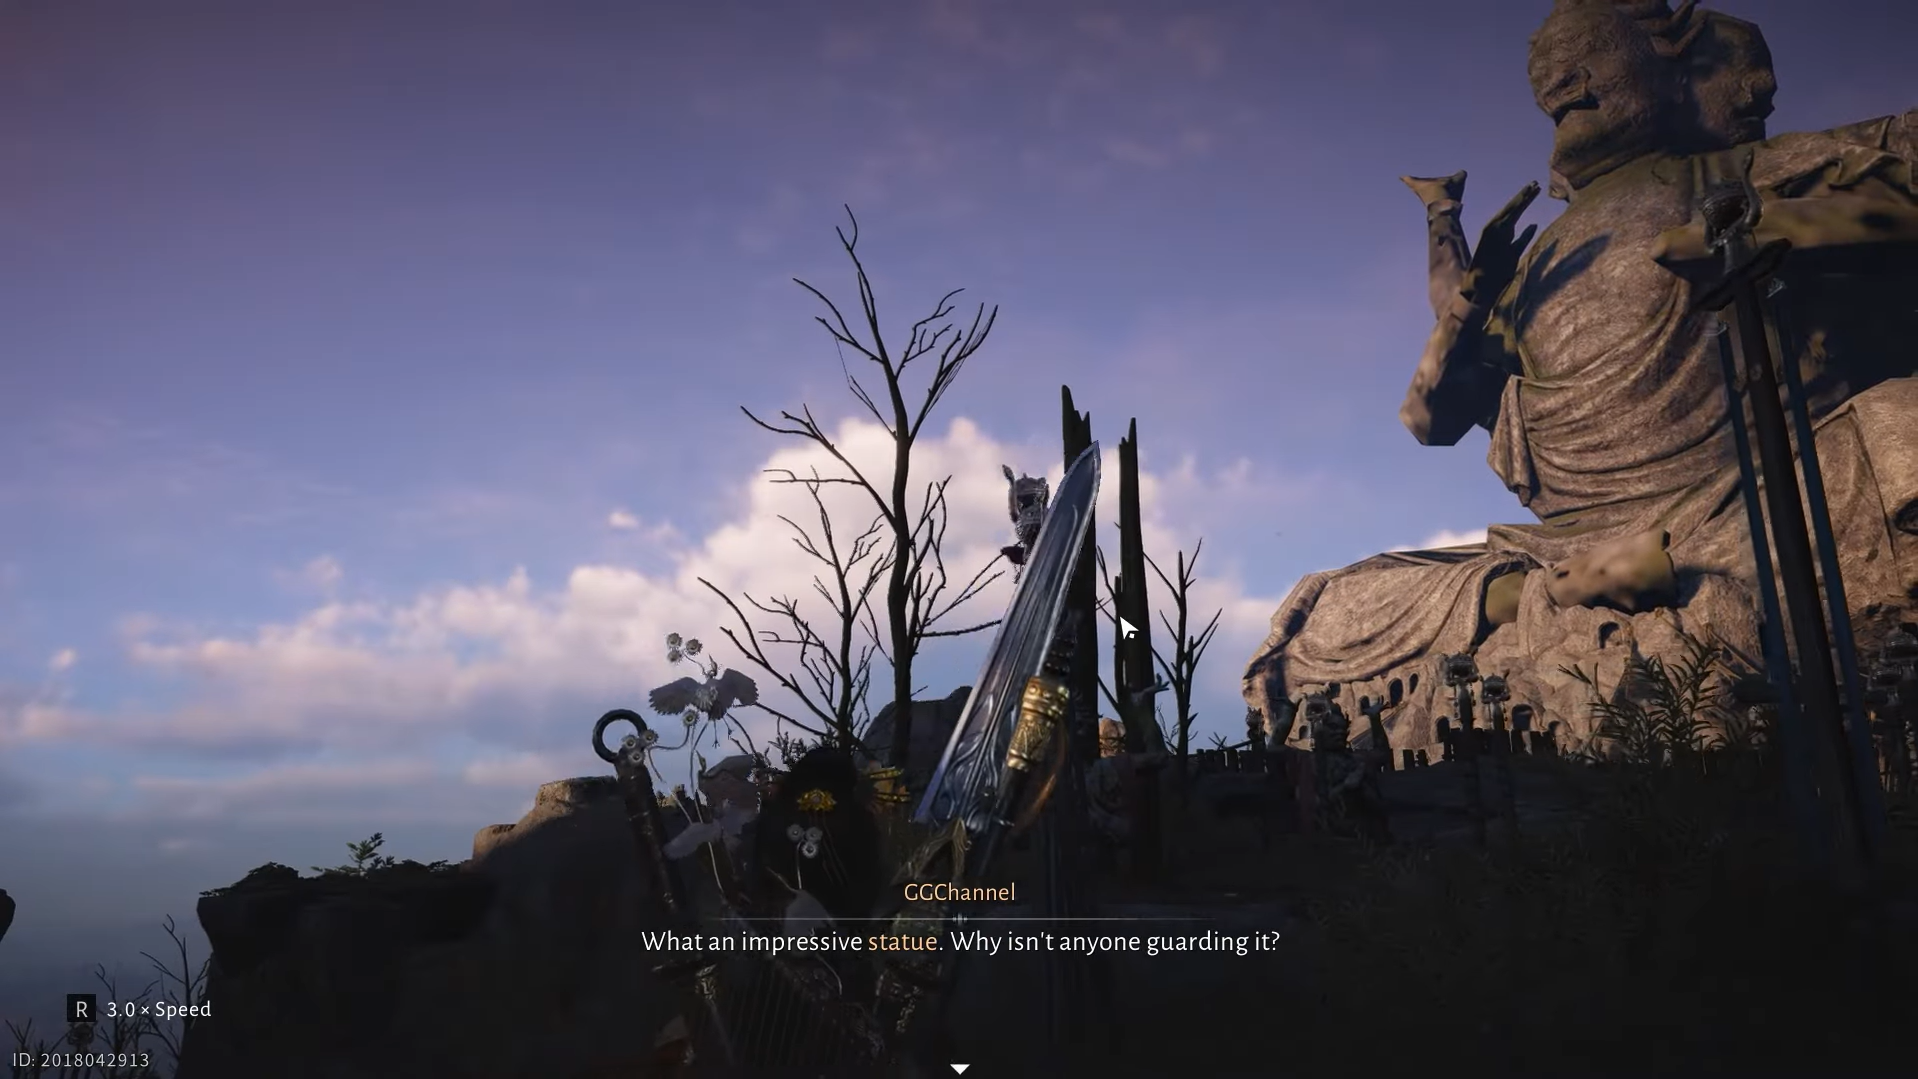
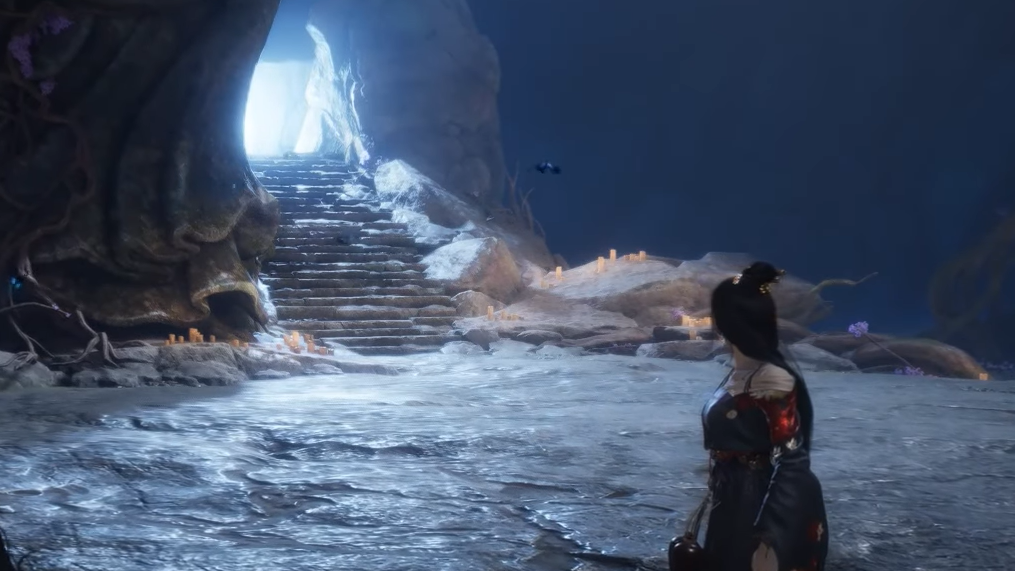
As you walk into the fog, you will pass two large red coffins and a red‑robed figure. These are set dressing for other content and are not needed for this quest. Climb the wall or terrain behind them and head toward the pair of burning torches in the distance. As you approach the torches, the fog lifts and the central landmark appears: a towering Buddha‑like statue with rows of stone worshippers kneeling in front of it. Entering this courtyard and getting close to the altar area triggers the Mysterious Colossus quest.
Courtyard puzzle: how to “Imitate” and summon the Deer spirit
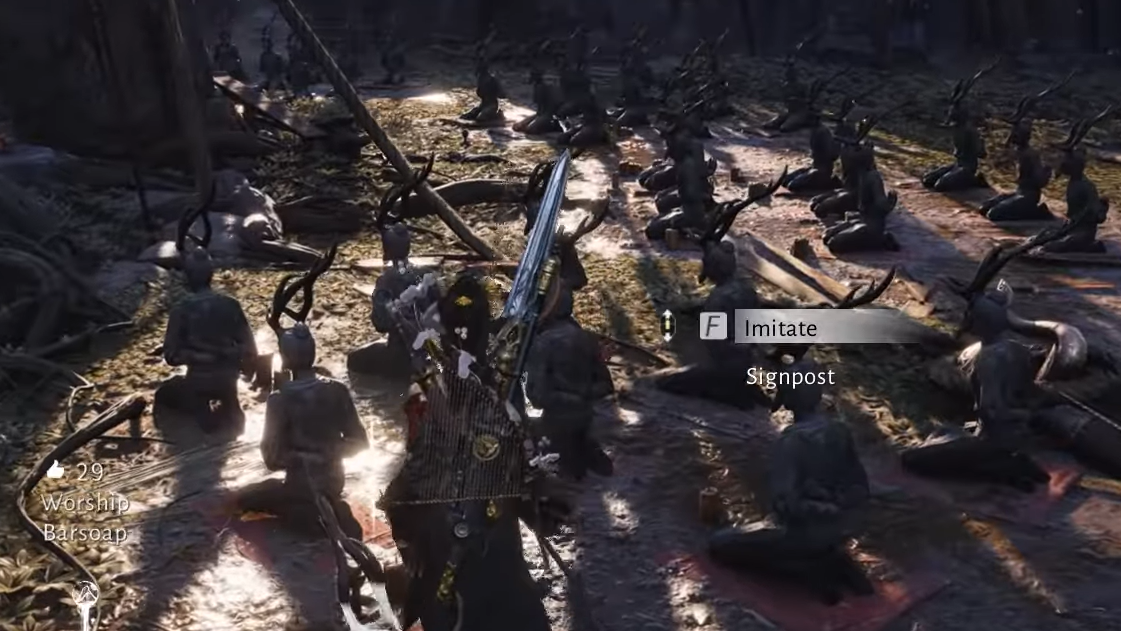
In front of the statue, multiple stone men kneel on floor mats in a prayer pose. One mat is empty with a red cloth or cushion.
Step 1: Walk up to the empty mat until an interaction prompt appears labelled “Imitate” (or equivalent). Interact to sit and mimic the kneeling statues.
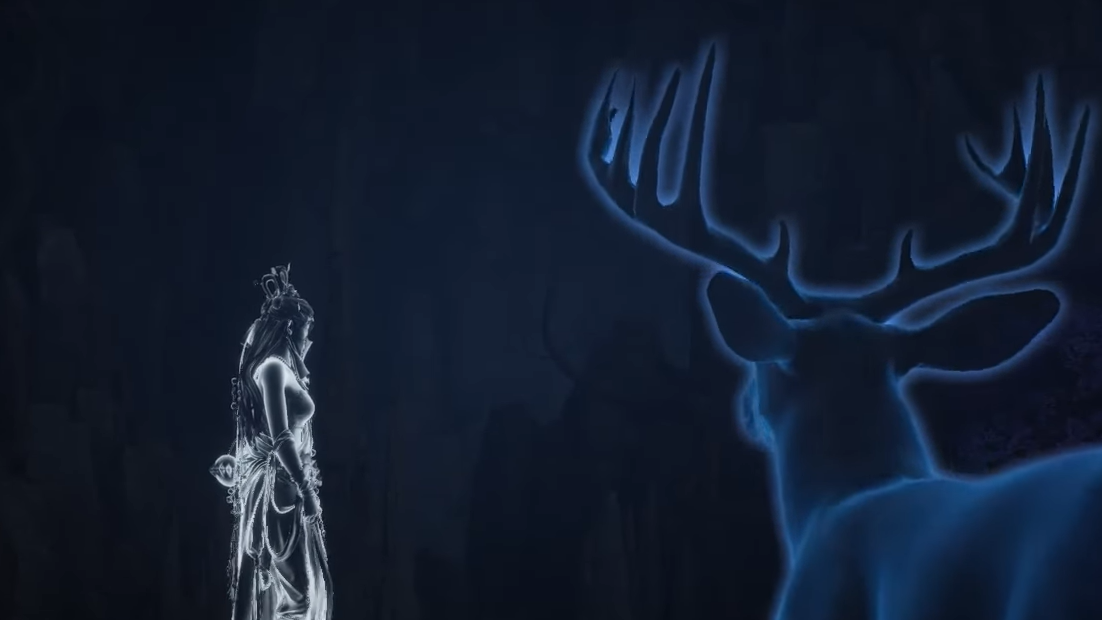
Step 2: Stay seated and do not move until the scene finishes. After a short pause, blue flames ignite on nearby structures, and a blue Deer spirit manifests and runs off into the ruins.
Once the short cutscene ends, your objective updates to investigating the anomalies and following the Deer.
Tracking the Deer: how to use Wind Sense
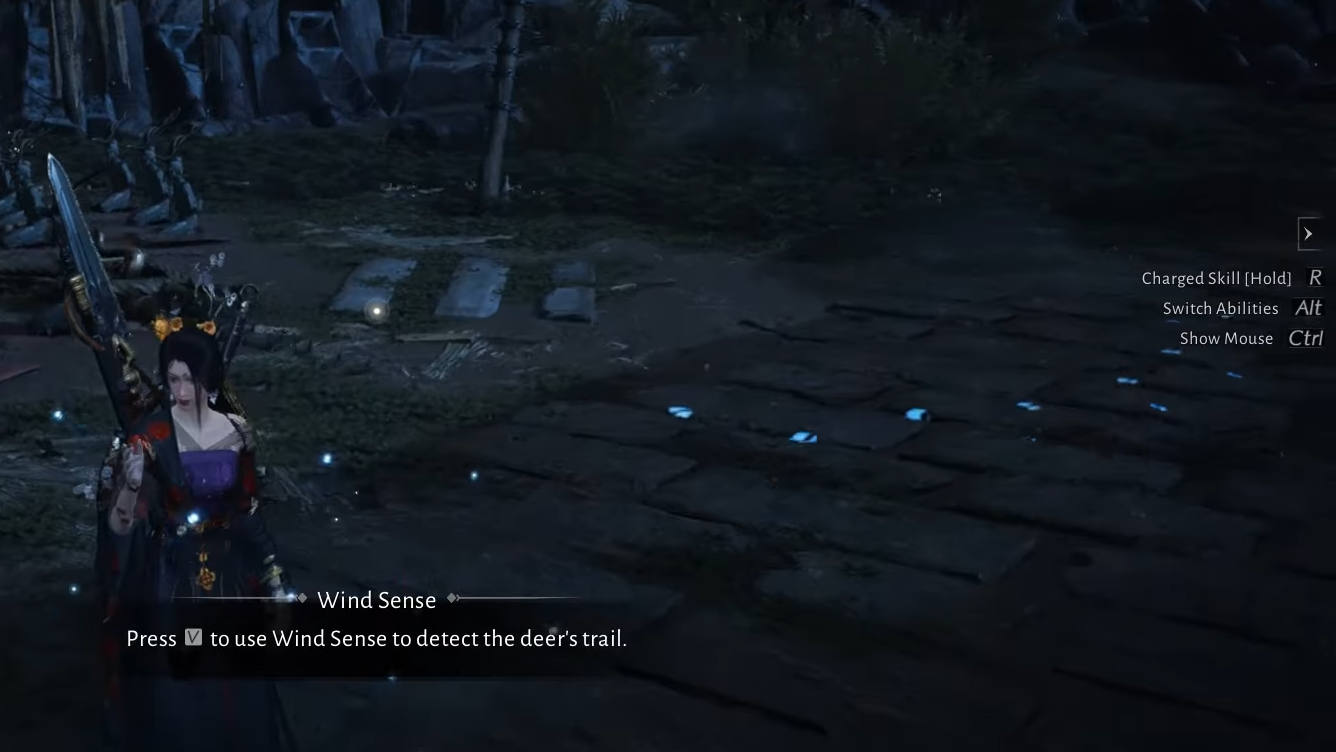
The Deer leaves behind an invisible trail that normal vision cannot see.
Step 1: Activate Wind Sense (default key V on keyboard) near the courtyard. Faint glowing footprints or trails appear, marking the Deer’s path.
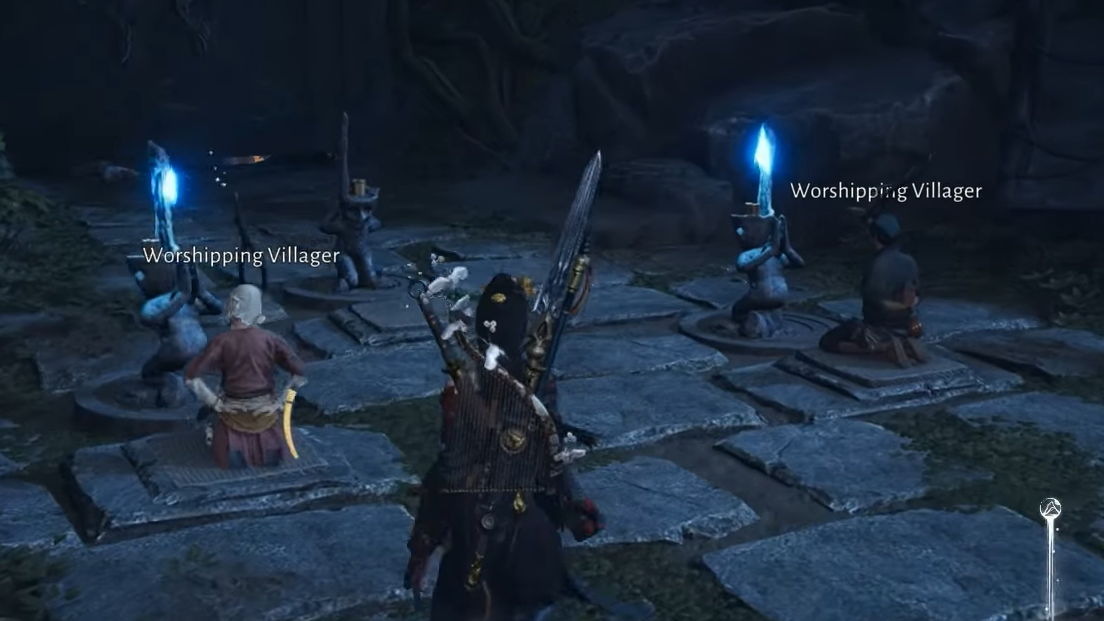
Step 2: Follow these tracks up the nearby stairs and around to the back of the colossus. The trail ends at a small terrace where two living villagers are kneeling in front of three stone statues and a heavy stone door set into the rock.
Stone door puzzle: how to keep all three switches active
This is the first place many players get stuck. The stone door only opens when all three “switches” associated with the statues are active at the same time.
The two villagers act as living switches. When they are calmly worshipping with their hands behind their backs, the paired statues burn with blue fire. When you walk too close, the villagers flinch, cover their faces, and both blue flames go out, deactivating their switches. You are the third switch, triggered by making an offering at the middle statue.
Required Mystic Skill: Meridian Touch
You need the Meridian Touch Mystic Skill, found under the puzzle‑oriented Mystic Skills category in your development menu. It allows you to immobilize NPCs in place.
Step 1: Open the development or skills menu and navigate to Mystic Skills. Locate Meridian Touch in the puzzles tab and assign it to an active Mystic Skill slot.
Step 2: Return to the stone door arena, but keep your distance so the villagers remain in their full worship pose and the two blue flames stay lit.
Step 3: While you are still far enough away that they do not react, quickly cast Meridian Touch on the first villager to freeze them in place, then on the second villager. Both must be immobilized while their switches are active.
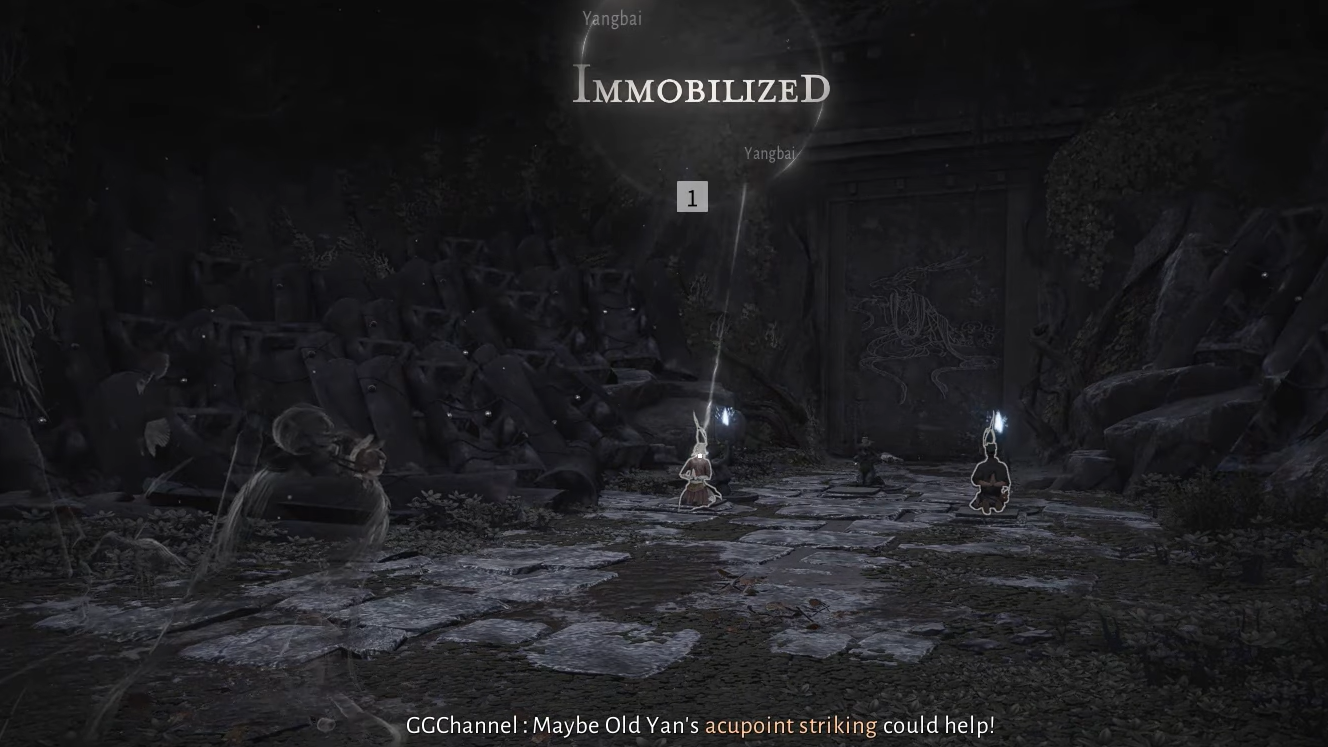
Step 4: With both villagers now frozen in their worship pose and their blue flames still burning, approach the central statue between them. Interact with the prompt to “Make Offerings” or worship. This acts as the third switch.
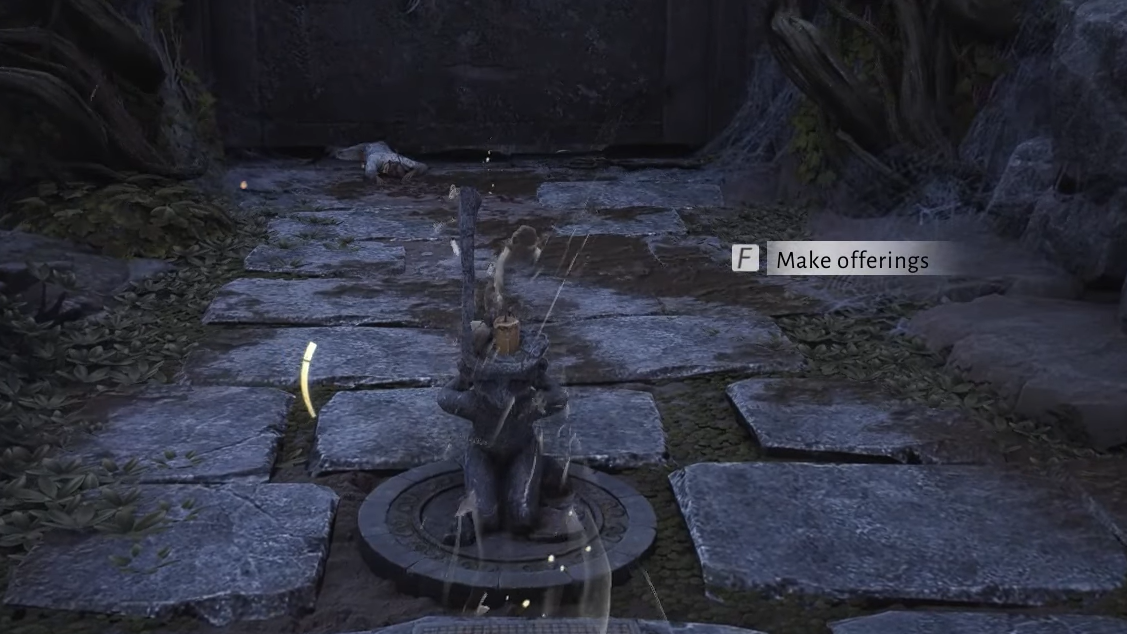
With all three switches active at once, the stone door grinds open, and the quest objective updates to entering the cave. If the door does not open, back away, wait for the villagers to reset, and repeat the sequence, making sure you immobilize them only when their blue flames are lit.
Entering the cave and unlocking Gleaming Abyss – Path
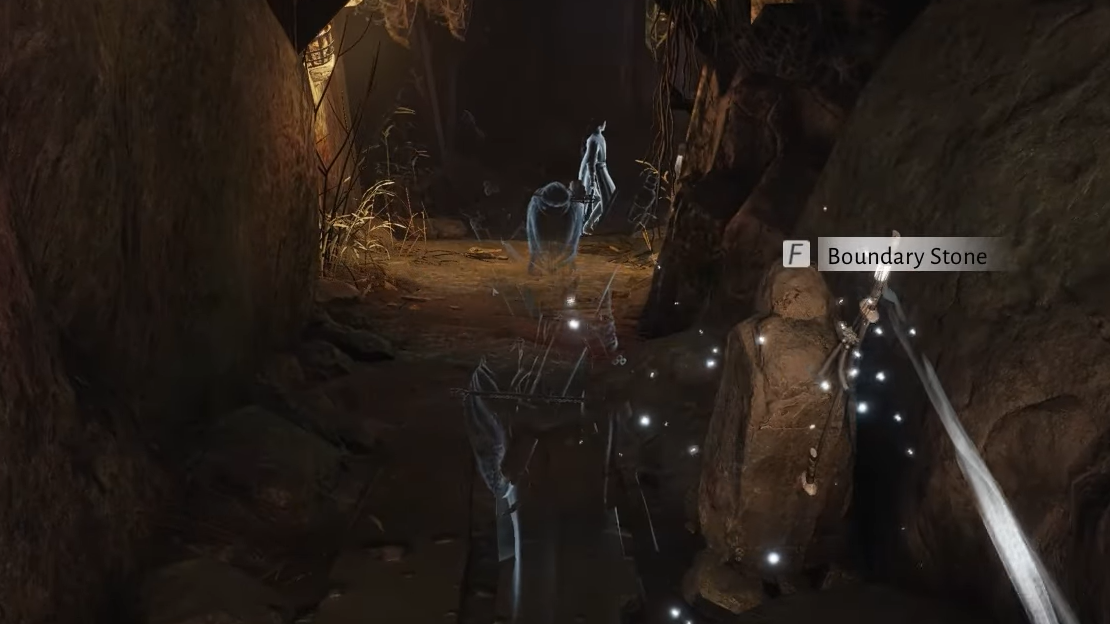
Behind the stone door lies a narrow passage leading into the Gleaming Abyss. As you step inside, you can activate the Gleaming Abyss – Path Boundary Stone, creating a teleport point for future visits.
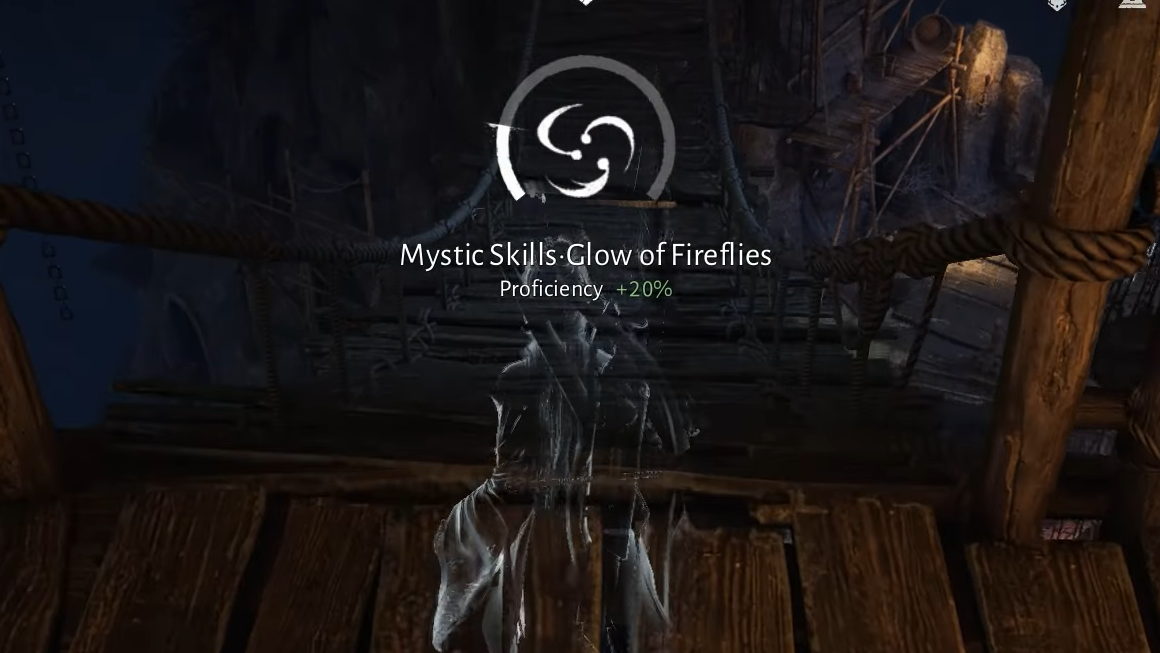
Early in the cave, you can catch fireflies. Capturing five of them unlocks the Glow of Fireflies Mystic Art, which lets you summon a floating light source on command. This is not mandatory for progression but is useful in later dark corridors of the abyss.
Pond area: how to reach the Stone Coffin
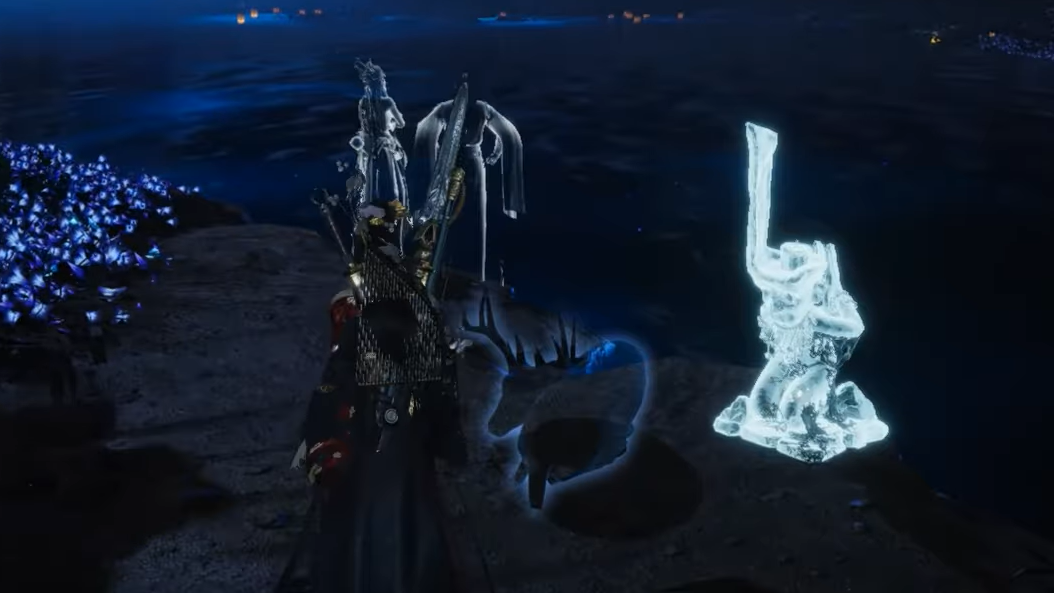
Following the linear path downwards brings you to a large underground pond. A winding stone walkway leads toward a glowing stone coffin suspended over the water. At the entrance to this cavern, you can activate the Gleaming Abyss – Pond Boundary Stone.
When you attempt to walk the narrow path to the coffin, a barrier stops you, and the objective changes to restoring three Deer Shadows. These are fragmented spirits that must be returned before the path opens.
| Deer Shadow | Location description |
|---|---|
| Water’s Edge | To the left of the Pond Boundary Stone, on a small pier above the water, two spirits stand next to a Deer Shadow. Approach them and use the interaction labelled “Sense Dream Echo”. The Deer Shadow dissolves and returns to the distant coffin. |
| Vine’s Depths | Near the Boundary Stone, a low opening lets you crawl into a side tunnel by crouching. Inside is a narrow cave with a male Dream Echo and another Deer Shadow. Interact with the spirit to send this Deer Shadow back, then climb the nearby vines to return to the pond entrance. |
| Drum’s Top | Across the water from the Boundary Stone, two spirits stand on the tops of giant drums. Activating Wind Sense reveals an overgrown branch on the wall between two blue‑flame torches. Shooting the branch with a Fire Arrow ignites a hidden lantern, causing multiple drums to rise from the pond. The spirits hop across these drums; follow them over the new path to watch the final Deer Shadow run back toward the coffin. |
Once all three Deer Shadows have been restored, the barrier disappears. You can now walk up the narrow path and interact with the glowing Stone Coffin to be transported deeper into the Gleaming Abyss.
Arena and Stone Gate: how to find the key
The coffin drops you into a large arena patrolled by Poison Puppets. Clear the enemies before focusing on the mechanisms.
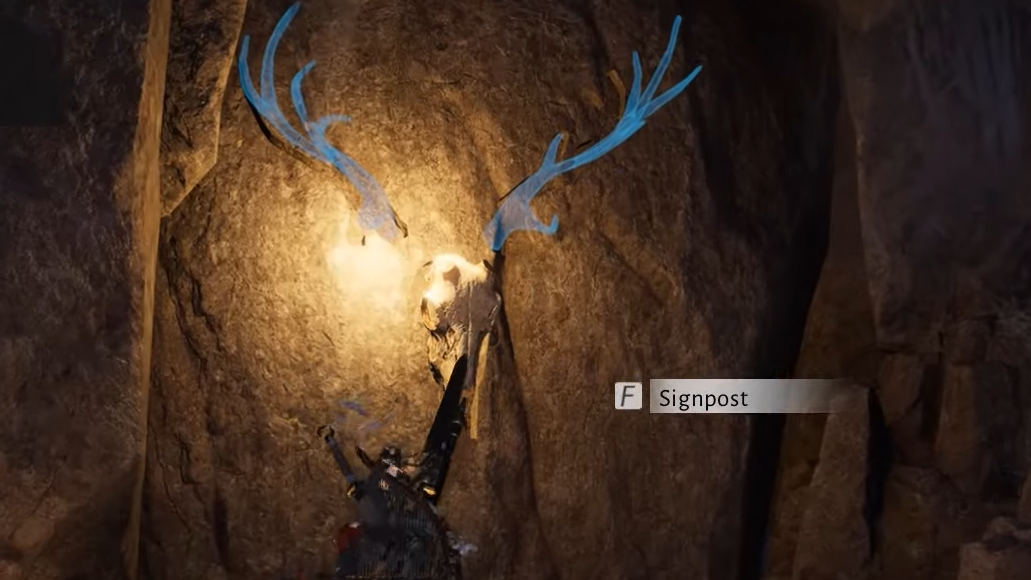
Step 1: After the fight, go up the stairs at the far side of the arena. A Deer Shadow and a male spirit stand near a Deer Skull on the ground. Interact with the skull to pick it up; it will act as a key material later.
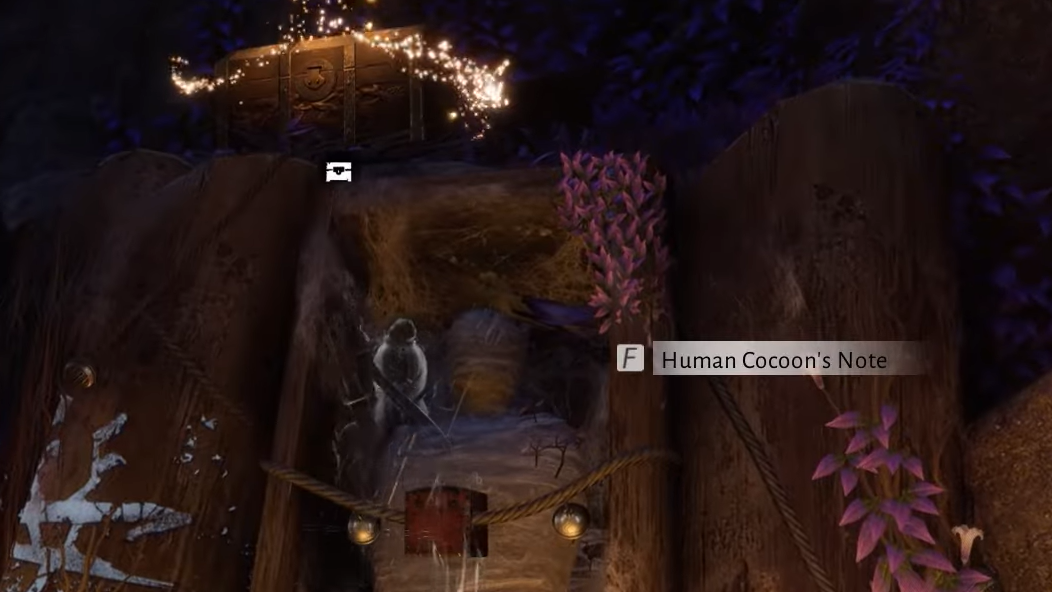
Step 2: Continue along the path until you reach an upright open wooden coffin with a mummified body. Interact with the coffin to obtain the Human Cocoon’s Notes and, more importantly, the Stone Gate Key.
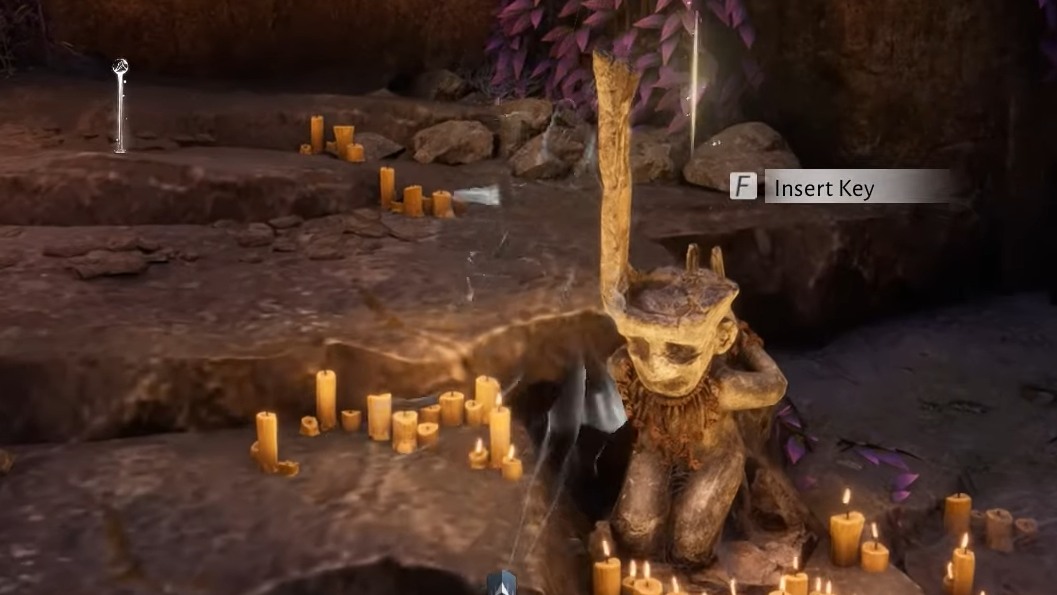
Step 3: Return to the arena and locate the stone contraption by the sealed archway. Interact with it to insert the Stone Gate Key and open the way forward.
Bottom of the Abyss: where to find all Deer Skull parts
After passing through the Stone Gate, you fight another puppet enemy and reach the Gleaming Abyss – Bottom Boundary Stone. Behind it sits another locked stone wall that requires assembling a full Deer Skull using three antler pieces.
Step 1: From the Bottom Boundary Stone, ignore the sealed wall for now and look to your right. Jump up onto the rocky ledges and slip through a gap between stone pillars to drop into a side area.
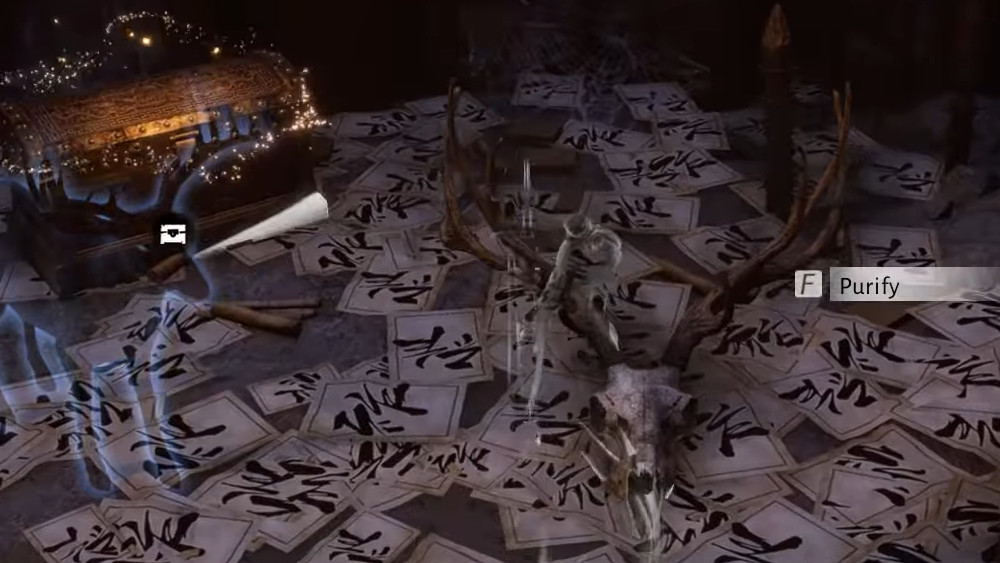
Step 2: In this lower area, two Dream Echoes stand next to a Deer Shadow and another Deer Skull on the ground. Interact with the skull and purify it to obtain the first Deer Antler.
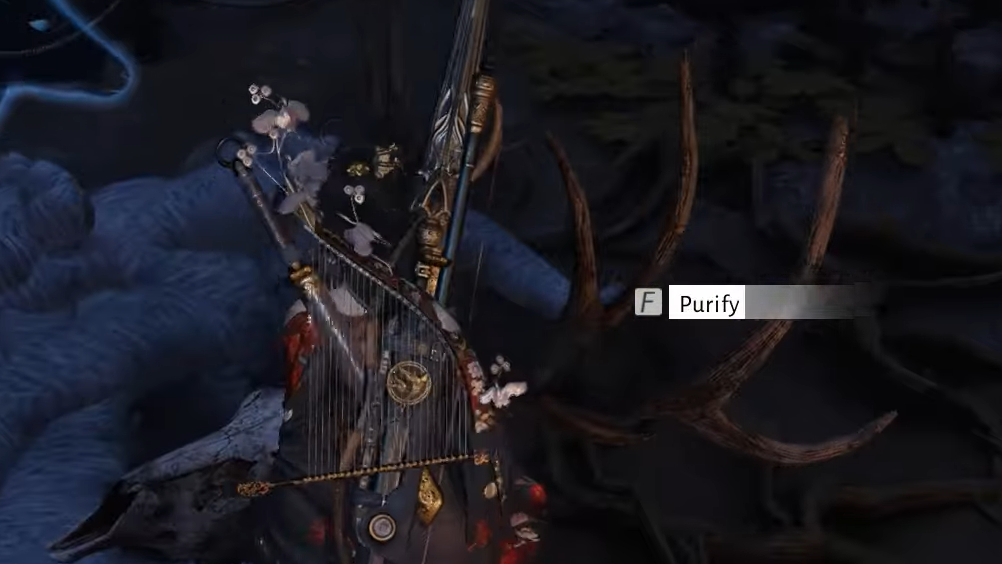
Step 3: Turn around and climb the nearby stone steps to reach a wooden platform above. Here, another Deer Shadow waits next to a Deer Skull. Interact again to collect the second Deer Antler.
Step 4: Continue along the same elevated path to the end, where a third set of antler‑like remains lies. Pick this up as the final skull component, then drop down to land directly in front of the blocked stone wall by the Bottom Boundary Stone.
Step 5: Interact with the wall and place all three Deer Skull parts into the recess. The mechanism accepts the completed skull and opens the path to the boss arena.
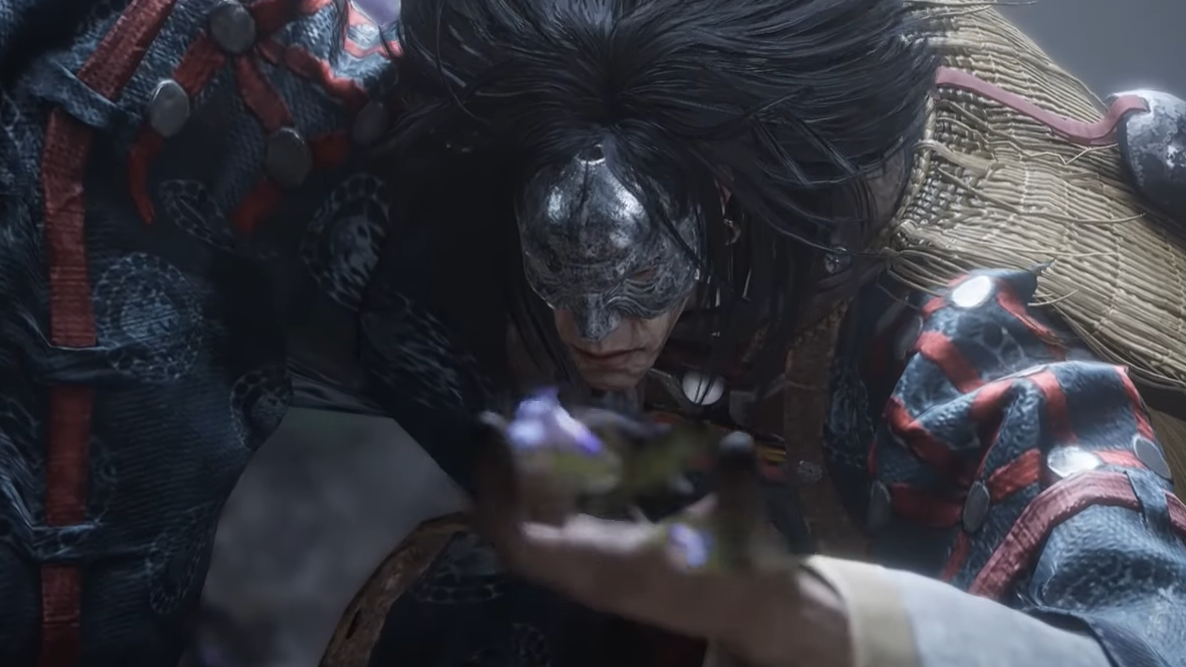
Boss fight: how the Void King encounter fits into the quest
Beyond the Deer Skull door lies the Void King’s arena. The Void King is a two‑phase boss with access to poison and void‑themed attacks. A Hero’s Tomb sits at the entrance, letting you summon assistance through a signpost if you want co‑op help.
Defeating the Void King grants a large bundle of rewards, including Echo Jade, Coins, Oscillating Jade, a Divine Roulette Inner Way tome, Medicinal Tales, Qinghe Exploration points, a Longevity Fruit Seed, and experience. From a progression standpoint, this encounter marks the end of the combat portion of the Gleaming Abyss sequence.
Wrapping up the story and unlocking the Gleaming Abyss campaign
With the Void King defeated, a Mist Gate appears behind the arena. Passing through it takes you back into the cave system for the final narrative beats.
Step 1: Walk through the Mist Gate and approach the Dream Echo grieving in front of a grave. Interact to watch the remaining story unfold.
Step 2: Turn back and climb the stairs to a large empty house overlooking the pond. Loot any remaining items and then head toward the ethereal mechanism standing near two Dream Echoes by the water.
Step 3: Interact with the ghostly contraption to raise a solid stone path across the pond, linking back to the Gleaming Abyss – Pond Boundary Stone.
Step 4: On the stone path or near the Boundary Stone, interact with the Deer Immortal sign etched into the ground. This completes the Mysterious Colossus sequence and formally unlocks the Gleaming Abyss campaign quest line, letting you revisit the area through fast travel and continue Qinghe’s larger narrative.
Once the last interaction is complete, you can use the nearby light or Boundary Stone to teleport back to the entrance, bringing this atmospheric detour through the Deer’s dreams and the Void King’s lair to a close.