
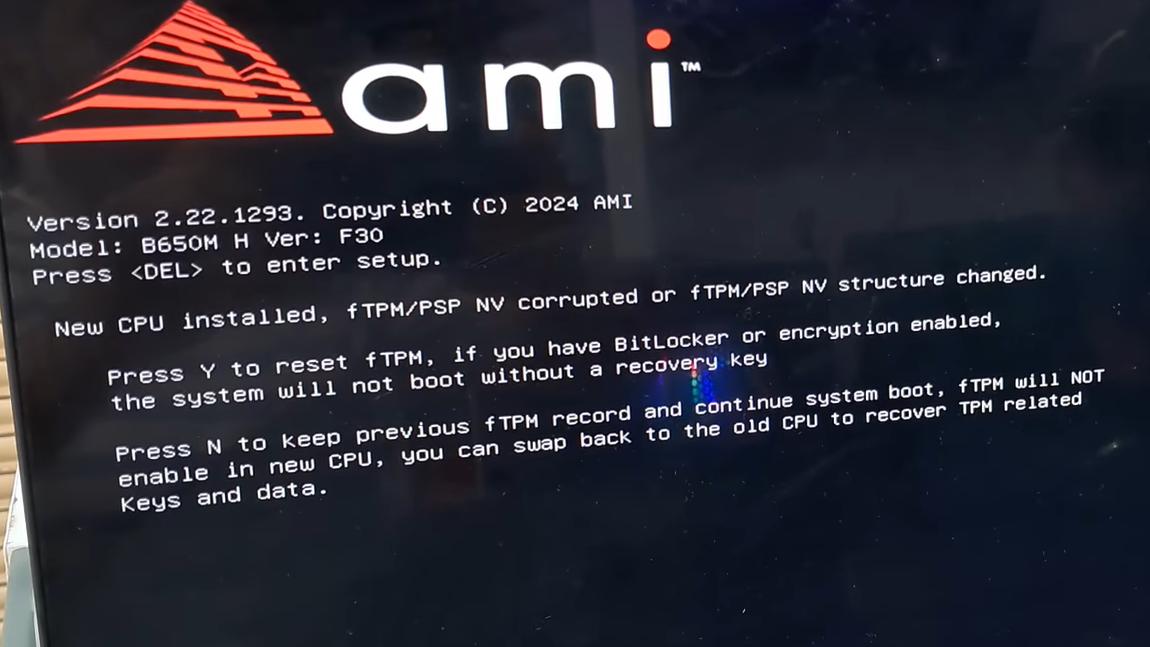
The message
New CPU installed, fTPM/PSP NV corrupted or fTPM/PSP NV structure changed.

Press Y to reset fTPM, if you have BitLocker or encryption enabled,
the system will not boot without a recovery key

Press N to keep previous fTPM record and continue system boot...
comes from the motherboard firmware, usually on AMD platforms, when the firmware TPM (fTPM) data in non‑volatile storage no longer matches what the platform expects.
What fTPM and “PSP NV” actually are
On modern AMD systems, there are two moving parts behind this warning:
fTPM is a firmware implementation of a Trusted Platform Module 2.0 that lives inside the CPU and chipset instead of on a separate plug‑in chip. Windows uses TPM 2.0 for features such as BitLocker drive encryption, Windows Hello PINs, and to meet the security requirements for Windows 11.
PSP NV refers to non‑volatile storage managed by the AMD Platform Security Processor (PSP). This storage holds TPM keys and state, binding them to a particular CPU and firmware configuration.
When the firmware sees a mismatch in this stored state – because the CPU changed, firmware changed, or the data became unreadable – it falls back to a safety prompt instead of silently discarding security material.
Why the “New CPU installed, fTPM/PSP NV corrupted” message appears
The text suggests a new processor, but the underlying condition is simpler: the TPM state that was previously stored no longer matches the platform’s current view. Common triggers include:
- Actually installing a new CPU on an existing motherboard.
- Building a new system where the board shipped with some old fTPM state pre‑programmed.
- Updating or switching BIOS firmware, especially when moving between major versions or using backup/secondary BIOS on dual‑BIOS boards.
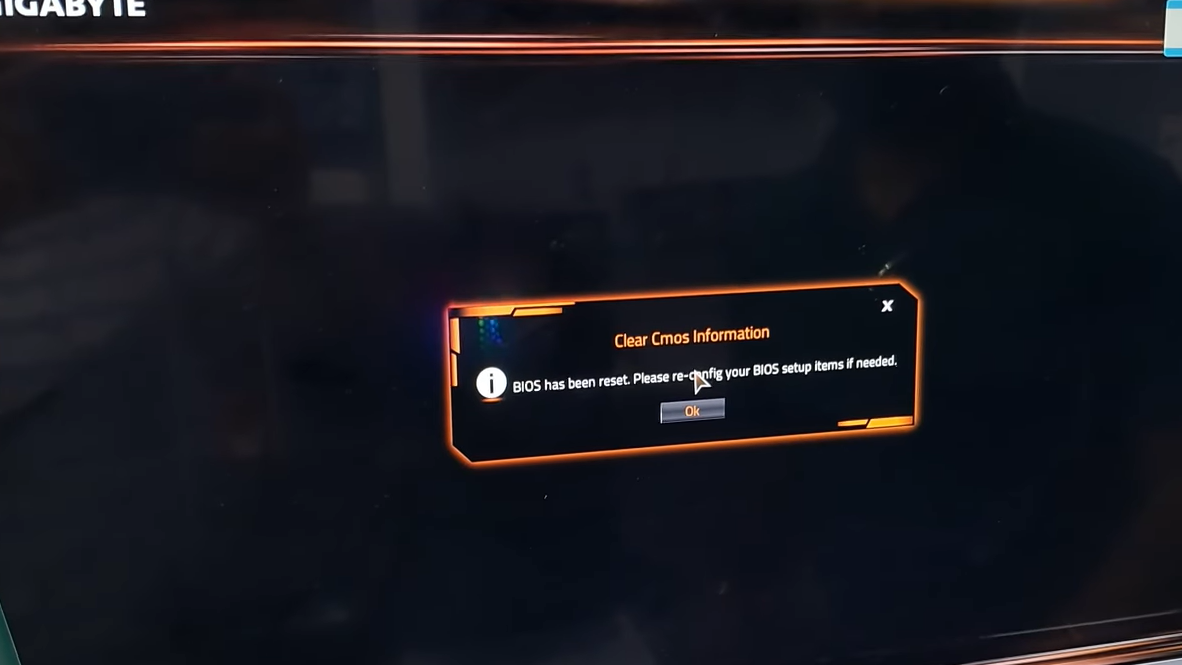
- Clearing CMOS or wiping BIOS settings, which can invalidate references to existing TPM data.
- Firmware bugs that occasionally corrupt or misinterpret the stored fTPM data and treat it as changed.
In all of these cases, the firmware is warning that the stored TPM keys may no longer be valid for this exact CPU and firmware combination. That matters if those keys were being used to unlock encrypted data at boot.
What happens if you press Y vs N
The prompt offers two choices, and they behave very differently.
Pressing Y (reset fTPM) clears the existing TPM data for this platform and starts fresh. Effects:
- All TPM‑bound keys stored in fTPM on this board are discarded.
- Windows will treat the TPM as “new” and re‑provision it during boot.
- If BitLocker or any other full‑disk encryption was using those TPM keys, the encrypted drive will only unlock with the relevant recovery key after the reset.
- Windows Hello PINs that were bound to the old TPM state will typically be invalidated, so you may be prompted to sign in with a password and set the PIN again.
Pressing N (keep previous fTPM record) tells the firmware not to erase the existing TPM data. Effects:
- The old keys are kept in non‑volatile storage.
- On many boards fTPM will remain disabled for the current CPU configuration until you eventually reset it; the error can reappear on the next boot.
- The message can loop on every startup if the platform continues to consider the state invalid.
- If the CPU really did change and you need the old TPM keys to unlock a BitLocker‑encrypted drive, keeping the record gives you the option of reinstalling the previous CPU and recovering data that way.
This is why the firmware text explicitly mentions swapping back to the “old CPU” to recover TPM‑related keys and data before performing a reset.
When it is safe to press Y
The decision hinges on one question: Is any drive or data actually protected with BitLocker or a similar TPM‑bound encryption scheme?
In practice, pressing Y is generally safe in these scenarios:
- Brand‑new build, no OS installed yet. There are no TPM keys in use, so clearing fTPM does not destroy anything important. Users in that situation have pressed Y and immediately entered firmware or started OS installation without issues.
- Existing system with no BitLocker or other disk encryption enabled. If the operating system drives are unencrypted, resetting fTPM usually just forces Windows to recreate its TPM ownership and may invalidate cosmetic security conveniences like a PIN, but not the data itself.
- Systems where you have BitLocker recovery keys backed up and accessible. If disk encryption is enabled but you have the recovery keys stored in a Microsoft account, printed, or saved elsewhere, you can safely reset fTPM and then enter the recovery key when prompted at the next boot.
Users who confirmed that BitLocker was off, then pressed Y, typically reported that the system rebooted several times and then returned to Windows normally. The TPM error stopped appearing, and the platform registered as compatible with Windows 11 afterwards.
When you should be cautious
Resetting fTPM discards cryptographic keys that cannot be reconstructed. That is exactly what enables TPM‑backed encryption to protect data if hardware is stolen, but it also means that resetting without preparation can lock you out of your own files.
Use caution in these cases:
- BitLocker or device encryption is enabled and you do not have the recovery key. Pressing Y can leave you with an encrypted drive that will not unlock, and no TPM keys left to satisfy the boot process.
- You are intentionally moving an encrypted drive to new hardware. In that case, the instructions about swapping back to the “old CPU” are literal: the safest way to extract data is usually to put the drive and its original CPU/motherboard back together, unlock it with existing TPM keys or recovery key, and decrypt it before moving.
- The machine belongs to an organization that centrally manages encryption and keys. Changing TPM state can break their security and compliance assumptions and may violate IT policy.
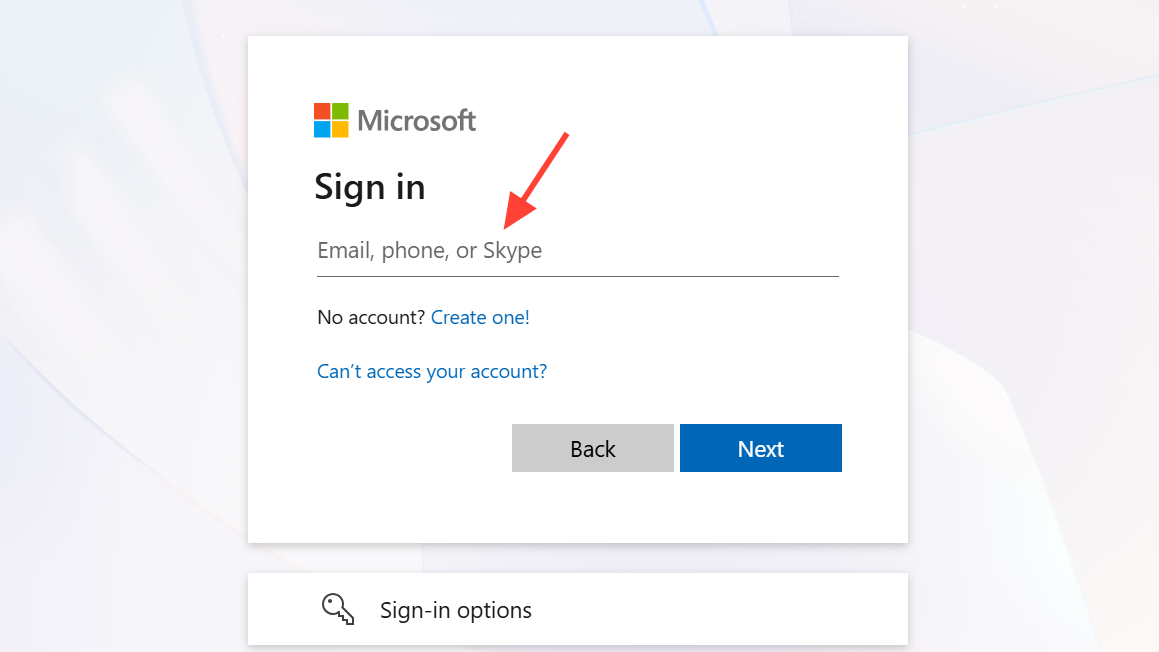
If you suspect encryption is in play, first sign into your Microsoft account on another device and check whether any BitLocker recovery keys are listed under your devices. Microsoft documents this flow at https://account.microsoft.com/devices/recoverykey. If no keys are present and the drive is encrypted, resetting TPM is much riskier.
Why the message repeats on every boot
Some boards show the fTPM/PSP NV corrupted message once, accept your answer, and never bring it up again. Others loop on every startup, regardless of whether you choose Y or N. There are a few common causes:
- Firmware bugs where the board fails to mark the reset as complete and keeps flagging the TPM as needing attention.
- Inconsistent configuration between main and backup BIOS on dual‑BIOS boards, especially when switching between them with hardware switches.
- TPM left disabled in firmware after choosing N, so the OS continues to report missing or incomplete TPM, and the board retries the prompt on each boot.
- Issues with low‑level utilities that share the same bus as TPM communication on some motherboards. On a subset of Gigabyte boards, uninstalling vendor fan‑control utilities that talk over the LPC bus has helped reduce TPM‑related errors.
When the loop is firmware‑driven, updating the BIOS to a more recent revision, then performing a full BIOS reset (via clear‑CMOS pins or battery removal) and re‑configuring settings often stops the recurring prompts.
How to stop the warning and get back into Windows
For most home users on modern AMD desktop boards or laptops, the goal is simple: pick a safe option once, boot successfully, and make the firmware stop complaining.
Scenario 1: New build, no operating system yet
Step 1: Connect a simple wired USB keyboard directly to a rear USB port on the motherboard. Avoid wireless dongles or hubs that might not be initialized early in boot.
Step 2: When the fTPM/PSP NV message appears, press the key indicated for “Yes.” On US‑layout keyboards, this is usually Y. On some layouts, the firmware expects the physical key where Y would be on a US layout, which can be Z on certain European keyboards; if Y does nothing, try Z.
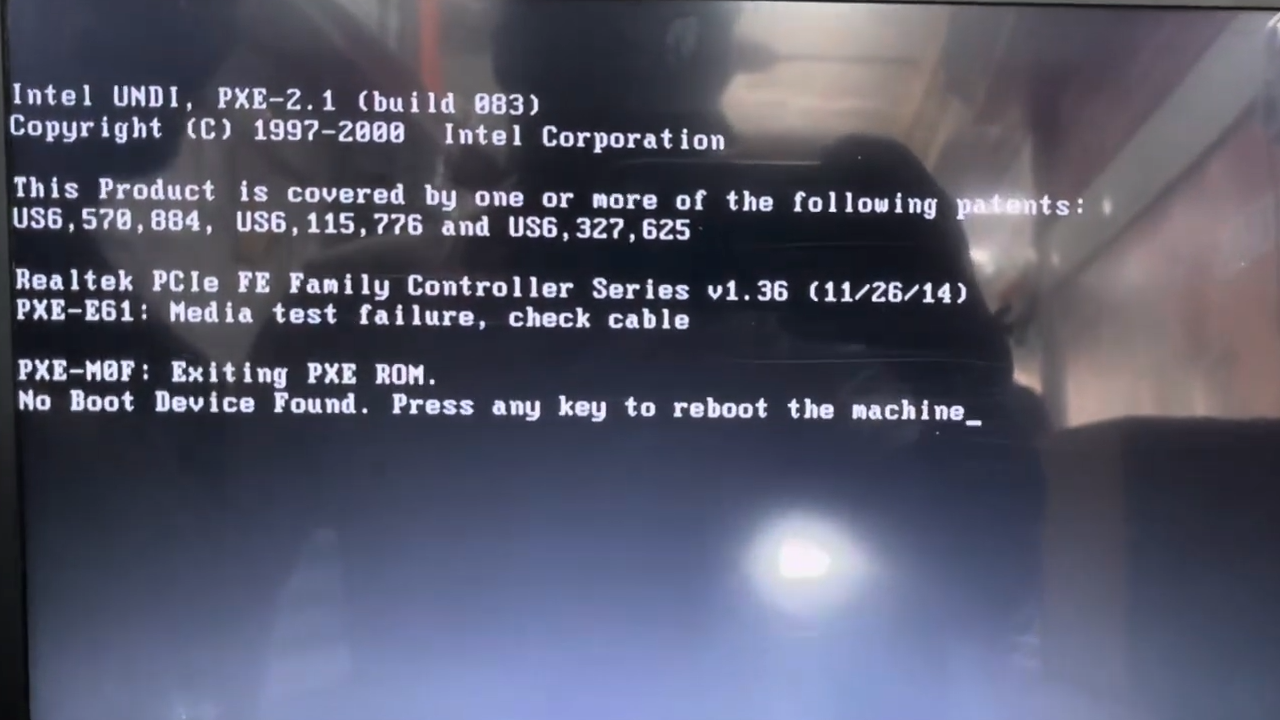
Step 3: Allow the system to reboot several times. It should land either in firmware setup or show the usual “no boot device” or OS installation prompt. From here, install the operating system on your target drive.
Scenario 2: Existing Windows system, no BitLocker
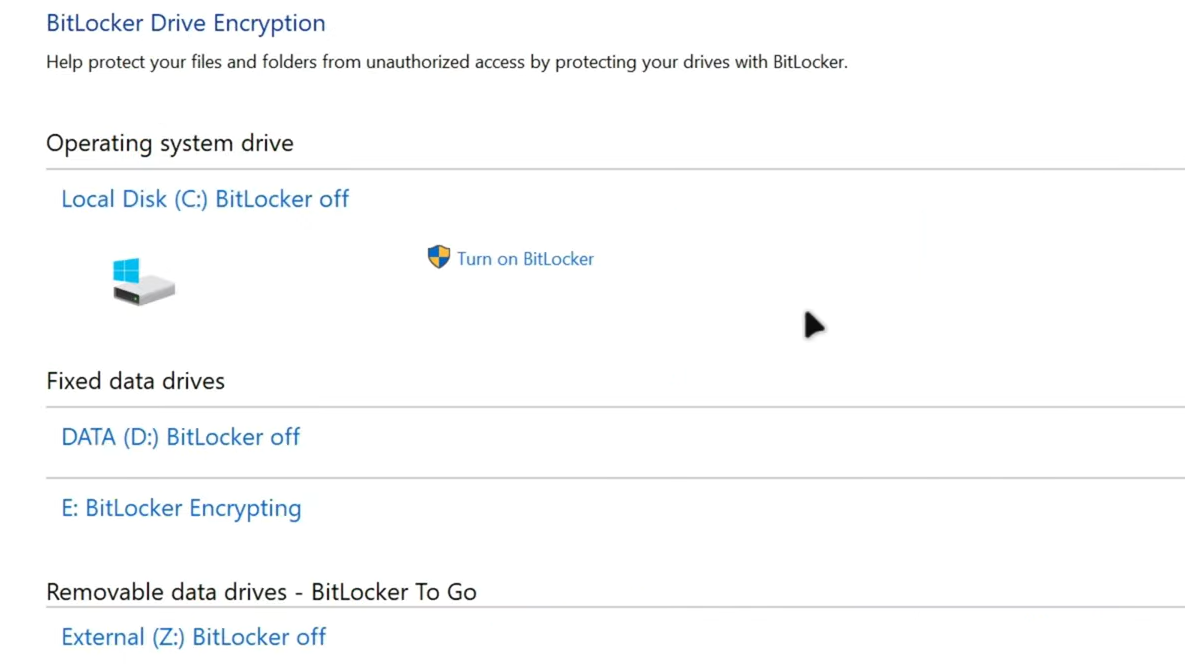
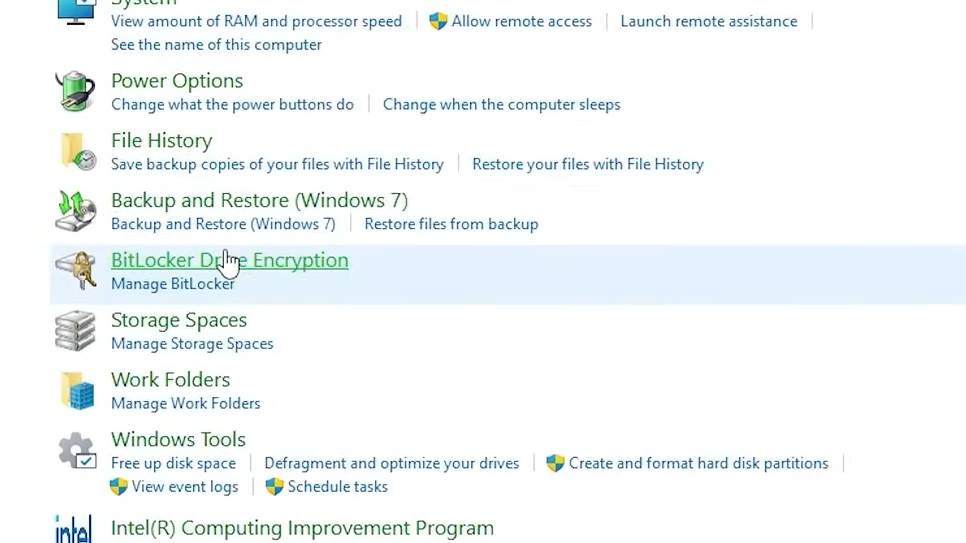
Step 1: If you can reach Windows by choosing N once, check the encryption status. In Windows, open the Start menu, search for “Manage BitLocker,” and look at the operating system drive.
Step 2: If the OS drive shows options to “Turn on BitLocker” rather than to manage or suspend it, encryption is not enabled. Restart the system and, when prompted again at boot, press Y to reset fTPM.
Step 3: Let the system reboot. You may be asked to sign in with your account password instead of a PIN and to set up the PIN again. The TPM error should not reappear on later boots.
Step 4: Once back in Windows, install the latest chipset drivers from AMD and the latest BIOS for your board from the vendor’s support page. Updating firmware after a one‑time TPM reset has reduced the incidence of repeat prompts on many boards.
Scenario 3: Windows with BitLocker or device encryption enabled
Step 1: Confirm that encryption is active and that you have the recovery key. In Windows, open “Manage BitLocker” and for the OS drive select the option to back up your recovery key. Save it to a file on another drive, print it, or store it in a trusted cloud account.
Step 2: Reboot, and at the fTPM/PSP NV prompt, press Y to reset fTPM. Be prepared to enter the BitLocker recovery key on the next boot when Windows asks for it. Without this key, the encrypted drive will not unlock after a TPM reset.
Step 3: Once Windows boots successfully and you have confirmed access to your data, consider suspending BitLocker, letting the system complete any pending TPM reconfiguration or BIOS flash, and then resuming encryption. This minimizes further interactions with early‑boot firmware prompts.
If Y or N does nothing (keyboard issues)
A recurring problem in these situations is that the firmware screen does not respond to key presses at all. Several things are worth trying:
- Connect a basic wired USB keyboard directly to a rear USB 2.0 port on the motherboard.
- If you are on a non‑US layout, try the key that physically sits where Y would be on a US QWERTY keyboard, often Z.
- Power‑cycle the machine fully. Turn off the PSU, wait a few seconds, then power it back on; some boards only power USB during parts of POST.
- On boards with PS/2 ports, using a native PS/2 keyboard or a reliable USB‑to‑PS/2 adapter can bypass early USB initialization quirks.
If none of the keys are accepted and you cannot enter firmware setup either, the board may be stuck in a bad state. In that case, a full CMOS clear (by jumper or battery removal) followed by a BIOS reflash from a vendor‑supplied image on USB is often the next step, guided by the motherboard manual.
Disabling TPM entirely as a workaround
On systems that do not need TPM features, one pragmatic way to prevent the message from ever appearing is to turn TPM support off in firmware.
Step 1: Enter the BIOS or UEFI setup by pressing the indicated key at power‑on, usually Delete, F2, or a similar key depending on the board.
Step 2: Locate the security or trusted computing section. The exact label varies by vendor but often includes “Trusted Computing,” “Security Device Support,” or “AMD fTPM configuration.”
Step 3: Disable fTPM or TPM support. Save and exit the firmware setup.
After this change, the operating system will no longer see a TPM 2.0 device. That removes the cause of the fTPM/PSP NV prompts but also means Windows 11 requirements are no longer met, and TPM‑dependent features will be unavailable. On machines already running Windows 11, this can result in warnings or refusal to install future feature upgrades, so it is best reserved for systems that will remain on Windows 10 or that do not rely on those features.
For most consumer builds, the warning looks more alarming than it is. If disk encryption is not in play or recovery keys are safely backed up, acknowledging the change once, letting the platform reset fTPM, and then updating the BIOS tends to resolve the problem without long‑term side effects. The important part is to understand what the firmware is protecting – the link between TPM‑stored keys and your data – before deciding which key to press.