
Crucible Manifested is the final objective of The Hamamatsu Incident, the third main mission in Nioh 3. It takes you through a lava-filled dungeon crawling with yokai, culminates in a boss fight against Jakotsu-baba, and ends by opening up the Eternal Rift — a hub area that unlocks the Fox-masked Blacksmith, Battle Scroll replays, and appearance customization. The mission is part of the Warring States era (1572 CE) storyline and follows directly after Escape From Hitokoto Slope.
Quick answer: After defeating Jakotsu-baba at the end of the Crucible, interact with the Crucible spike to cleanse Hamamatsu Castle Town, then follow Ii Naotora into the keep and speak with her to receive the Guiding Mirror, which grants access to the Eternal Rift.
How to unlock The Hamamatsu Incident
The Hamamatsu Incident becomes available automatically once you complete the Escape From Hitokoto Slope main mission. There are no additional prerequisites, though you should be at least level 14 before entering the Crucible itself. If you arrive at the entrance underleveled, you can freely explore the open-world Hamamatsu region first — interact with friendly yokai, tackle side missions (called Myths), gather better equipment, and spend Amrita to raise your stats. The open field surrounding Hamamatsu Castle rewards thorough exploration with permanent stat boosts for attack, defense, and luck tied to region completion.
Reaching Hamamatsu Castle from the Tenryu River
Step 1: After the opening cutscene with Honda Tadakatsu at the Tenryu River, speak with him briefly, then follow the pathway up the hill. A short cutscene triggers once you crest the ridge.
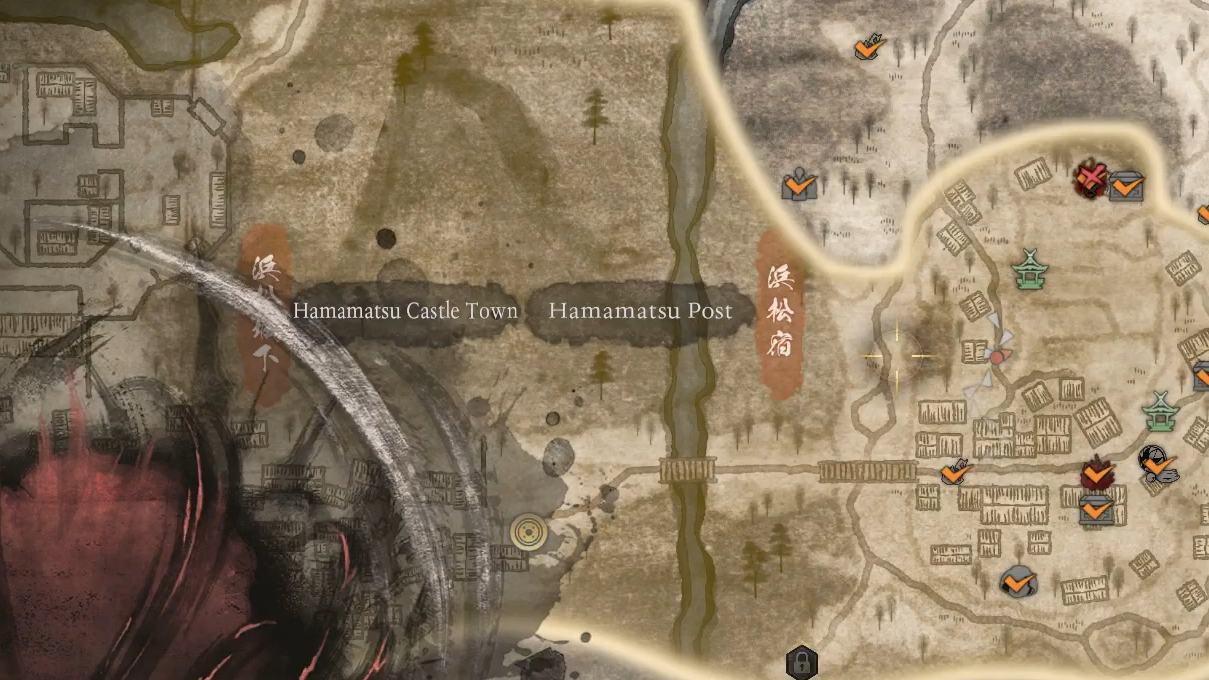
Step 2: Travel across the open map toward Hamamatsu Castle. The Crucible is visible in the distance as a dark, corrupted zone. Use this stretch to explore the Tenryu River and Tokaido sub-regions, complete any available Myths, and level up.
Step 3: Cross the wooden bridge in the Hamamatsu area. Another scene plays, and Ii Naotora meets you to guide you toward the Crucible entrance. A yokai merchant and a shrine sit right outside — pray at the shrine to set your respawn point and stock up on supplies before heading in.
Navigating the Crucible interior
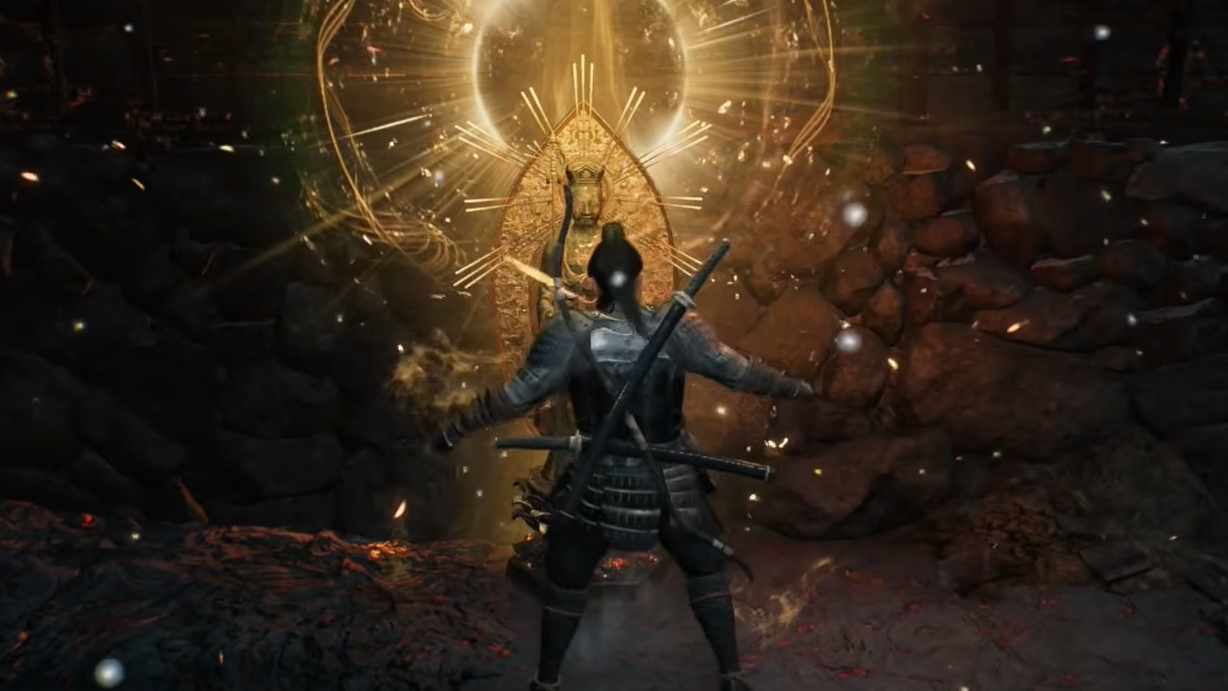
Inside the Crucible, standard shrines are replaced by Bodhisattva statues. These function identically — you can pray, level up, and fast travel — but you can only fast travel out of the Crucible while standing near an unlocked statue. Activating every statue you find is critical for managing the dungeon's difficulty.
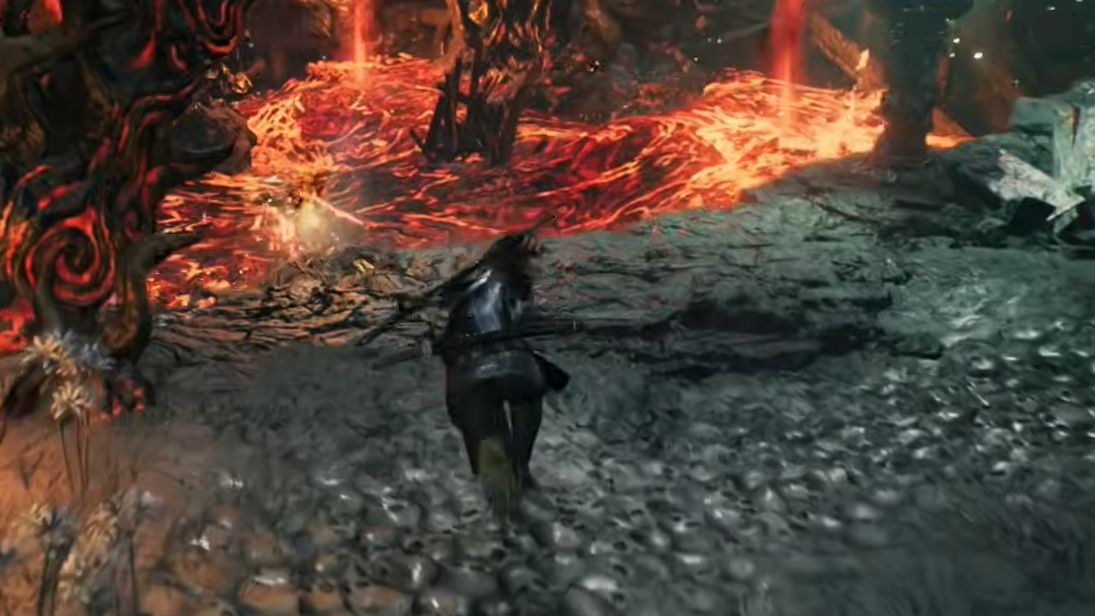
Lamps lit by Kusanagi's light mark the correct path forward. If you spot a glowing lamp, you're heading the right way. The Crucible is otherwise a maze of dilapidated houses, lava rivers, and elevated rooftop paths, so these lamps serve as your primary navigation tool.
Step 1: From the first Bodhisattva statue, follow the path until you reach a river of lava with two floating platforms. Turning right and passing through a nearby house lets you loop back and open a previously locked door. Crossing the lava on the right side leads to a dead-end chest guarded by an enemy — worth grabbing, but optional.
Step 2: Cross the lava river on the left side by jumping across the platforms. Continue northward through several crumbling houses and over platforms attached to a large bone-like boulder. Past the boulder, the road makes a U-turn upward, heading south briefly before turning north again across a second lava river.
Step 3: Follow the upper rooftop path over houses and structures. You'll eventually find a ladder you can kick down, creating a shortcut back to the dead-end chest near the first lava river. There's also a chest on the ground floor of the house beside the ladder. Lowering every ladder and opening every shortcut door dramatically reduces backtracking if you die.
Step 4: Continue along the rooftops until you reach another lamp beside a lava river. Drop down and travel along the road, watching for scattered yokai. Near the center of the Crucible, you'll find a large, relatively intact property with a second Bodhisattva statue at its entrance. Pray here immediately.
Step 5: Enter the property. The inner courtyard houses Mikoshi Nyudo, a giant yokai with dangerous lightning attacks and wide staff swings. Stay mobile, dodge the lightning, and punish its recovery windows. After defeating Mikoshi Nyudo, exit through the far side of the house, marked by a lamp and an open gate.
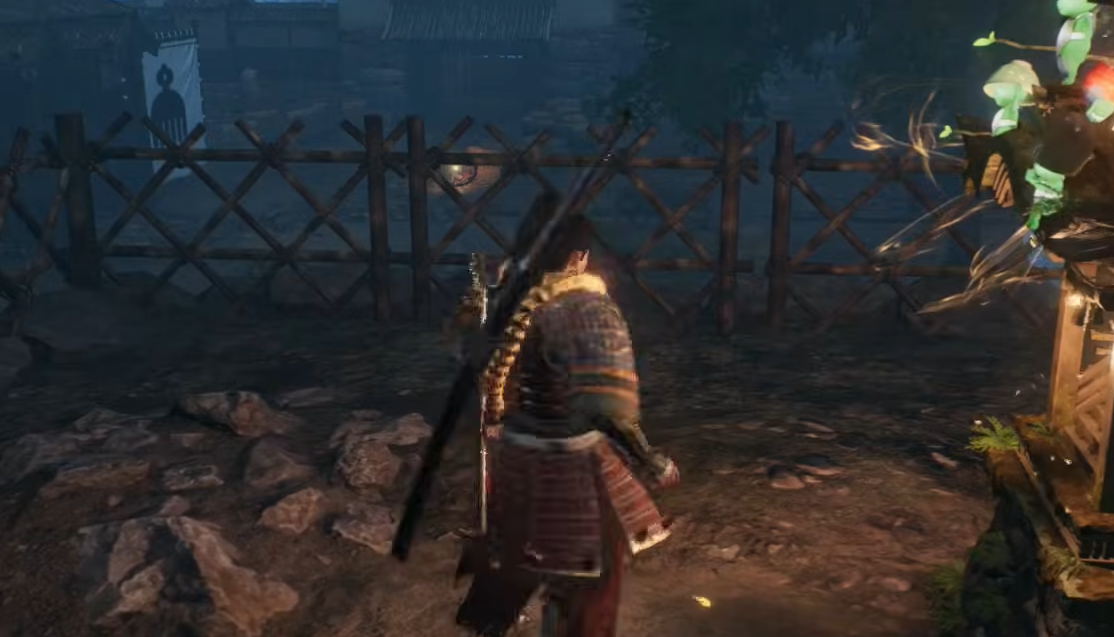
Step 6: Head into the alley past the second lamp and use piles of hay to climb onto the roof. Jump down at the far end and continue along the road. When the path splits — stairs and an overgrown gate to the left, a bony bridge to the right — go left through the gate. A broken wall on the left continues the path up stone stairs and through a large house.
Step 7: Move through the back of the house, up broken fences, and across a bony bridge into a smaller house. Past it, the road heads north again. Follow the lamps to a third Bodhisattva statue surrounded by Benevolent Graves. To the left of this statue are heavy double doors leading to the boss arena.
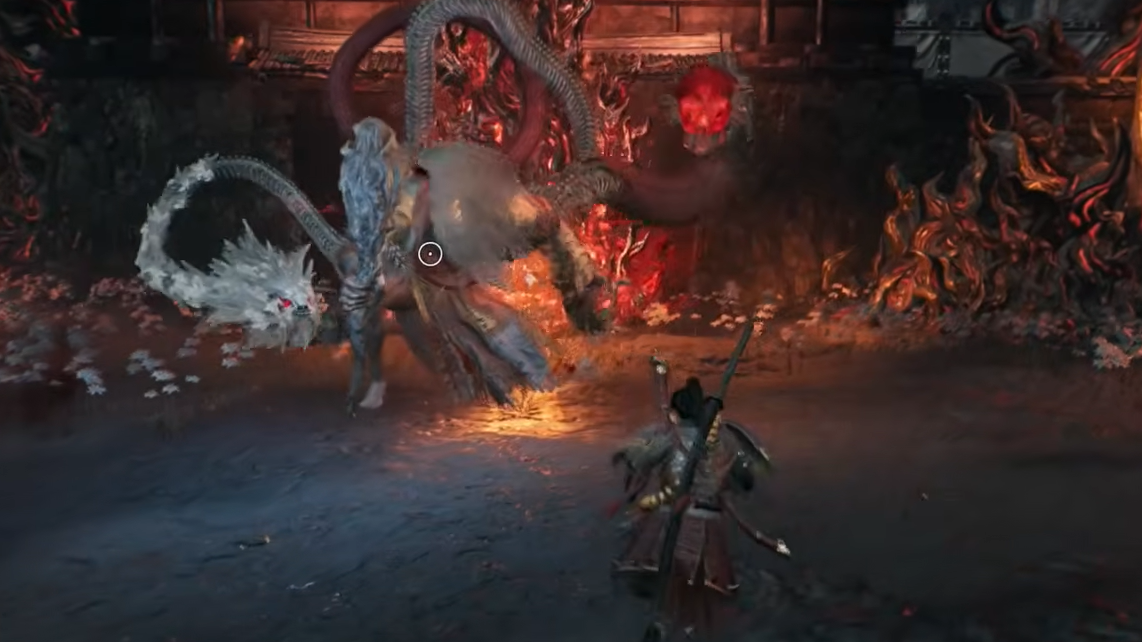
Defeating Jakotsu-baba
Jakotsu-baba is the Crucible boss for this mission. The fight has two distinct phases split at roughly 50 percent HP.
During the first phase, Jakotsu-baba attacks primarily with two extending snake heads. These lunge forward with significant range, so maintaining mid-range distance and dodging laterally is safer than backing straight away. Punish after the heads retract.
Once Jakotsu-baba's HP drops to about half, it begins extending its main head alongside the two snake heads, adding a third attack vector. The main head hits harder and covers more area. The key is patience — wait for attack strings to finish, get in a few hits, and retreat. Avoid getting greedy with combos.
Completing Crucible Manifested and unlocking the Eternal Rift
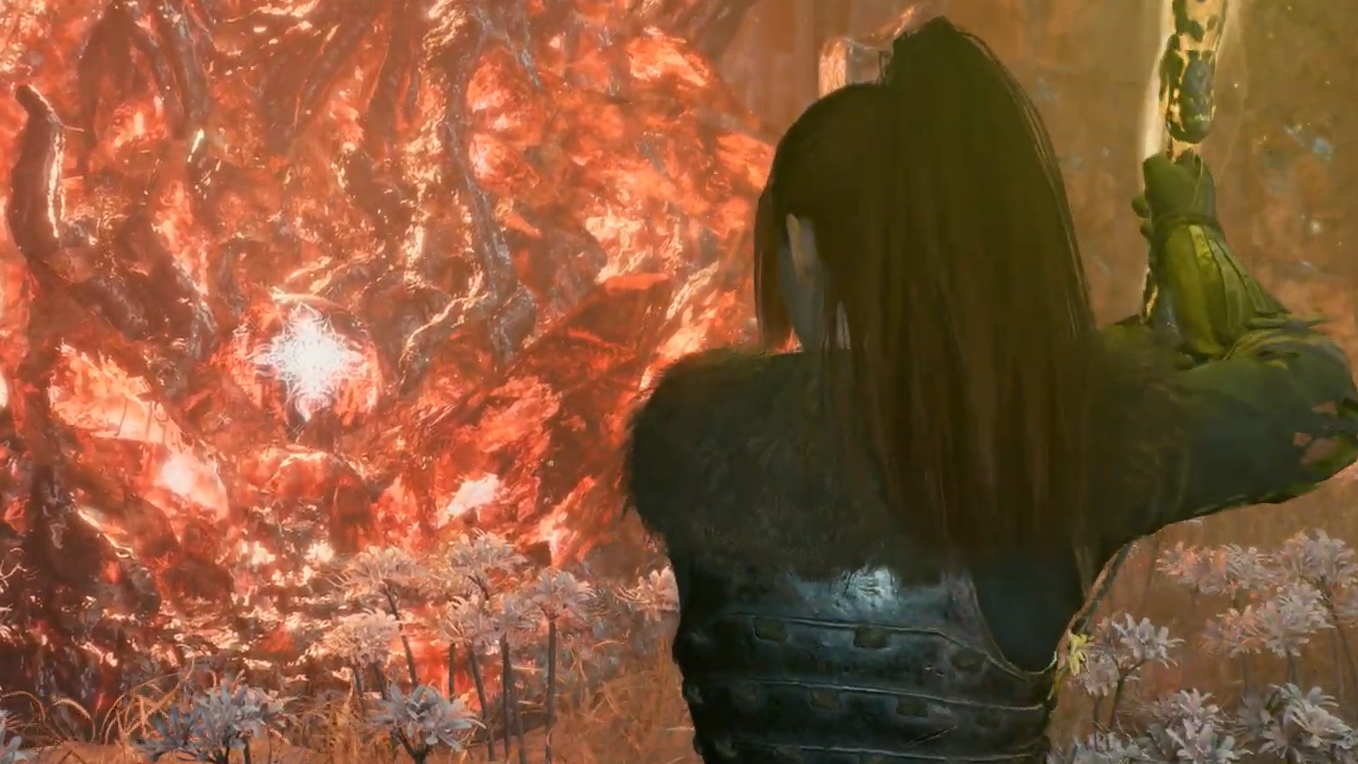
Step 1: After Jakotsu-baba falls, interact with the Crucible spike in the arena to cleanse the Hamamatsu Castle Town Crucible. This destroys the spike, strengthens your guardian spirit, and advances the story.
Step 2: Head inside the keep and follow Ii Naotora to a shrine where you can save. Speak with Ii Naotora to receive the Guiding Mirror, which transports you into the Eternal Rift.
Step 3: The Eternal Rift is a hub area you can explore freely. The first building on the right houses the Fox-masked Blacksmith, who forges weapons, armor, and other items. The Rift also lets you change your appearance and access Battle Scroll missions — the replay system that lets you re-run any completed story mission from a shrine menu.
Step 4: After exploring, head to the central pool and speak with Kusanagi to leave the Eternal Rift. Back in the keep, pass Ii Naotora through the double doors and climb upward until you encounter Honda Tadakatsu. Speak with Tokugawa Ieyasu on the balcony past Hattori Hanzo to complete the mission.
The Hamamatsu Incident mission rewards
| Reward | Type |
|---|---|
| Ninja's Locks | Consumable |
| Iron Switchglaive | Weapon |
| Simple Talons | Weapon |
| Tanegashima Matchlock | Ranged weapon |
| Guiding Mirror | Key item |
Farming Crucible Weapons via Battle Scrolls
Once you've completed Crucible Manifested, the mission becomes replayable through the Battle Scrolls menu at any shrine. This is the most efficient early-game method for farming Crucible Weapons — special gear marked by a red skull icon in your inventory. These weapons drop from enemies fought inside Crucibles and Lesser Crucibles, but Lesser Crucibles cannot be replayed during a first playthrough, making Battle Scroll replays the practical option.
The optimal farming loop targets the Ippon-Datara yokai located just before the second Bodhisattva statue (Clan Estate checkpoint) inside the Crucible Manifested mission. Start the mission via Battle Scrolls, rush to that statue to activate the checkpoint, then defeat the Ippon-Datara. Because the statue is so close, you can pray to respawn the enemy and fight it again in rapid succession, offsetting the low drop rate.
Crucible Weapons matter because some Martial Arts can only be learned by maxing the proficiency of a Crucible Weapon for that weapon type. Even if the farmed weapons are lower level than your current gear, you can raise them through Soul Matching at the Fox-masked Blacksmith in the Eternal Rift. Unwanted drops can be disassembled for crafting materials or processed via Soul Extraction for Soul Ores.
The Hamamatsu Incident feeds directly into The Battle of Futamata Castle, the fourth main mission. With the Eternal Rift now open and Battle Scrolls available, you have full access to replay missions, forge new gear, and build out your Martial Arts before pushing deeper into the Warring States campaign.