
Kajiwara Kagetoki is a Heian Era main boss in Nioh 3 encountered during the mission "Subterfuge at the Abandoned Shrine," with a recommended level of 83. He wields dual hatchets, fights almost entirely at range, and constantly summons yokai to harass you while he retreats to safety. The fight is less about raw difficulty and more about managing his relentless mobility and the stream of summoned creatures he throws your way.
Quick answer: Let your NPC ally Minamoto no Yoshitsune draw Kagetoki's attention, then rush in for one to two hits while he's focused elsewhere. Use Burst Breaks on his returning hatchet throws to teleport to him and land free damage.
Kagetoki's Fighting Style and Why It's Frustrating
Kagetoki is a hit-and-run boss. He throws his hatchets from a distance, dashes away after taking a single hit, and fills the arena with summoned yokai that appear, attack once, and vanish. He has significant hyper armor on many of his attacks, meaning he can power through your combos without flinching — a trait that has frustrated many players, since human bosses in the Nioh series have traditionally traded speed for poise or vice versa, not stacked both.
Heavy weapons like axes are a poor match here. Kagetoki will simply dodge away before your slow swings connect more than once. A ninja build with fast, mobile weapons is far better suited to keeping pace with him. If you don't have one ready, consider respeccing before this fight.
Preparation Before the Fight
Equip talismans that buff your attack damage, drain enemy Ki, or debuff armor. Power Talismans and Power Pills both boost your attack, though they don't stack with each other — using one while the other is active just refreshes the duration.
Electric-based weapons and yokai abilities can apply the Electrified status, which slows Kagetoki's movement and makes him easier to pin down. That said, he does resist Electrified along with Scorched, Saturated, and Blustered, so you'll need repeated applications to get the debuff to stick. The goal is to reduce his mobility so you can maintain pressure.
You can also use your own summoning seal to deploy yokai against Kagetoki. This helps deplete his Ki and creates openings for you to attack while he's dealing with your summons.
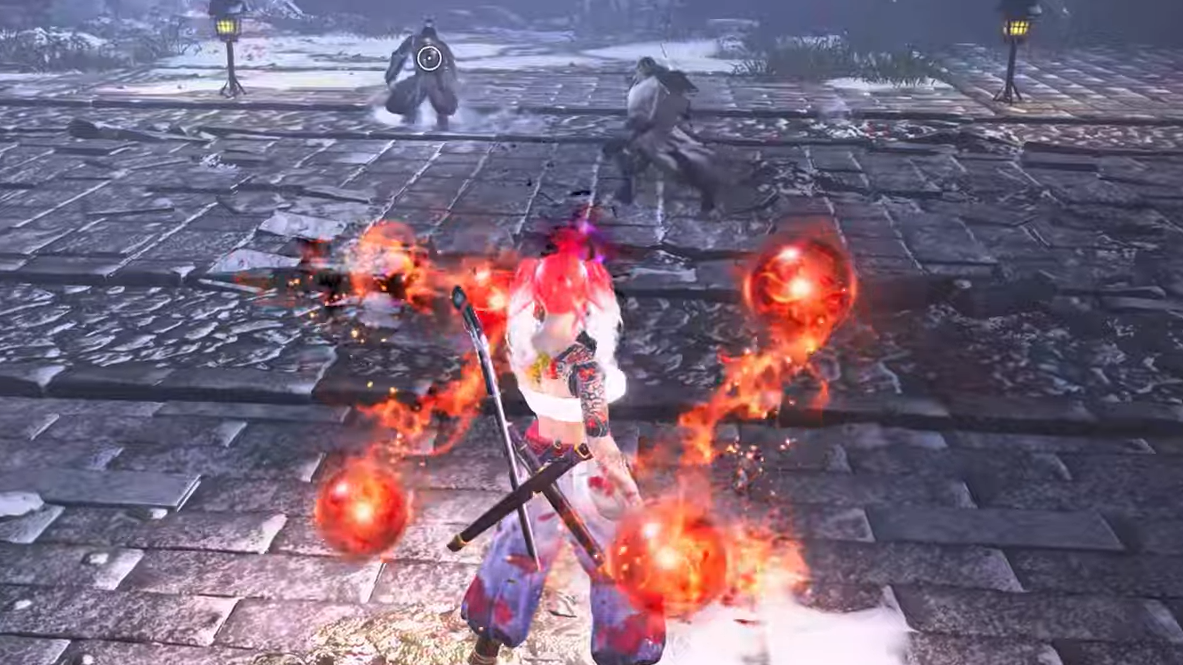
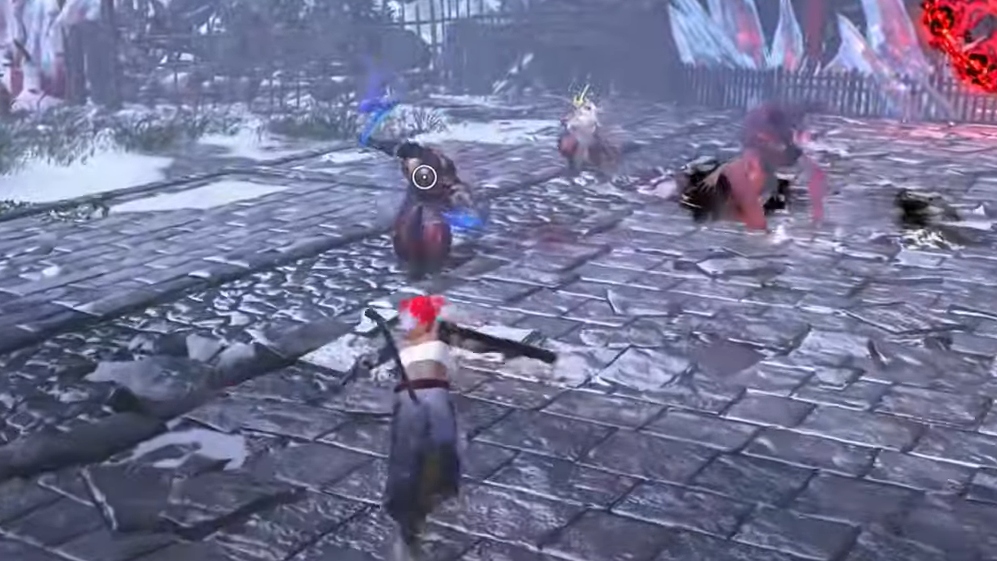
All Yokai Kagetoki Can Summon
Kagetoki summons yokai the same way you do — they pop in, launch a single attack pattern, and disappear. Knowing what each one does lets you react instead of panic-rolling.
| Yokai | What It Does | How to Handle It |
|---|---|---|
| Wasp | Two large wasps sting you repeatedly, inflicting Poison | Dodge sideways; cure with an Antidote if hit |
| Yamabiko | Fires three sonic air shots in rapid succession | Block all three |
| Ningyo | Launches a crescent water projectile after emerging from the ground | Dodge after she surfaces — the timing is generous |
| Giant Wolf | Charges in a straight line the instant it appears, dealing heavy damage | Block immediately; it's hard to see coming |
| Mezuki | Charges with horns, then does a spinning club attack | Block or run away; only appears below 50% HP |
The Mezuki summon is the most dangerous and only starts appearing once Kagetoki drops below half health. All of Mezuki's attacks are physical, so blocking works reliably.
Reading His Hatchet Throws
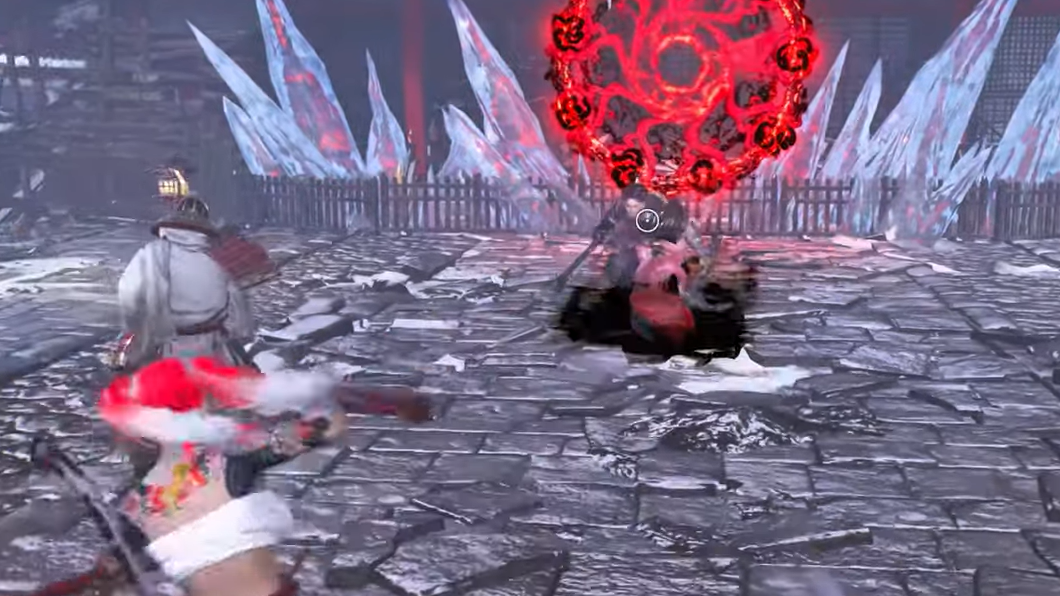
Most of Kagetoki's offense revolves around throwing his hatchets. Watch for a brief blue shine accompanied by a charging sound effect. This tells you he's about to throw — either horizontally or vertically, depending on how he holds the weapons.
When you see the blue flash, run toward him in a half-circle arc rather than straight ahead. This causes his thrown hatchets to miss, and you'll close the distance while he's locked in recovery. That's your window to land a hit or two before he dashes away.
His hatchets also have a boomerang effect, dealing damage on both the throw and the return trip. Stay aware of where the hatchets are, even after they pass you.
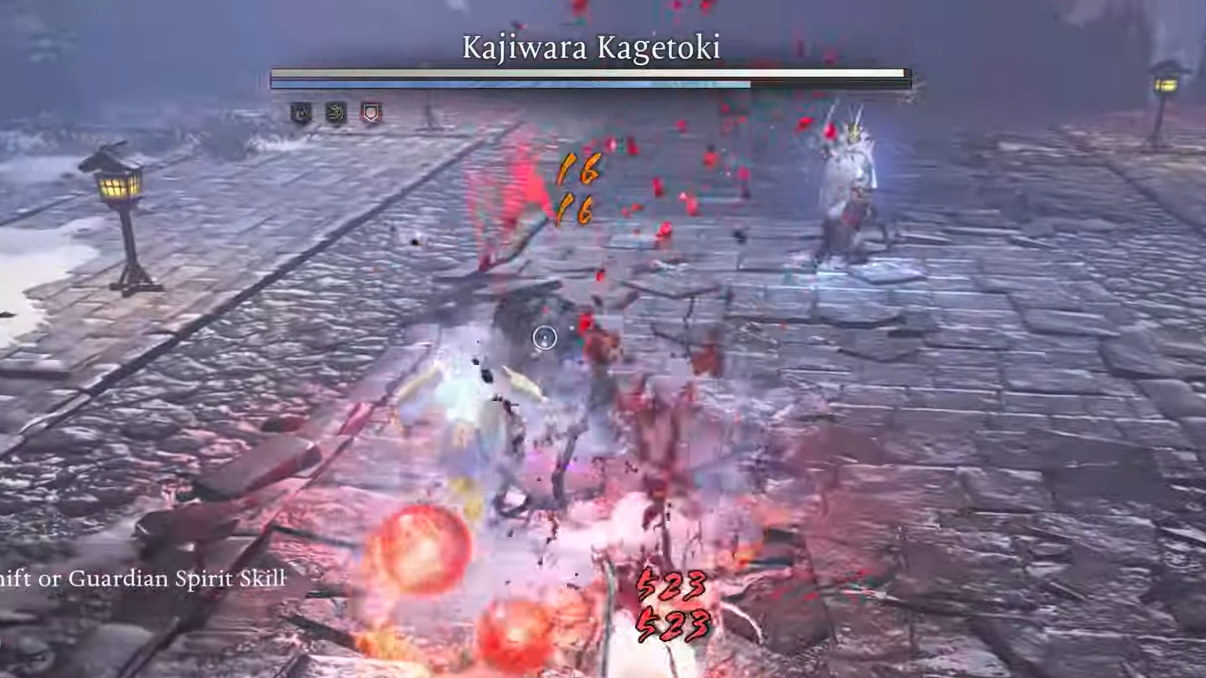
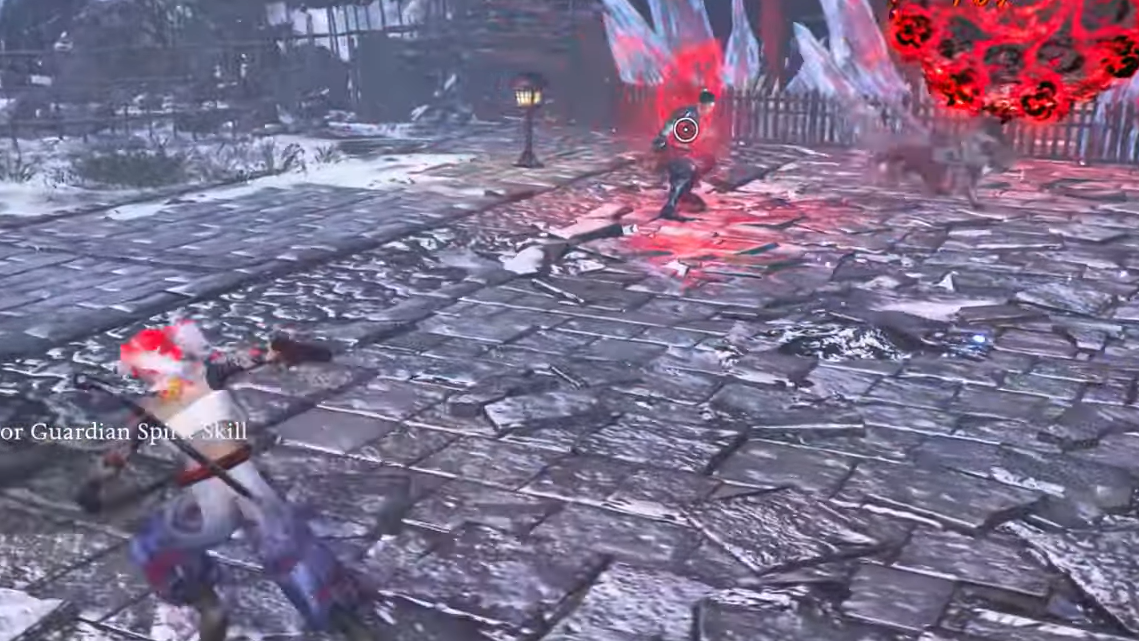
Burst Breaking His Red Attack
Kagetoki frequently performs a Burst Break attack where he hurls both hatchets horizontally in a straight line. They travel a set distance and then return to him. You can Burst Break either the outgoing or returning hatchets — doing so teleports you directly to Kagetoki while he's stunned, giving you several free hits.
This is your single most reliable punish window. Since he uses this move often, always be ready to counter it. You can also use a Style Shift to counter the hatchets during either the initial throw or the return.
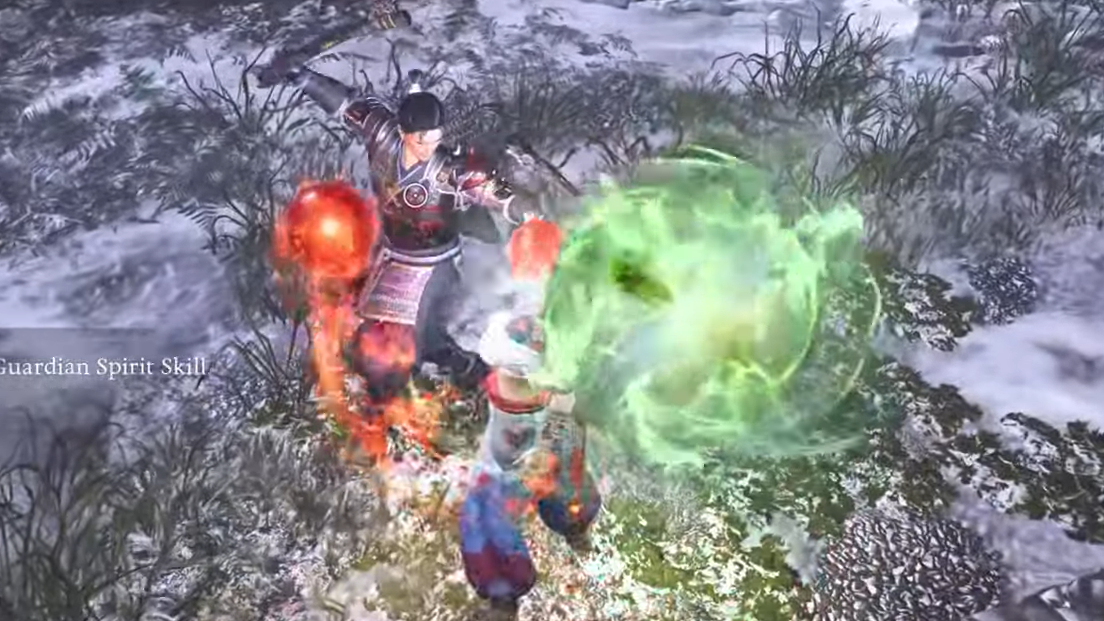
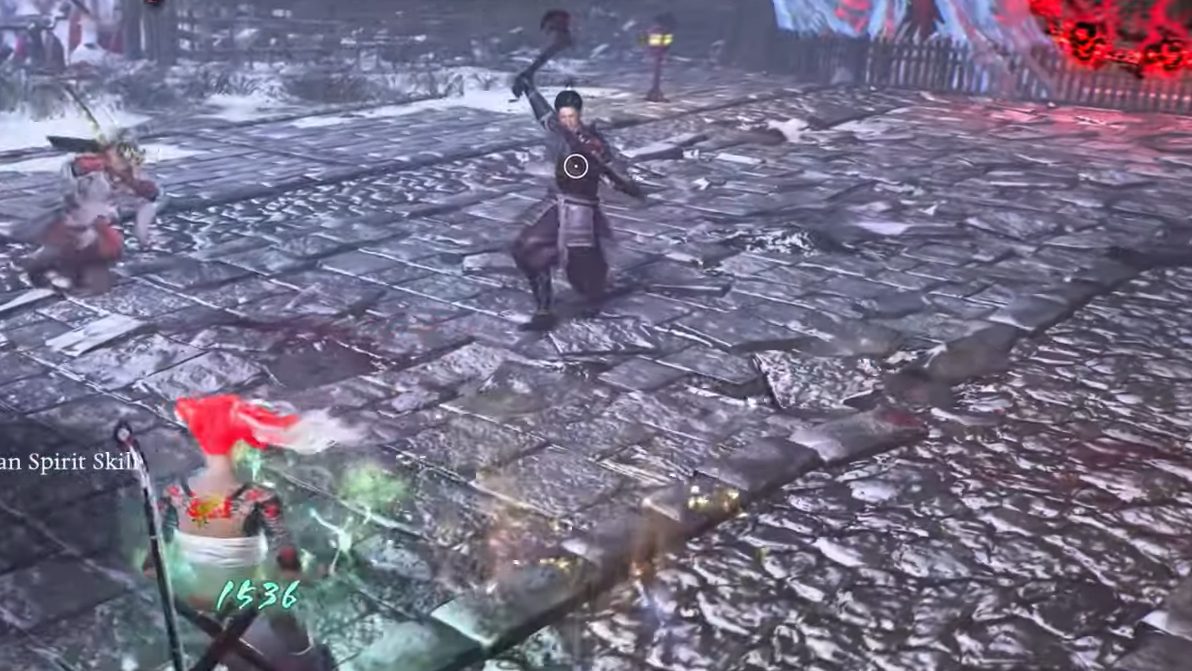
Using Yoshitsune and Other Allies
Your mandatory NPC companion for this fight is Minamoto no Yoshitsune. Kagetoki tends to ignore Yoshitsune and focus on you, but Yoshitsune still chips away at Kagetoki's Ki meter and can occasionally stunlock him — especially when Kagetoki is attempting a grab attack on you.
The safest general strategy is to hang back and only attack when Yoshitsune has Kagetoki's attention. The moment Kagetoki turns toward you, switch to blocking or evading.
If you want to end the fight faster, summon another player or call an acolyte from a nearby benevolent grave. Acolytes cost Ochoko Cups, which drop from revenants at bloody graves. Having a third body in the arena splits Kagetoki's attention further and makes his hit-and-run style far less effective.
Below 50% HP — The Second Phase
Kagetoki doesn't trigger a Dark Realm. Instead, once his health drops below half, two things change. First, he begins summoning Mezuki, his strongest yokai call. Second, the overall frequency of his summons increases noticeably.
Pop your Living Artifact when he crosses the halfway mark if you have one available. The extra power helps you push through the more chaotic second half before his summons overwhelm you.
Kagetoki will also start buffing his hatchets with elemental damage — water or electric — during this phase. When his weapons glow with an element, he can apply status effects on top of his normal damage. Play defensively once you see the buff activate. Only commit to attacks when he's locked in a throw charge animation or summoning a yokai, since both leave him unable to act.
General Combat Tips
Limit yourself to one or two strikes per opening. Kagetoki will almost always counterattack if you overcommit, and his hyper armor means he can swing through your combos without staggering. Greed is the fastest way to die in this fight.
His thrown hatchets are individually easy to dodge since they travel in predictable lines, but the real danger is getting clipped by a returning hatchet while you're focused on a summoned yokai. Keep your camera awareness wide and don't tunnel-vision on any single threat.
If you're significantly underleveled or undergeared, farming Amrita and upgrading your equipment before retrying is a legitimate option. The recommended level for the mission is 83, and going in below that makes an already tedious fight drag out even longer.
One community-tested approach for players who are truly stuck involves equipping the full Lilac armor set and applying Confusion. With the complete set bonus, every melee hit refreshes the Confusion status, letting you keep it active for the entire fight and significantly reducing Kagetoki's ability to fight back.
Drops and Rewards
| Mission | Rewards |
|---|---|
| Subterfuge at the Abandoned Shrine (Main) | Dual Bloodstained Cleavers Lv. 91 (+1), Shinto Priest's Hakama Lv. 91, Handbook: Roundabout, Smithing Text: Heizo's Armor, Ninja's Locks |
| True Samurai of Kamakura (Side) | Heizo's Hatchets Lv. 72, Heizo's Waistguard Lv. 72, Ninja's Locks, Smithing Text: Heizo's Hatchets |
Kajiwara Kagetoki is a test of patience more than mechanical skill. His individual attacks are straightforward to dodge, but the combination of constant retreating, relentless summons, and hyper armor makes the fight feel like a war of attrition. Stay disciplined, punish his Burst Break throws, lean on Yoshitsune, and resist the urge to chase him around the arena. He'll go down — it just takes longer than it should.