
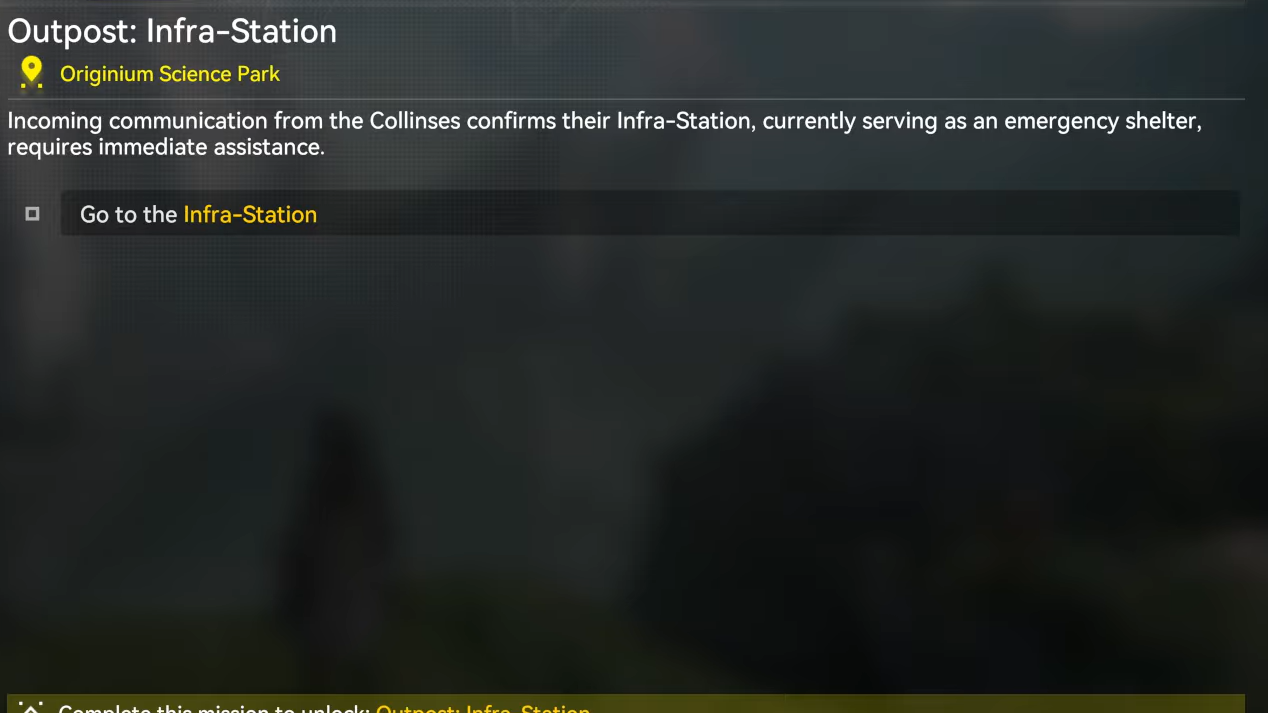
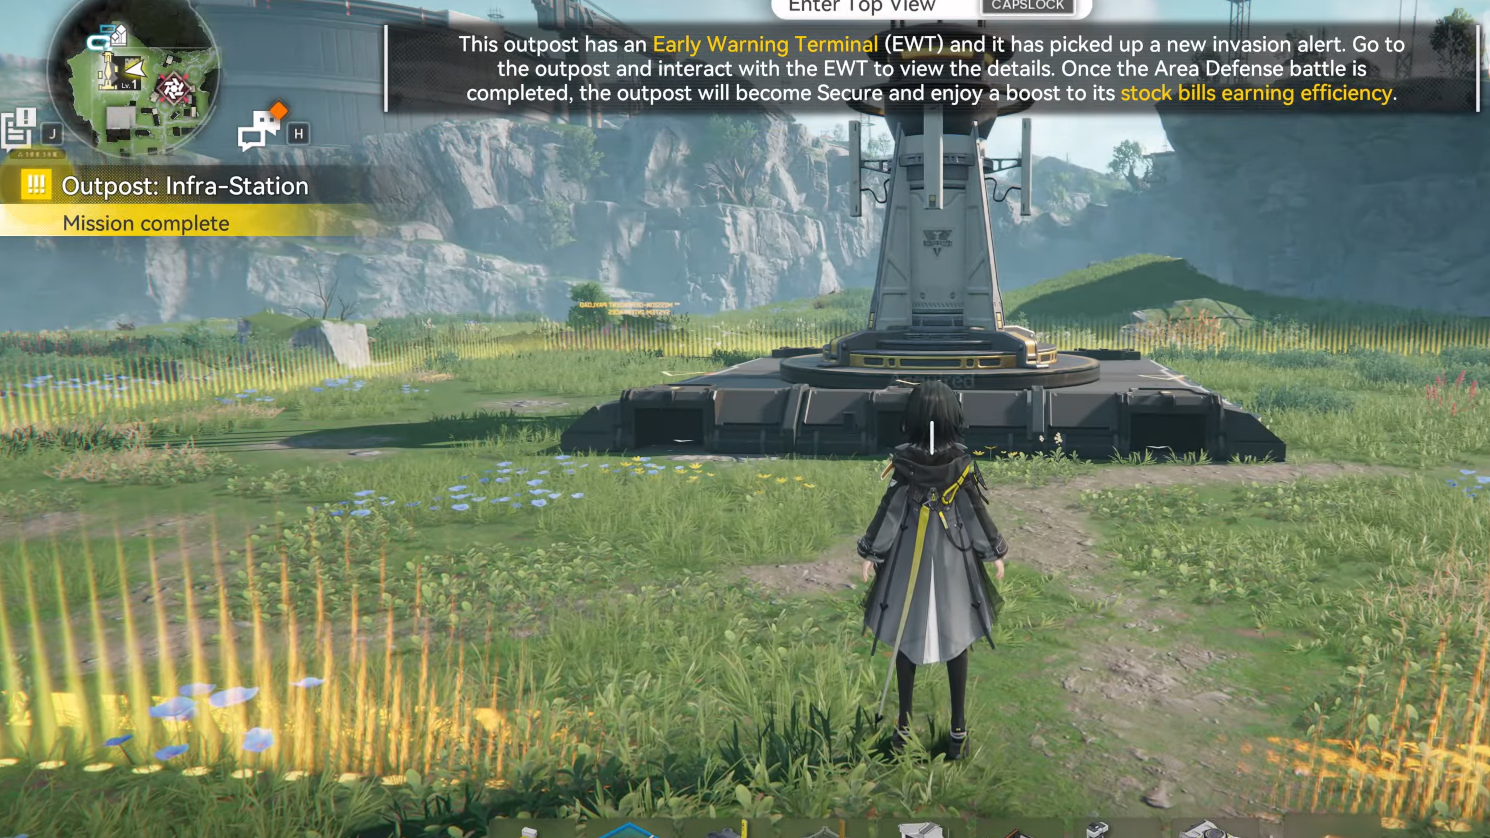
Outpost: Infra-Station sits at the point where Arknights: Endfield’s open-world exploration meets its Outpost Management and AIC base-building systems. It is an Exploration Mission set in Originium Science Park and unlocks the Infra-Station outpost once completed.
Infra-Station is one of four outposts that can be established and then developed through trading and regional development. Clearing the quest not only secures a new forward base in Originium Science Park, it also gives you another Sub-PAC hub for automation and fast travel and folds the area into your Outpost Management loop.
Where Outpost: Infra-Station fits in the campaign
Infra-Station is tied to progression in Originium Science Park, one of the later areas in Valley IV:
| # | Outpost | Region / Map | Unlock conditions |
|---|---|---|---|
| 1 | Refugee Camp | Valley Pass (Valley IV) | Reach main mission Valley Reboot, then complete Exploration Mission Building an Outpost. |
| 2 | Infra-Station | Originium Science Park | Reach main mission Cross the Science Park, then complete Exploration Mission Outpost: Infra-Station. |
| 3 | Planned Construction Area | Power Plateau | Reach main mission Eve of Battle, then complete Exploration Mission Outpost: Reconstruction HQ. |
| 4 | Sky King Flats | Jingyu Valley | Reach main mission Where Danger Sleeps, then clear that main mission. |
To even see the Infra-Station Exploration Mission on the map, you first need to push the main story in Originium Science Park to Cross the Science Park. Once that main mission is available and cleared, the outpost mission marker appears in the Science Park area.
How Outpost missions work
Infra-Station behaves like the earlier Building an Outpost mission at the Refugee Camp in Valley Pass. The core loop is the same:
- You move to a marked location populated by enemies.
- You secure the area through combat.
- You deploy a Sub-PAC to claim the space as a Core AIC Area.
- You hook up basic AIC production and power.
- You deploy combat facilities to defend the new outpost.
- You connect the outpost into Regional Development via Outpost Prosperity and trading.
The specific enemy types and exact layout in Originium Science Park differ from Valley Pass, but the mission structure and the systems it introduces are consistent.
Start the Outpost: Infra-Station mission
Step 1: Progress the main storyline in Originium Science Park until Cross the Science Park is completed. This unlocks the ability to establish the Infra-Station outpost through its Exploration Mission.
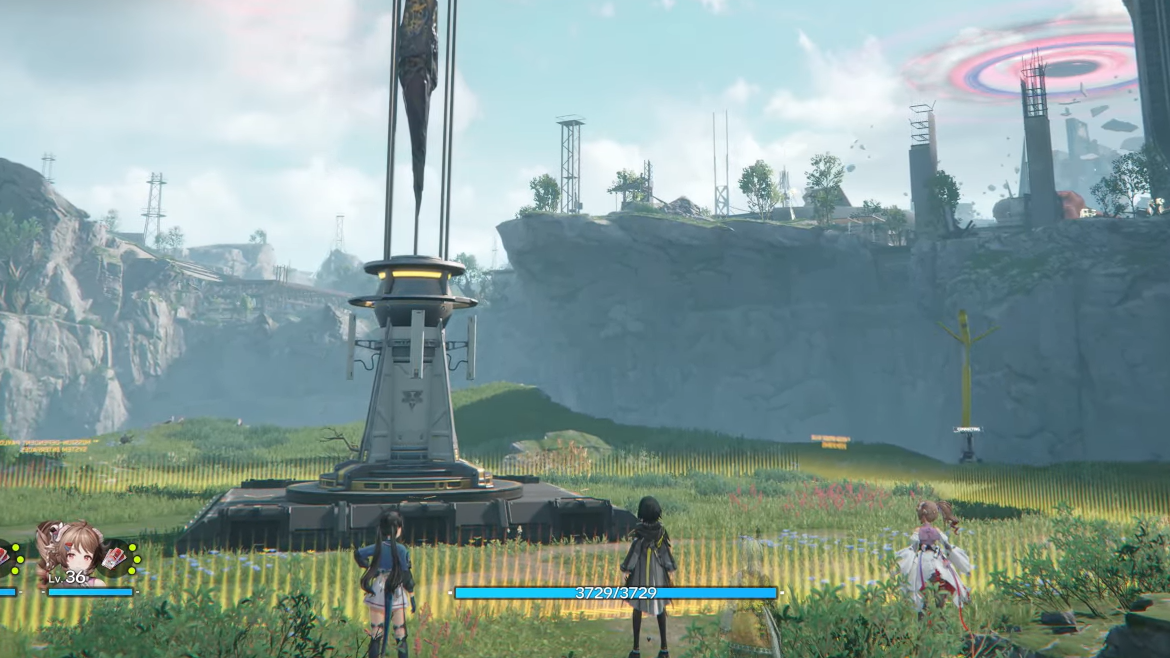
Step 2: Open the world map for Valley IV and zoom into Originium Science Park. Look for the Exploration Mission marker labeled Outpost: Infra-Station.
Step 3: Set the marker as your active objective and travel to Originium Science Park. Move to the highlighted location to trigger the mission start.
Secure the Infra-Station site
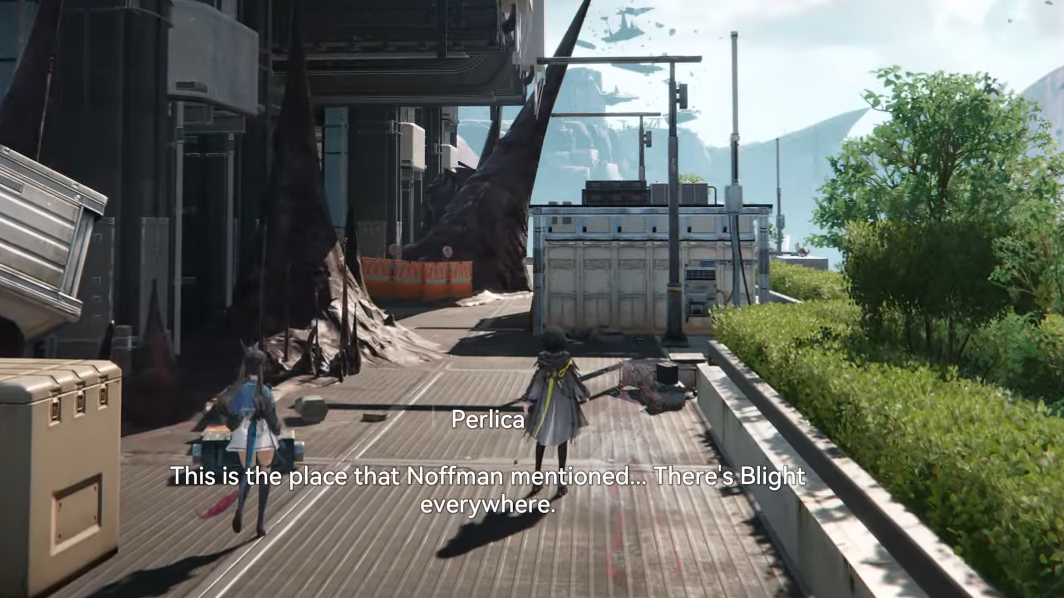
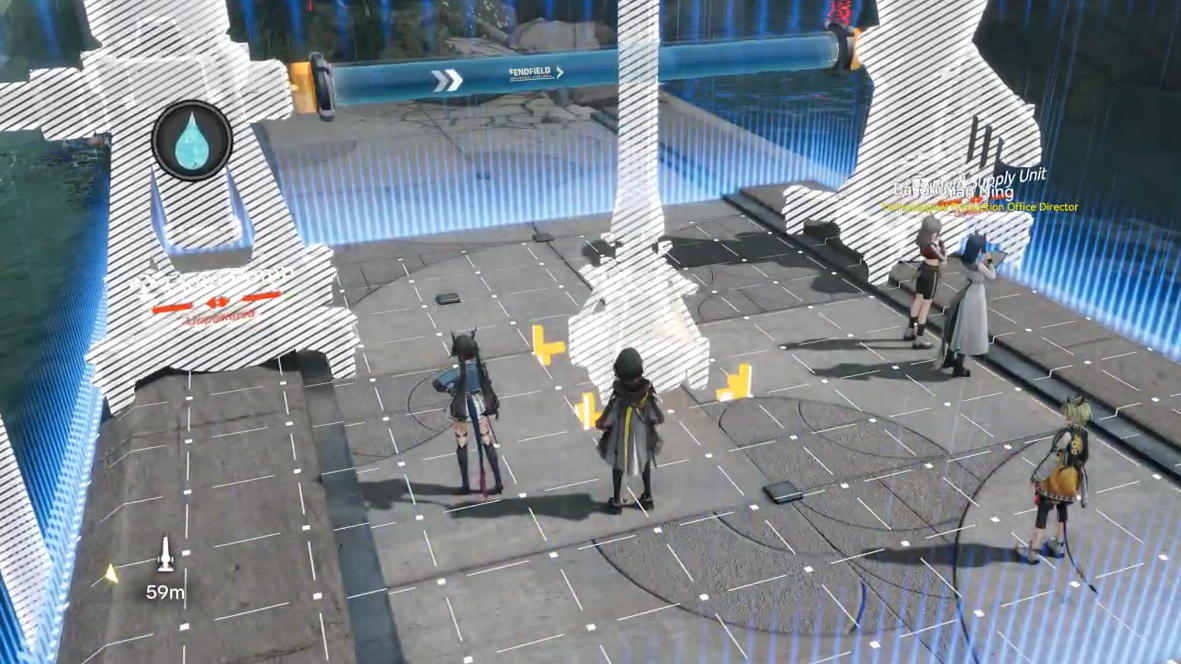
Like the Landbreaker camp in Building an Outpost, the Infra-Station mission opens with a combat phase to clear hostile units around the planned Sub-PAC site.
Step 1: Follow the on-screen objective marker into the contested area inside Originium Science Park. Enemies will be clustered around makeshift camps and structures.
Step 2: Engage and defeat all enemies in the marked zone. Use your usual team composition and make sure at least one character can quickly deal with groups, as clustered spawns are common in outpost fights.
Step 3: Once the area is clear, approach the central objective marker at the designated outpost location. The game will switch away from pure combat objectives to AIC and Outpost setup steps.
Deploy the Infra-Station Sub-PAC
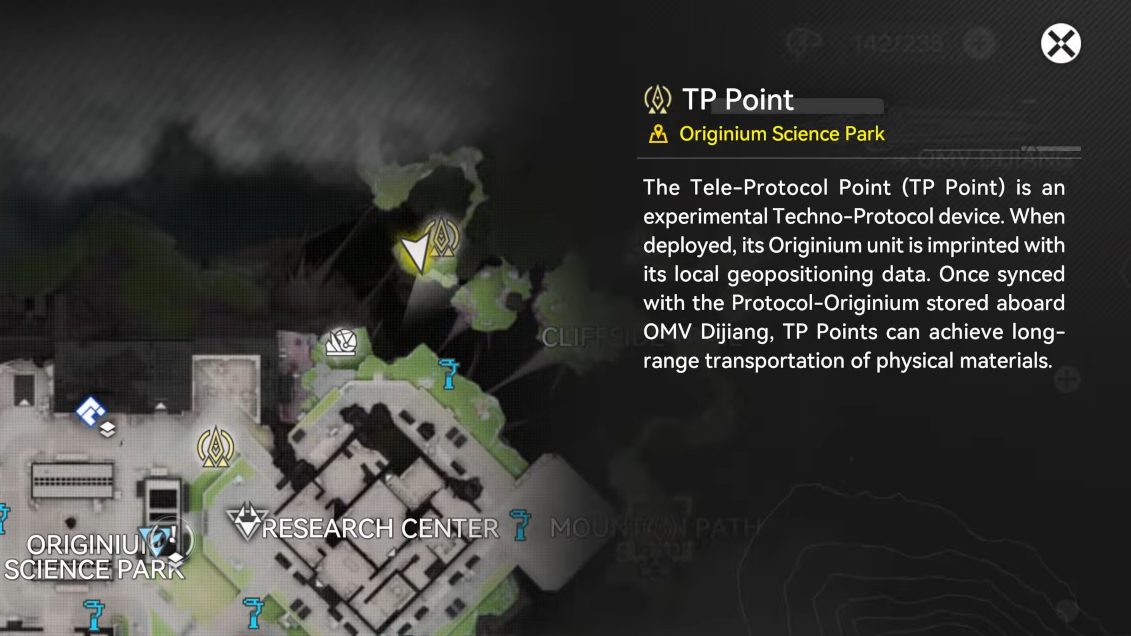
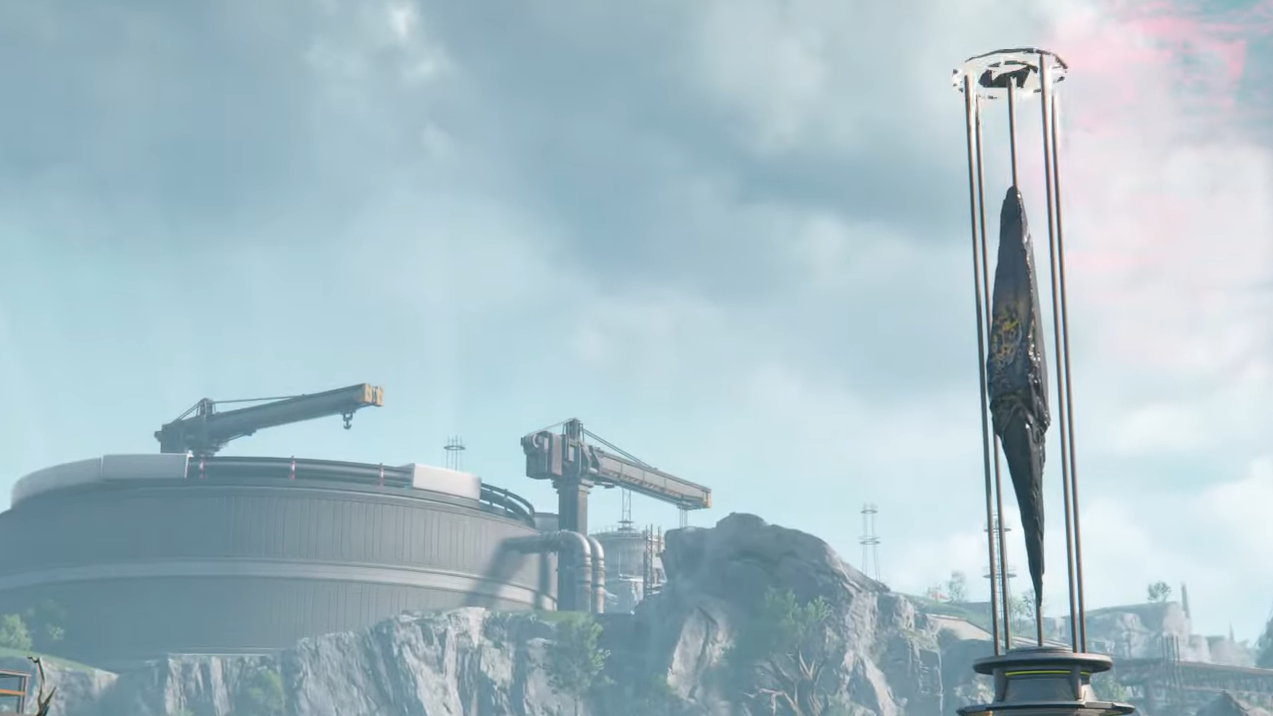
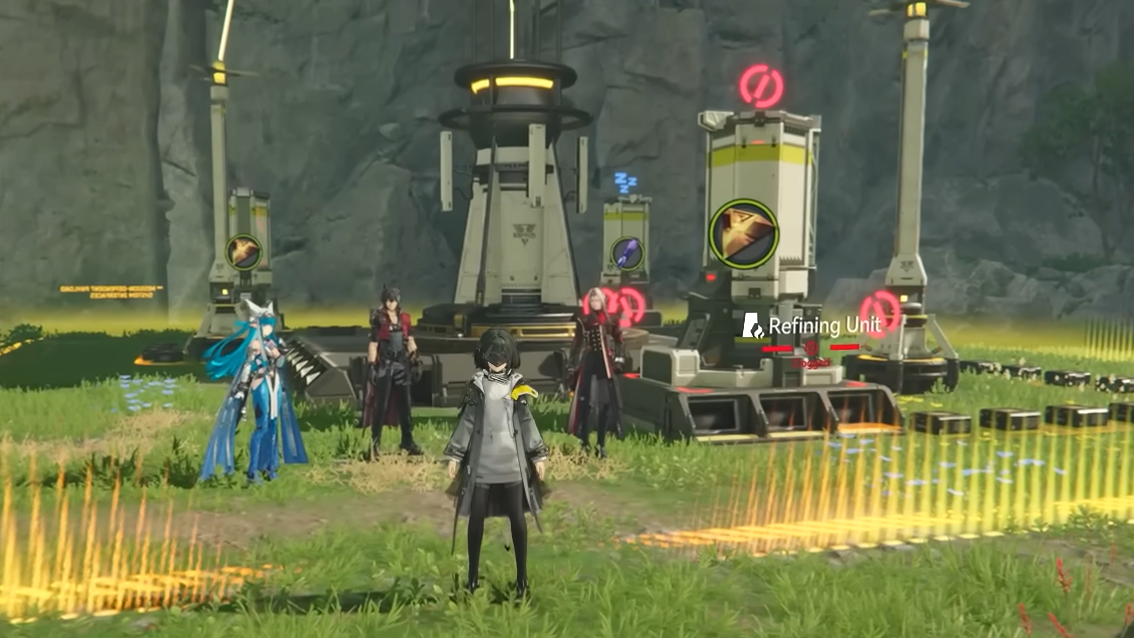
The Sub-PAC is the core of any outpost. It serves as a local production node, powers nearby facilities, and becomes a TP Point for fast travel.
Step 1: Stand on the marked spot at the center of the cleared area and interact with the Sub-PAC prompt. Confirm deployment when the interaction window appears.
Step 2: Wait for the deployment animation to finish. A Sub-PAC structure will appear with multiple ports along its sides, similar to the one used at the Refugee Camp.
Step 3: After deployment, expect a tutorial prompt to remind you that the region’s depot has accumulated resource stock (for the first outpost, this is 500 Originium Ore; Infra-Station will reference whatever relevant materials the Science Park depot holds). These depot stocks are what you pipe into local processing lines.
Configure Sub-PAC output and basic production
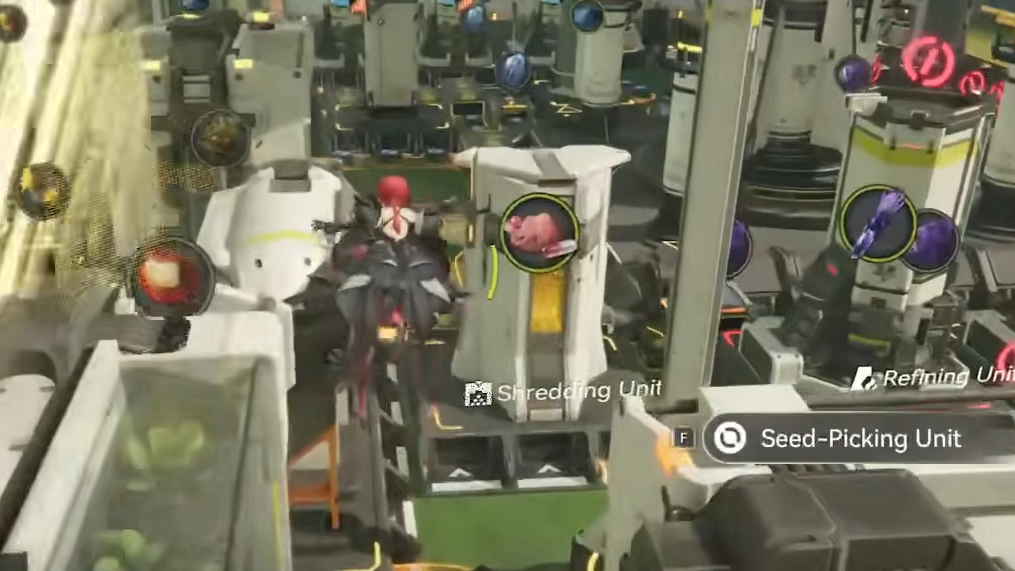
Outposts rely on AIC production chains that start from Sub-PAC output ports. Each PAC has six output ports indicated by outward arrows and multiple input ports indicated by inward arrows.
Step 1: Interact with the highlighted output port on the Infra-Station Sub-PAC. For the first outpost, this is Output Port 4 with Originium Ore; in Infra-Station, the port and resource will match the mission’s prompt, but the logic is the same.
Step 2: Select the specified raw material (such as Originium Ore or a local variant like Origocrust) from the port’s configuration interface so that the Sub-PAC begins pushing that material onto connected belts.
Step 3: Move to the nearby Refining Unit or processing facility positioned by the mission. The input port of this unit will be marked as the destination for your first belt.
Step 4: Enter belt construction mode. On PC, this uses the AIC build key (for example, E) and left-clicks to confirm the start and end points; on PS5, this uses a shoulder button plus D-pad, with confirmation on Square. Follow the on-screen control prompts for your platform.
Step 5: Lay a belt from the configured Sub-PAC output port directly to the Refining Unit input port. Confirm the belt once it snaps into place.
Step 6: Build a second belt from the Refining Unit’s output port back to a Sub-PAC input port. Make sure the belt connects into an input port marked with inward arrows, not another output.
Step 7: Interact with the Refining Unit control panel to confirm that materials are flowing in and a processed output is being generated. Once that panel shows both input and output lines, the basic automated production loop is complete.
Build and deploy combat facilities
With production running, Infra-Station needs defenses. The template from Building an Outpost uses Gun Towers plus a power source, and Infra-Station follows the same pattern with Combat AIC facilities.
Step 1: Interact with a different Sub-PAC output port (in the first outpost mission, this is Output Port 5). Open and close the port interface when prompted; this unlocks the facility construction prompt for combat buildings.
Step 2: Open the Facility List. On PC, this uses the default key (for example, Z) and a mouse click on the Facility List button; on PS,5 it uses the D-pad plus Cross. Follow the on-screen controls.
Step 3: Select a basic combat facility, such as Gun Tower, from the list. Enter Construction Mode and set the quantity to match the number of build spots that are outlined in the mission area (three towers in the Valley Pass outpost is the standard template).
Step 4: Confirm construction. The built towers are placed into your backpack rather than onto the field immediately.
Step 5: Make sure Gun Towers or the Infra-Station equivalent are assigned to your AIC Mode hotbar. If they are not visible, open the backpack and manually slot them to an empty hotbar slot.
Step 6: Switch to AIC Mode. On PC, this is done with Tab, and on PS5 by pressing D-pad Right. You should now see the combat facility hotbar at the bottom of the screen.
Step 7: Move to the orange-outlined build spots around the Infra-Station site and place the required number of Gun Towers, one per highlighted location.
Set up power with an Electric Pylon
Combat AICs do nothing without power. The mission template uses an Electric Pylon between the towers and power transmission from the Sub-PAC.
Step 1: With AIC Mode still active, select the Electric Pylon facility from your hotbar or backpack if the mission provides it separately. The mission will mark a single build spot between the Gun Towers.
Step 2: Place the Electric Pylon in the outlined location so that its coverage radius reaches all deployed towers.
Step 3: Return to the Sub-PAC and interact with its power or transmission interface. Use the option labeled Start Transmission or the equivalent prompt for enabling a power link.
Step 4: Walk back to the Electric Pylon and interact again to plug in the transmission cable. Once linked, the towers’ UIs and effects will indicate that they are powered.
Defend Infra-Station against attackers
With towers powered and in place, the mission shifts to a defense phase where enemies attempt to retake the site. This sequence mirrors the Landbreaker counterattack at the Refugee Camp.
Step 1: Stand near the outpost core but outside of direct enemy spawn points. The towers are designed to handle the bulk of the wave.
Step 2: Allow the Gun Towers or other Combat AICs to focus fire on incoming enemies. Step in with your operators only when enemies slip through or cluster in ways that strain a single tower’s firepower.
Step 3: Stay within the general defense area until the mission objective updates to show that all attackers have been defeated. Avoid kiting enemies too far away from tower coverage, or the defense will become significantly harder than intended.

Connect Infra-Station into Outpost Management
After the defense succeeds, Infra-Station is considered established. The game then links you into the Outpost Management and Regional Development systems that drive long-term progression for each outpost.
Step 1: Open the System Wheel and select Regional Development. This panel is also accessible from the main menu once unlocked.
Step 2: Go to the Outpost Management tab and select Infra-Station from the list of unlocked outposts. Here you can see its Outpost Prosperity progress, current Area Status, and saved Stock Bills.
Step 3: Check the trade requests shown for the outpost. Each request lists materials that Infra-Station is asking you to deliver from your regional depots.
Step 4: Use the Check function on each requested resource portrait to confirm you actually have enough of that material to support a trade.
Step 5: Use the slider to set how much of each material you want to trade. The game allows either dumping everything for faster progression or trading in smaller balanced amounts to keep your depots stocked for other uses.
Step 6: Confirm the trade. Each successful transaction grants Prosperity EXP for Infra-Station and Stock Bills for that region. Higher Prosperity levels unlock more Outpost rewards, expand the Core AIC Area for more production lines, raise Area Status, change the outpost’s appearance, and increase the cap on Stock Bill savings.
Assign an Operator Liaison to boost Infra-Station
Every outpost can have an Operator Liaison assigned. This character passively improves how much Prosperity and how many Stock Bills you get from trading, depending on their traits.
| Liaison boost | Trigger property | Effect |
|---|---|---|
| SAR Response | Faction | Each point of Outpost Prosperity from trading has a 20% chance to grant 1 extra point. |
| Turn Scrap to Treasure | Hobbies | Each Stock Bill gained from trading has a 20% chance to grant 1 extra bill. |
| Survival Knowledge | Expertise | Each Stock Bill earned by the outpost has a 20% chance to grant 1 extra bill. |
Step 1: In the Outpost Management view for Infra-Station, find the Liaison assignment section.
Step 2: Choose an operator whose Faction, Hobbies, or Expertise line up with the boosts you want. Characters with the SAR Response property help Prosperity growth, while Turn Scrap to Treasure and Survival Knowledge focus on Stock Bills.
Step 3: Assign the operator as Infra-Station’s Liaison. Their boost now applies whenever you trade with that outpost.
Some characters, such as Antal, can trigger more than one of these effects and are especially efficient picks for high-traffic outposts like Infra-Station once your trading volume ramps up.

Area defense and when Infra-Station can be attacked
Outposts are not purely economic hubs. Once Outpost Area Defense is unlocked for a given outpost, it can be randomly attacked and will rely on your Combat AICs and layout to survive.
Area Defense activates under two conditions tied to the first outpost, Refugee Camp:
- Refugee Camp must reach Outpost Level 2.
- The OD Project Refugee Camp I quest must be completed.
When those requirements are met, Area Defense mechanics become active, and other outposts, including Infra-Station, can also experience regional attacks that need to be repelled using Combat AIC setups around their Sub-PACs.
Leveling can be delayed temporarily if you want to expand automation and stockpile resources before dealing with these random attacks, but higher outpost levels are eventually required to unlock more regions and content.
Once Outpost: Infra-Station is cleared and integrated, Originium Science Park becomes a fully functional part of your Outpost Management network. Its Sub-PAC gives you another anchor for AIC production, its Prosperity and Stock Bills feed directly into Regional Development, and its Combat AICs become another line of defense in Valley IV’s infrastructure layer.