
Path of Water is a Divinecraft Dungeon in Where Winds Meet, tucked behind a waterfall in the Petalfall Crossing area of Kaifeng. The entire dungeon revolves around one mechanic: bells and locks that only respond for a short time after you hit them, and a movable water spout that raises or lowers water levels through several rooms.
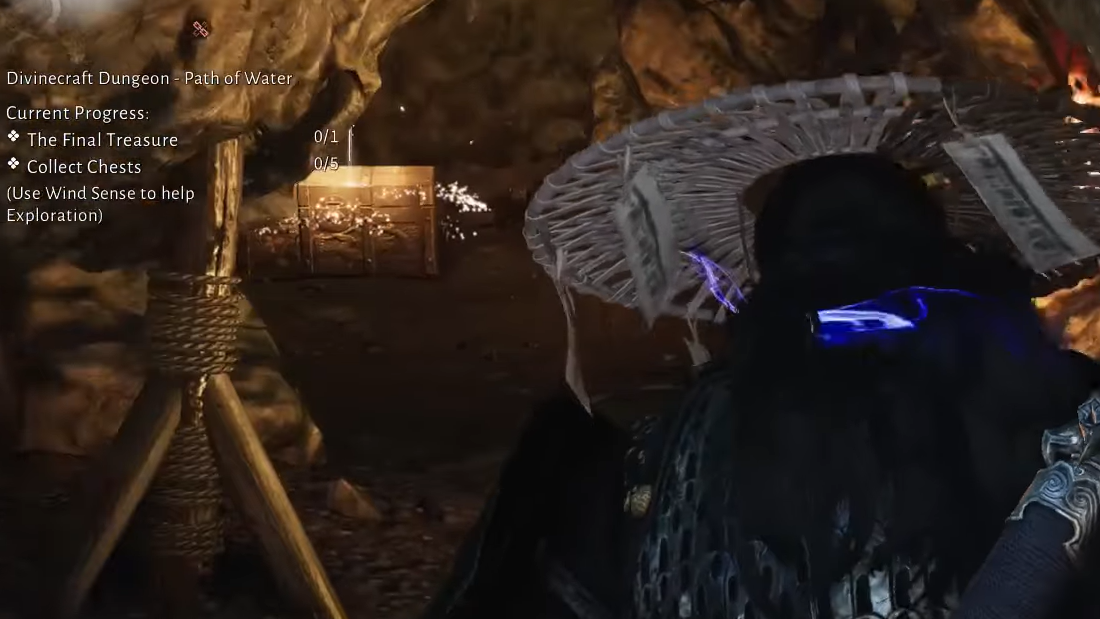
The goal is simple on paper – reach the final chest – but the layout encourages you to collect up to five optional chests on the way and to understand how the shared water system links two adjacent rooms.
Requirements and basic mechanics
Before entering Path of Water, it is best to have:
- A bow with wooden arrows
- Fire arrows
- The Meridian Touch mystic skill
- Still Waters for slowing time (strongly recommended)
- Wind Sense to highlight interactable roots and elements
- Abyss Dive or other lightness skills to move comfortably around drops and ladders
Two core ideas repeat throughout the dungeon:
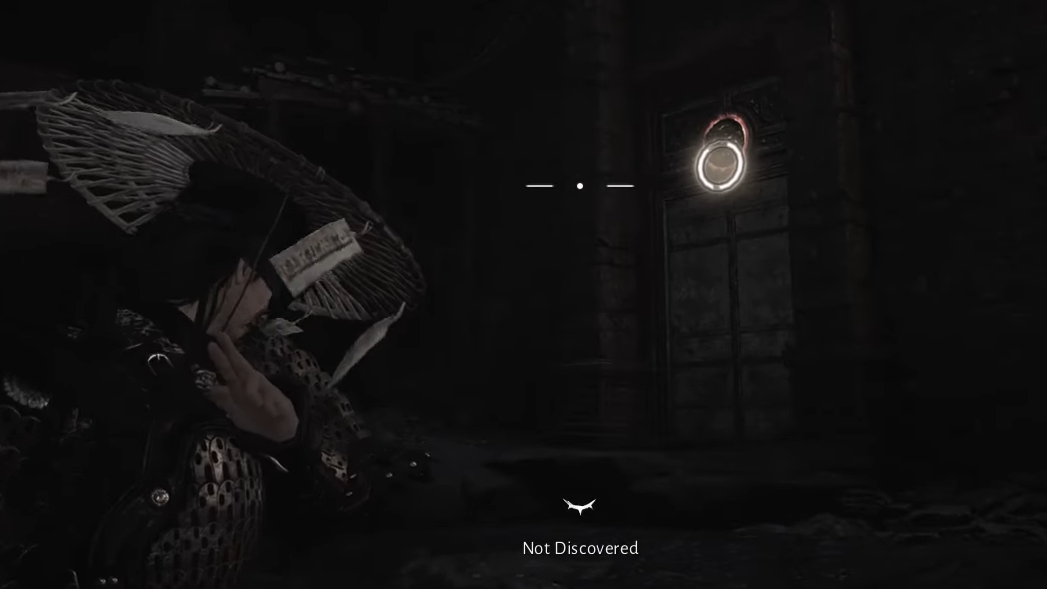
- Bells and locks: Hitting a bell briefly “arms” a nearby stone door or seal. While the ring effect is active, you can use Meridian Touch on the glowing circle to break the lock. Miss the window, and you must ring the bell again.
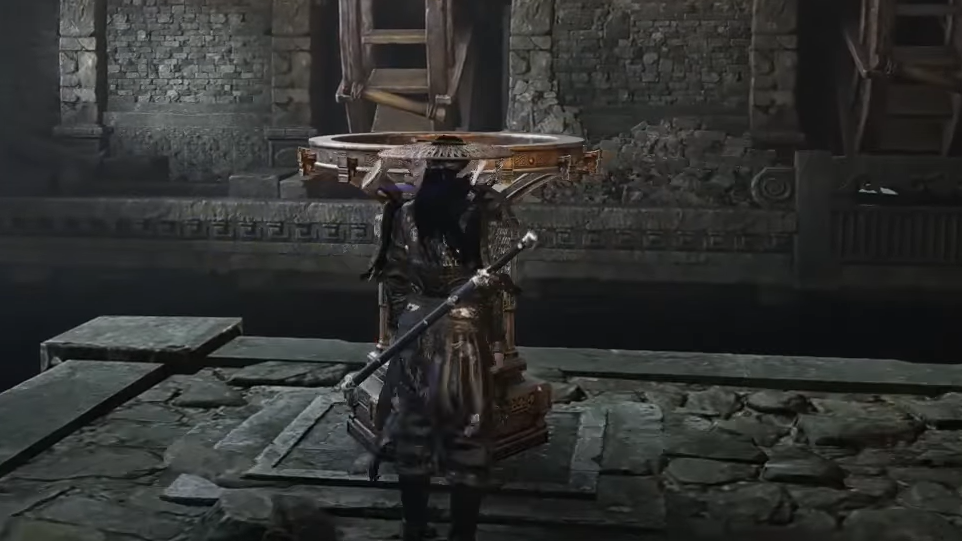
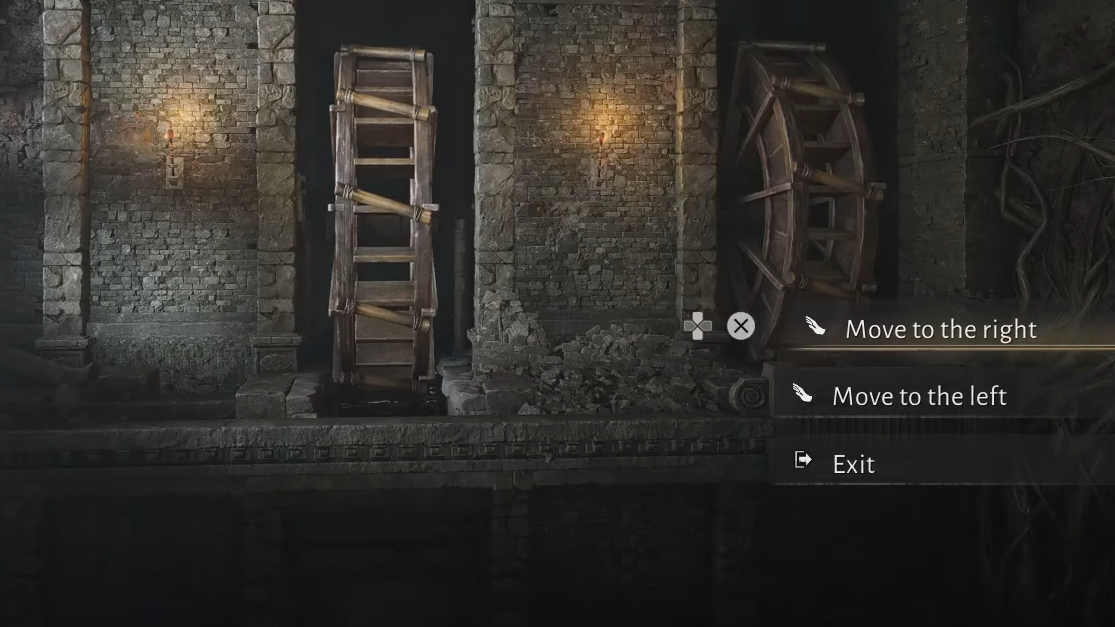
- Water control console + lever: A circular console moves a dragon- or lion-head spout between different waterwheels. A lever then releases water into whichever wheel the spout currently targets. Each wheel controls flooding or draining specific parts of the dungeon.
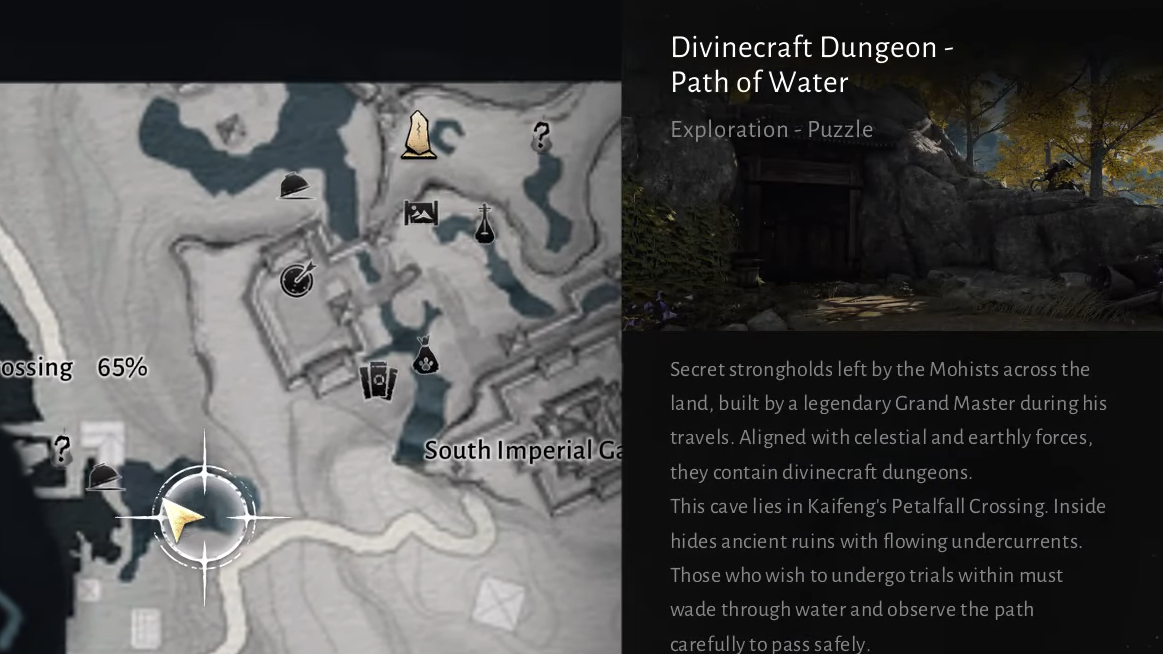
Path of Water location and entrance
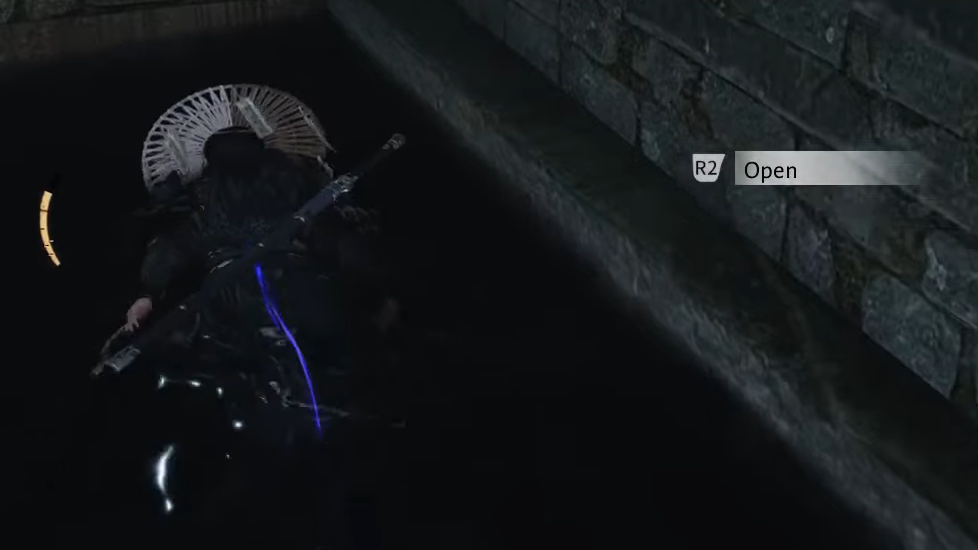
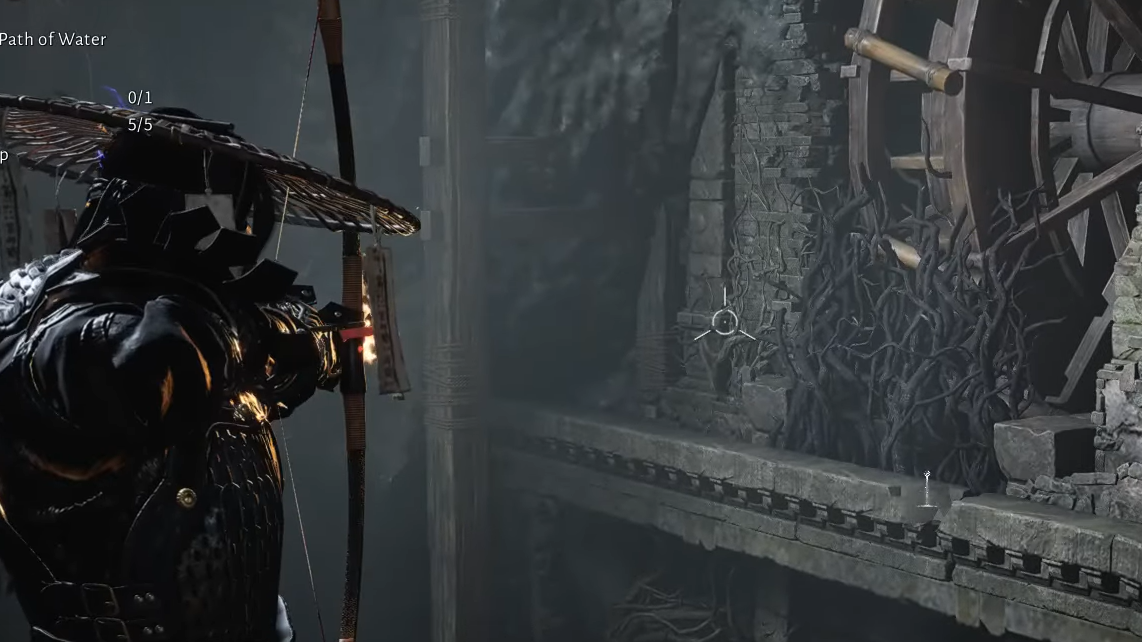
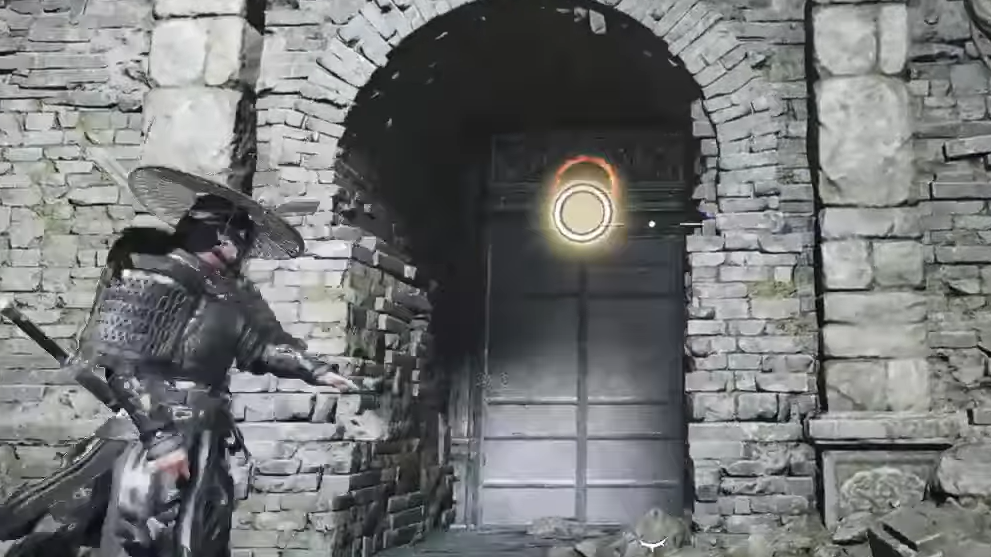
Path of Water is in western Kaifeng, just north-east of the Petalfall Crossing boundary stone. The entrance sits behind a waterfall; step through to find the Divinecraft door, open it, then drop down into the first puzzle room.
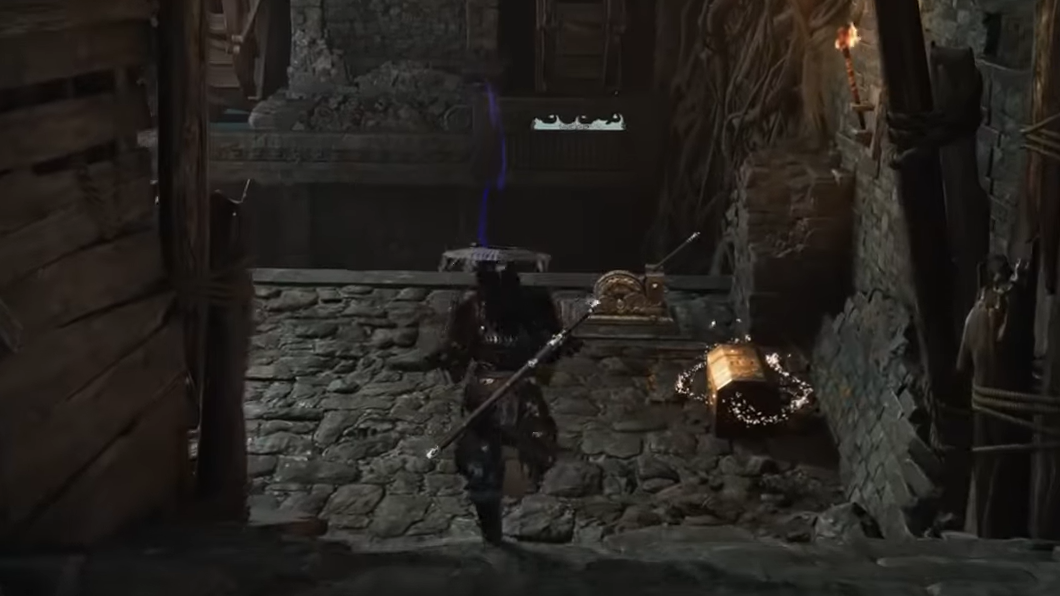
First room: learning the bell and lock mechanic (Chest 1 and Chest 2)
The first area teaches the timing link between bells and Meridian Touch.
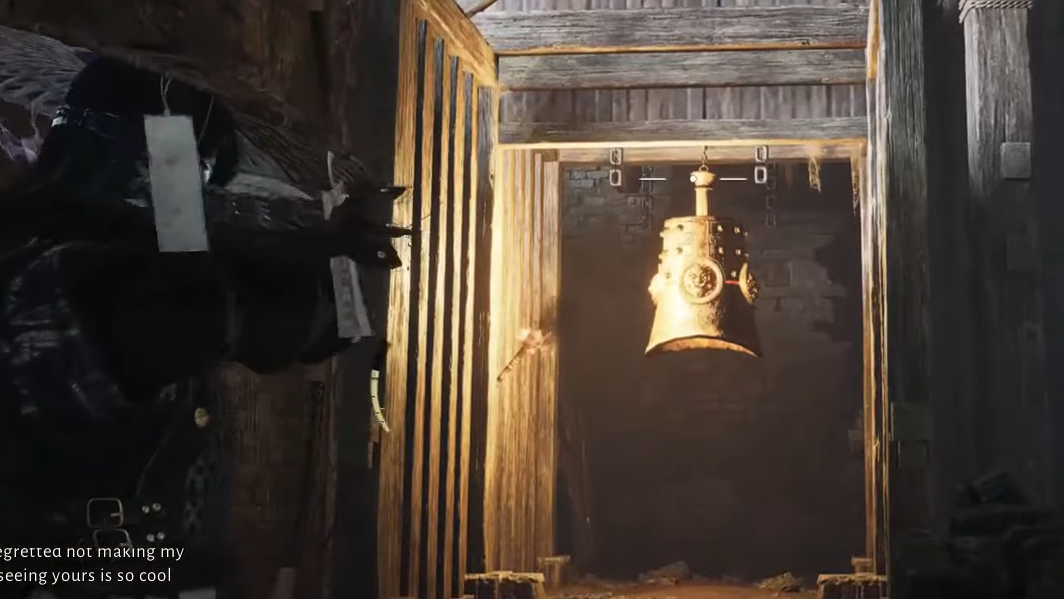
Step 1: Approach the main lever on the upper platform and pull it. A mechanism turns, briefly opening a stone door that reveals a large bell inside.
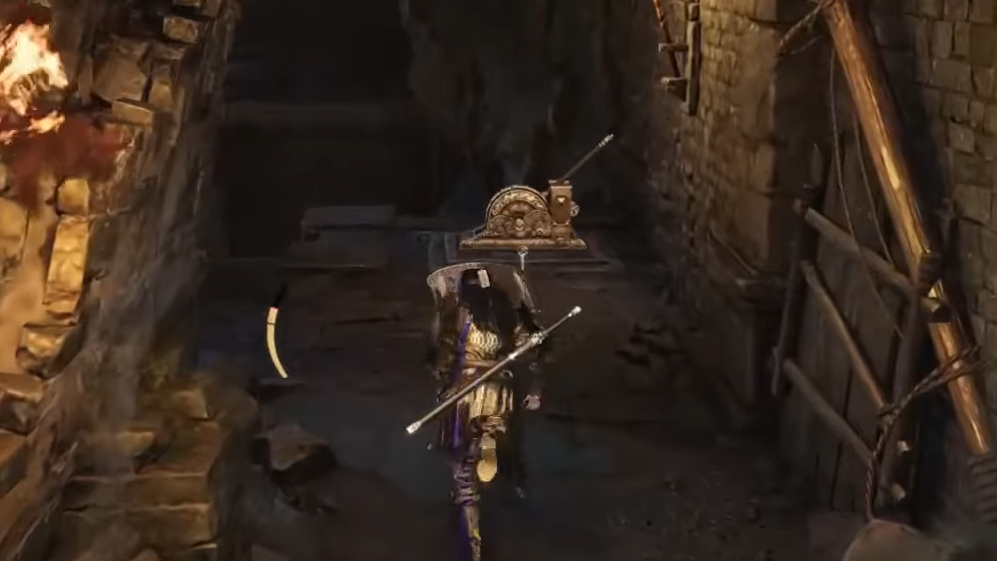
Step 2: Quickly nock an arrow and shoot the bell. As soon as it rings, jump down to the floor below and run to the stone door with a glowing circle near it.
Step 3: While the bell’s effect is still active, use Meridian Touch on the glowing circle to break the seal and open the way forward. If the glow fades, repeat the lever and bell sequence.
Before leaving this room, grab the first optional chest:
Step 1: From the lower floor of the first room, go to the far-left wall (relative to the main door). Look for a low opening in the stone.
Step 2: Crouch to move through the small tunnel. The 1st chest sits at the end. Loot it, then crawl back and climb the ladder to the upper platform again.
Once you’re back on the upper platform and have opened the bell door with Meridian Touch, go through and down the stairway beyond to reach the 2nd chest.
Step 1: Follow the stairs down from the unlocked door. At the bottom, the 2nd chest waits in plain sight. Open it, then continue into the next, larger water-control room.
Second area: flooding the room and reaching Chest 3
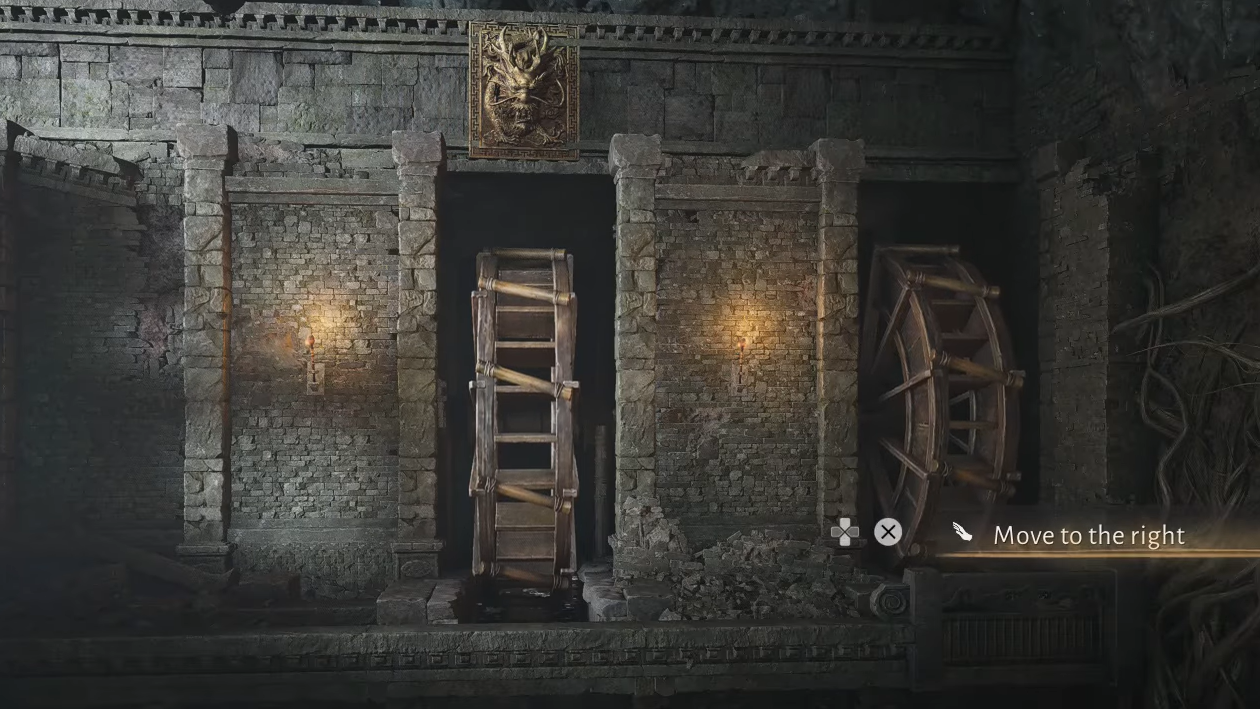
The second area introduces the shared water system. You have a control console (the circular device) next to a lever and see at least two waterwheels in front of you; a third wheel and a bell are hidden over a low stone wall on the far side.
The goal here is to use the dragon-head spout to fill the room, reach the left-side platform for Chest 3, and prepare the spout position for a later timed sequence.
Step 1: Interact with the control console and move the golden dragon (water spout) all the way to the right. This sets it above the rightmost waterwheel.
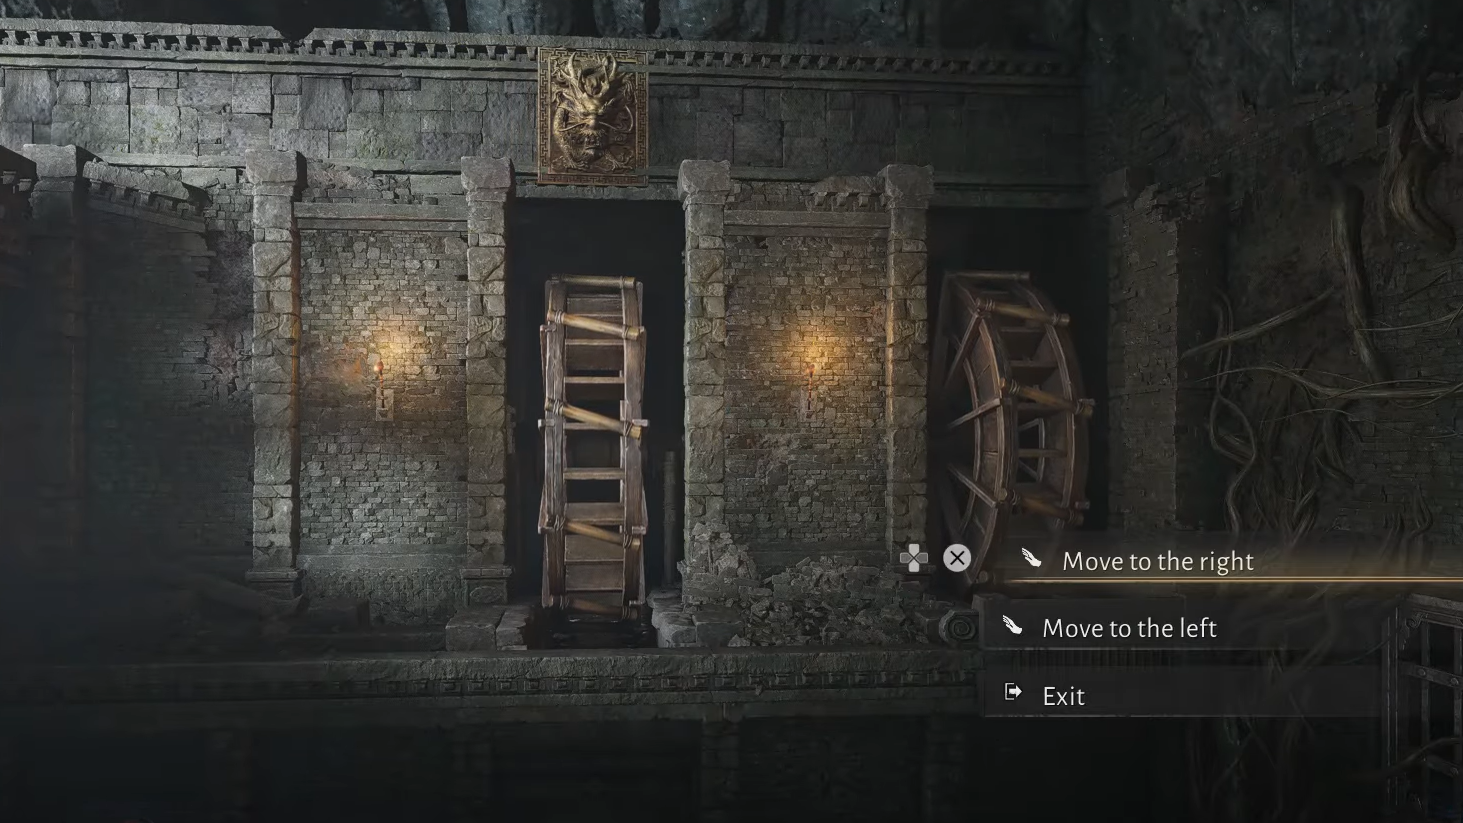
Step 2: Pull the lever. Water flows into the right wheel, and the entire room starts to flood until it reaches a swimmable level.
Step 3: After the water settles, go back to the control console and move the dragon one position to the left. Do not touch the lever now. This “primes” the spout above the left wheel, which you will need later for a timed door.
Step 4: Swim across the flooded room to the left platform where the 3rd chest is located and open it.
Second area: opening the side door and Chest 4
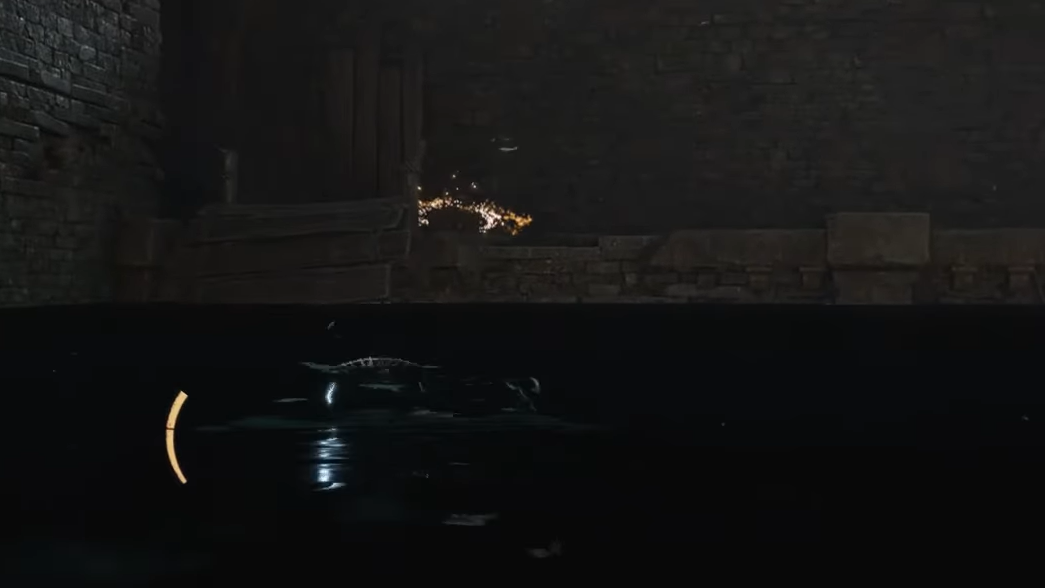
On the far side, behind wooden planks, there is a bell linked to a locked stone door on the lower level. You cannot break the lock while swimming, so the timing and water height matter.
Step 1: From the platform with Chest 3, locate the bell behind the wooden barrier. Line up a shot and ring it with an arrow.
Step 2: Immediately swim or move back toward the starting side of the room and climb or reach the upper platform with the lever.
Step 3: Pull the lever. Because the dragon spout was already moved to the left wheel, this action now drains water from the area that hides the stone door.
Step 4: Drop down to the lower level. Look for the stone door with a glowing ring around its seal. While the bell effect is still active, use Meridian Touch on the glow to break the lock.
Inside the newly opened side room is Chest 4 and the tunnel to the next zone.
Step 1: Enter through the unlocked door. On the left side of the small room, dive underwater to find the 4th chest sitting on the floor.
Step 2: While underwater, look for a narrow submerged tunnel leading away from the room. Swim through to reach the next segment of the dungeon.
Transition tunnel and third area: reaching Chest 5
The underwater tunnel from the Chest 4 room leads into a vertical space with a ladder and a partially filled chamber above. The third area is where you interact with a vine-covered wheel that affects the far wall’s water system.
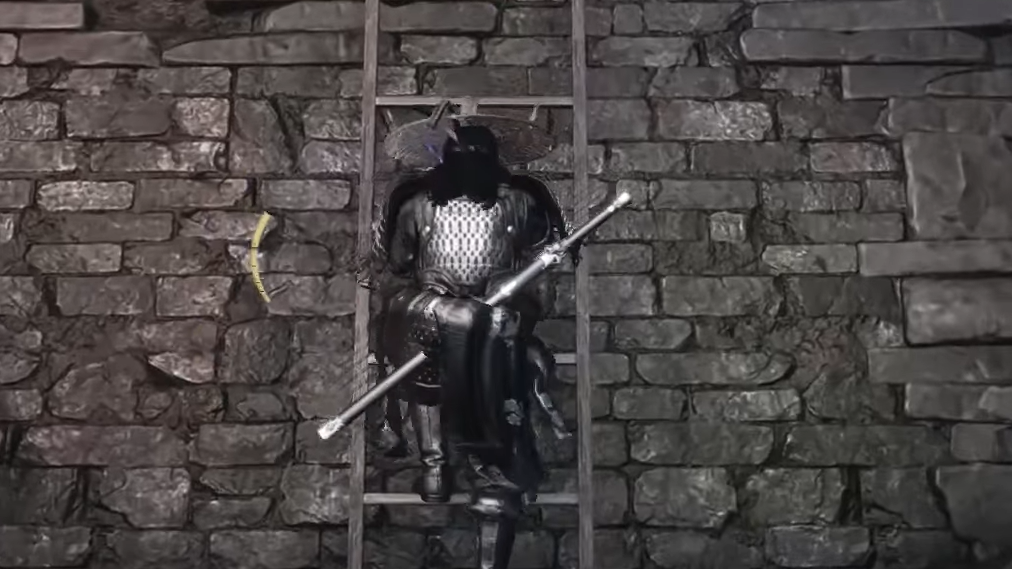
Step 1: From the tunnel exit, climb the ladder directly ahead. As you climb, watch the right-hand side; there is a ledge with the 5th chest partway up.
Step 2: Reach the top of the ladder, then drop down onto the right-side ledge to open the 5th chest.
Step 3: Climb back up using the ladder or nearby surfaces to return to the top level of this third area.
Third area: clearing vines and resetting the water system
On the far wall of the third area sits another waterwheel wrapped in roots or vines. This is part of the same system fed by the dragon-head spout in the second room, but is blocked until you burn it clear.
Step 1: Use Wind Sense to highlight the roots that bind the waterwheel on the eastern wall if they are hard to see from your angle.
Step 2: Equip fire arrows and find a position with a clear shot. Shoot the vines on the wheel until they burn away, and the mechanism becomes usable.
Once the wheel is clear, you need to return to the main water-control setup on the second-area side.
Step 3: From the third-area platform, cross back over the broken wall or use any climbable vines to get to the control console and lever in the second area.
Draining the far room for the final door
At this stage, the dungeon now has two rooms connected by a locked stone door at the bottom of the dividing wall. One side holds the main water console, and the other side (third area) leads to the tower-like structure where the final reward sits above a deep pool.
The first objective is to fully drain the far side so you can see and later reach the final door and the path up to the tower.
Step 1: Stand at the control console in the second area and move the dragon-head spout all the way to the left, back to its original position above the leftmost wheel.
Step 2: Pull the lever. This now routes water through the newly freed wheel and drains the distant room, exposing the floor and the base of the tower.
Step 3: Go back through the underwater tunnel and ladder to the third area and confirm that the water level there has dropped.
Unlocking the stone door between the two areas
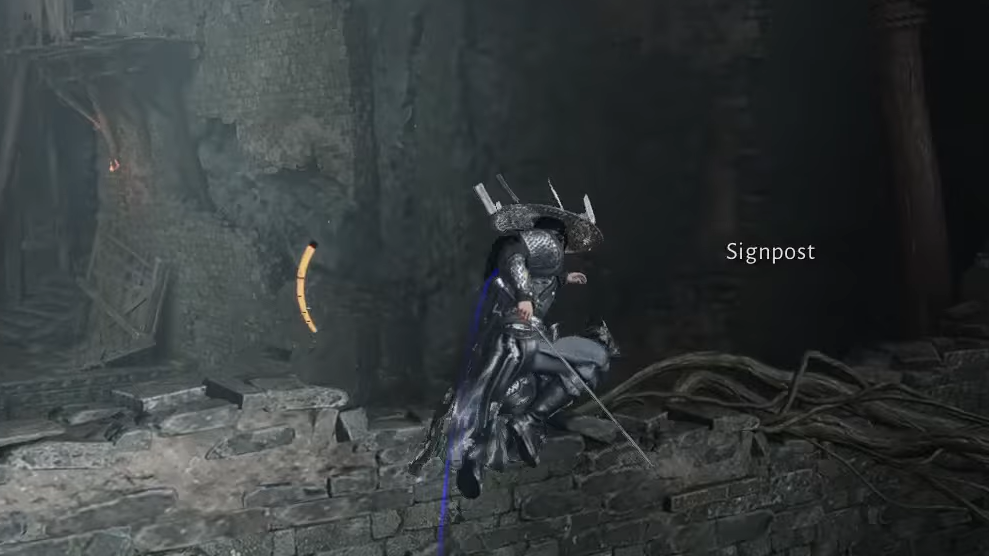
The locked stone door that eventually becomes your underwater passage between rooms still needs to be opened with the familiar bell and Meridian Touch combo. The catch here is line of sight and timing; you need to shoot a bell from atop a broken wall and then quickly get down to the door.
Step 1: In the drained third area, climb the ladder again and jump onto the broken wall that separates the second and third rooms. Stay on the wall; do not drop to the other side.
Step 2: From this elevated spot, aim across to the bell visible on the second-area side and hit it with an arrow. This again arms the nearby stone lock for a short window.
Step 3: Turn back toward the third-area side and drop down to the ground under the wooden scaffolding next to the stone wall.
Step 4: Immediately move to the stone door set into the wall between the rooms. Use Meridian Touch on the glowing ring to break the seal before the bell effect expires.
With this, the door between the two water zones is open. When both rooms are flooded at the end, this doorway becomes the underwater connection you swim through to reach the last chest.
Flooding both rooms and reaching the final chest
The final phase is to raise the water level high enough across both rooms so you can swim through the newly opened door and climb onto the final platform where the main chest waits.
Step 1: From the third-area ground, climb back up to the broken wall and cross to return to the second-area control console and lever.
Step 2: Use the control console to move the dragon-head spout all the way to the right, above the rightmost waterwheel again.
Step 3: Pull the lever. With the inter-room door open and the far wheel cleared, this floods both the second and third areas together, raising the water to its maximum shared level.
Step 4: Jump into the water and dive down to the now-open stone door in the base of the dividing wall. Swim through to the third side.
Step 5: In the third area, swim toward the far end of the room. On the right side of the stone outcropping, find the submerged steps or ramp that let you climb out of the water toward the tower-like structure.

Step 6: Climb up to the final platform and open the main chest to complete the dungeon.
Chest overview and rewards
| Chest | Location summary |
|---|---|
| Chest 1 | Crawl tunnel in the lower level of the first room, far-left wall. |
| Chest 2 | Bottom of the stairs after unlocking the first bell door. |
| Chest 3 | Left platform in the second area, reached by swimming after first flood. |
| Chest 4 | Underwater in the small side room opened from the second area’s lower level. |
| Chest 5 | On a ledge to the right of the ladder in the third area. |
| Final chest | End of the third area, on the tower platform above the shared flooded pool. |
The five optional chests provide varied loot and currency. The final chest grants a larger bundle, including Oscillating Jade, Echo Jade, Kaifeng Exploration points, Enlightenment Points, character EXP, Coin, a Frostbane Crown helm, and copies of Medicinal Tales.
Once the pattern is clear, Path of Water becomes less a guessing game and more a precise sequence of setting the spout, hitting bells at the right moments, and making sure you are on the correct side of the wall when the water rises or falls. Treat each lever pull as a deliberate decision, and the dungeon turns from frustrating to satisfying very quickly.