
Default Windows 11 update settings only allow pausing updates for a maximum of five weeks, which can be limiting for users who want long-term control over their update schedule. Modifying a specific registry value lets you pause updates for approximately 20 years, giving you the flexibility to choose exactly when your system receives updates. However, this approach comes with significant security risks and is not recommended for general use. Below, you’ll find detailed steps for this registry-based method, followed by other approaches you can use to manage or block Windows 11 updates.
Pause Windows 11 Updates for 20 Years via Registry Editor
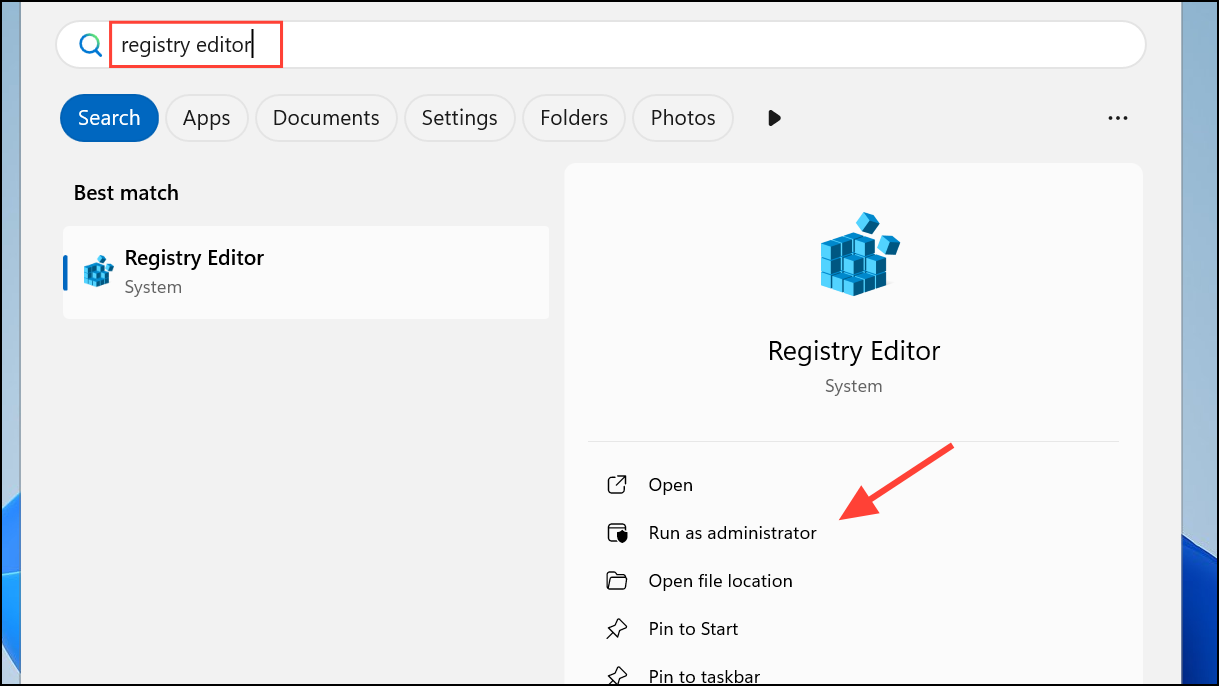
Step 1: Press Windows key, type Registry Editor, and select Run as administrator. When prompted by User Account Control, click Yes to grant permission.
Step 2: In the Registry Editor’s address bar, navigate to:
HKEY_LOCAL_MACHINE\SOFTWARE\Microsoft\WindowsUpdate\UX\Settings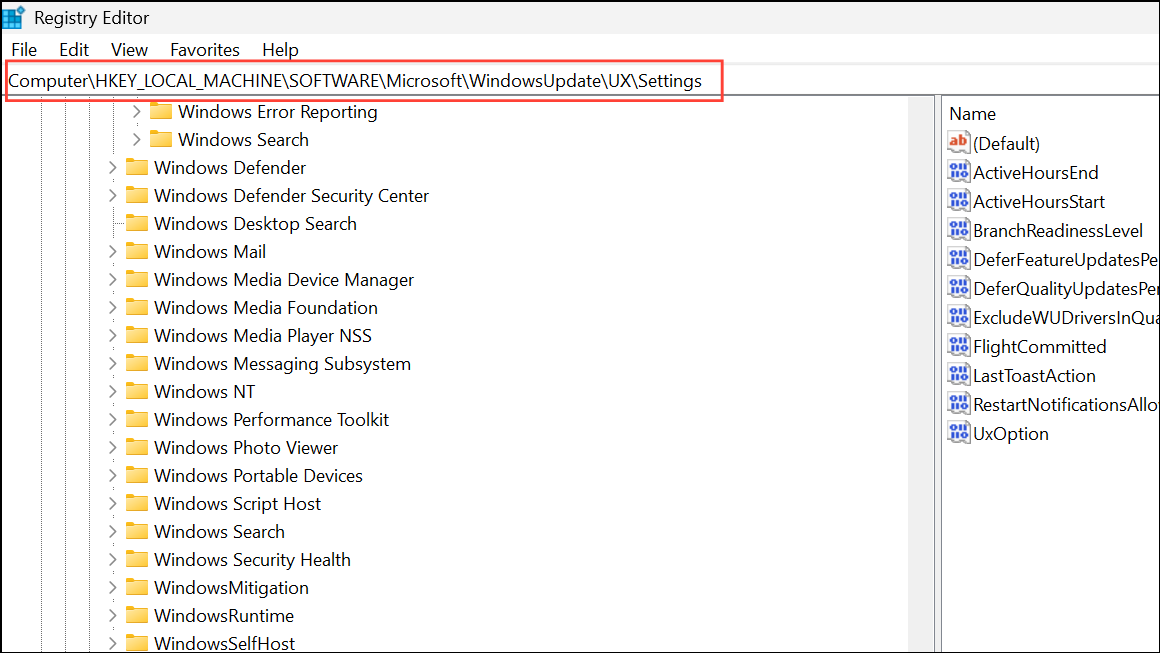
This path contains configuration values for the Windows Update user experience.
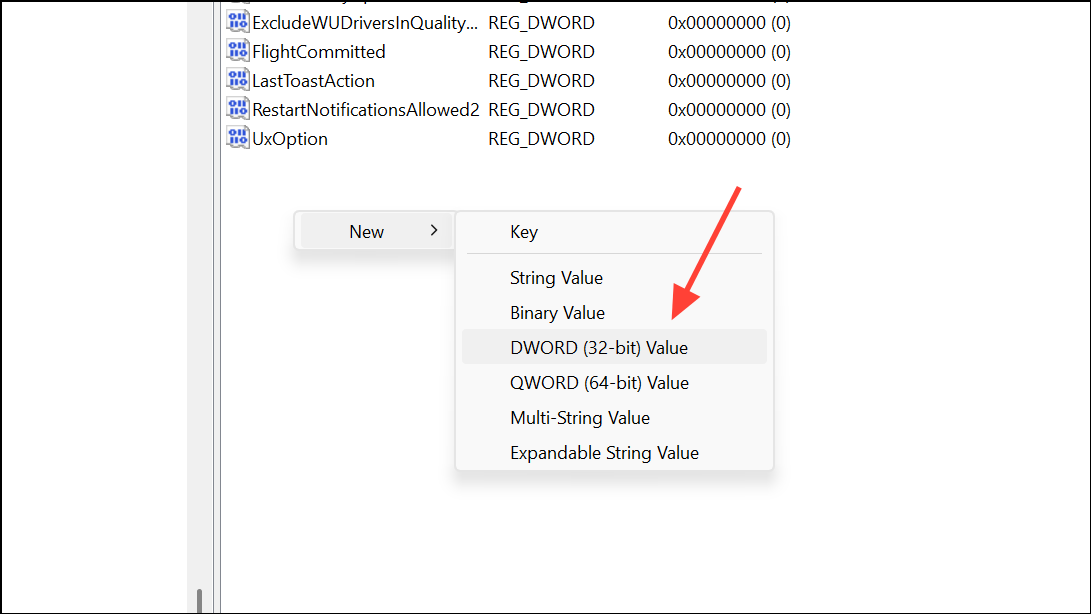
Step 3: In the right pane, look for a value named FlightSettingsMaxPauseDays. If it doesn’t exist, right-click the Settings folder, choose New > DWORD (32-bit) Value, and name it FlightSettingsMaxPauseDays.
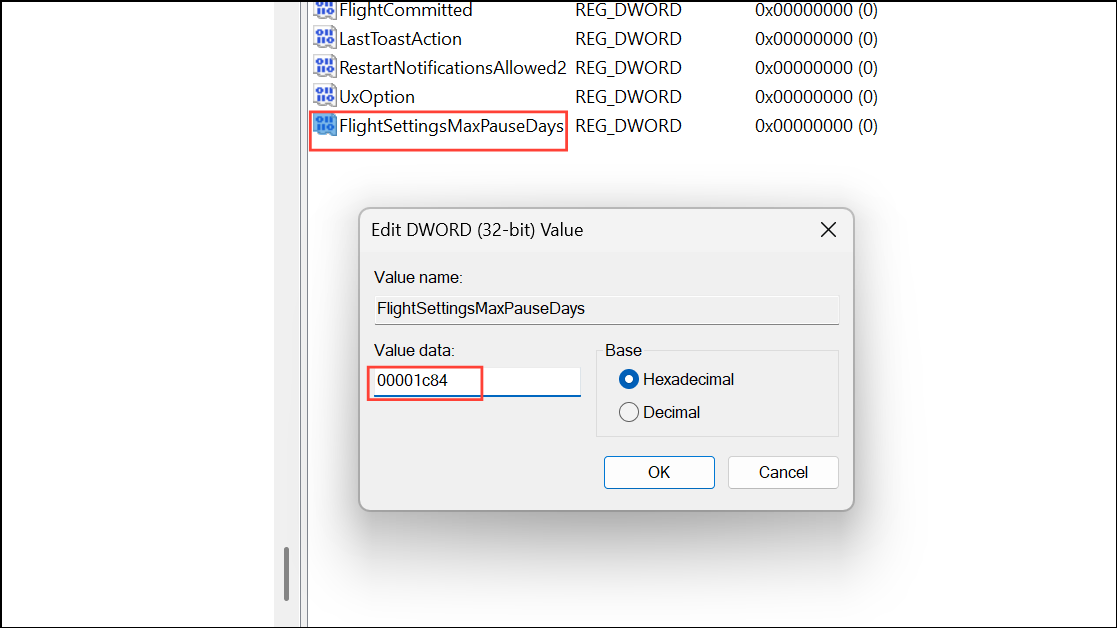
Step 4: Double-click the FlightSettingsMaxPauseDays value. In the Value Data field, enter 00001c84 (hexadecimal), which equals 7,168 days or about 20 years. Click OK to save.
Step 5: Close the Registry Editor and restart your computer to apply the changes. This ensures Windows recognizes the new pause period.
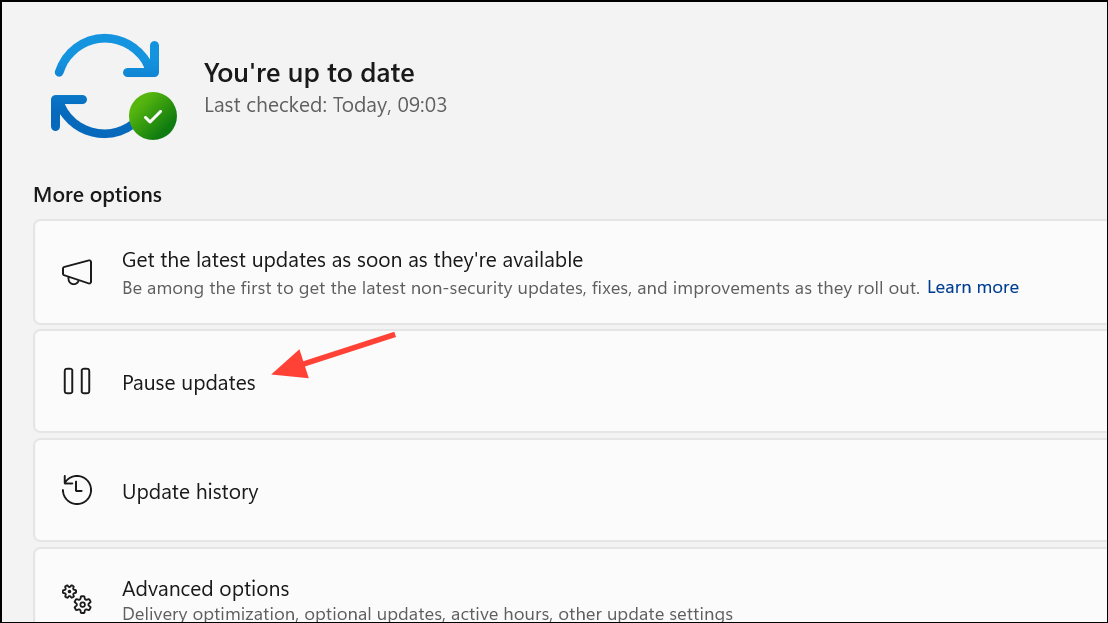
Step 6: After rebooting, open Settings > Windows Update. Click the drop-down arrow next to Pause updates. You should now see the option to pause updates for up to 1,042 weeks, which is roughly 20 years.
To revert this change, return to the same registry value and set it back to 28 (for 28 days, or 4 weeks), or simply delete the FlightSettingsMaxPauseDays entry. Restart your PC for the default behavior to return.
Disable Automatic Updates via Group Policy Editor
For users on Windows 11 Pro, Enterprise, or Education editions, the Group Policy Editor allows disabling automatic updates at the policy level.
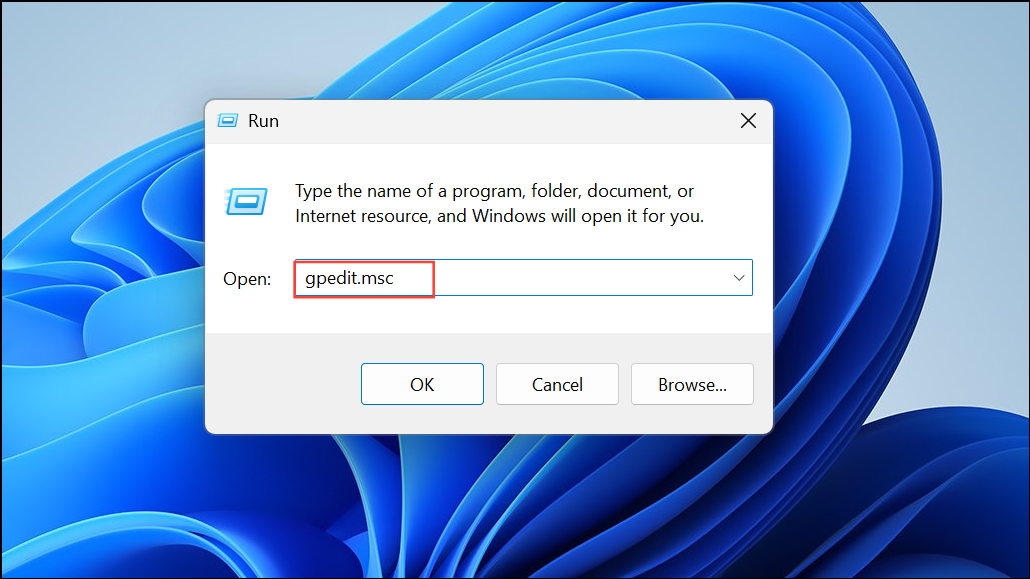
Step 1: Press Windows + R to open the Run dialog, type gpedit.msc, and press Enter.
Step 2: Navigate to:
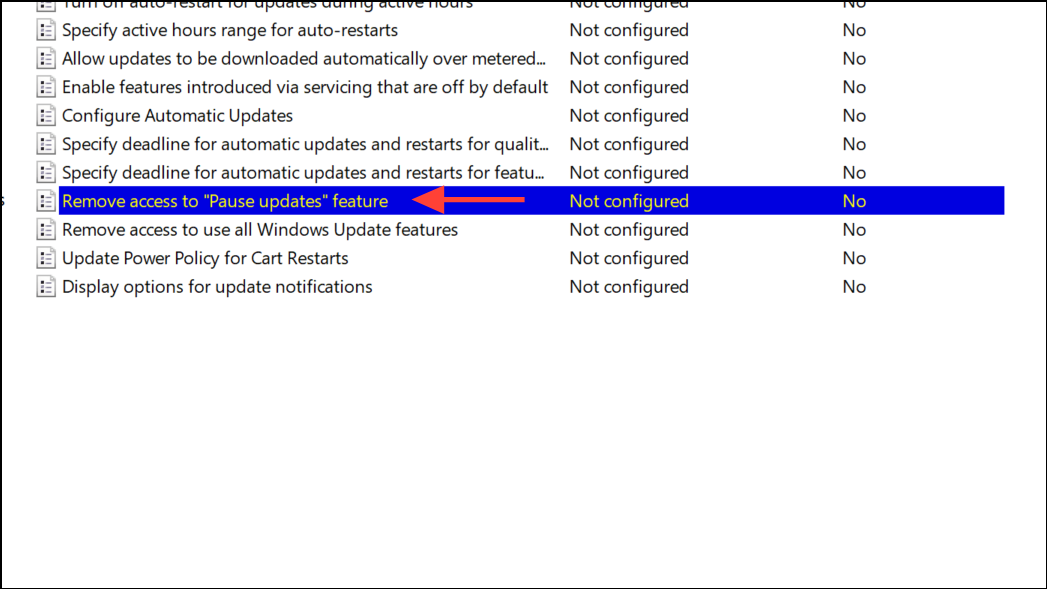
Computer Configuration > Administrative Templates > Windows Components > Windows Update > Manage end user experience
Step 3: Double-click Remove access to "Pause updates" feature or Configure Automatic Updates in the right pane.
Step 4: Select Enabled to remove pause access, or Disabled to turn off automatic updates. Click Apply and OK to save changes.

Step 5: Close the Group Policy Editor and restart your PC for the new policy to take effect.
Note that Windows Home users do not have access to the Group Policy Editor by default.
Block Automatic Updates via Registry Editor (NoAutoUpdate)
Another registry-based method involves setting the NoAutoUpdate value, which prevents Windows from automatically downloading and installing updates.
Step 1: Open the Registry Editor as described above.
Step 2: Navigate to:
HKEY_LOCAL_MACHINE\SOFTWARE\Policies\Microsoft\Windows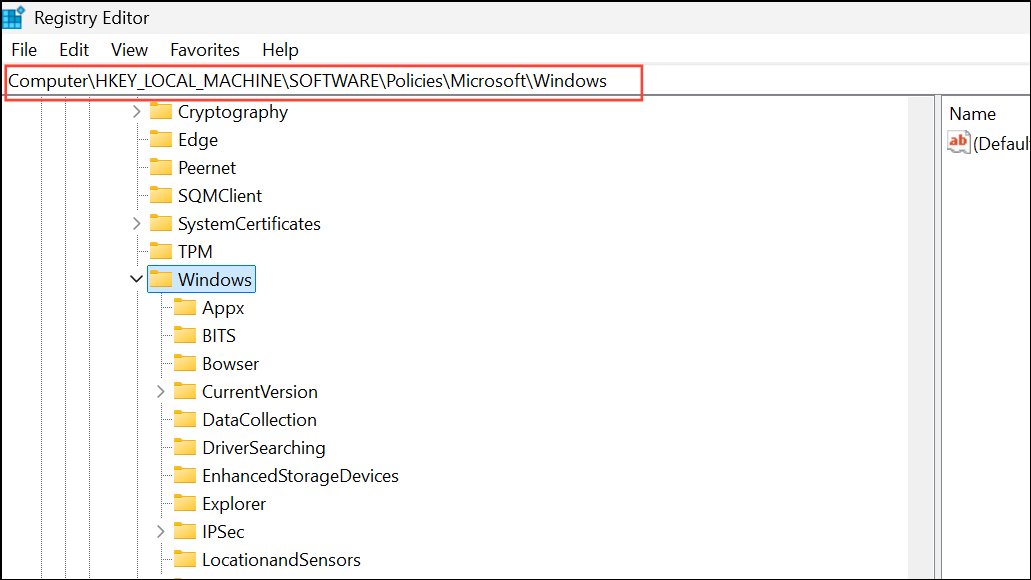
Step 3: Right-click the Windows key, select New > Key, and name it WindowsUpdate. Then, right-click WindowsUpdate, choose New > Key, and name it AU.

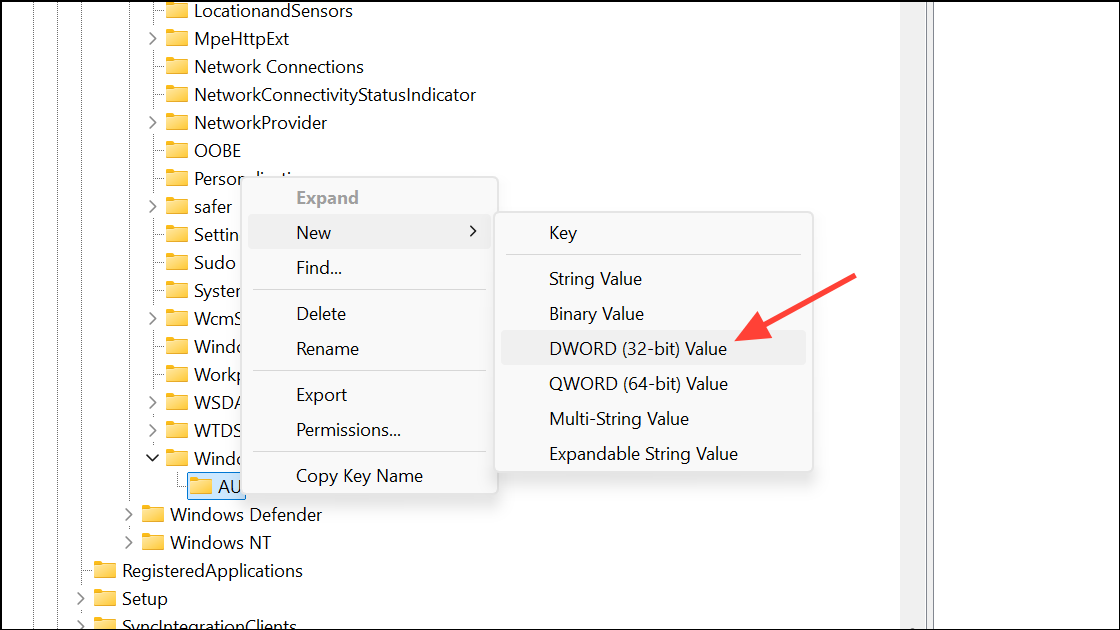
Step 4: With AU selected, right-click the right pane, choose New > DWORD (32-bit) Value, and name it NoAutoUpdate.
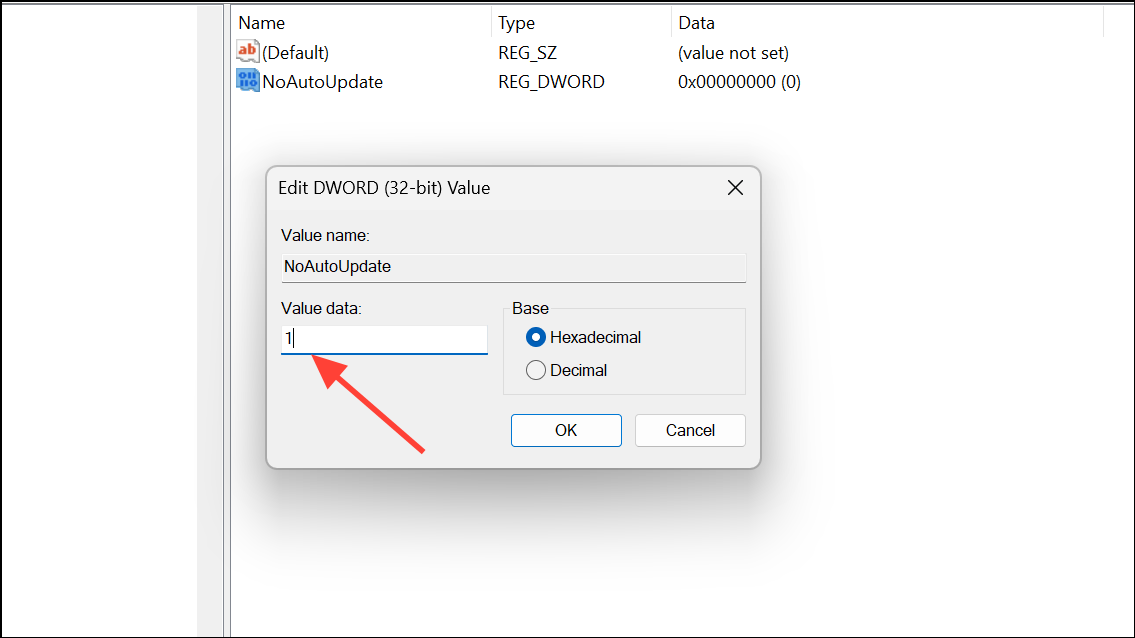
Step 5: Double-click NoAutoUpdate and set its value to 1 to disable automatic updates. Setting it to 0 re-enables updates.
Restart your PC to apply the changes. This method blocks automatic updates, but you can still manually check for updates when needed.
Disable Windows Update Service via Services Console
Stopping the Windows Update service prevents updates from running, but Windows may re-enable this service during major updates or after system restarts.
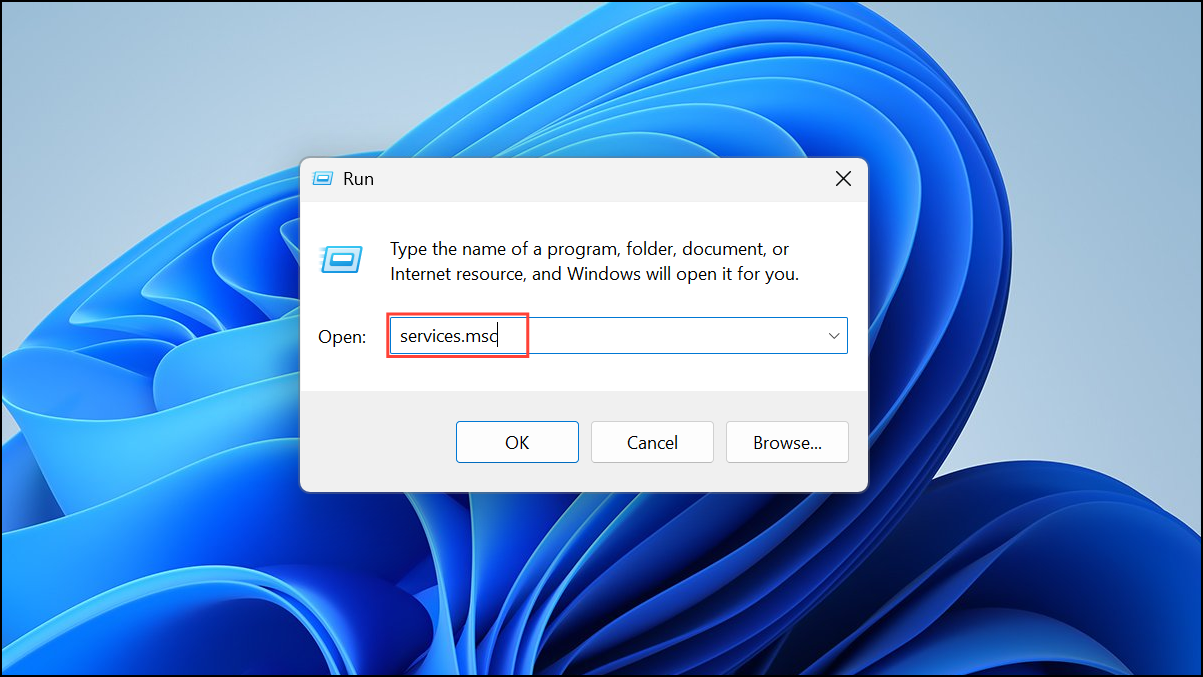
Step 1: Press Windows + R, type services.msc, and hit Enter.
Step 2: Scroll down and double-click Windows Update in the list of services.

Step 3: In the Properties window, set Startup type to Disabled.
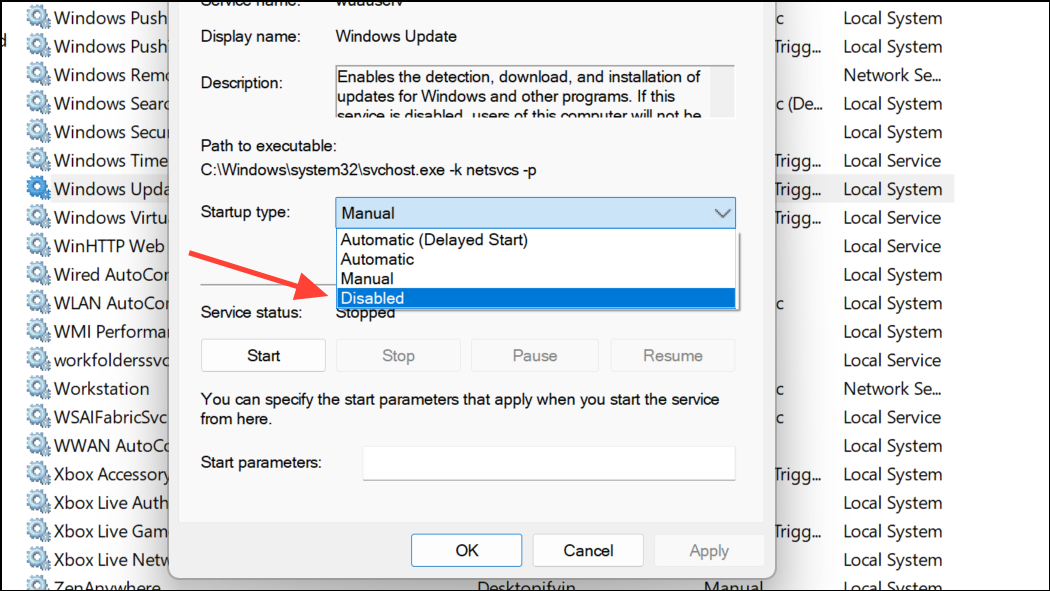
Step 4: Click Apply and OK. You may also click Stop if the service is running.
Keep in mind, Windows may override this setting during certain update cycles, so check periodically if the service remains disabled.
Use Metered Connection to Limit Update Downloads
Designating your network as metered restricts Windows from downloading most updates automatically, which is useful if you want to minimize update activity without advanced system changes.
Step 1: Open Settings > Network & internet > Wi-Fi or Ethernet.
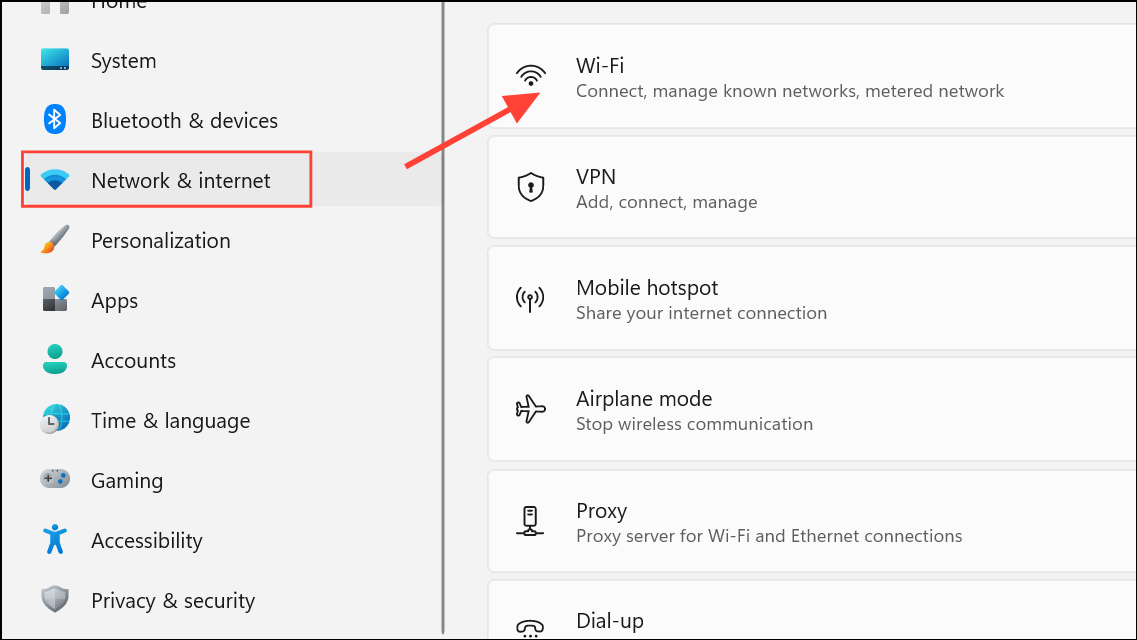
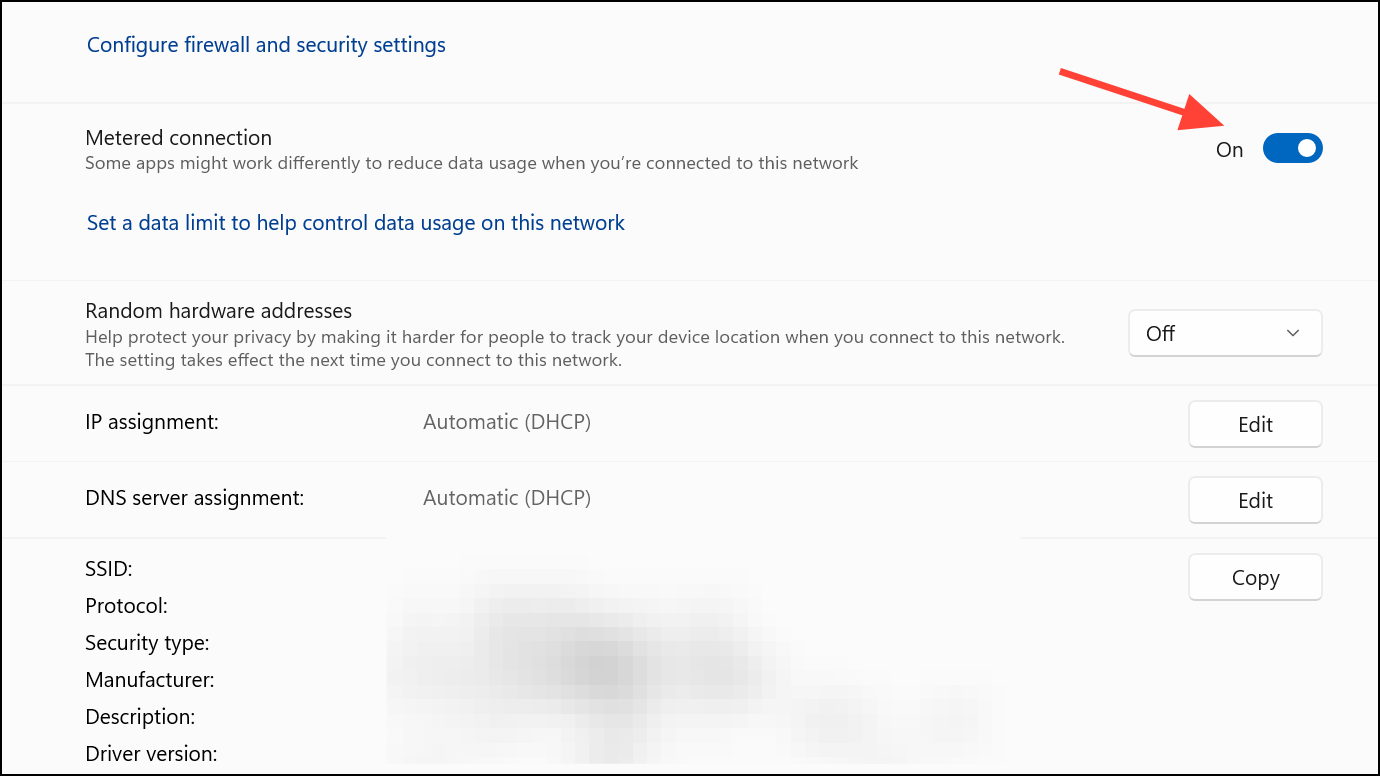
Step 2: Click on your active connection, then toggle Metered connection to On.
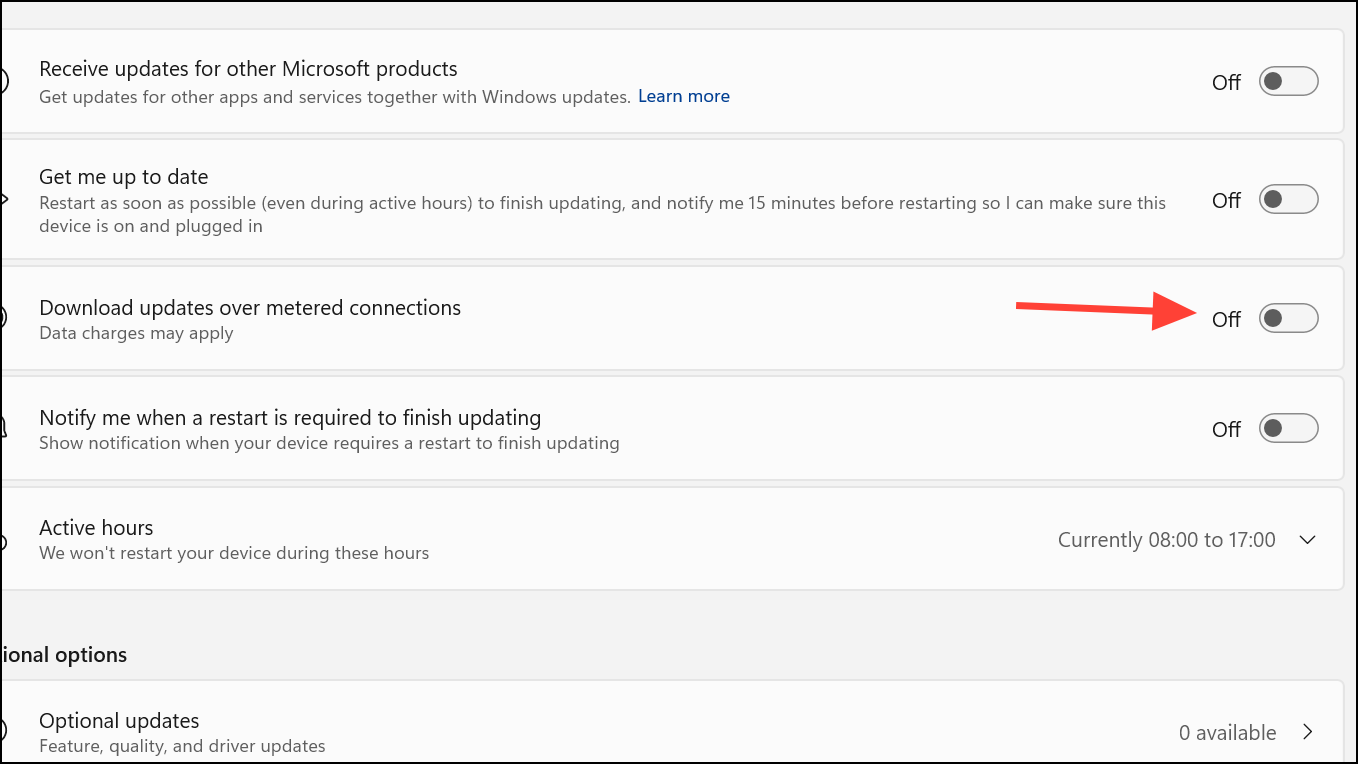
Step 3: Go to Settings > Windows Update > Advanced options and turn off Download updates over metered connections.
This method is less invasive and can reduce bandwidth usage, but some critical updates may still download and install automatically.
Extending the Windows 11 update pause period to 20 years is possible with a registry tweak, though it comes with significant security risks and is not recommended for most users. For safer long-term control, use policy or service-based methods, and always review your system’s update status regularly to maintain security and compatibility.