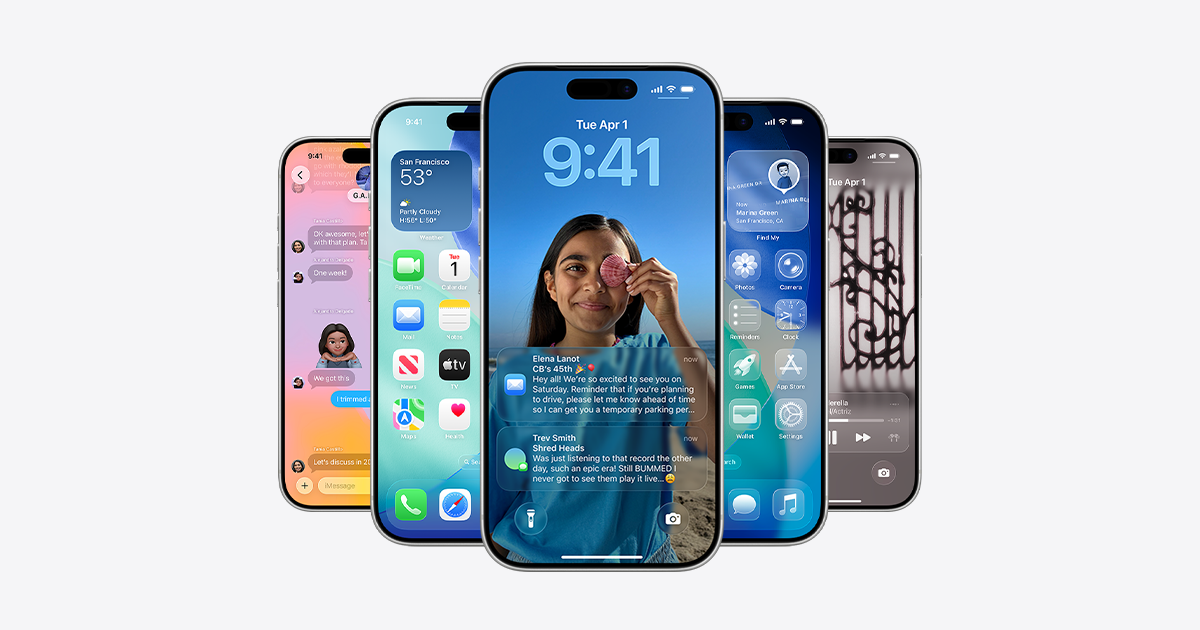
iOS 26 begins rolling out on September 15 with a new Liquid Glass design, Apple Intelligence capabilities, Messages polls and backgrounds, call screening tools, and more. This guide covers how to check compatibility, safeguard your data, reclaim storage, and perform a smooth upgrade. For feature details and the official compatibility list, see Apple’s iOS 26 page.

Confirm your iPhone is supported
iOS 26 supports iPhone 11 and newer, including iPhone SE (2nd generation and later). Not all features are available on all devices or in all regions. Apple Intelligence-powered features require newer hardware; consult Apple’s page above for specifics and regional notes.
Step 1: Identify your model in Settings > General > About. Confirm the model name and generation.
Step 2: Compare your model against Apple’s iOS 26 compatibility list on the official page linked above. If your device isn’t listed, it won’t receive the update.
Back up your iPhone (recommended: archived local backup)
A verified backup is the single most effective safety net. A local, archived backup protects you from accidental overwrite and allows restore or downgrade if needed. Health data and saved passwords require an encrypted backup. Reference: Apple Support on backups: https://support.apple.com/HT203977.
Method A — Archived local backup on Mac (Finder)
Step 1: Connect iPhone to your Mac via USB and open Finder.
Step 2: Select your iPhone in Finder’s sidebar and choose the General tab. If prompted, click Trust and enter your passcode.
Step 3: Select Back up all of the data on your iPhone to this Mac. Check Encrypt local backup to include Health and Keychain, then set a strong password.
Step 4: Click Back Up Now and wait for completion. Confirm the timestamp shows today’s backup.
Step 5: Click Manage Backups, right‑click your new backup, and choose Archive. This locks the snapshot so it isn’t overwritten by newer backups.
Method B — Archived local backup on Windows (Apple Devices app)
Step 1: Connect iPhone to your Windows PC and open the Apple Devices app. Approve any trust prompts on iPhone and PC.
Step 2: Select your iPhone in the sidebar, open the General section, and choose to back up to this computer. Enable Encrypt local backup to include Health and Keychain, then set a password.
Step 3: Click Back Up Now and wait for completion. Then open Manage Backups, right‑click your backup, and select Archive to prevent automatic overwrite.
Method C — iCloud backup (fast remote option)
Step 1: Connect to reliable Wi‑Fi and ensure you have sufficient iCloud storage for the backup size shown in Settings > [your name] > iCloud > iCloud Backup.
Step 2: Turn on iCloud Backup if it’s off, then tap Back Up Now. Wait until the latest backup timestamp updates. Consider keeping both iCloud and one local archive for redundancy.
Reclaim storage to avoid install failures
Over‑the‑air updates require free space for download and staging. Clearing space reduces the chance of errors and speeds installation.
Step 1: Review usage in Settings > General > iPhone Storage. Note the system recommendations and large items.
Step 2: Remove unused or large apps. Tap an app to Delete App or Offload App (keeps documents/data).
Step 3: Optimize photos: go to Settings > Photos and select Optimize iPhone Storage if you use iCloud Photos.
Step 4: Clear large media downloads in TV, Music, Podcasts, and third‑party streaming apps by removing offline content you no longer need.
Step 5: For messaging or social apps with ballooning caches, back up important data in‑app, then consider a delete and reinstall to reset local caches.
Update apps and do quick housekeeping
Running current app versions reduces post‑update crashes or unexpected behavior and shortens troubleshooting time.
Step 1: Open App Store, tap your profile, and use Update All (or selectively update critical apps first).
Step 2: Verify your Apple ID password and two‑factor sign‑in method in Settings > [your name]. This prevents sign‑in roadblocks after the update.
Step 3: Restart iPhone to clear temporary files and ensure services are in a good state before installing a major OS update.
Prepare power and network
Stable power and connectivity help avoid mid‑install interruptions, which can prolong recovery time.
Step 1: Charge to at least 50% and, ideally, keep the iPhone connected to power for the entire update.
Step 2: Use a fast, reliable Wi‑Fi network. Avoid captive portals or crowded public networks that can drop large downloads.
Install iOS 26
Deployment timing can vary by region and carrier. Once it appears for your device, you can install immediately or schedule for later.
Step 1: Go to Settings > General > Software Update. Wait for iPhone to check for iOS 26 and display the update.
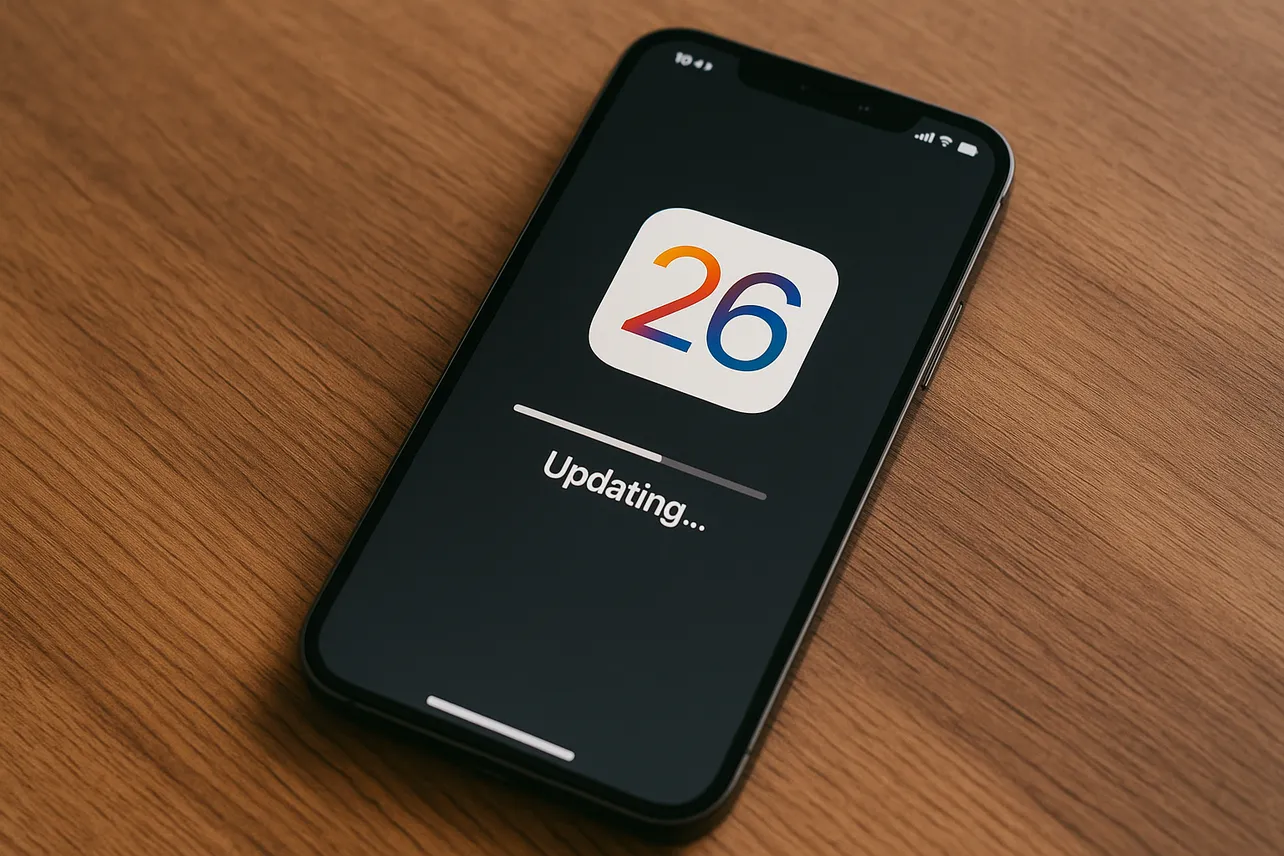
Step 2: Tap Download and Install, agree to terms, and keep the device on Wi‑Fi and power. The screen will show progress bars and may restart.
Step 3: If you prefer to wait, open Settings > General > Software Update > Automatic Updates and temporarily disable automatic installs until you’re ready.
Optional: clean install or short delay
A clean restore can resolve deep‑seated issues but requires more time. Briefly delaying adoption lets early issues surface and be addressed.
Step 1: For a clean install via computer, use Finder (Mac) or Apple Devices (Windows) to select Restore iPhone. This erases the device and installs the latest iOS. Afterward, restore from your archived backup to recover data and settings.
Step 2: Consider waiting a few days post‑release if your iPhone is mission‑critical. Install once initial feedback and any quick fixes are available. Balance this against timely security updates.
After the update: what to expect
- Allow background indexing to complete. You may notice temporary battery drain and warming for several hours as Photos, Search, and app databases rebuild.
- Review new communication controls. iOS 26 adds screening tools for calls and unknown senders in Messages; adjust preferences in the Phone, FaceTime, and Messages settings to match your workflow.
- Revisit privacy and location prompts as apps update. Confirm permissions align with your expectations.
With a verified backup, enough free space, and a stable connection, the iOS 26 upgrade should be straightforward—take a few minutes to prepare now and you’ll save time later.


