
Low disk space warnings and sluggish performance often point to a buildup of temporary files and folders on Windows 11 systems. These files, created by the operating system and various applications, are intended to be short-lived—but in practice, they accumulate over time, quietly taking up gigabytes of valuable storage. Addressing this issue not only frees up drive space for essential files and updates but also streamlines everyday computing tasks and reduces the risk of update failures.
Clear Temporary Files Using Windows Settings
Step 1: Open the Start menu and select Settings. In the Settings window, click on System and then choose Storage from the sidebar.

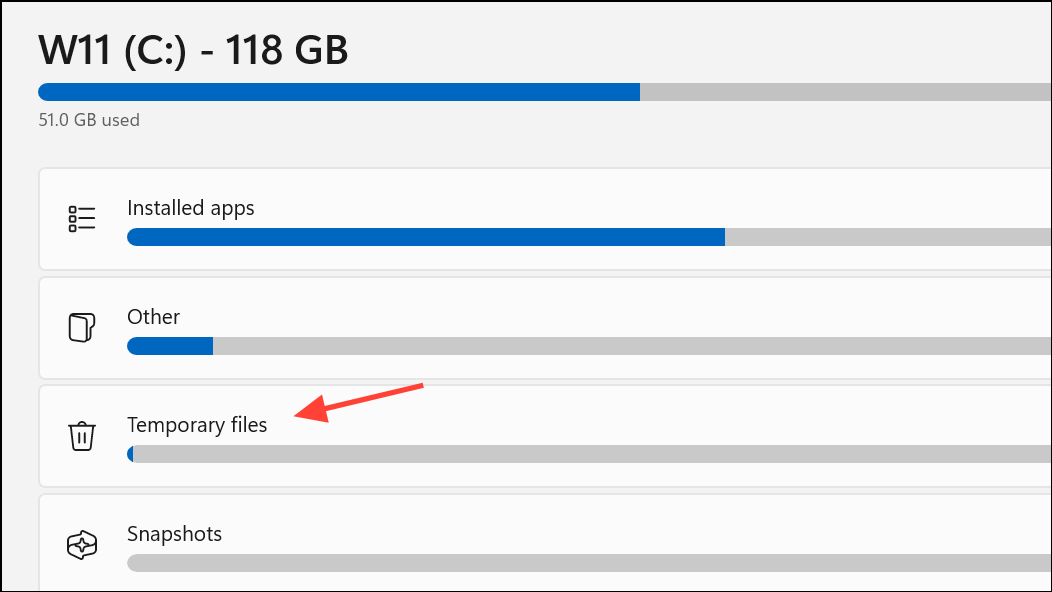
Step 2: Under the Storage section, click on Temporary files. Windows will automatically scan and display a list of temporary file categories, such as Delivery Optimization Files, Thumbnails, Windows Update Cleanup, and Recycle Bin contents.
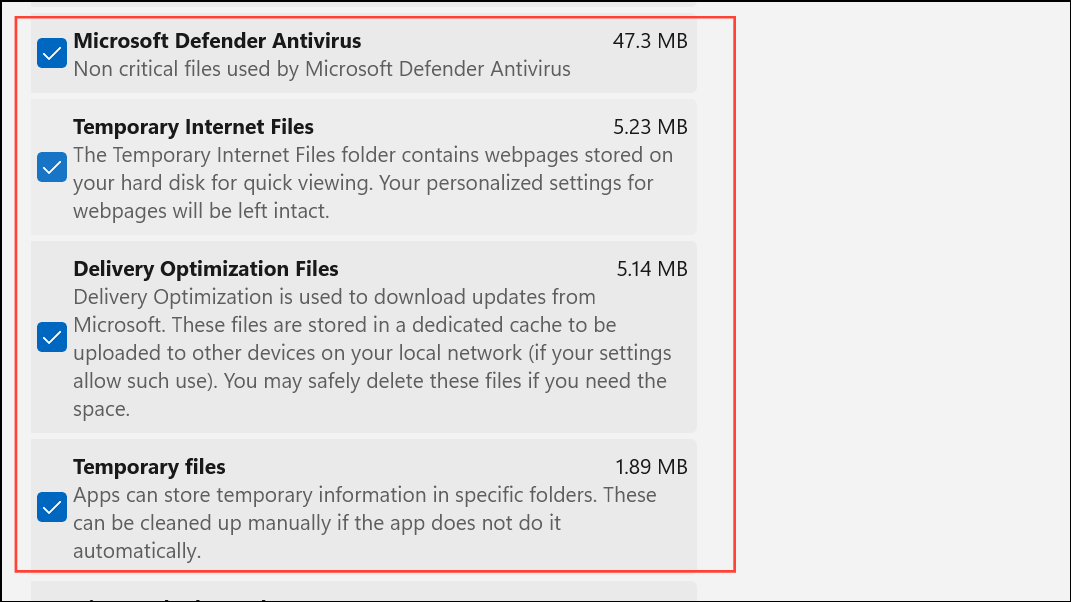
Step 3: Review the listed categories and check the boxes for the types of temporary files you wish to remove. Avoid selecting the Downloads folder unless you are certain you no longer need those files. Each category displays the amount of space it occupies, helping you prioritize what to delete.
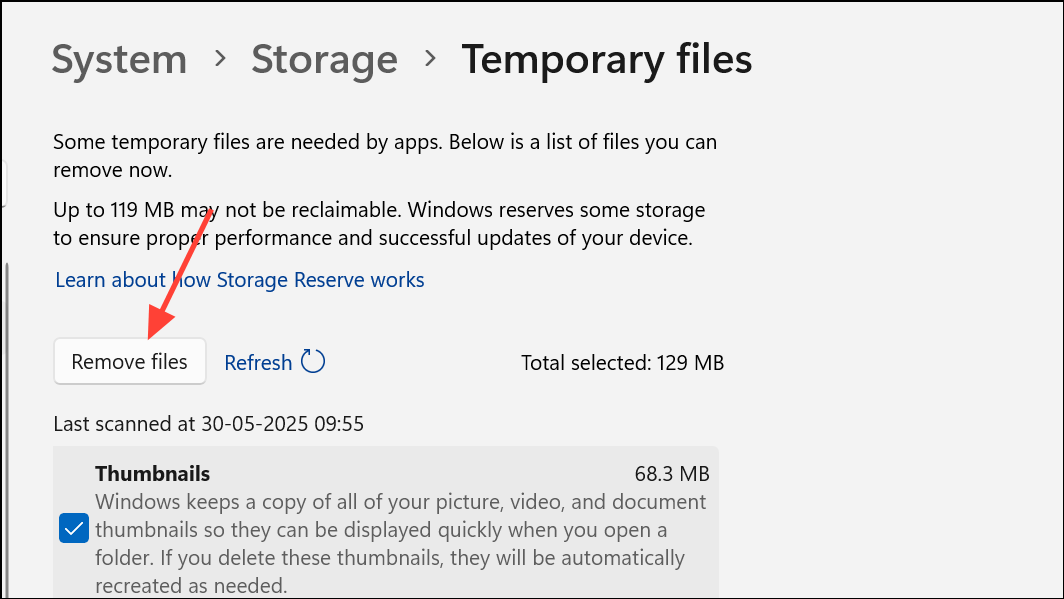
Step 4: Click Remove files to delete the selected temporary files. This action will reclaim disk space and remove unnecessary clutter from your system.
For ongoing maintenance, enable Storage Sense by toggling it on in the Storage settings. Storage Sense can be configured to automatically clear temporary files at regular intervals or when disk space runs low.
Manually Delete Temp Folders via File Explorer
Some temporary files are not always cleared by automated tools and require manual intervention. Two primary folders to target are the system Temp folder and the user Temp folder.
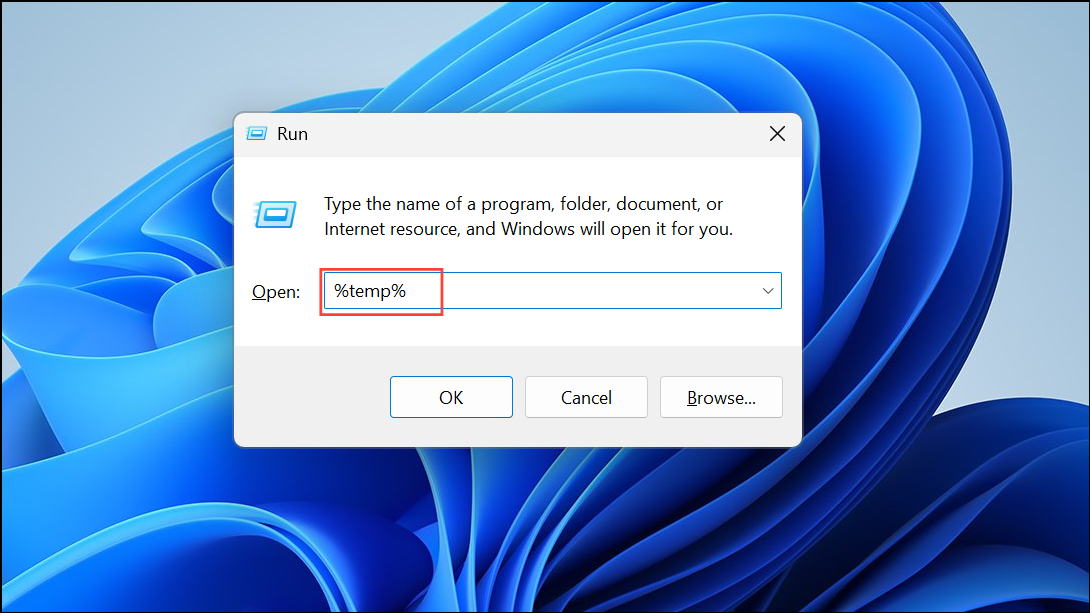
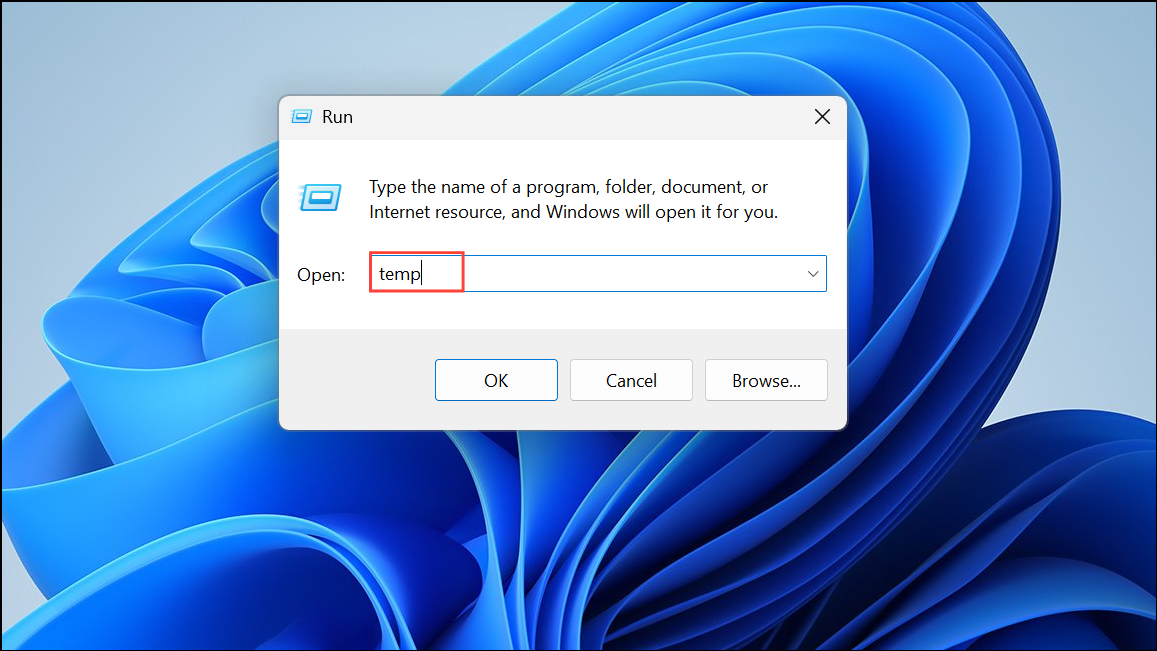
Step 1: Press Windows + R to open the Run dialog. Type %temp% and press Enter. This opens the user-specific Temp folder in File Explorer.
Step 2: Press Ctrl + A to select all files and folders inside. Press Delete on your keyboard. If prompted that certain files are in use, skip them—these are locked by active processes and can be deleted during a future cleanup.
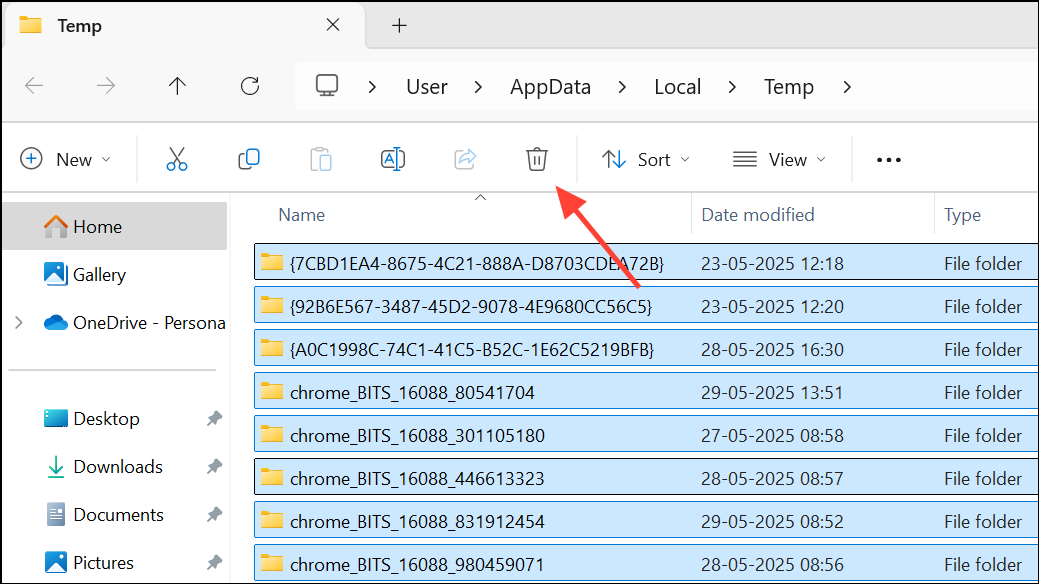
Step 3: Repeat the process for the system Temp folder. Open the Run dialog again, type temp, and press Enter. You may need administrator rights to access this folder. Select and delete all files not currently in use.
For best results, restart your computer before performing these steps. A fresh reboot closes background processes, making more files available for deletion.
Remove Update and Upgrade Leftovers
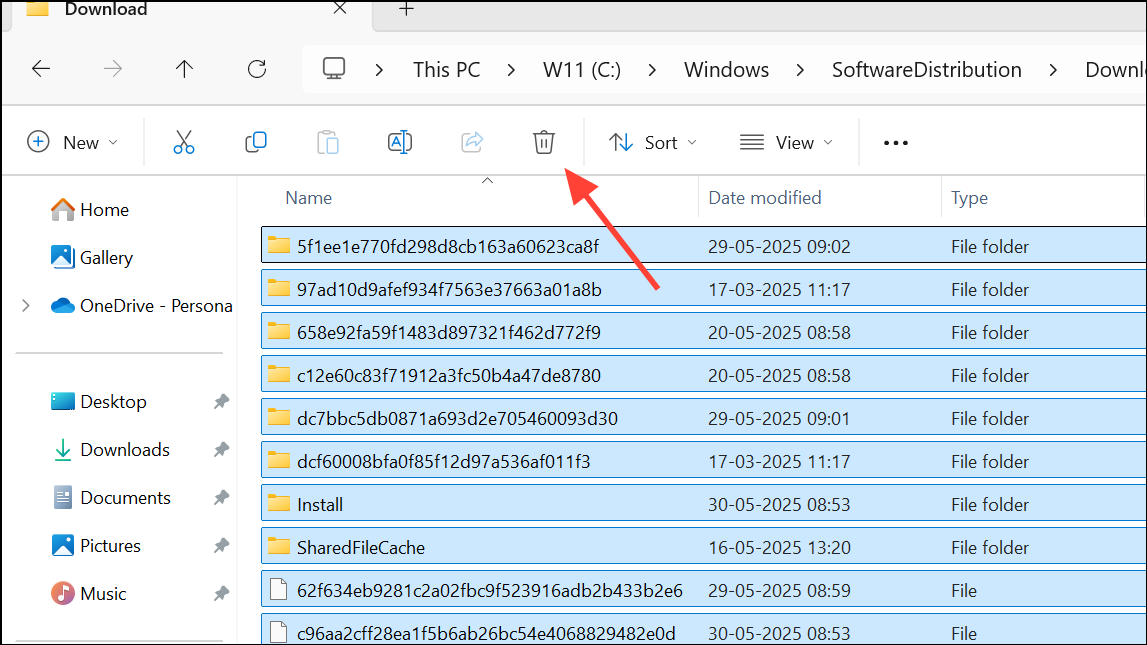
Windows updates and upgrades can leave behind significant amounts of temporary data, especially in the C:\Windows\SoftwareDistribution\Download and Windows.old folders.
Step 1: To clear the Software Distribution Download folder, open File Explorer and navigate to C:\Windows\SoftwareDistribution\Download. Select all files and delete them. Only remove the contents, not the entire folder. Ensure that all pending Windows updates have been installed before deleting these files.
Step 2: The Windows.old folder contains a backup of your previous Windows installation. If you are satisfied with your current version and do not plan to roll back, you can safely delete this folder to recover a large amount of space. Use the Disk Cleanup tool (described below) and select Previous Windows installation(s) to remove it.
Use Disk Cleanup for Advanced File Removal
Disk Cleanup is a built-in Windows tool designed to scan for and delete a wide range of unnecessary files, including temporary files, thumbnails, and system error reports.
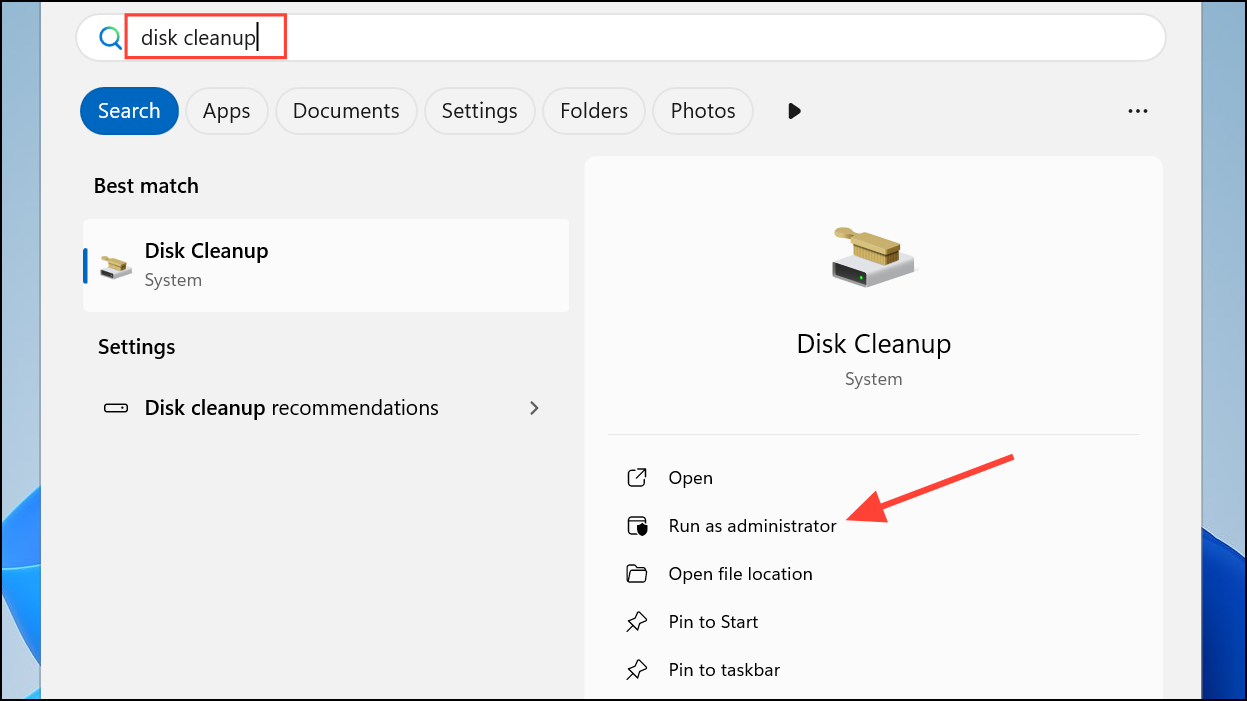
Step 1: Press Windows + S and type disk cleanup. Click on the Disk Cleanup app and select Run as administrator for a more thorough scan.
Step 2: Choose the drive to clean (typically C:) and click OK. Disk Cleanup will scan for removable files.

Step 3: Review the list of file categories. Check the boxes for Temporary files, Thumbnails, Delivery Optimization Files, and any other types you wish to remove. Click OK, then confirm by clicking Delete Files.
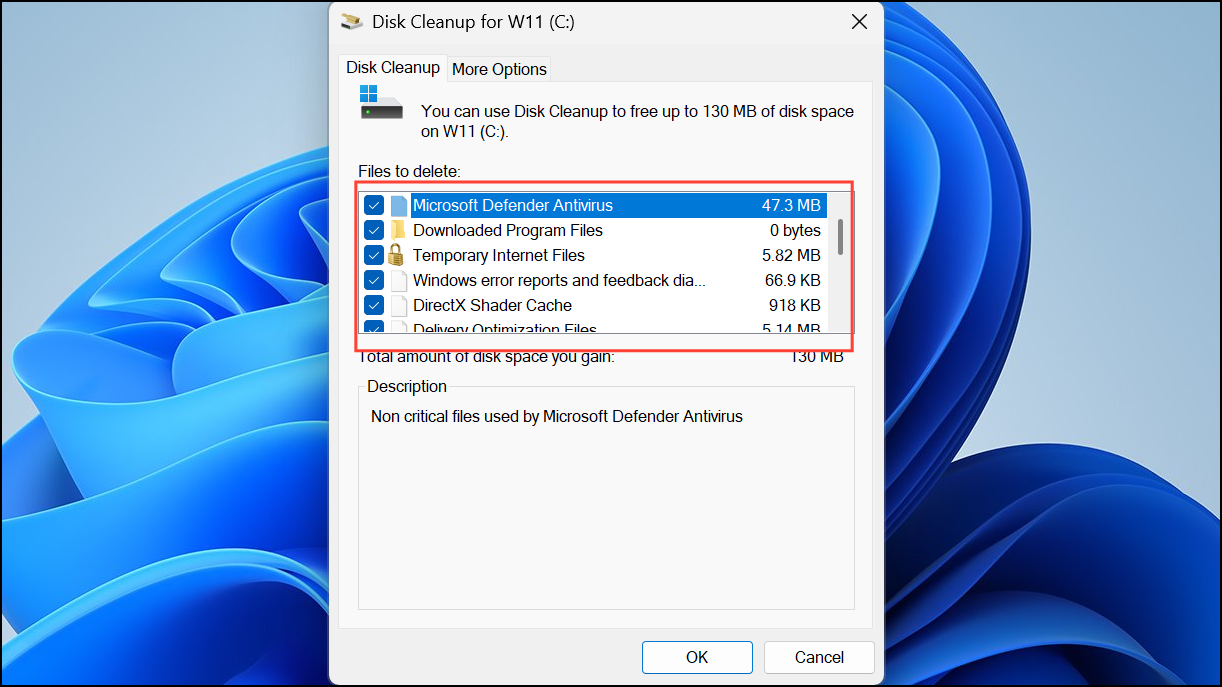
Step 4: For even more options, click Clean up system files within Disk Cleanup. This will rescan and allow you to remove system update leftovers, old Windows installations, and more.
Disk Cleanup may not always remove every temporary file, especially those in use by running processes. For persistent files, consider running Disk Cleanup after a system restart or in Safe Mode.
Automate Cleanup with Storage Sense
Storage Sense is a Windows feature that automates the process of deleting temporary files, Recycle Bin contents, and other unnecessary data based on your preferences.
Step 1: Navigate to Settings > System > Storage. Toggle Storage Sense to On.
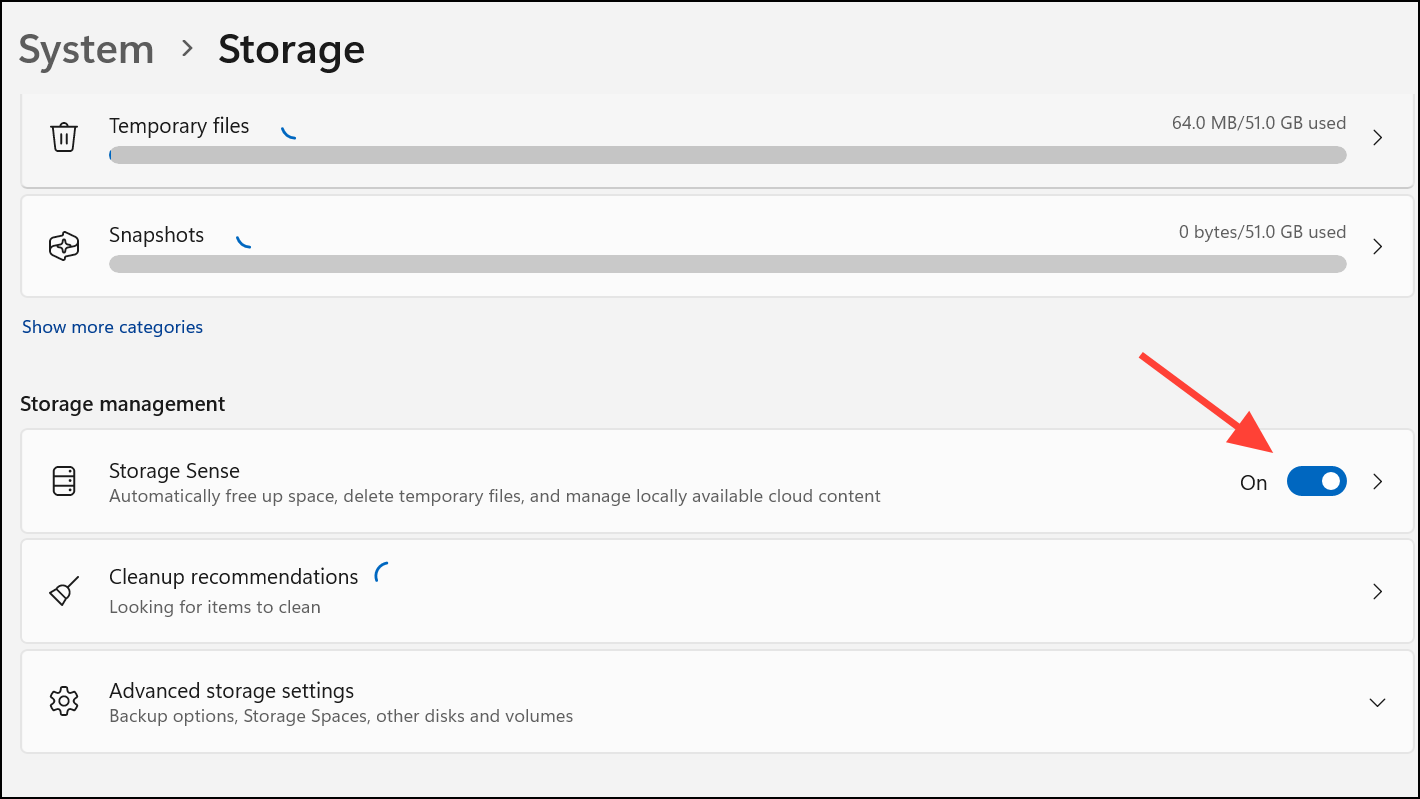
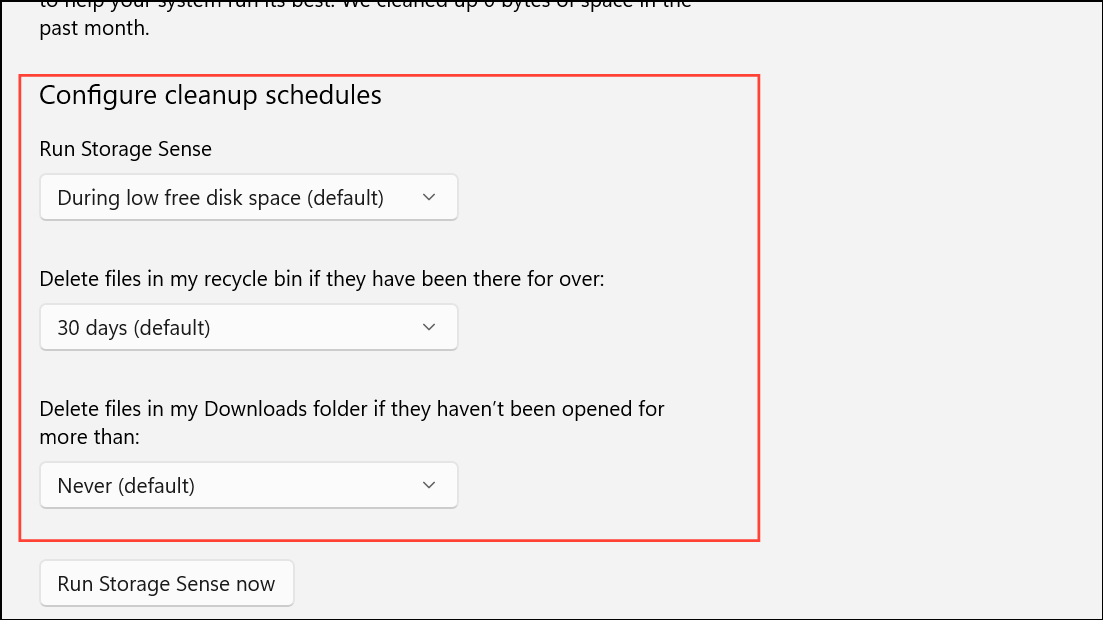
Step 2: Click on Storage Sense to configure its settings. You can choose how often it runs (daily, weekly, monthly, or when space is low), set rules for deleting files from the Recycle Bin and Downloads folder, and specify which temporary files to target.
Storage Sense works in the background, reducing the need for manual intervention and keeping your system cleaner over time. However, it may still leave behind some files created by third-party applications, so periodic manual checks are helpful.
Clear Other Temporary Locations and Cache Files
Several other folders and caches can grow over time and should be checked periodically:
- Recycle Bin: Deleted files remain here until you empty it. Right-click the Recycle Bin icon and choose
Empty Recycle Binto permanently remove these files and free up space. - Thumbnail Cache: Windows stores thumbnail previews for images and videos. These can be deleted via Disk Cleanup or the Temporary Files menu.
- Downloaded Program Files: An older folder used for ActiveX controls and Java applets. Navigate to
C:\Windows\Downloaded Program Filesand delete unused items. - Recent Items: Shortcuts to recently opened files can be deleted by pressing
Windows + R, typingshell:recent, and deleting all contents. - Browser Cache: Browsers store cached website files, cookies, and history. Open your browser’s settings and clear browsing data, or use built-in tools to remove cached files.
These additional cleanups help maintain a tidier and more responsive system, especially when disk space is tight.
Addressing Persistent Temp Folder Growth and Limitations
Some users notice that Windows’ built-in cleanup tools do not always remove all temporary files, particularly those in %temp% or C:\Windows\Temp. Reasons include files being in active use, application-specific leftovers, or permissions issues. Advanced users sometimes automate temp folder deletion via scripts, third-party cleaners, or by relocating temp folders using environment variables for easier management.
For stubborn files, restart your computer and attempt deletion again. If files remain locked, booting into Safe Mode can help by loading only essential processes, making more files available for removal.
Regularly clearing out temporary folders keeps your Windows 11 PC running faster, prevents storage-related errors, and ensures you always have room for updates and new files. Schedule cleanups, enable Storage Sense, and periodically check manual locations to maintain a clutter-free system.