
OneDrive automatically integrates with File Explorer on Windows, placing a shortcut in the sidebar for quick access. For those who do not use OneDrive or prefer a cleaner navigation pane, removing this shortcut can simplify file management and reduce clutter.
Remove OneDrive from File Explorer Sidebar via Registry Editor
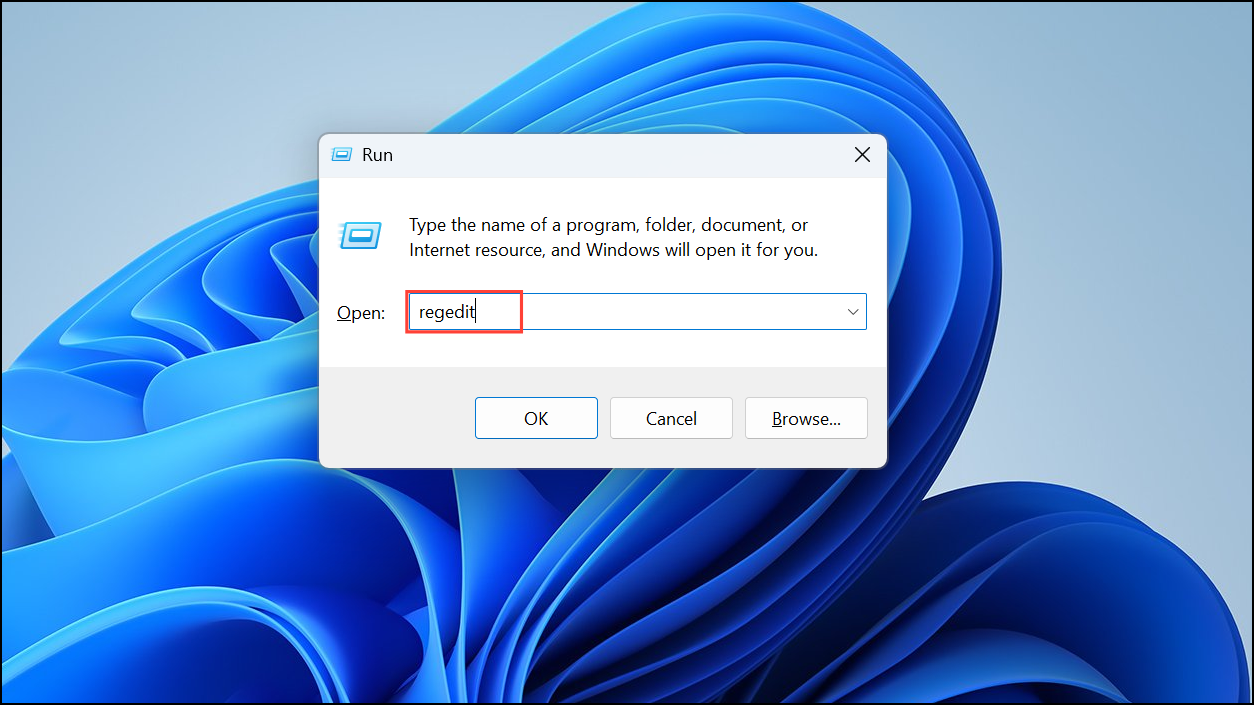
Step 1: Open the Registry Editor by pressing Windows + R, typing regedit, and pressing Enter. If prompted by User Account Control, click Yes to allow changes.
Step 2: In the Registry Editor, navigate to the following path:
HKEY_CLASSES_ROOT\CLSID\{018D5C66-4533-4307-9B53-224DE2ED1FE6}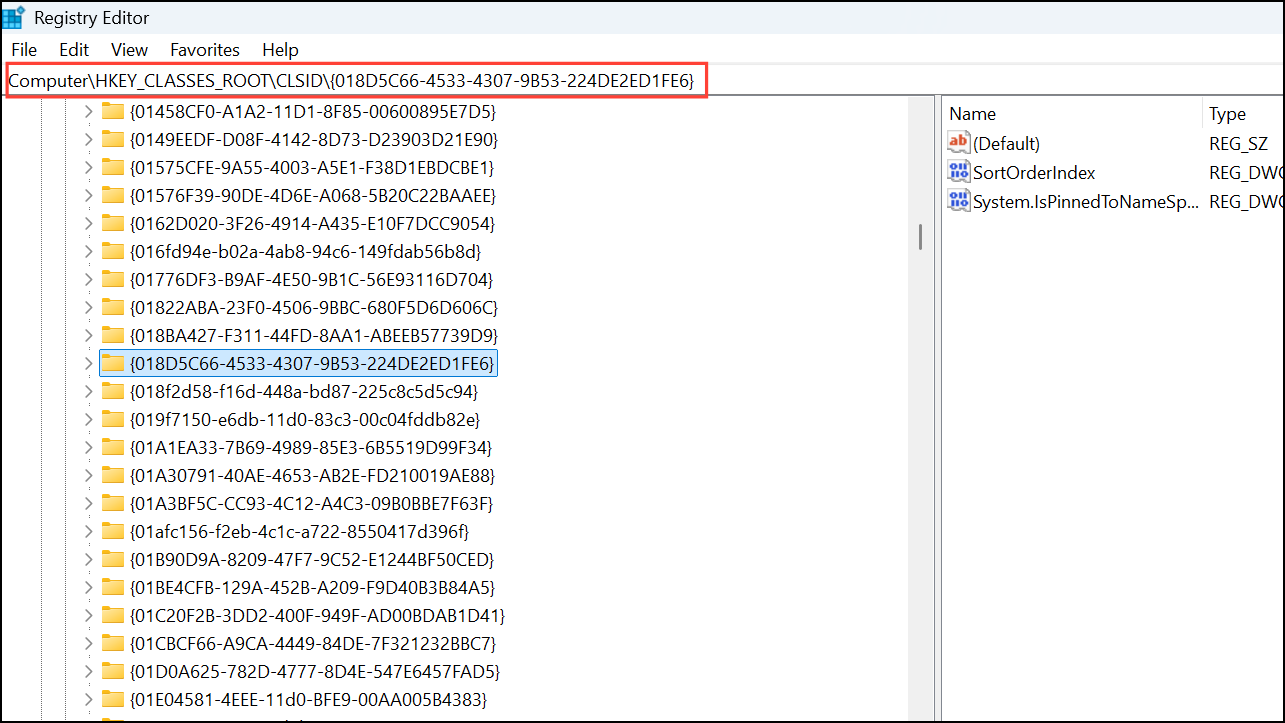
This key controls the OneDrive entry in the sidebar for most Windows versions. If you are on a 64-bit system, also check:
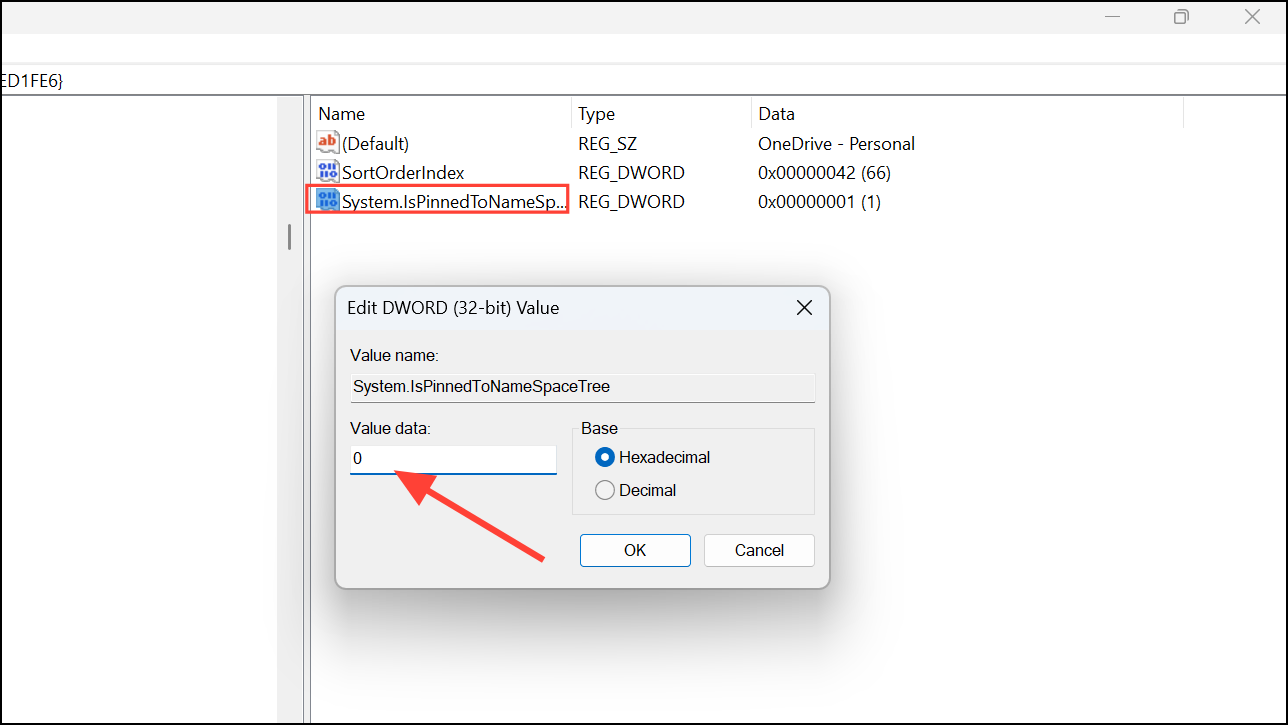
HKEY_CLASSES_ROOT\Wow6432Node\CLSID\{018D5C66-4533-4307-9B53-224DE2ED1FE6}Step 3: In the right pane, double-click the System.IsPinnedToNameSpaceTree value. Change its data from 1 to 0 and click OK.
Step 4: Close the Registry Editor. Log out and log back in, or restart your computer to see the change. The OneDrive shortcut should no longer appear in the File Explorer sidebar.
Uninstall OneDrive to Remove Sidebar Entry
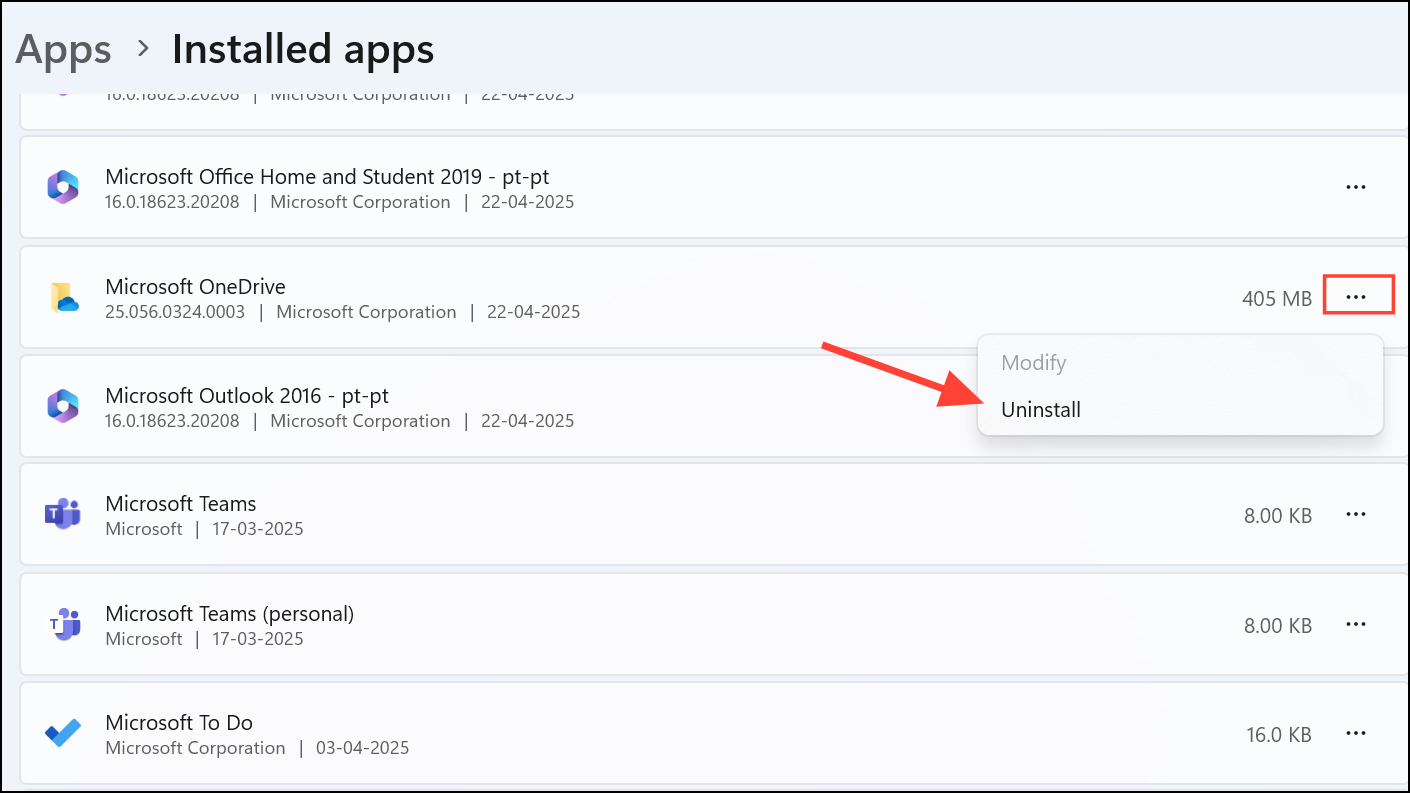
Step 1: Open Settings by pressing Windows + I and select Apps > Apps & features. On Windows 11, go to Apps and then Installed Apps.
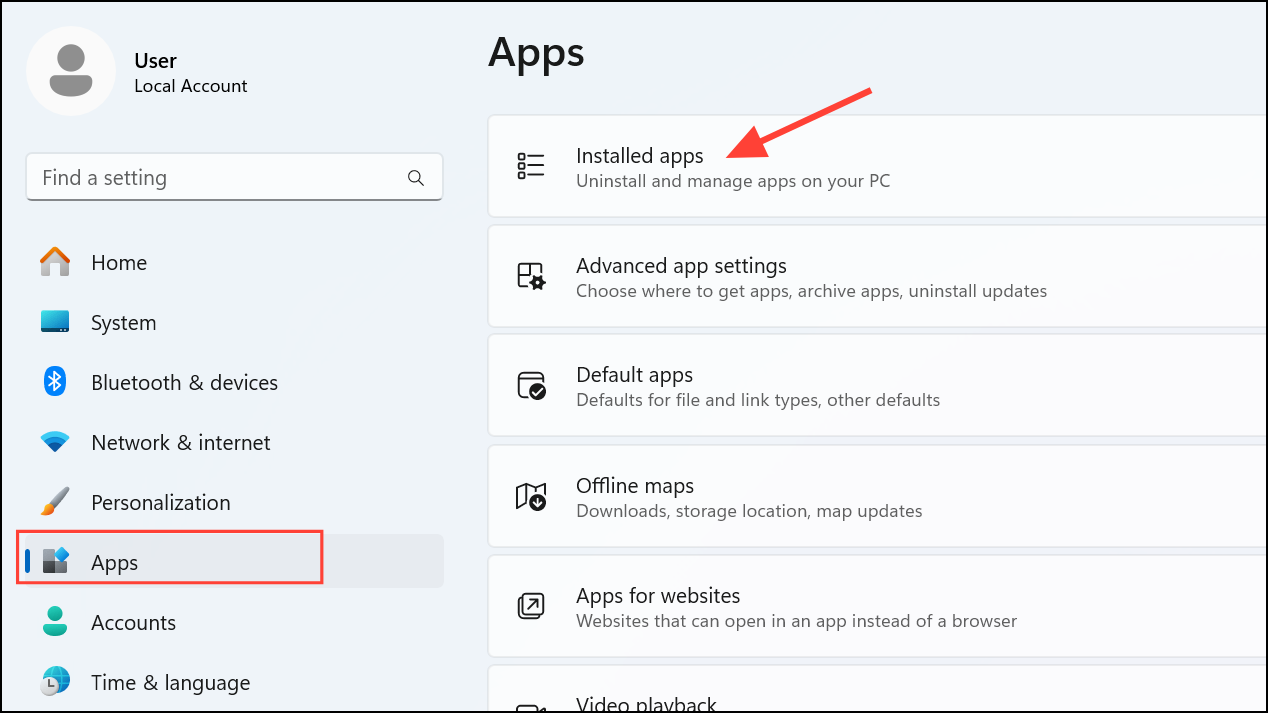
Step 2: Scroll through the list or use the search box to find Microsoft OneDrive. Click on it, then select Uninstall and confirm when prompted. On Windows 11, click the three dots on the right and then click on Uninstall.
Step 3: Restart your computer. This process removes OneDrive and its shortcut from the File Explorer sidebar. If you need OneDrive in the future, you can reinstall it from the Microsoft Store or the official website.
Disable OneDrive via Group Policy Editor (Windows Pro and Enterprise)
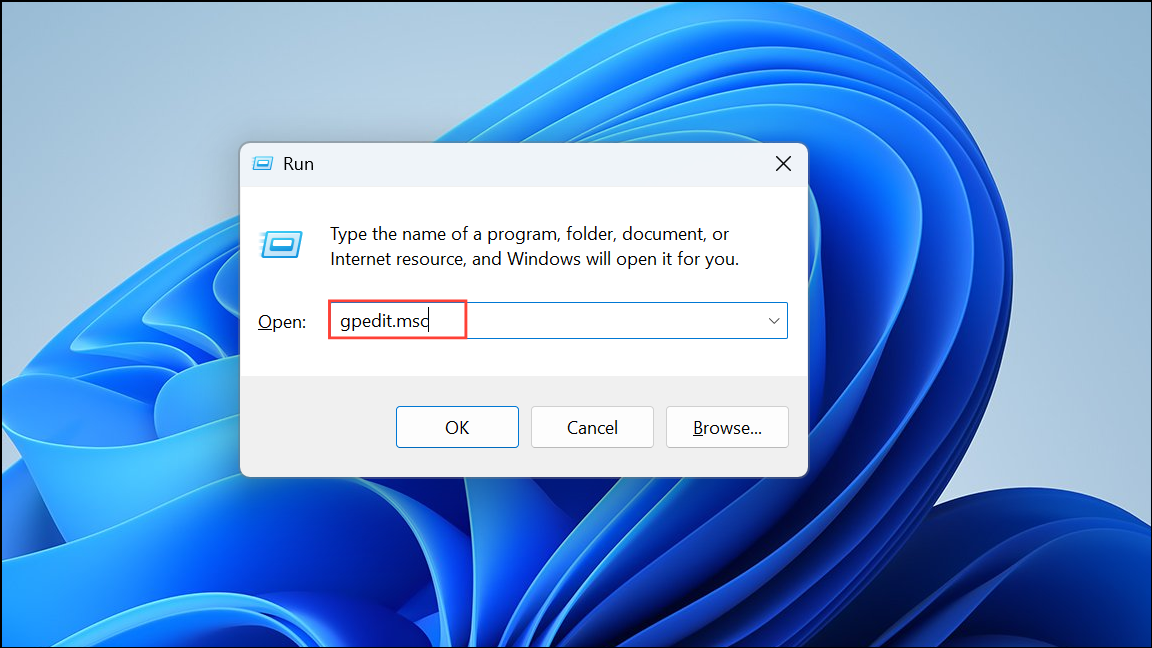
Step 1: Press Windows + R, type gpedit.msc, and press Enter to open the Local Group Policy Editor.
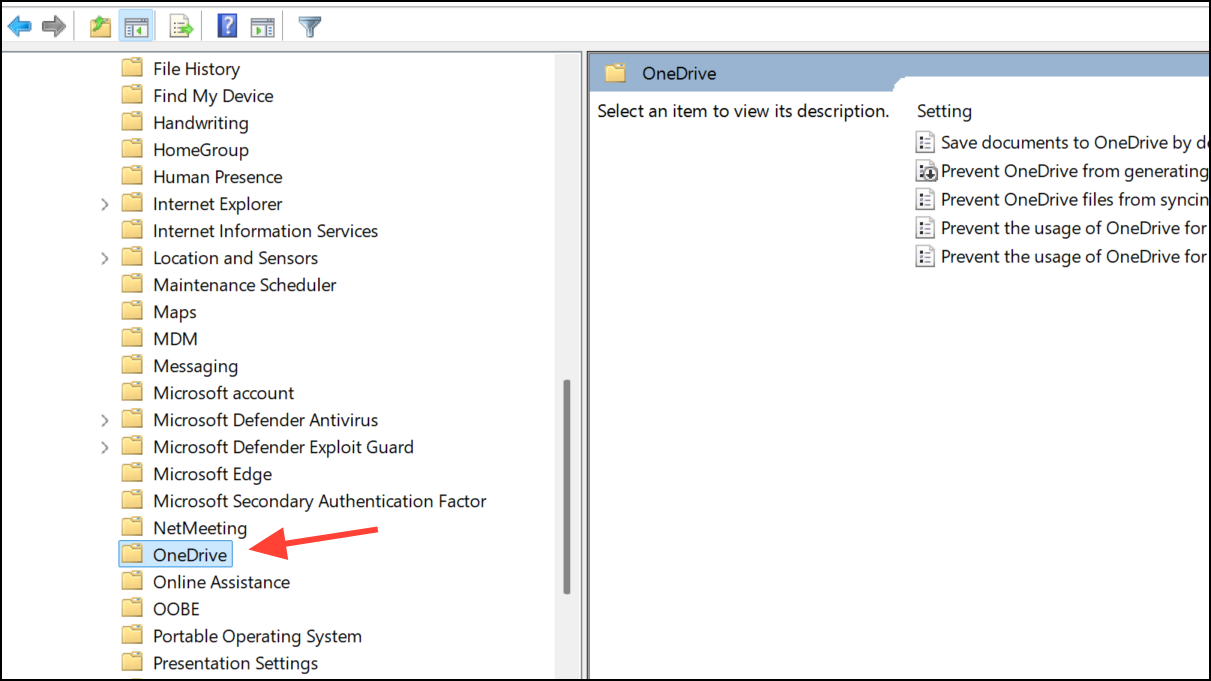
Step 2: Navigate to Computer Configuration > Administrative Templates > Windows Components > OneDrive.
Step 3: Double-click Prevent the usage of OneDrive for file storage. Set it to Enabled and click OK.
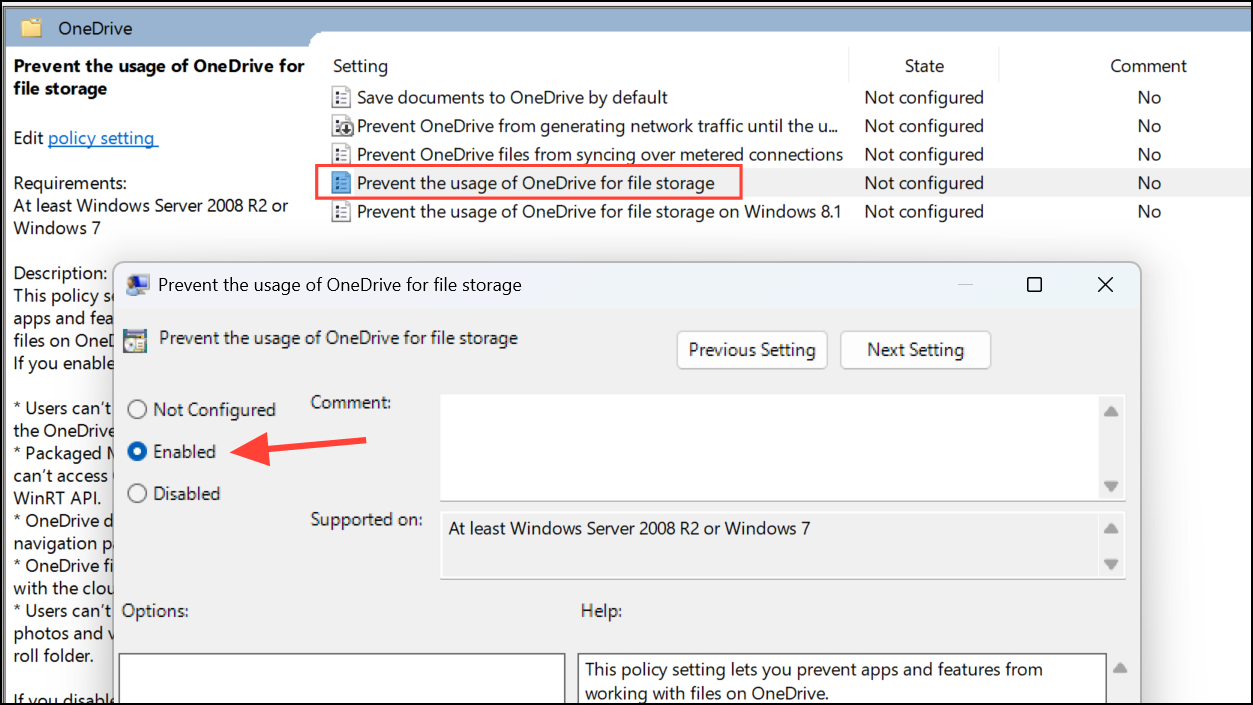
Step 4: Restart your computer. OneDrive will be disabled, and its icon should disappear from File Explorer. This method is suitable for organizational environments or users with Windows Pro or Enterprise editions.
Removing OneDrive from the File Explorer sidebar can streamline navigation and reduce distractions. Choose the method that matches your needs and system version for the best results.