
System lockups during "Scan for hardware changes" in Device Manager on Windows 11 typically indicate a conflict with connected peripherals, faulty drivers, or underlying system file corruption. This issue can prevent new devices from being recognized and disrupt normal hardware operations, making it critical to identify and resolve the underlying cause before attempting further hardware changes or updates.
Disconnect All Peripherals to Isolate Faulty Hardware
Unresponsive behavior during a hardware scan is frequently triggered by malfunctioning or incompatible external devices. To pinpoint the culprit, disconnect all non-essential peripherals such as printers, USB drives, webcams, and external storage, leaving only the keyboard, mouse, and monitor connected.
Step 1: Unplug every external device except for the basics required to operate the system. This includes USB hubs, docking stations, and any add-on cards that are not required for booting.
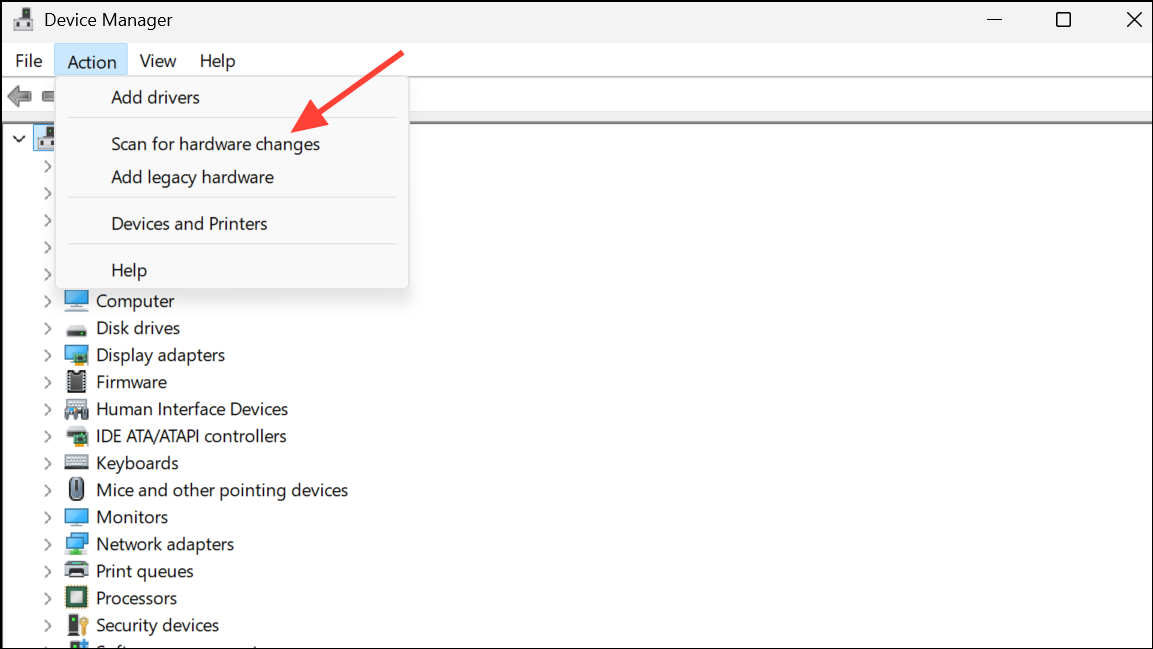
Step 2: Open Device Manager and select Scan for hardware changes. If the system no longer freezes, this confirms the issue is linked to one of the removed peripherals.
Step 3: Reconnect each device one at a time, scanning for hardware changes after each reconnection. When the freeze recurs, the most recently connected device is likely problematic. For internal hardware changes, verify all SATA or NVMe connections and try a different motherboard port if available.
Manually Install or Update Device Drivers
Outdated or corrupted drivers can cause hardware enumeration to stall. Relying on Windows Update for drivers may not always provide the most stable or compatible version, especially for newer or specialized hardware.
Step 1: Visit the official website for your PC or device manufacturer. Locate and download the latest driver package specific to your hardware model and Windows 11 version.
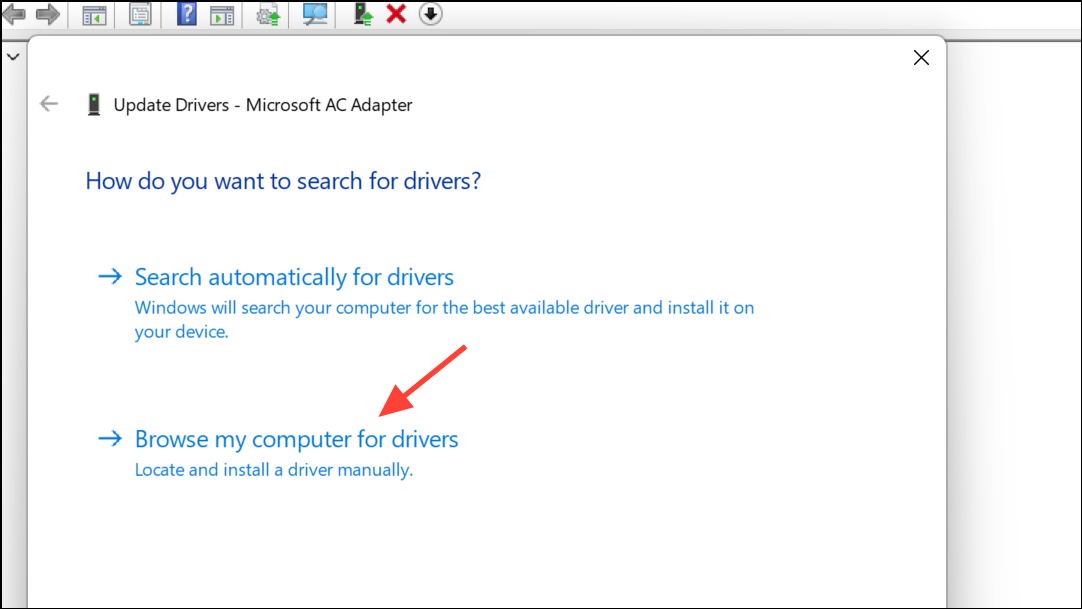
Step 2: Run the installer as an administrator, following all on-screen prompts. If the device is not recognized, use Device Manager to manually point to the driver location by right-clicking the device, choosing Update driver, and selecting Browse my computer for drivers.
Step 3: After installation, restart your system and attempt the hardware scan again. This process replaces any generic or malfunctioning drivers with versions tailored for your hardware, which can resolve compatibility issues causing the freeze.
Roll Back Storage Controller or Chipset Drivers
Driver updates, especially for storage controllers, sometimes introduce incompatibilities that disrupt hardware detection. Rolling back to a previous driver version can restore normal operation.
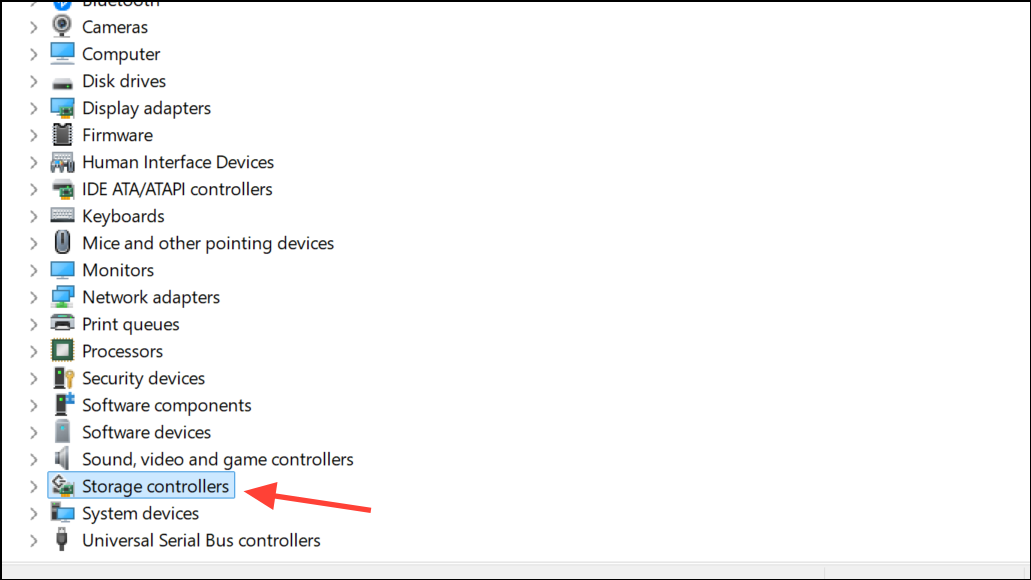
Step 1: Open Device Manager and expand the Storage controllers section.
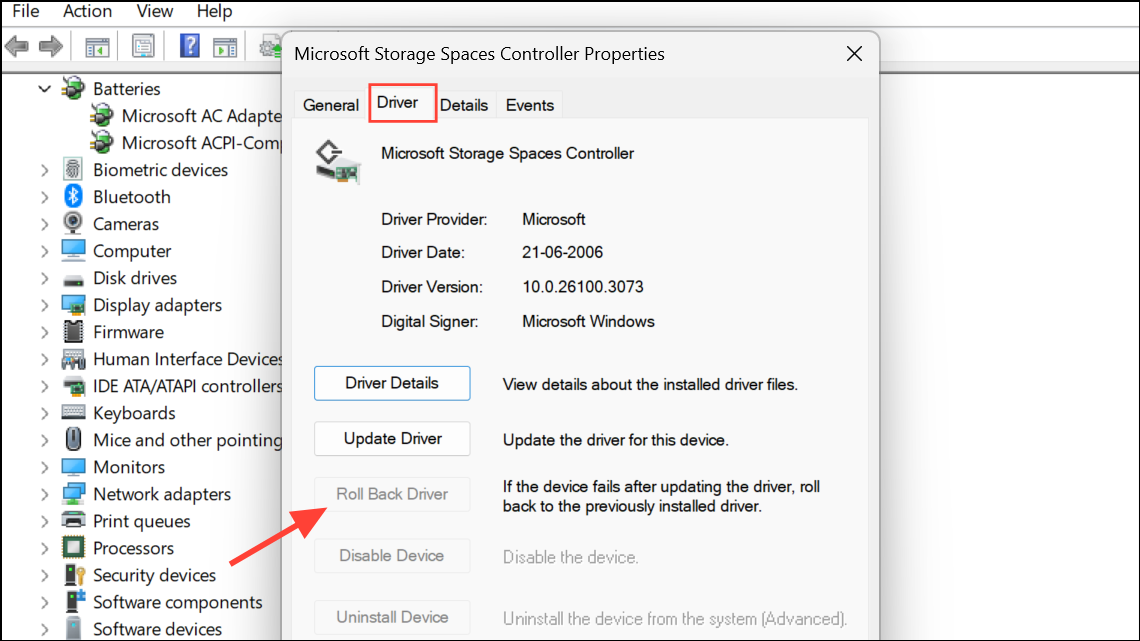
Step 2: Right-click the relevant controller and select Properties. Go to the Driver tab and click Roll Back Driver if the option is available.
Step 3: Follow prompts to revert to the previous driver, then reboot and perform the scan for hardware changes again. If the rollback option is unavailable, consider uninstalling the driver and reinstalling a stable version from the manufacturer’s site.
Creating a system restore point before making driver changes is highly recommended, as this allows you to revert if new issues arise.
Repair System Files with SFC and DISM
Corrupted Windows system files can interfere with hardware detection and driver management, leading to freezes during hardware scans. The System File Checker (SFC) and Deployment Imaging Service and Management Tool (DISM) utilities can automatically detect and repair damaged files.
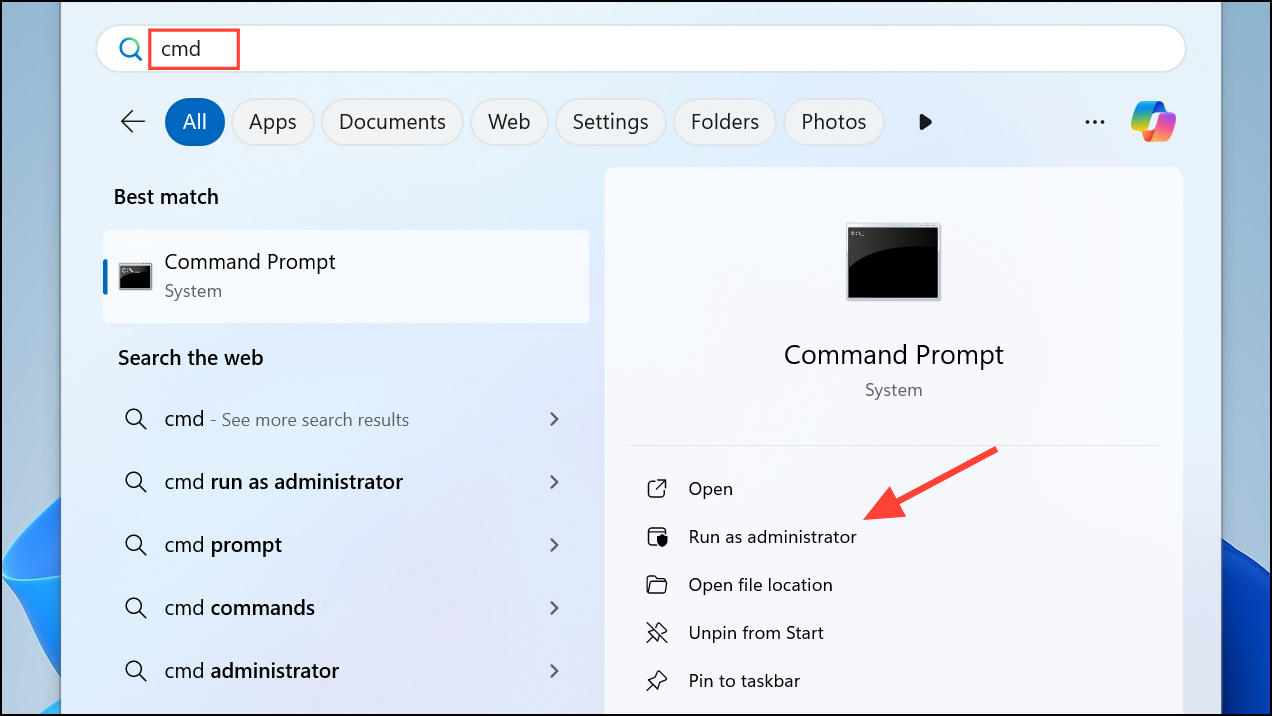
Step 1: Open Command Prompt as an administrator by searching cmd in the Start menu, right-clicking, and selecting Run as administrator.
Step 2: Enter the following command to scan and repair system files:
sfc /scannow
Step 3: After the scan completes, run the following DISM command to repair the Windows image:
DISM /Online /Cleanup-Image /RestoreHealth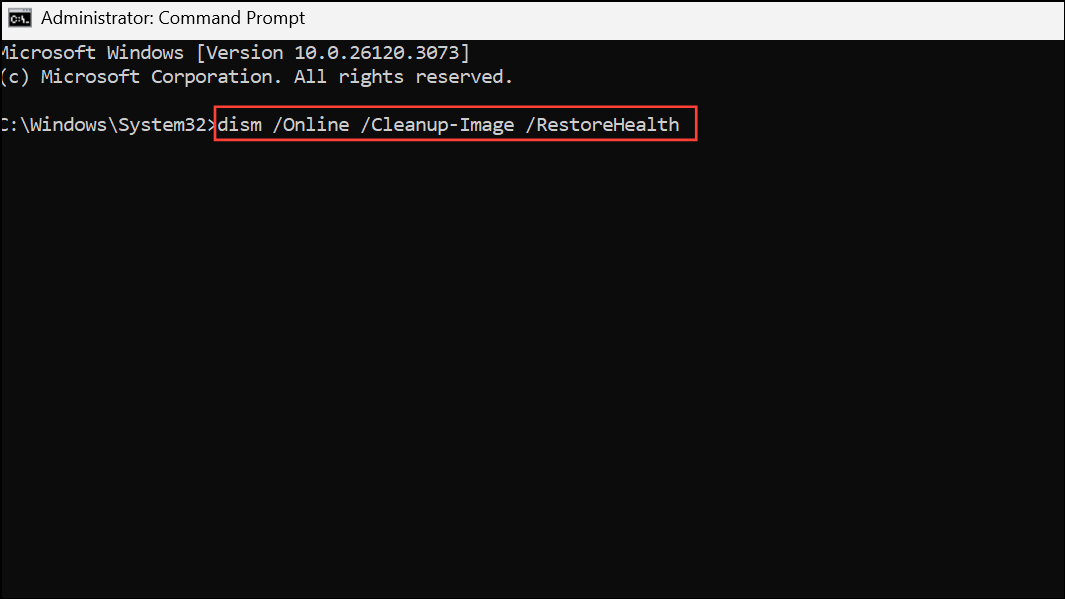
Step 4: Restart your computer and test the hardware scan again. Allow both scans to run uninterrupted, as stopping them prematurely can worsen system file corruption.
Perform a Clean Boot to Identify Third-Party Conflicts
Background services or third-party drivers can interfere with Windows’ hardware detection routines. A clean boot starts Windows with only essential Microsoft services, helping to identify if a non-Microsoft service is responsible for the freeze.
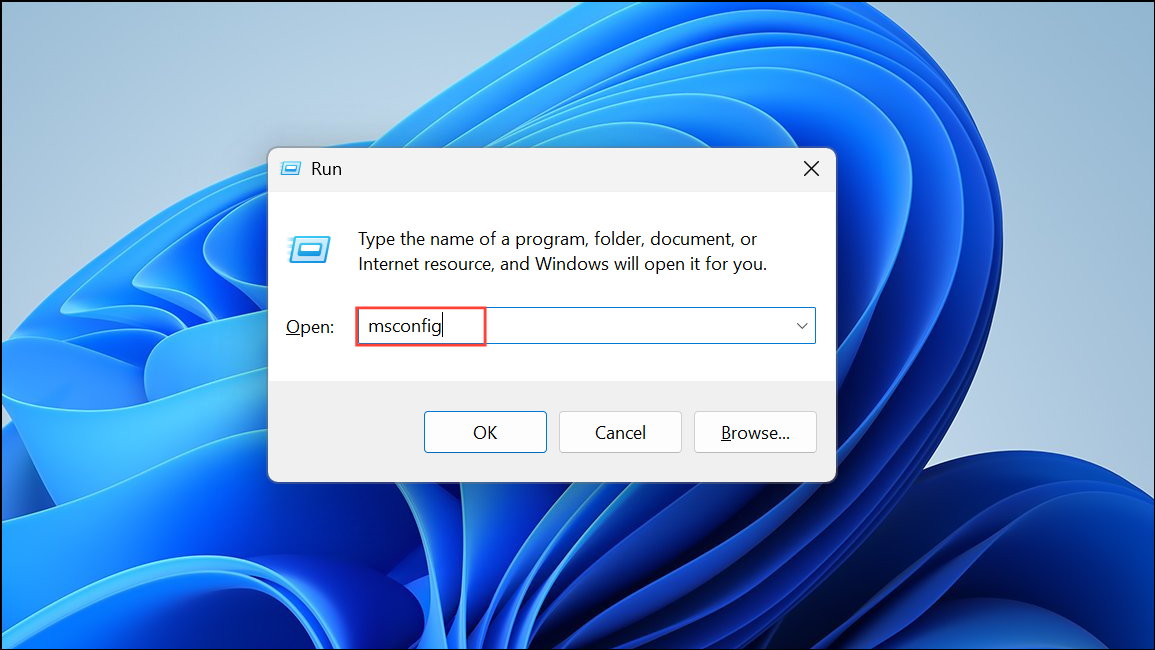
Step 1: Press Windows + R, type msconfig, and press Enter.
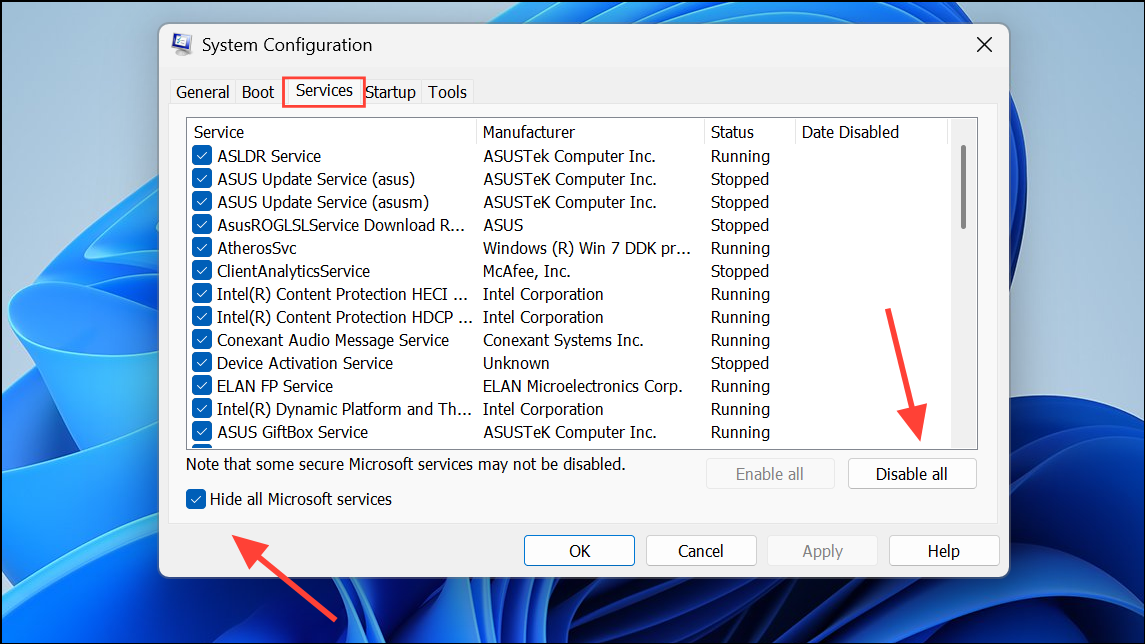
Step 2: In the System Configuration window, go to the Services tab, check Hide all Microsoft services, then click Disable all.
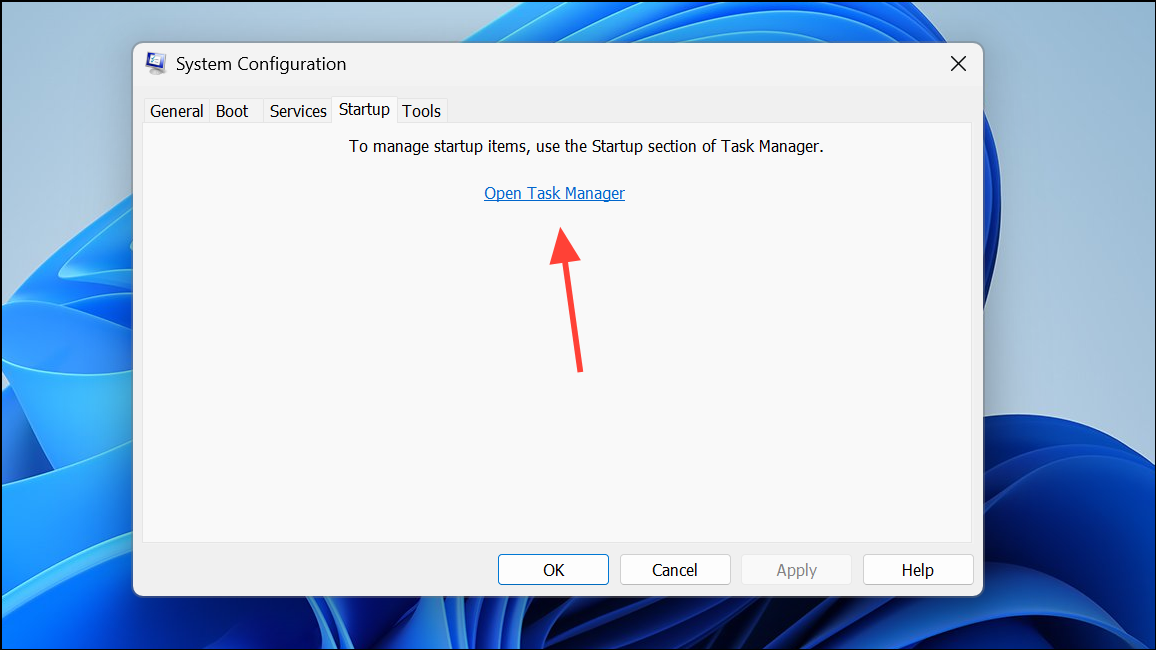
Step 3: Switch to the Startup tab and click Open Task Manager. Disable all enabled startup items, then close Task Manager and click OK in System Configuration.
Step 4: Restart the computer. Open Device Manager and attempt to scan for hardware changes. If the system does not freeze, gradually re-enable services and startup items to identify the conflicting software.
Update BIOS to Improve Hardware Compatibility
Outdated BIOS firmware can cause hardware detection issues, particularly with newer components. Updating the BIOS can improve compatibility and resolve low-level hardware conflicts.
Step 1: Identify your motherboard or system model. Run msinfo32 to view the current BIOS version and system manufacturer details.
Step 2: Visit the official support page for your hardware manufacturer and download the latest BIOS version for your model. Review all instructions and precautions provided by the manufacturer before proceeding.
Step 3: Connect your device to a reliable power source. For laptops, plug in the charger and ensure the battery is fully charged. For desktops, use a UPS if possible.
Step 4: Run the BIOS update utility as directed. Do not interrupt the process—power loss or forced shutdown during a BIOS update can render the system unbootable.
Step 5: After the update, restart your system and re-test hardware detection in Device Manager.
Restore or Reset Windows 11 as a Last Resort
If none of the previous methods resolve the freezing issue, consider restoring Windows to a previous state or resetting the operating system. System Restore allows you to revert the system to a point before the problem began, while Reset reinstalls Windows without removing personal files.
Step 1: Search for System Restore in the Start menu and follow prompts to choose a restore point from before the issue started. Complete the restoration and reboot.
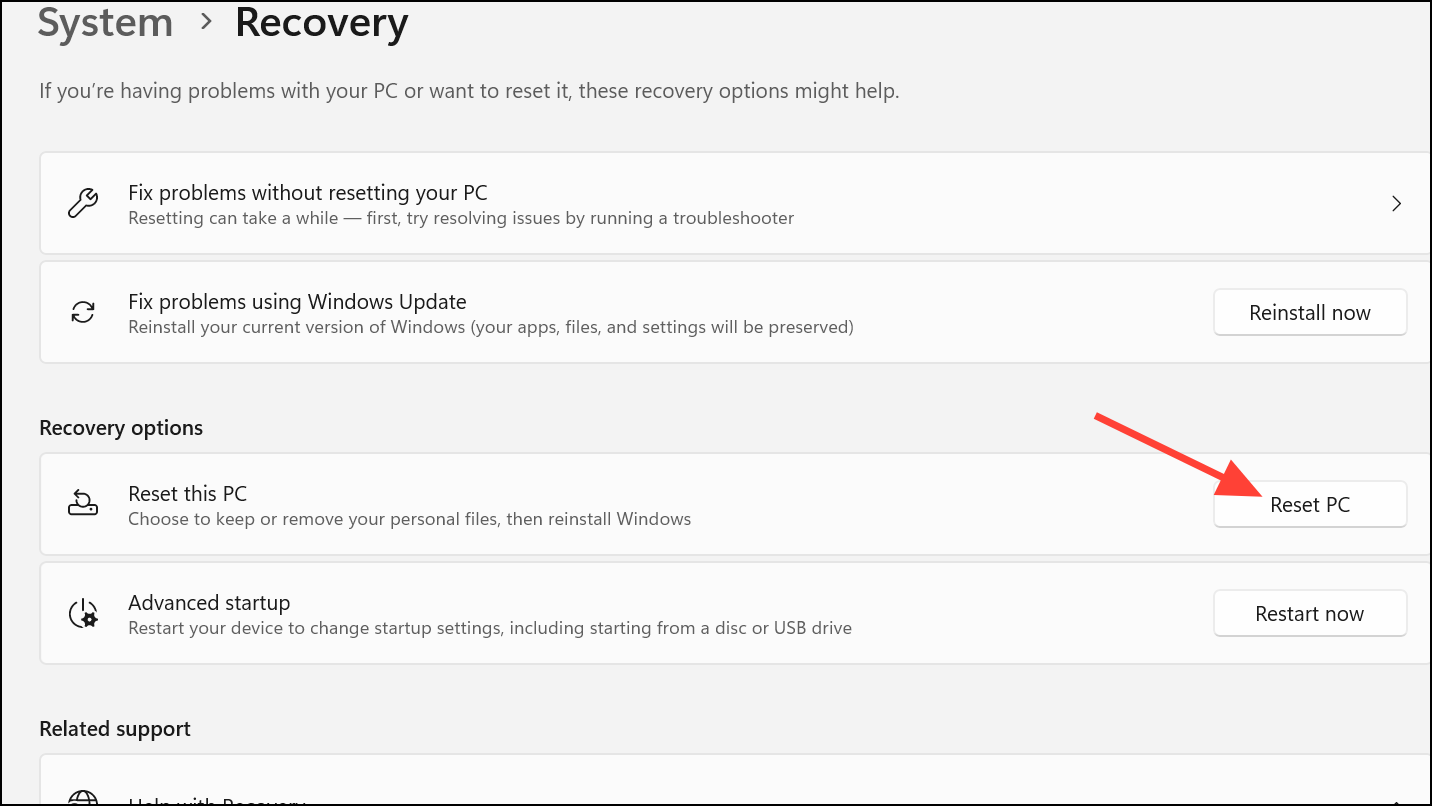
Step 2: If no restore points are available or the issue persists, go to Settings > System > Recovery and select Reset this PC. Choose the option to keep personal files, then follow on-screen instructions to reinstall Windows 11.
Back up important data before performing a reset, as installed applications and some settings will be removed.
Careful troubleshooting—starting with hardware isolation and progressing through driver management, system repairs, and BIOS updates—typically resolves freezing during hardware scans in Windows 11. If problems persist, restoring or resetting the system provides a reliable path to regaining stable hardware detection.