
The Reishi Zone is one of the most rewarding late-game landmarks in Roblox Paradox. It functions as a self-contained event area where you fight through corrupted pylon trials and take on one of three randomized bosses for a shot at Legendary drops like Shattered Hogyokus and Partial Remnants. Getting in, surviving, and walking out with the loot you actually want all depend on understanding a handful of specific mechanics.
Quick answer: You need at least 705 Potentital and 30,000 Yen. Speak to the Mr. Goblin NPC near the cave by the Eternal Flame to buy a Reishi Zone Ticket, activate all four corrupted pylons inside, then defeat whichever boss spawns to collect your rewards.
Reishi Zone Entry Requirements
| Requirement | Details |
|---|---|
| Minimum Potentital | 705 |
| Yen cost | 30,000 |
| Ticket NPC | Mr. Goblin, near the cave by the Eternal Flame |
| Group entry | Only one party member needs a ticket — everyone else is teleported in automatically |
If you're farming the zone repeatedly with friends, coordinate so only one person buys the ticket each run. That saves the rest of the party 30,000 Yen per attempt, which adds up fast.
Pylon Trials and Acid Rain
Once inside, four corrupted pylons are scattered across the zone. Your job is to find and activate each one while dealing with persistent acid rain that chips away at your health whenever you stand outside a pylon's protective radius. Staying near an active pylon shields you, so plan your movement between them carefully.
Step 1: Locate a corrupted pylon and interact with it to begin the trial. Enemies will spawn, and you need to defeat them all while holding the area around the pylon.
Step 2: Decide whether to overcharge the pylon before moving on. Overcharging increases the difficulty of the trial but significantly improves your chances of receiving Legendary loot at the end of the run.
Step 3: Repeat for all four pylons. After the fourth pylon is secured, a key spawns that points you directly toward the boss arena.
All Three Reishi Zone Bosses
After clearing the pylons, the game randomly assigns one of three bosses. Each fight demands a different approach, and going in unprepared can waste an entire run.
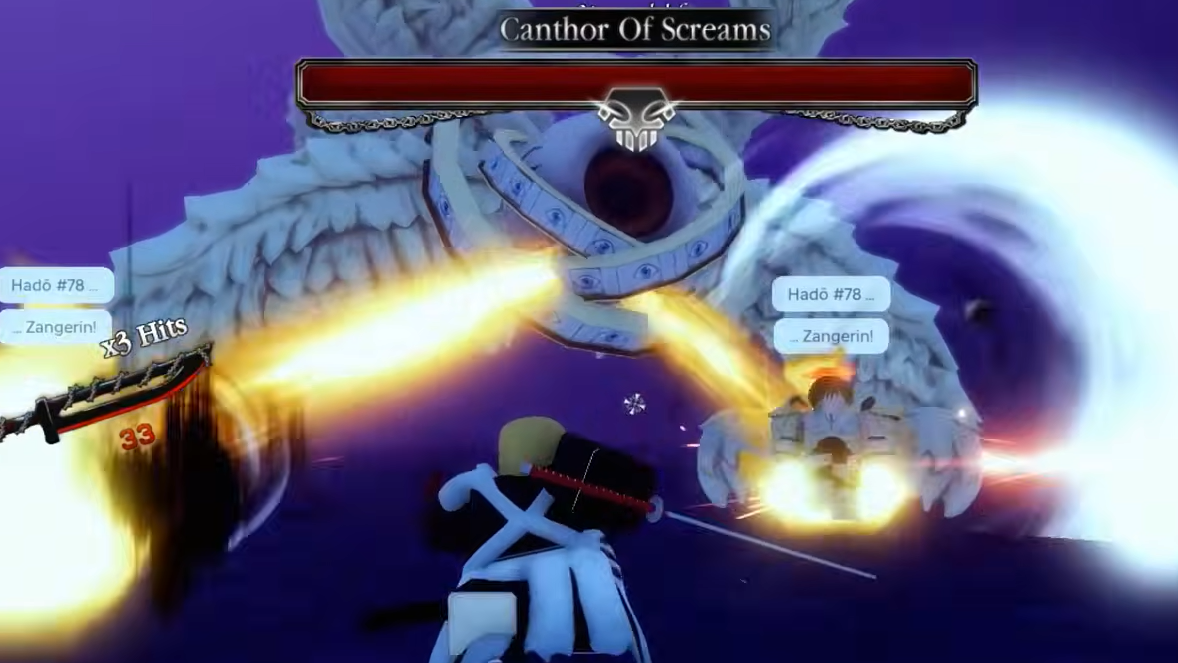
Canthor
Canthor summons angelic minions throughout the fight and is completely immune to damage while any of them are alive. The minions must die first — every time they appear. If you take too long killing them, Canthor absorbs them and heals, dragging the encounter out even further. Prioritize the adds the instant they spawn, then dump all your damage into Canthor during the window before the next wave.
Headless King
The Headless King is widely considered the hardest of the three. He cannot be damaged through normal attacks. Instead, you need to parry his strikes repeatedly until he enters an exhaustion state, signaled by his model shifting to a lighter shade of pink. Once exhausted, he becomes vulnerable for a short window — unload everything you have. When he recovers, go back to parrying. The entire fight is a loop of parry, exhaust, burst, and repeat. Strong timing and patience are non-negotiable here.
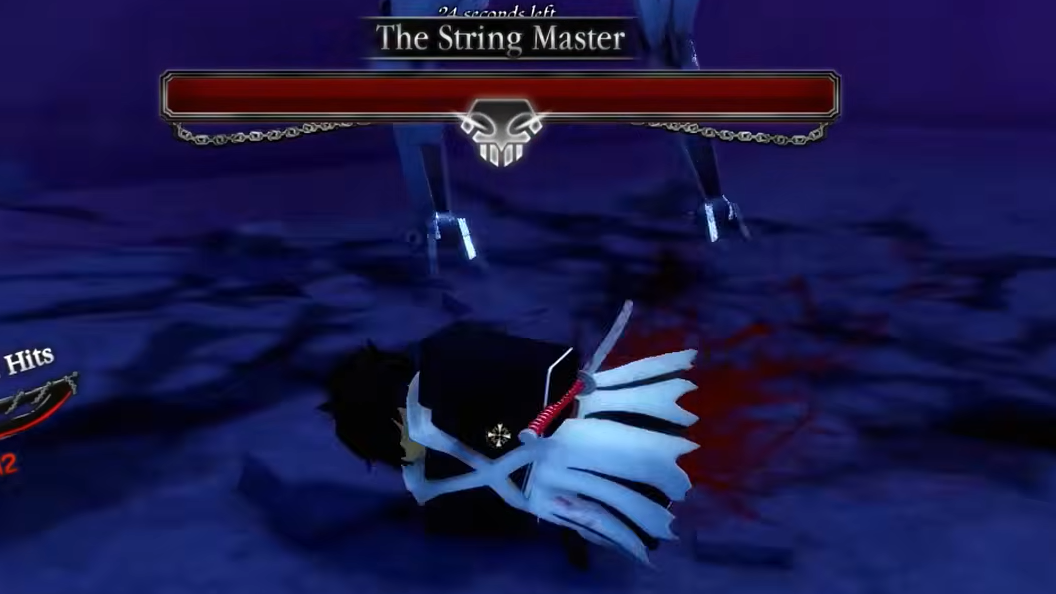
String Master
String Master punishes poor positioning more than the other two bosses. Watch his attack indicators closely and parry or dodge accordingly. Failing to avoid his moves can result in him removing one of your limbs, which drastically reduces your movement speed and makes the rest of the fight much harder. Stay mobile, reposition between his attack strings, and only commit to offensive windows when you're confident he's in recovery frames.
Reishi Zone Drops and Rewards
Every boss kill rewards you with items pulled from the same loot table. The rarity of what you receive is heavily influenced by whether you overcharged the pylons during the trial phase.
| Drop | Rarity |
|---|---|
| Soul Shards | — |
| Element Rerolls | Common |
| Special Weapon Rerolls | Common |
| Clan Rerolls | Common |
| Shattered Hogyokus | Legendary |
| Mask Remnants | Legendary |
| Skill Core / Skill Gem / Skill Crystal | Legendary |
| Partial Remnants | Legendary |
The common pool — Element Rerolls, Clan Rerolls, and Special Weapon Rerolls — drops frequently enough that you can farm them without overcharging. The Legendary tier, however, has noticeably better odds when all four pylons are overcharged before the boss fight.
Frequently asked questions
How many pylons are inside the Reishi Zone?
Four. Each one triggers its own trial, and all four must be completed before the boss key appears.
Can I choose which boss I fight?
No. The boss is assigned randomly after the fourth pylon is secured. You'll face Canthor, the Headless King, or the String Master.
Does the whole party need a ticket?
Only one member of the group needs a Reishi Zone Ticket. Everyone else in the party is teleported in automatically.
Is overcharging pylons worth it for common drops?
Not really. Overcharging raises difficulty without meaningfully improving common drop rates. Save it for Legendary farming runs.
The Reishi Zone is one of the most efficient ways to stock up on rerolls and chase high-value Legendary materials in Paradox. Nail down the parry timing for the Headless King, learn the String Master's tells, and always clear Canthor's minions immediately — and you'll be running this zone on autopilot before long.