
Runes are the quiet power spike in The Forge. They sit on your pickaxe, weapons, and armor, quietly stacking bonus ore, burn damage, or even lifesteal while you mine and fight. Getting good ones, though, means understanding where they drop and how equipment slots work.
How runes work in The Forge
Runes are rare items that attach to weapons, pickaxes, and armor to add extra effects. Every rune has:
- A primary ability – things like Burn, Poison, Life Steal, Explosion, or Yield.
- Potential secondary traits – small bonus stats like Attack Speed or Vitality that sometimes appear when you attach a rune.
Runes do not drop from ores or chests. They come from enemies only, usually in the Forgotten Kingdom and deeper combat zones. Drop chances are low, so rune farming is inherently grindy.
All runes and what they do
| Rune | Main effect | Best use |
|---|---|---|
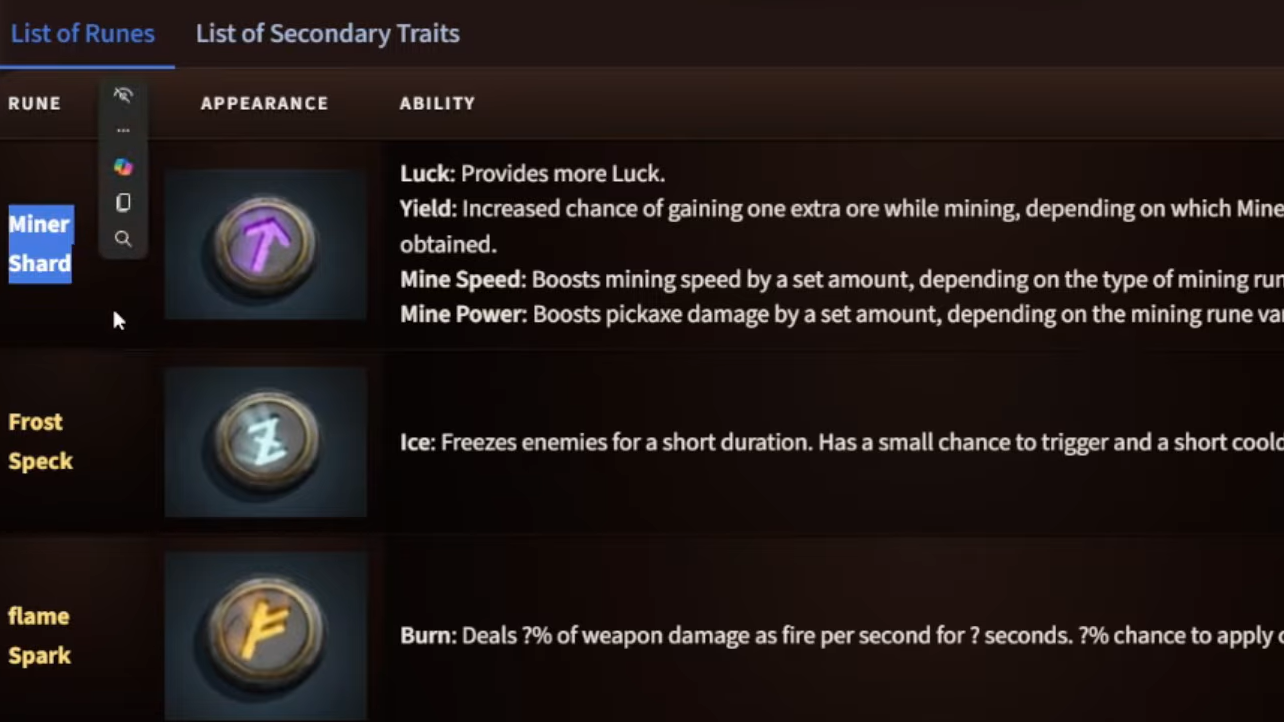
| Miner Shard | Luck, Yield, Mine Speed, or Mine Power variants that improve ore drops and mining performance. | Pickaxes for resource farming. |
| Frost Speck | Ice: briefly freezes enemies with a low trigger chance and short cooldown. | Weapons for crowd control. |
| Flame Spark | Burn: deals fire damage over time based on your weapon or pickaxe damage. | Weapons for extra DPS; situational on pickaxes in combat-heavy zones. |
| Venom Crumb | Poison: damage-over-time based on your weapon/pickaxe damage. | Weapons when you want stacking DoT rather than burst. |
| Chill Dust | Snow: slows enemy movement and attack speed. | Weapons or armor for safer melee trades and kiting. |
| Blast Chip | Explosion: creates an area blast on hit, scaling from your weapon/pickaxe damage. | Weapons for AoE; strong in dense enemy packs. |
| Drain Edge | Heal (life steal) plus a Physical DMG increase (Lethality I). | Main weapons for sustain and raw damage. |
| Briar Notch | Thorns: reflects part of the physical damage you take, tied to your Max HP. | Armor for tanky, reflection builds. |
| Rage Mark | Berserk: when HP drops below 35%, boosts Physical DMG and Attack Speed. | Weapons or armor for aggressive, low-HP play. |
| Ward Patch | Shield I (chance to reduce incoming physical damage) and Stride I (longer dash distance). | Armor for damage reduction and mobility. |
| Rot Stitch | Toxic Veins: poison AoE around you under 35% HP, plus Stride I. | Armor for survivability and damage while low HP. |
Many of these runes exist in different rarities. A higher rarity version can carry the same main ability with better numbers and more secondary traits.
Where runes drop: enemy-based farming
Runes are tied to specific enemies and areas. You do not get them from every kill, and you will not see every rune in every biome.
The core rules for rune drops
- Runes come from enemies only. Mining rocks or opening standard chests will not give you runes.
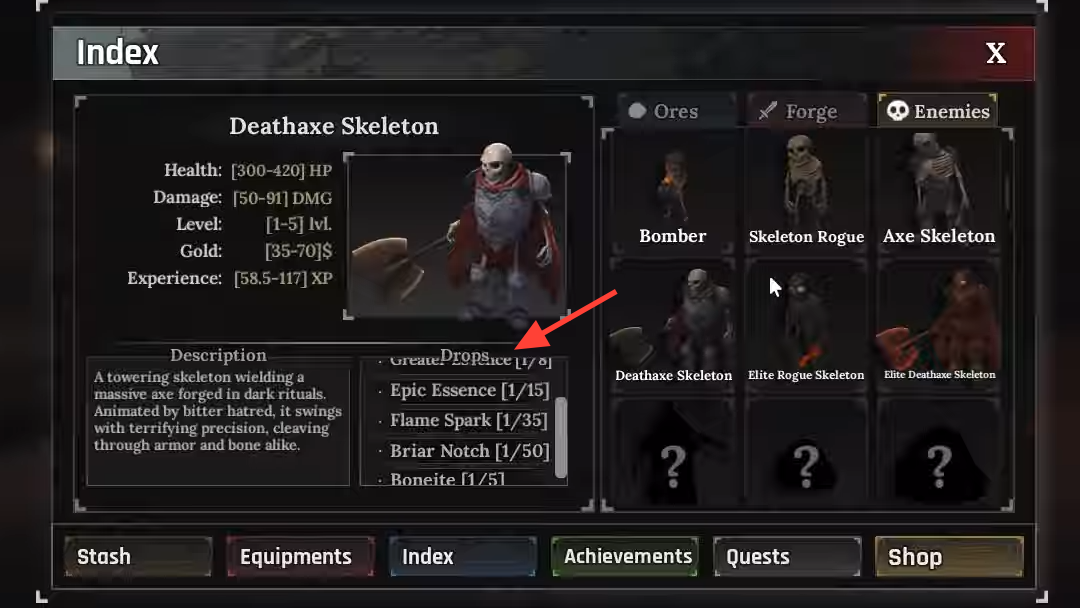
- Each enemy has its own drop table. The Enemies tab in your Index tells you which rune each enemy can drop and the exact drop chance.
- Higher-tier undead have better rune tables. Elite skeletons, Reapers, and similar enemies often hold the premium combat runes.
The Forgotten Kingdom is where most rune farming happens. Once you reach around level 10 and unlock that region, you gain access to the undead that actually drop useful runes consistently.
Forgotten Kingdom rune drops and farming spots
Within the Forgotten Kingdom, different undead handle different rune types. A few key patterns stand out for farming:
- Bomber skeletons – Drop Miner Shard and Blast Chip. They behave like suicide bombers: they rush you holding a bomb and explode after a short delay. Their Miner Shard drop rate is relatively generous compared to other undead, which makes them the go-to target if you want mining runes quickly.
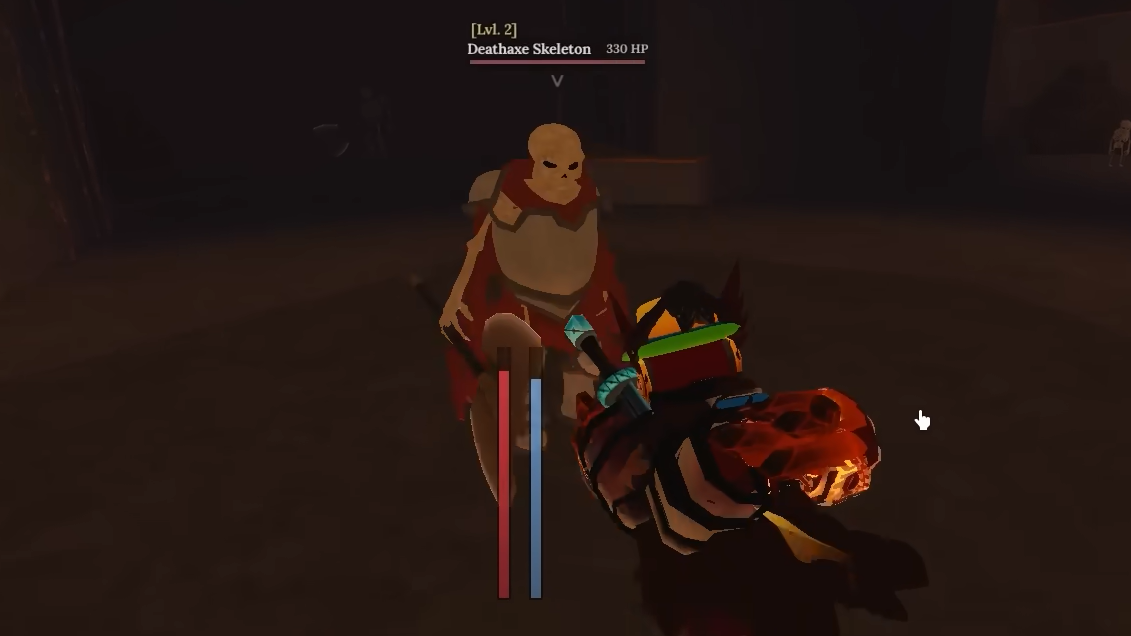
- Deathaxe Skeletons – Standard Deathaxe Skeletons can drop Flame Spark and Briar Notch. These are the backbone of basic combat rune farming for fire DoT and thorns effects.
- Elite Deathaxe Skeletons – Drop upgraded versions of the same runes: Flame Spark and Briar Notch, often at higher rarity, and with a better chance than the non-elite versions.
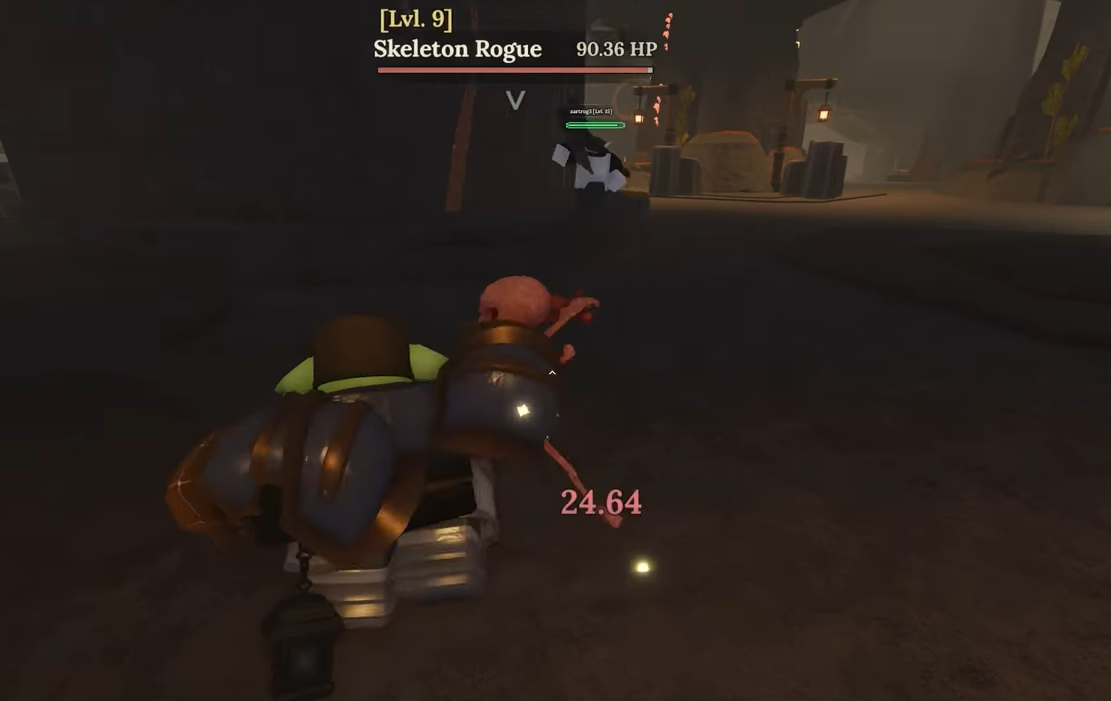
- Elite Rogue Skeletons – The main source of Rage Mark, the Berserk rune that triggers when you are under 35% HP.
- Reapers – Drop Drain Edge and can also drop Flame Spark. These are top-end combat targets thanks to the lifesteal rune.
- Blazing or fire-themed slimes – Can also drop Flame Spark, giving an alternative route to stack that rune.
- Delver Zombies – Can drop Miner Shard with a relatively low chance, but they spawn fast and in numbers, which can make up for the worse odds.
Enemy variants rotate on the same spawn points. Kill any skeleton or zombie that appears, and the next spawn at that location can roll into a bomber, Deathaxe, or elite variant. That is why efficient rune farming usually means clearing entire pockets of undead rather than camping a single bomber.
High-yield farming routes for specific runes
Miner Shard (Luck, Yield, mining stats)
Miner Shard is arguably the most valuable long-term rune because it directly changes your economy. It comes in four functional flavors under the same name: Luck, Yield, Mine Speed, and Mine Power. When you inspect a Miner Shard, you will see one of those traits rolled on it.
- Bomber skeleton route: In the Forgotten Kingdom, areas with dense skeleton spawns near volcanic regions are ideal. Clear every skeleton in sight; new spawns can turn into bombers, which have a relatively high Miner Shard drop rate.
- Delver zombie route: Deeper cave sections with Delver zombies are very consistent. Each zombie has a lower drop chance than bombers, but they spawn fast, are fragile, and cluster together, so drops add up over time.
Because each Miner Shard roll can be “good” (Luck, Yield, or strong Mine Power) or underwhelming, you want volume. The realistic strategy is to stack many Miner Shard drops, then keep only the ones with the traits you care about and sell the rest.
Flame Spark and Briar Notch
Flame Spark is a straightforward damage rune that sets enemies on fire and keeps ticking based on your damage. Briar Notch reflects damage back at attackers and scales off your maximum HP.
- Standard Deathaxe Skeleton clusters – Open cave corridors and skeleton camps in the Forgotten Kingdom have multiple Deathaxe Skeletons. Run loops through these areas and clear them repeatedly to gather base versions of Flame Spark and Briar Notch.
- Elite Deathaxe Skeletons in deeper zones – These elites are the upgrade path for both runes. They show up in more dangerous pockets, often near volcanic or endgame-style areas, and have better drops.
- Reapers and blazing slimes (for Flame Spark) – Reapers and certain slimes extend your chance to roll Flame Spark, especially at higher rarities when you are farming for a perfect roll.
On armor, Briar Notch can pair well with Ward Patch or Rot Stitch for a bruiser build that both survives and punishes physical hits. On weapons, Flame Spark simply stacks multiplicative damage on every swing.
Rage Mark and Drain Edge
These two are the standout “late-game” style combat runes.
- Rage Mark – Drops from Elite Rogue Skeletons, typically found deeper in the volcanic or elite sections of the caves. The rune activates Berserk when your HP drops below 35%, granting higher Physical DMG and Attack Speed. It thrives in aggressive melee builds that dance around low HP without dying.
- Drain Edge – Drops from Reapers. It combines a fixed percentage of life steal based on Physical DMG with a direct Physical DMG increase. On any main weapon, this is a top-tier sustain rune, especially in long boss fights or heavy crowd combat.
Because Reapers and Elite Rogue Skeletons share deep combat spaces with other elites, farming them also incidentally feeds you Flame Spark and higher-rarity versions of earlier runes.
How to check rune drops in-game
The game exposes drop tables through the Index, so you do not have to guess where a rune comes from.
Step 1: Open your inventory and switch over to the Index tab.
Step 2: Move to the Enemies section on the right side of the Index.
Step 3: Select any enemy entry to see what it can drop, including rune names and their drop chances.
Use this whenever you are pivoting targets: if you want Rage Mark, check which version of the rogue skeleton actually carries it; for Miner Shard, compare bombers against zombies and choose the spawn that makes the most sense for your level and gear.
Equipping runes on weapons and pickaxes
Runes are applied at a specific NPC in the main village.
Step 1: Travel to Stonewake’s Cross Village and find the Runemaker NPC.
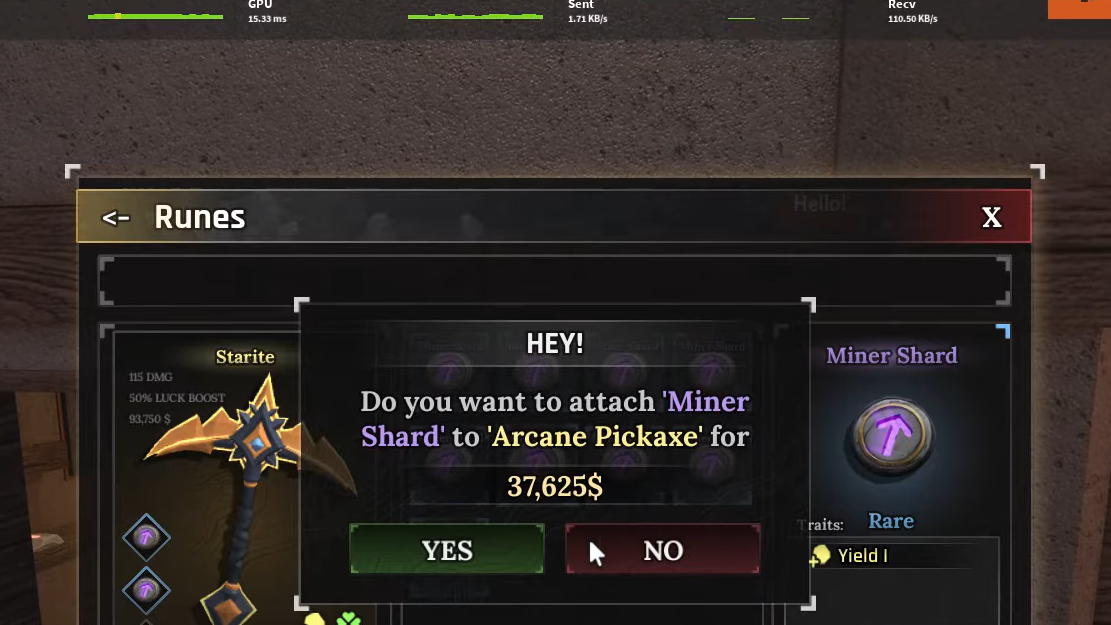
Step 2: Interact and pick the gear type you want to modify (weapon or pickaxe).
Step 3: Choose the exact item that has an open rune slot.
Step 4: Select one of your runes from the list and confirm the cost in coins to attach it.
Once attached, the rune’s main effect becomes active on that item. If you later change your mind, you can swap or remove runes through the same NPC; the game allows detaching and reusing them.
Rune slots, upgrade thresholds, and armor
Not every piece of gear can accept a rune out of the box.
- Pickaxes – Many pickaxes start with at least one rune slot unlocked by default. High-tier pickaxes can carry multiple Miner Shards for stacking Luck and Yield, or mix Miner Shard with combat runes if you fight while mining.
- Weapons – Weapons must be enhanced to +3 before their first rune slot unlocks. Enhancing uses essences at the Enhancer NPC and carries its own success chance and cost.
- Armor – Armor also accepts runes once it has rune slots. Ward Patch, Briar Notch, Rot Stitch, and defensive secondary traits like Vitality or Phase all belong here.
Once a slot is available, attaching a rune is the same process on every gear type: talk to the Runemaker, choose the item, then choose the rune and pay in coins.
Selling unwanted runes for gold
Not every rune roll is worth keeping. Lower-rarity Miner Shards with weak mining stats, or multiple copies of basic Frost Speck or Venom Crumb, clutter your inventory fast.
Step 1: Head into the Cave hub area and look for the NPC Greedy Cey.
Step 2: Interact and choose the option to sell runes.
Step 3: Mark any unwanted runes and confirm the sale to convert them into gold.
This loop is what keeps rune farming sustainable: you turn bad rolls into currency that you then spend on attaching the good ones or upgrading weapons to unlock more rune slots.
Secondary traits on runes
On top of the main ability, runes can roll a secondary trait when attached to gear. These traits are rare and entirely luck-based. They follow two groups.
Weapon secondary traits
- Attack Speed – Raises swing speed by a percentage.
- Lethality – Increases total weapon damage by a percentage.
- Critical Chance – Raises the chance to land a critical hit.
- Critical Damage – Increases damage dealt by critical hits.
- Fracture – Adds extra stun damage.
Armor secondary traits
- Endurance – Increases stamina.
- Surge – Improves a stun or dash-related interaction (often reducing dash cooldown in practice).
- Vitality – Increases maximum health.
- Phase – Extends invincibility duration during a dash.
There is no way to pick or force a secondary trait. The realistic plan is to keep reusing runes and re-rolling over time, banking any piece that lands an especially strong pairing like Drain Edge with extra Lethality, or Ward Patch with Vitality and Phase.
The practical pattern in The Forge is simple: level into the Forgotten Kingdom, kill undead for runes, convert bad rolls into gold, then push the best pieces into rune-slotted gear. Target bombers and Delver zombies for Miner Shards, Deathaxe and elite undead for Flame Spark and Briar Notch, and Reapers plus elite rogues when you are ready for Rage Mark and Drain Edge. Over time, your pickaxes and weapons start to feel less like basic tools and more like custom builds tuned entirely around how you prefer to mine and fight.