
Silent Hill f opens its Shrine Path with a five-object altar puzzle: place the offerings on the correct stands and the level continues. You can brute-force it, but there’s a consistent rule that works across difficulties—and a couple of quick-reference layouts if you’d rather place and move on.
Solve the altar puzzle (all difficulties)
The altar presents five pedestals and five offerings. Interact with each item and rotate it: a symbol or pattern on the item matches a symbol on one pedestal.
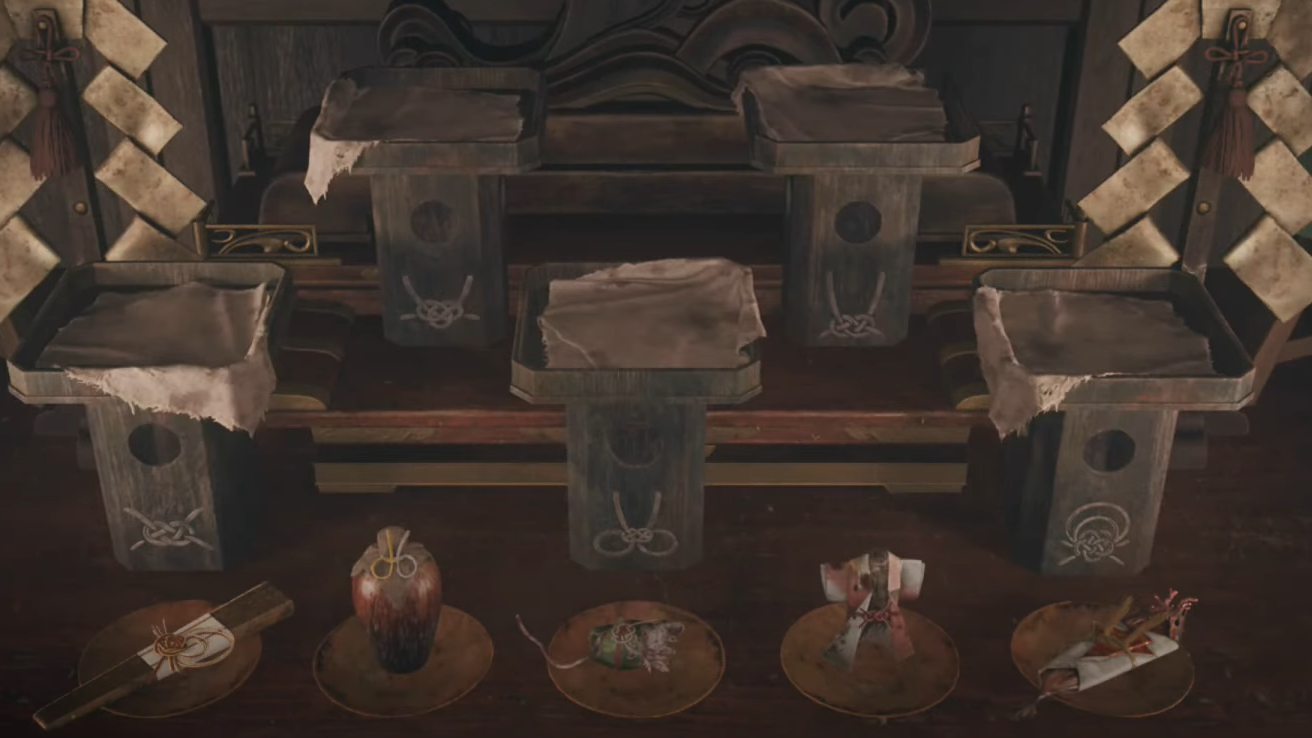
- Story mode: the matches are knot styles painted on the pedestals and tied on the offerings.
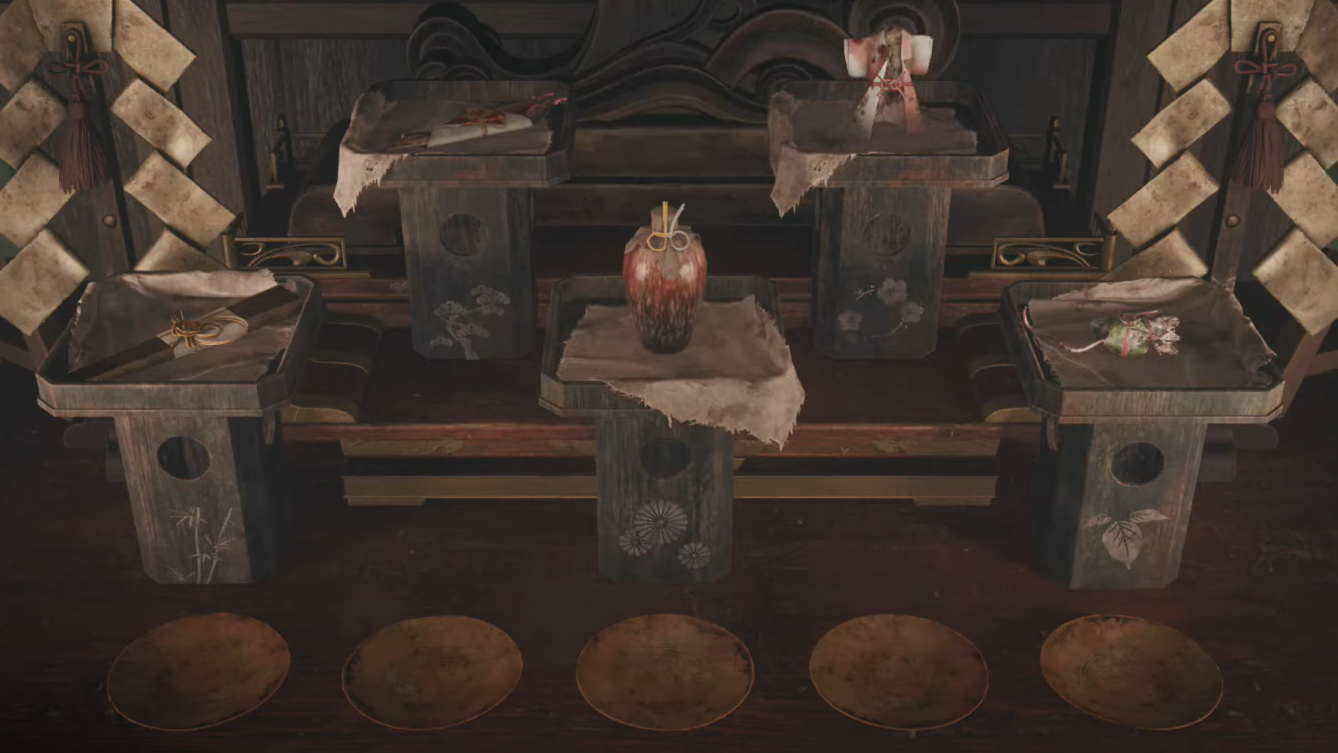
- Hard mode: pedestals use botanical emblems; look for subtle floral or leaf motifs on the offerings (e.g., chrysanthemum on the urn, bamboo on a box, broad leaves around the rat).
- Lost in the Fog: There are no pedestal markings; a riddle about traditional pairings drives the final arrangement. A ready-to-use order is provided below.
Quick placement guide (Story and Hard)
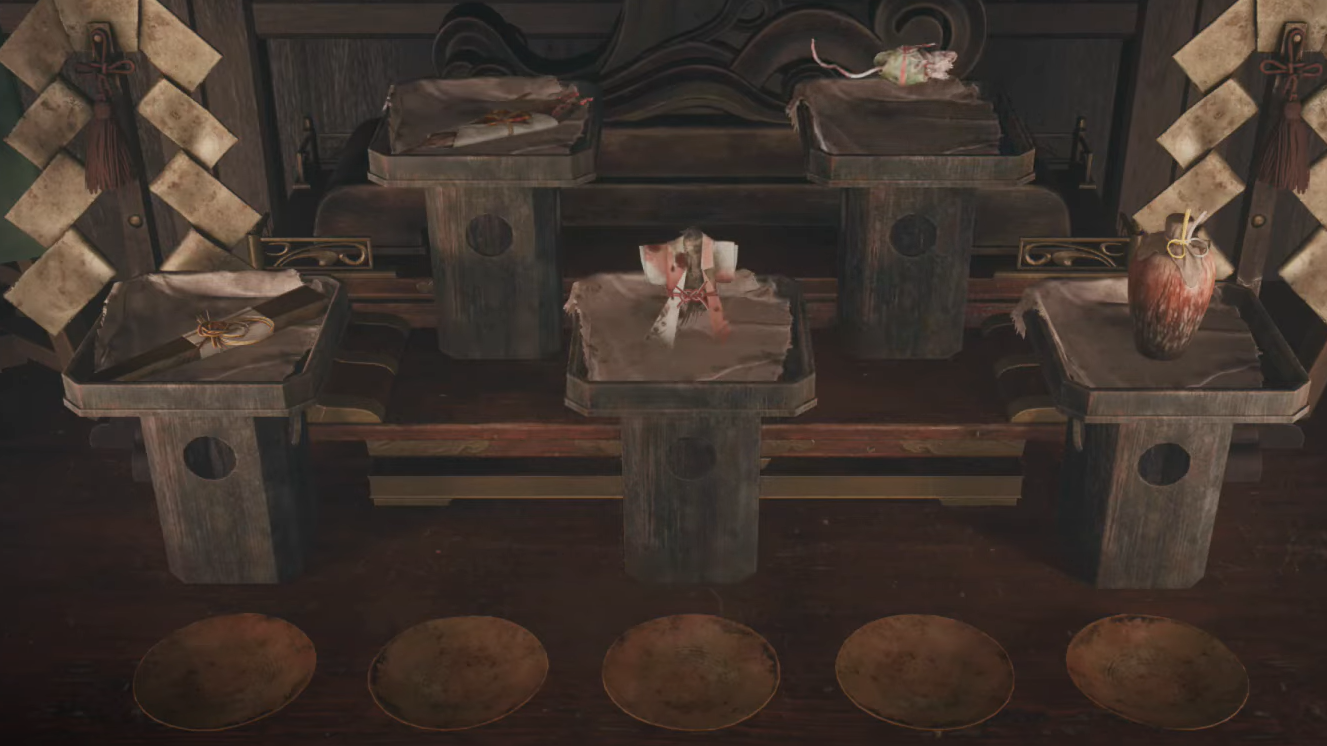
The altar layout is a shallow two-row grid. The positions below assume you are facing the altar.
| Position | Story (variant A) | Story (variant B) | Hard |
|---|---|---|---|
| Front left | Robe/Dress | Fan | Chopsticks/Branches |
| Front middle | Urn/Pot | Vase/Jar | Urn/Pot |
| Front right | Chopsticks/Branches | Mouse/Rat | Rat |
| Back left | Rat | Fish | Fish |
| Back right | Fish | Bird (robed) | Robe/Dress |
How to choose between Story variants: if your offerings include a chopsticks/branches box and a robe, use “variant A.” If they instead include a fan and a mouse, use “variant B.”
Lost in the Fog solution (no pedestal markings)
On the hardest puzzle setting, ignore the pedestals and place the offerings left to right in this order:
- Fan
- Chopsticks/Branches
- Robe/Dress
- Rat
- Urn/Pot
This arrangement resolves the poem-driven pairing logic without needing any visible symbols.
If the puzzle doesn’t resolve
- Rotate each item again and confirm you matched the item’s hidden symbol or motif to the correct pedestal marking (Story/Hard).
- Recheck orientation: “front” is the row closest to Hinako when you approach the altar; “back” is the row farther from you.
- If your item names or models differ slightly, rely on the underlying match rule (knot style or plant motif) rather than the name.
What happens after the altar
Placing all five offerings correctly triggers a cutscene and opens the path deeper into the Shrine Path. From there, expect the next major puzzle in the area’s vault and more collectible routes branching off the main corridor.