
Lost in the Fog is Silent Hill f’s most opaque puzzle setting. You’ll see fewer prompts, journal entries won’t spotlight key phrases, and some solutions lean on real‑world knowledge rather than in‑game hinting. Below is a focused guide to the major puzzles with a priority on what’s different in Lost in the Fog, including direct solutions where they’re consistent.
Quick answers at a glance (Lost in the Fog)
| Puzzle | Direct solution (Fog) | Notes |
|---|---|---|
| Altar (Dark Shrine Path) | Top-left: Fish; Top-right: Rat; Bottom-left: Paper fan; Bottom-middle: Kimono; Bottom-right: Vase | Item order is intentionally different from lower difficulties. |
| Shrine Vault (Dark Shrine Path) | Varies | Collect the ema/dial, then align nature-themed symbols; hints are minimal in Fog. |
| Field (Ebisugaoka Fields) | Contextual | At each stage, identify the one “different” scarecrow and remove the nail; it points your exit. |
| Stairwell (Middle School) | Varies | Key location changes with difficulty; Fog gives less guidance. |
| Secret Box (Classroom) | See the per‑tier panel positions below | Three tiers; each letter adds a new rule to expose. |
| Locker codes (Annex) | AOI=401, Suga Yosie=505, Tsuchiya Taiko=377, Asakura Ayumi=399 | Only Asakura Ayumi’s code changes in Fog (derived from “EGG”). |
| Light (Worship Hall) | Contextual | Rotate fox/rabbit statues to level cages, then retrieve shades; orientation cues are reduced. |
| Memories (Dark Shrine rooms) | Contextual | Find Shu’s prized items and place them; minimal hand‑holding in Fog. |
| Scales / My Room / Mural (late game) | Varies | Late‑game puzzle variants can change with your ending route. |
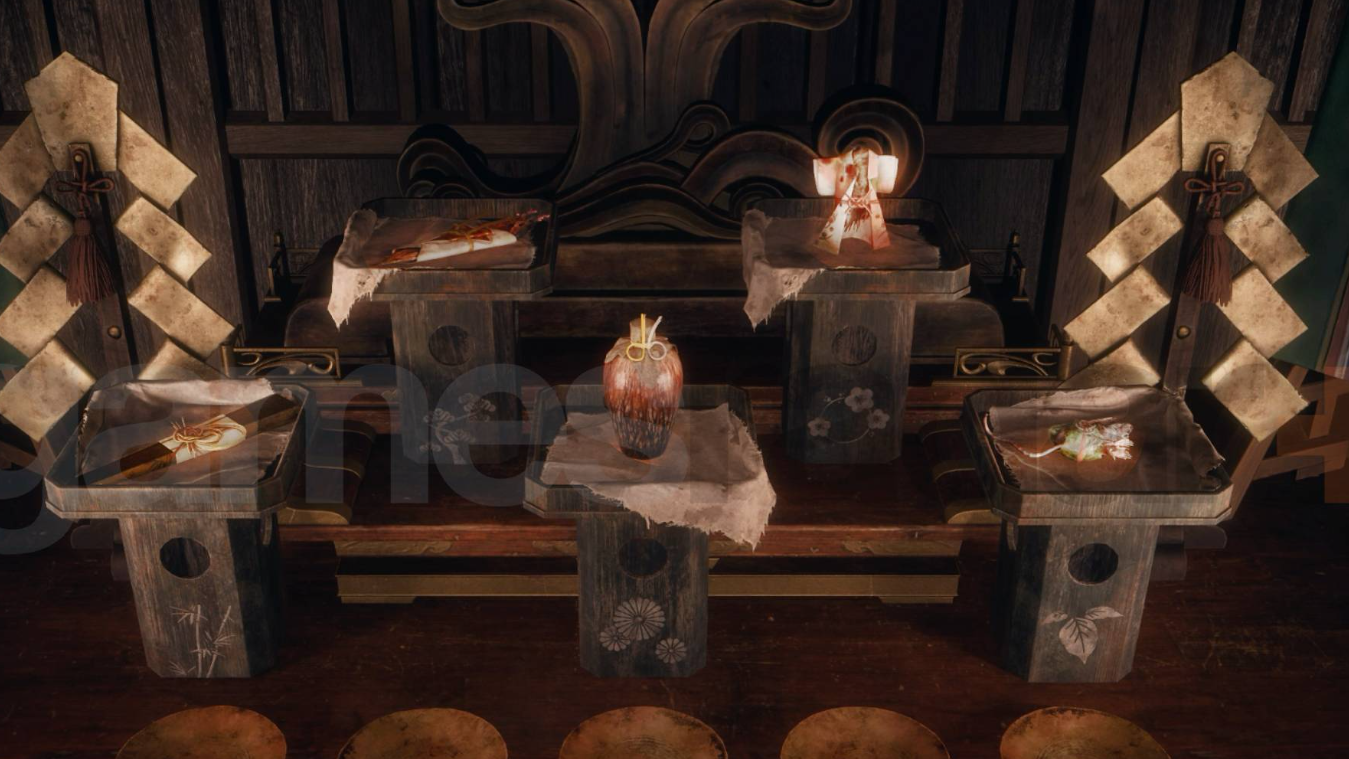
Altar puzzle (Lost in the Fog)
Place the offerings in this exact arrangement:
- Top-left: Fish
- Top-right: Rat
- Bottom-left: Paper fan
- Bottom-middle: Kimono
- Bottom-right: Vase
In Fog, the usual pedestal markings are not enough; the intended logic leans on theme rather than the more direct symbol matching used on lower difficulties.
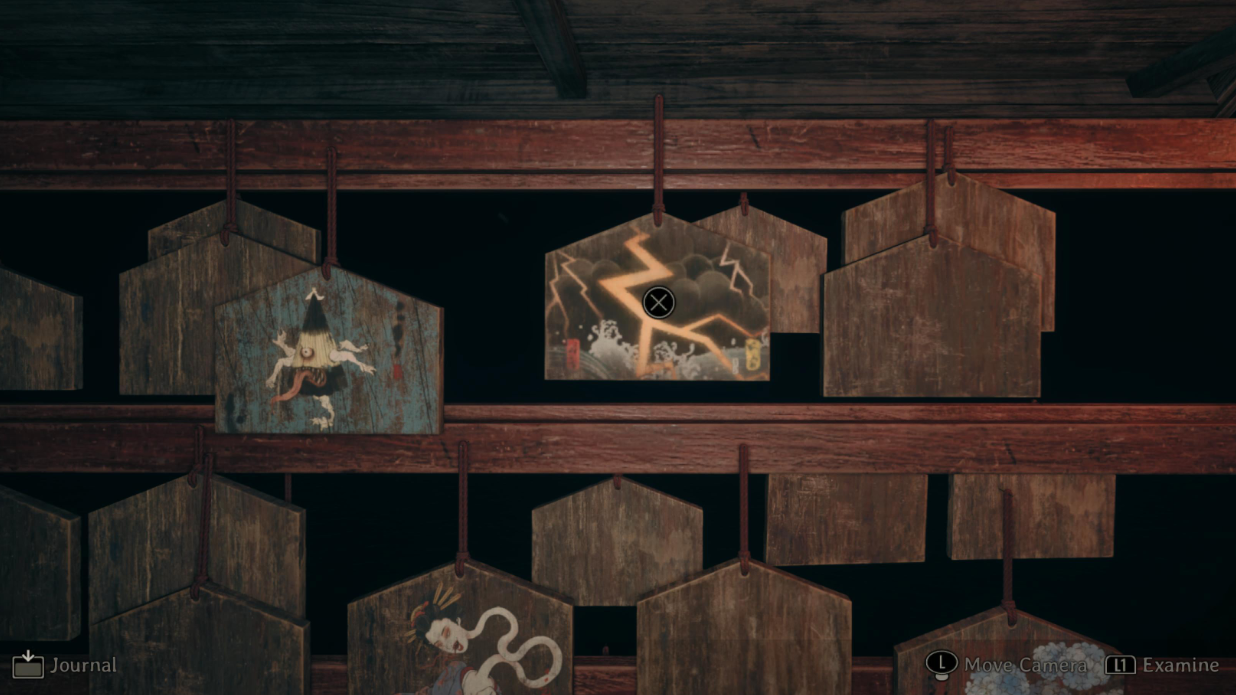
Shrine Vault combination (Lost in the Fog)
The vault requires two things before you can input a combination: the missing dial component and the correct trio of symbols. In Lost in the Fog, the game downplays or omits clear textual confirmation. Instead, the environmental cues and ema imagery push you toward nature motifs (for example, lightning, a dead tree, kudzu). After equipping the dial, set the three segments top to bottom based on those icon clues. If your journal offers only fragmentary hints, walk the surrounding shrines again: flip ema boards and inspect both sides to anchor the symbol meanings.
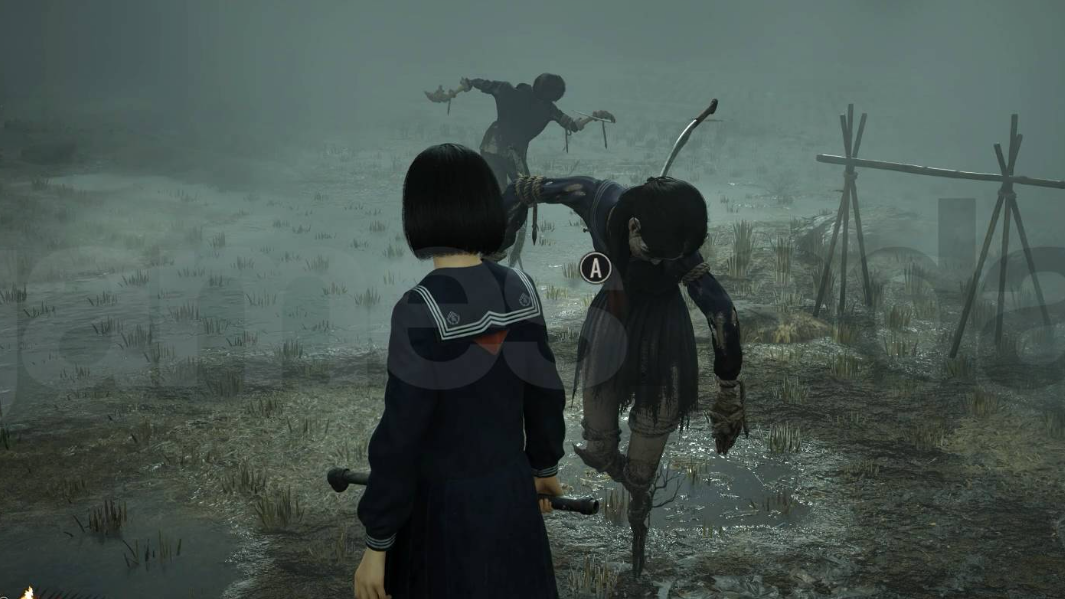
Field scarecrow maze (Lost in the Fog)
The rice field loops until you identify the friendly scarecrow within each cluster. The mechanic is consistent across difficulties, but on Fog, the guidance is sparse and phrasing is more oblique. The loop to break is:
- Approach the burlap‑bag scarecrow with the uniform pieces; its line points to a subtle trait.
- Scan the group and pick the one that stands out according to that trait.
- Pull the nail from that figure; it reorients to point toward the next stage.
Useful tells include an expression that doesn’t match the rest, a weapon in a different place (or none), a gaze that contradicts the surrounding pairs, or a unique accessory. You can brute‑force this via the nearby autosaves, but that’s slower than reading the behavioral oddity the clue implies.
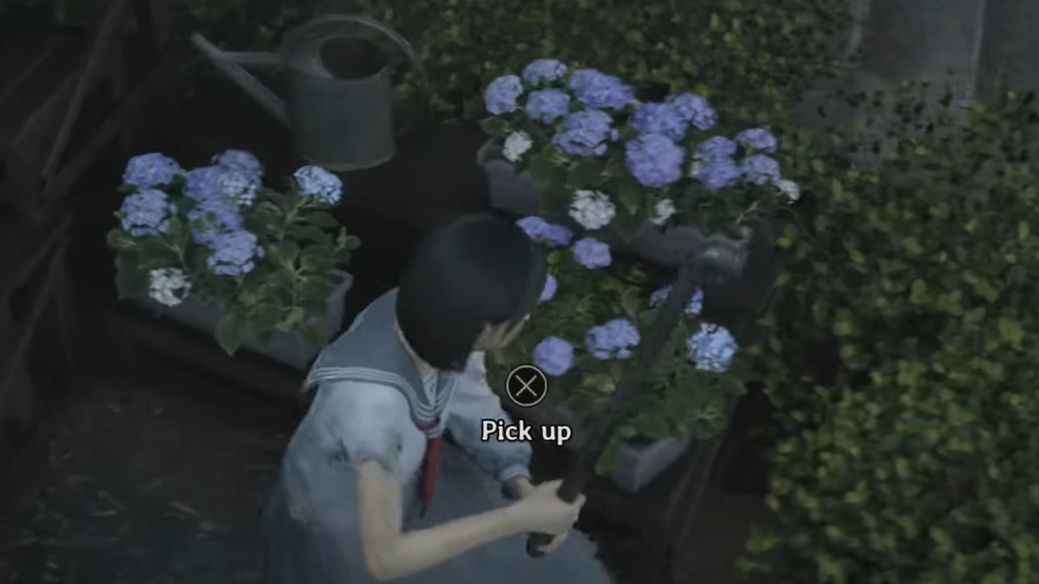
Stairwell key (Lost in the Fog)
The second‑floor access hinges on locating the 2F key with fewer nudges than in other modes. Expect the game to strip out obvious drawer or flower‑bed markers; check indoor staff areas and outdoor courtyards thoroughly, and leverage found tools (like a hairpin) for locks where appropriate. The object location changes by difficulty; Fog keeps the search lean on hints.
Secret Box — three tiers (Lost in the Fog)
This classroom box unlocks in three steps. The letters you find define what must be visible on the sliding panels. The box has two interactive faces; we’ll call them Side A (the side you start at) and Side B. “White row” refers to the lighter sliders; “Brown row” are the darker ones. Move the listed panels so the specified icons are exposed; leave everything else covered.
Tier 1 — “sweet and tart fruits”
| Face | Panels to expose |
|---|---|
| Side A | White row 1: Orange; Brown row 3 (left): Apple |
| Side B | Brown row 1 (left): Cherries; Brown row 2 (right): Strawberry; Brown row 3 (right): Grapes; White row 4: Pineapple |
Tier 2 — “all journals”
| Face | Panels to expose |
|---|---|
| Side A | White rows 1 and 2; Brown row 2 (left); White row 4 |
| Side B | Brown row 3 (left) |
Tier 3 — “sakura in full bloom”
| Face | Panels to expose |
|---|---|
| Side A | Brown row 1 (left); White row 3; Brown row 3 (right) |
| Side B | Brown row 1 (left) |
If a panel doesn’t line up, you’re likely on the wrong face or row; reset a side before re‑applying the listed positions.

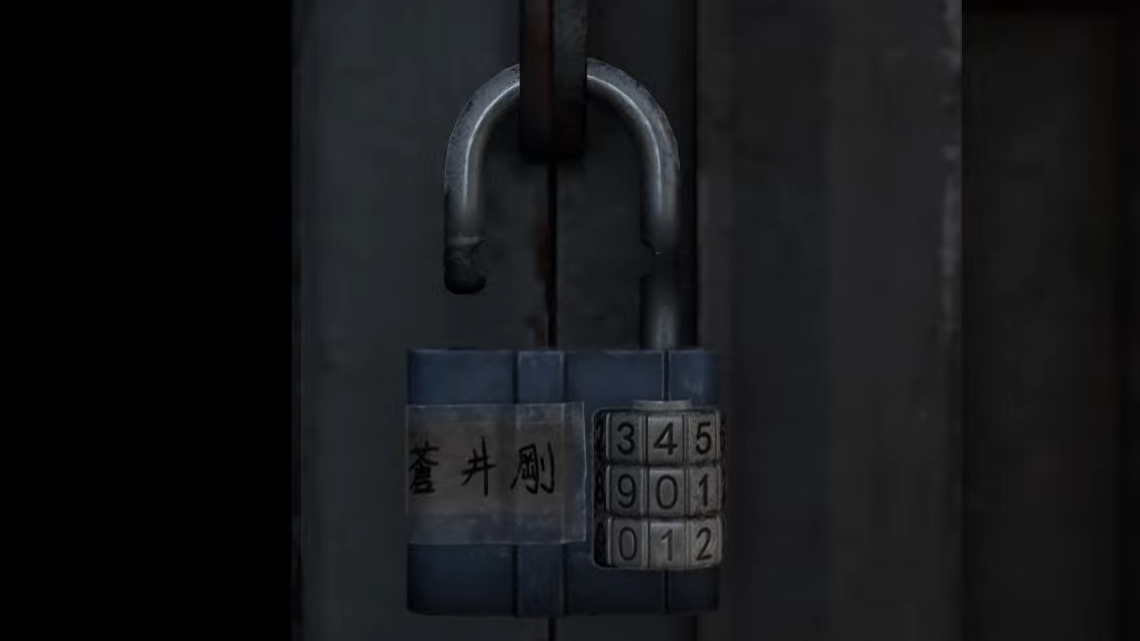
Locker puzzle (Lost in the Fog)
The annex lockers share a letter‑to‑number cipher. In practice, the name on the note (or a three‑letter hint word) maps directly to the code. Examples:
| Locker | Hint | Code | Difficulty notes |
|---|---|---|---|
| Aoi Takeshi | AOI | 401 | Same across difficulties |
| Suga Yosie | SOS | 505 | Same across difficulties |
| Tsuchiya Taiko | (numbers only) | 377 | Same across difficulties |
| Asakura Ayumi | EGG (Fog) | 399 | Changes by difficulty; Fog uses “EGG” → 399 |
You’ll encounter different clue words on Story/Hard for Asakura Ayumi, but only the Fog variant above applies here.
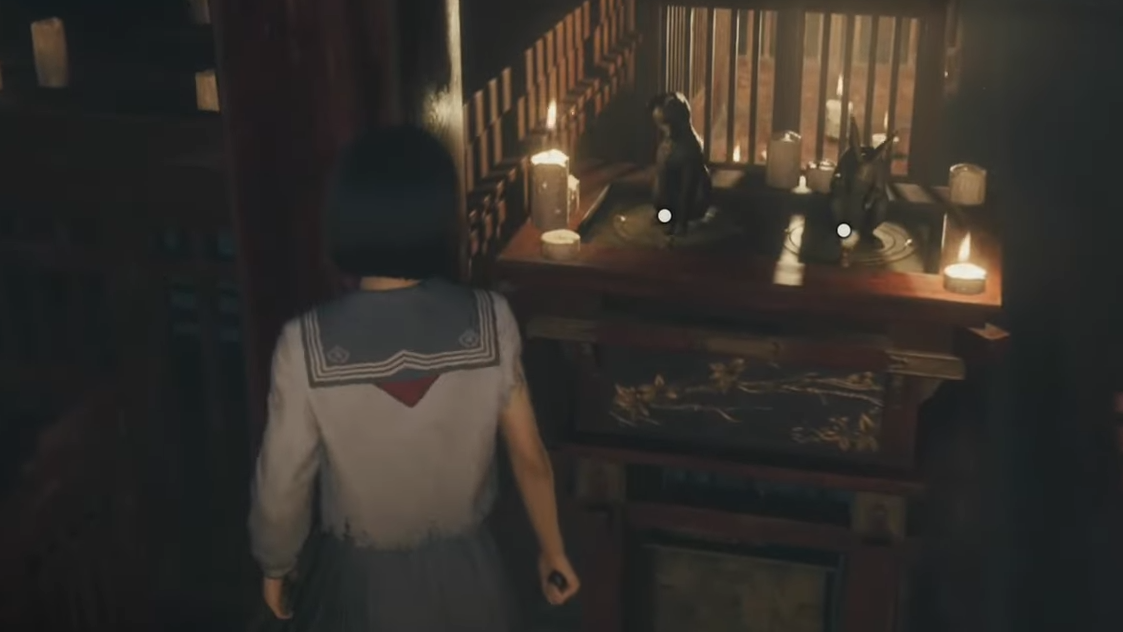
Light puzzle (Worship Hall, Lost in the Fog)
Two platforms, each with a fox and rabbit statue, control cage heights. The goal is to flatten both cage sets, grab the shades, and fit them to the lights to retrieve a key. On Fog, the explicit “face toward/away” callouts are gone; rotate each statue and watch the corresponding cages. When a platform is correct, all of its cages sit level. Repeat for the other platform. If you’re stuck, invert whatever worked on one side for the other; the solutions tend to mirror within a run.
Memories pedestal (Lost in the Fog)
Collect Shu’s prized possessions in the surrounding rooms and place them on the pedestal. With fewer prompts on Fog, assume you’re not done until you’ve cleared every offshoot room and any newly opened balcony or stairwell. The correct set is limited and specific; duplicates or unrelated trinkets won’t register.
Puzzles that can change with your ending route
Late in the game, several puzzles — notably the Scales setup, My Room’s emblem plates, and the Mural crest arrangement — can vary depending on the path you’re on. If you reload after finishing one route and pursue another, expect different conditions even before considering Fog’s reduced hinting. In these sequences, prioritize:
- Reading any nearby scrolls or murals for positional language (top/bottom, left/right).
- Flipping plates or emblems; some plates are double‑sided and must be placed blank‑side out.
- Using lit candles or newly opened doors as the intended loop to gather all required crests before returning to the central device.
Because these late‑game solutions branch, treat environmental inscriptions as the final authority in your run.
Key takeaway: Lost in the Fog removes scaffolding rather than rebuilding the puzzles wholesale. Where a lower difficulty handed you a rule (match knots, follow highlights), Fog asks you to infer it. When in doubt, let the environment do the talking: inscriptions in order imply input order; a single outlier in a crowd is usually your anchor; and nature motifs aren’t flavor text — they’re the lock combination.