
Silent Hill f leans hard into Japanese ritual and symbolism, and few elements make that plainer than its Ema. Early on, you’ll encounter rows of hanging picture plaques that double as a puzzle mechanic; later, Ema also function as a collectible used to upgrade your Pray abilities across multiple areas of the game. If you’re just starting out, here’s how both layers work and where they intersect with key items and encounters.
Ema in Silent Hill f: what they are and where you first meet them
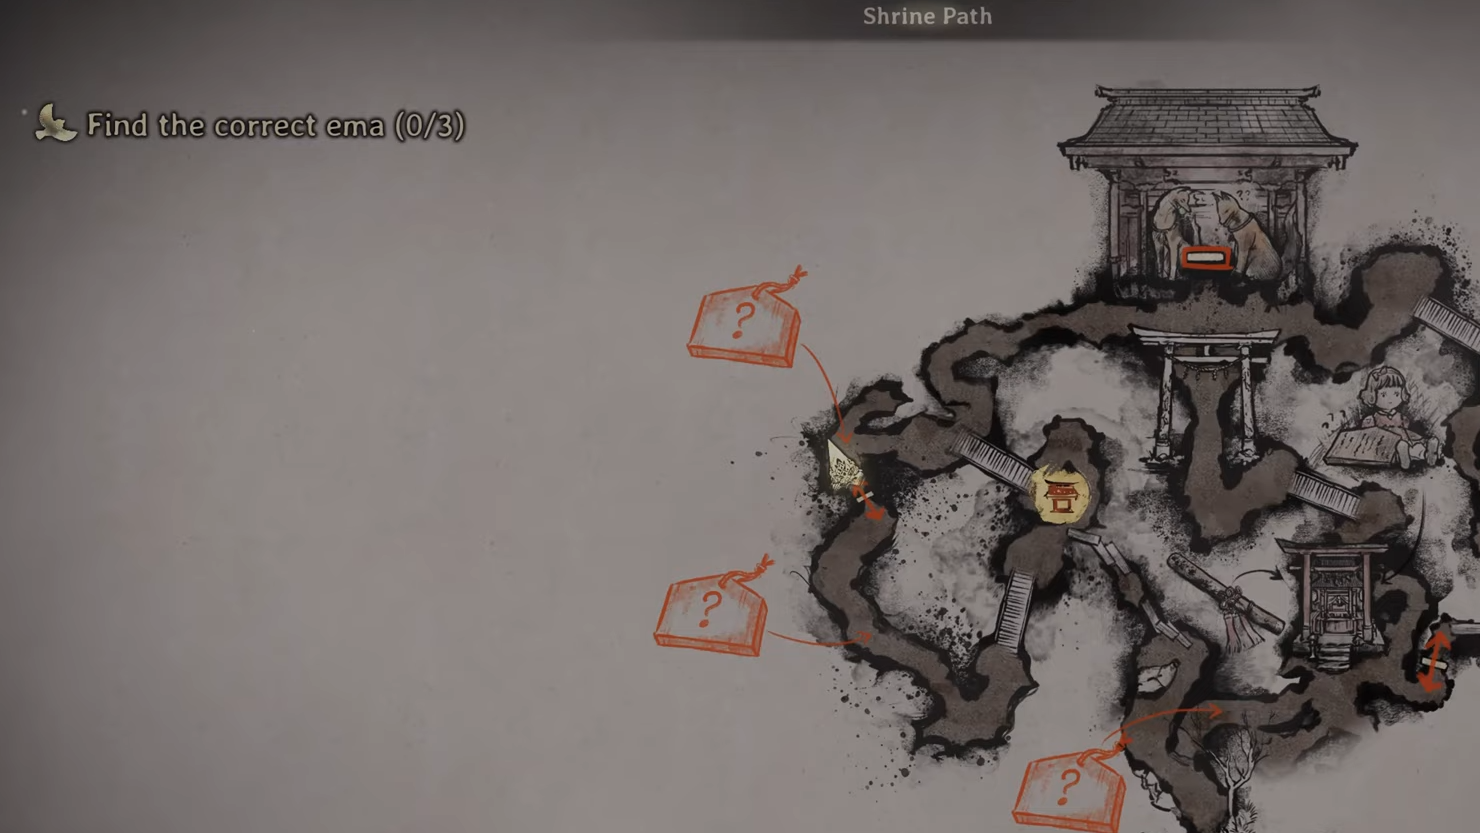
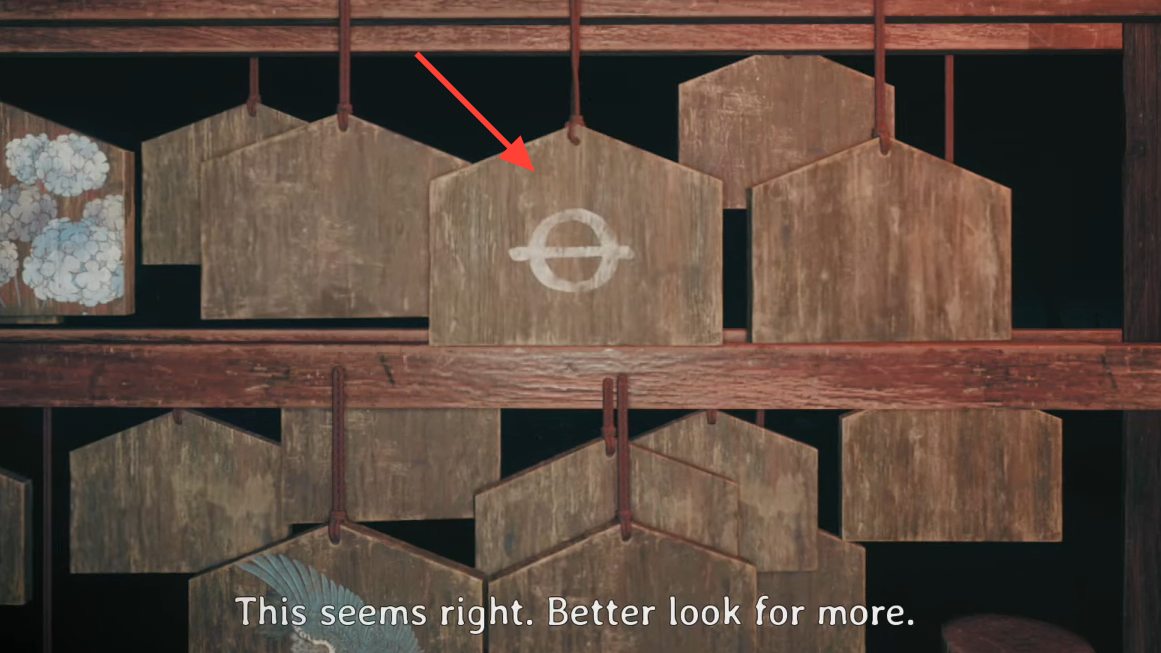
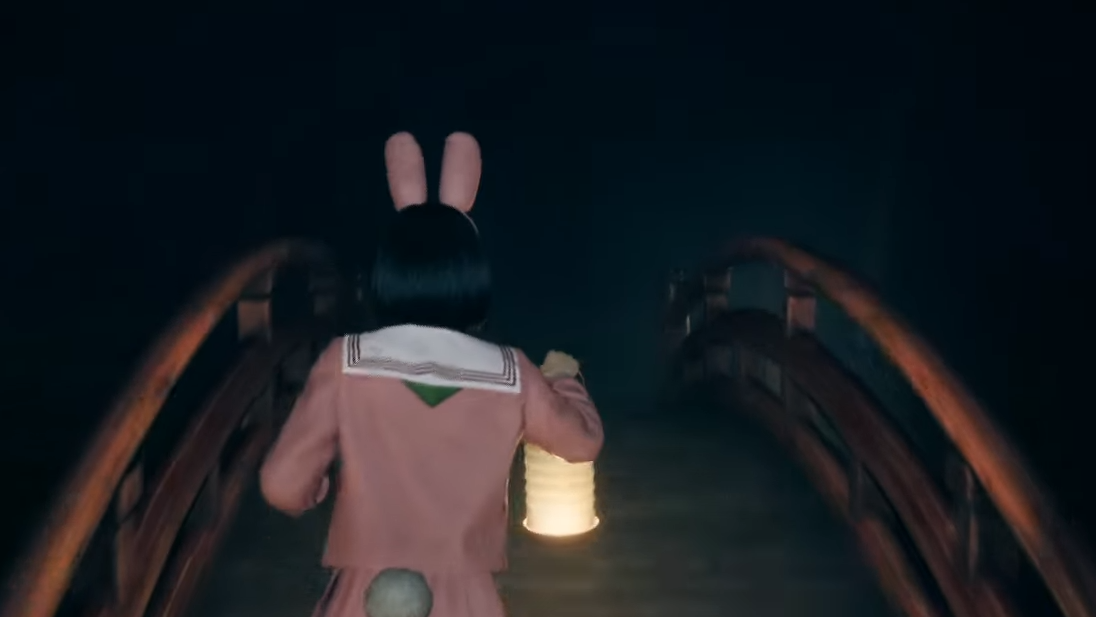
You’ll first see Ema along the Shrine Path while following Fox Mask, who carries a blue flame lamp and leads you north through a linear stretch. As you move northeast, you’ll pass structures lined with hanging plaques. Interact with these Ema to flip them over and reveal symbols on the back. At this stage, you’re only gathering information — the plaques become critical a little later when you return to open the vault.
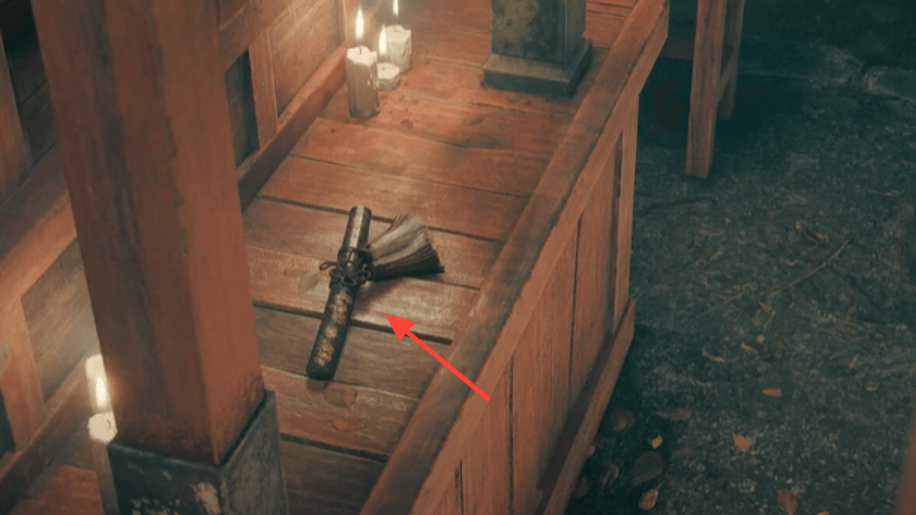
At the end of the first row of Ema, there’s a small shrine on the left containing the Kaiken, a dagger that doesn’t break while you’re in the Shrine Path. Weapon durability behaves differently here than in Ebisugaoka, so you can carry this blade through the upcoming sections without worrying about Toolkits.
Solve the Shrine Vault Ema puzzle
Once you reach the Inari altar, turn away from it (facing south). You’ll see two short, dead-end paths opposite the altar; take the one that runs southwest parallel to the Ema. Clear the obstruction with your dagger, then revisit nearby Ema and flip plaques to hunt for symbols that match the vault’s clue.
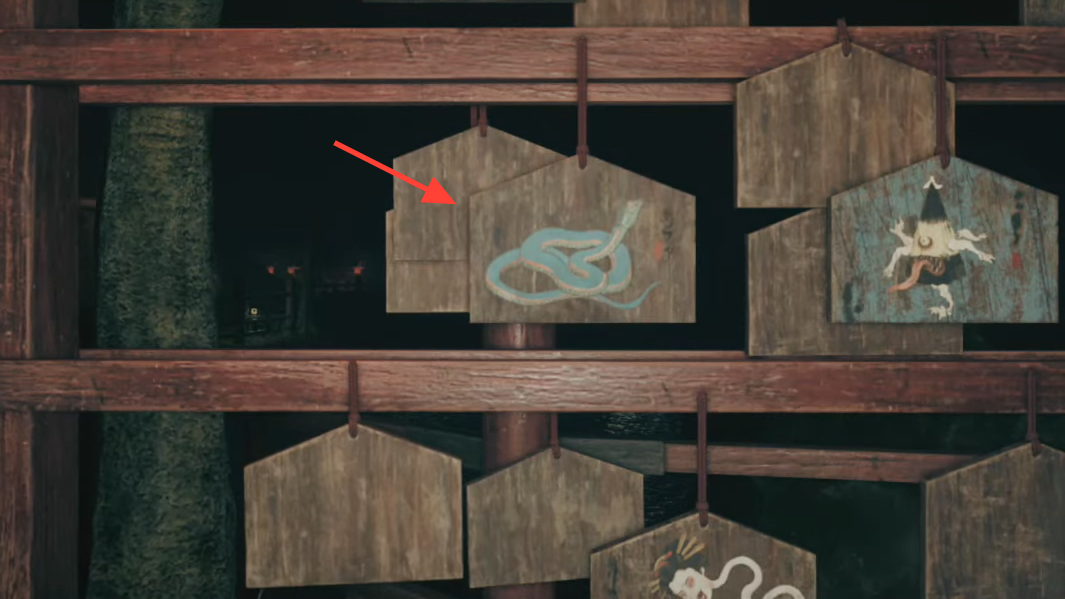
- On higher puzzle difficulties, you’ll need to identify a specific set of images; when you select a correct image, the remaining incorrect pictures will disappear from the plaques.
- When the west side opens, you can access additional Ema needed for the combination. Before crossing over, there’s a small southern dead-end with Inari Sushi.
Push into the western side by crossing a series of board bridges. The path splits north and south. Head north first: pick up Kudzu Tea by the stairs, cross a bridge to a second Hokora, then search the Ema cluster to the north; Divine Water sits on a rock to the right. Check engraved rocks nearby as you go — several are tucked along the route.
Return south and unlock the gate. Opposite the gate, there’s a Blood-Stained Letter on a rock beside the first set of Ema. The note points to a nearby collectible; search the next Ema cluster to obtain the Combination Lock Dial. With the dial in hand, head back to the Shrine Vault door and slot it in. Open your Journal to confirm the symbol order, set the dial, and enter the combination to open the vault.

Shrine Vault combat, reanimation quirks, and a trophy timing window
The Dark Shrine changes the rules of engagement slightly. When you down an enemy, their body remains where it fell and is surrounded by swirling black smoke. That indicates they’re not finished — they can reanimate at any time, so don’t assume a cleared lane stays safe.
If you’re trophy hunting, there’s a specific challenge in this sequence: opening the Shrine Vault without taking a hit. It’s possible to fight the first creature that emerges and then carefully route around the rest. Watch for the moment enemies raise both arms overhead; that animation window is the cue for a counter, making their attacks easier to avoid.
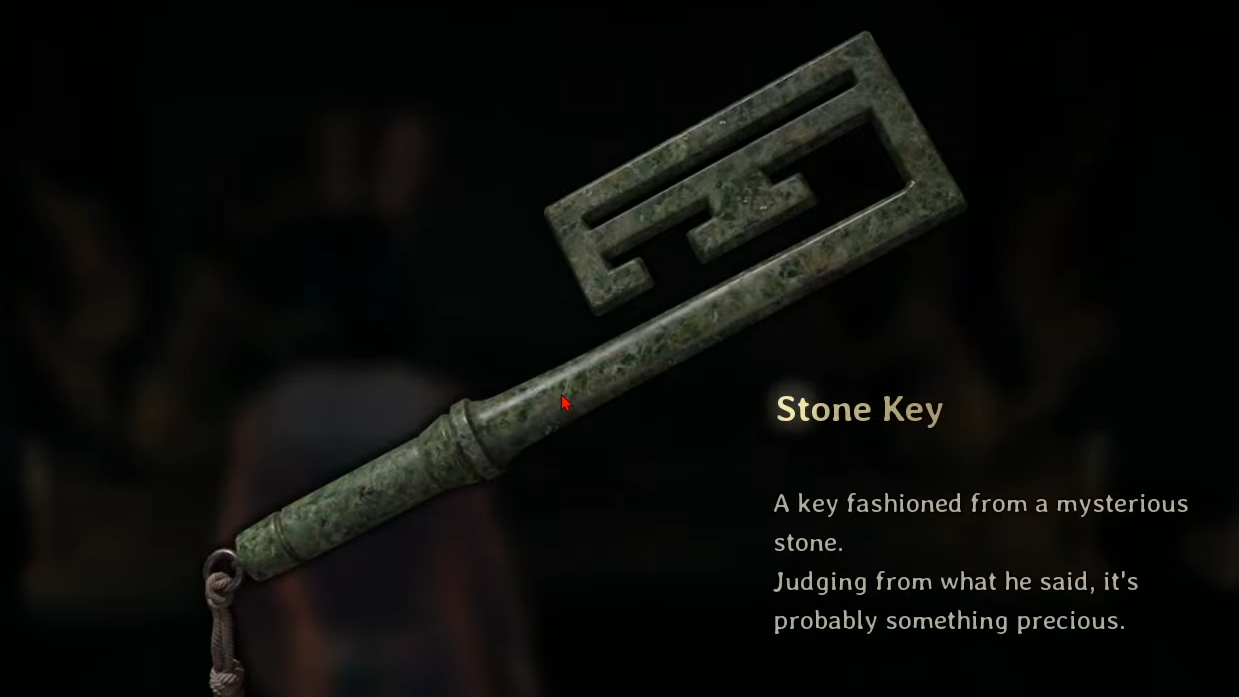
Inside the vault, head straight to the altar to collect the Stone Key. Fox Mask will reappear as soon as you pick it up.
Items tied to Ema interactions on the Shrine Path
| Item | Where it appears | Notes |
|---|---|---|
| Kaiken | Shrine to the left at the end of the first Ema row | Doesn’t break in the Shrine Path; durability differs from Ebisugaoka |
| Inari Sushi | Small southern dead-end before accessing the west side | Pickup en route between Ema searches |
| Kudzu Tea | Northeast corner before the board bridge; another by the stairs when heading north | Found on rocks along the western route |
| Dried Carcass | By a large rock to the left, just before stairs near the west bridge | Close to Ema clusters |
| Divine Water | On a rock to the right near the northern Ema | Collected while searching for the second matching image |
| Blood-Stained Letter | On the rock to the right of the first Ema set opposite the gate | Hints at a nearby collectible in the next Ema set |
| Combination Lock Dial | From the next Ema set after the Blood-Stained Letter | Install at the Shrine Vault door to enter the combination |
| Omamori [Cat] | Second Ema set on the right, south of the gate | Look for the cat image; this set remains interactable |
| Bandage | On a rock to the right as you descend the southern stairs | Optional pickup before returning north |
| Yokan | On a rock just after the bridge heading back toward the Hokora | Grab on the return to the Shrine Vault |
| Stone Key | On the altar inside the Shrine Vault | Triggers Fox Mask’s return |
Ema beyond the shrine: upgrade Pray abilities
Outside the vault sequence, Ema also serve as a resource for improving your Pray abilities. Upgrading isn’t free — it consumes Faith in addition to the Ema you’ve collected — so planning routes that pass by known Ema spots can make early upgrades arrive sooner.
Ema show up across multiple areas, including:
- Dark Shrine Corridors and the surrounding western section
- Dark Shrine Worship Hall and Dark Shrine Main Hall
- Ebisugaoka Alleyways, Middle School, and the Mountain Path
Examples from early routes include a plaque beside chests near a partition in the Dark Shrine’s western corridors, and another atop a wooden basket behind a hay fence near a Hokora shrine on the way to the Ebisugaoka Fields.
Key takeaway
Think of Ema in two layers: first as a literal plaque-based puzzle mechanic that gates the Shrine Vault, and later as a practical collectible that fuels your Pray build. Flip plaques for symbols when the story pushes you past the Inari altar, and, as the world opens up, start treating Ema locations like a circuit — every detour that adds one or two to your count accelerates your next upgrade.