
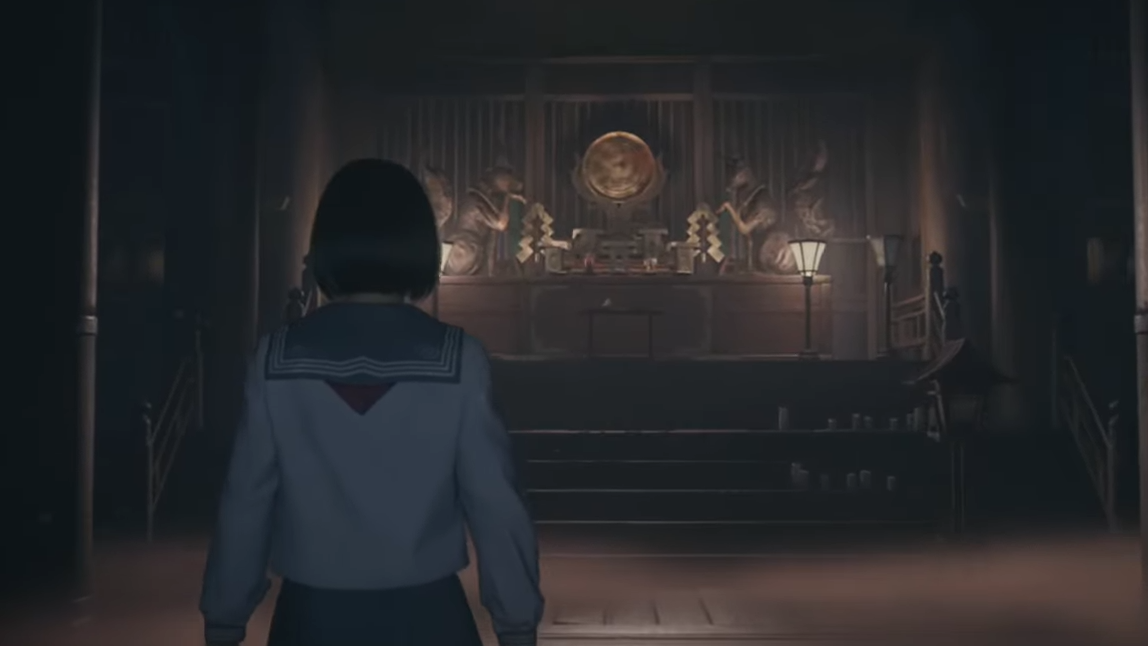
Silent Hill f’s Light puzzle appears in the Dark Shrine Worship Hall, during the “Farewell Ceremony” path. The room centers on two pairs of animal statues—fox and rabbit—that you rotate to manipulate a set of hanging cages. When the cages are brought to the same height, you can retrieve two lampshades and use them to produce the key you need to progress.
Light puzzle location and goal
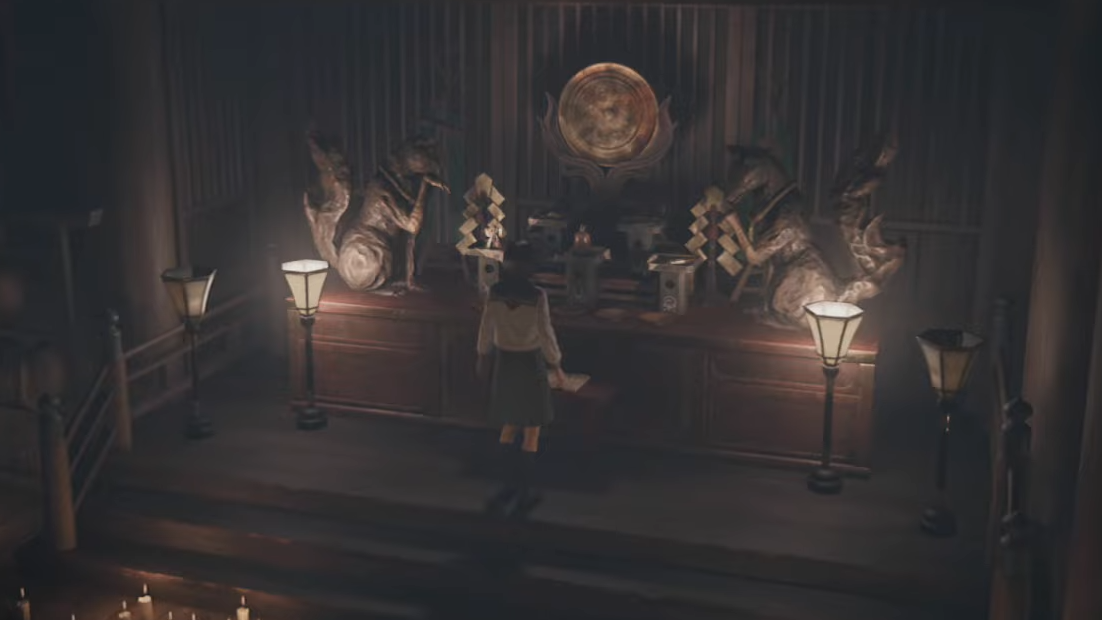
You’ll reach the Worship Hall after earlier shrine and school puzzles. In this room, a note at the altar hints that opposites should mirror one another and that light must be covered. Turn around to find two platforms—left and right—each with a fox and a rabbit statue. Interacting with any statue rotates it and simultaneously raises or lowers two of the cages behind it. Some cages are affected by multiple statues, so changes can overlap.
Your objective: align all the hanging cages to the same height, then grab the lampshades and cover the altar lights to reveal a key.
How the mechanism works
- Each statue rotation toggles the height of two cages at once.
- Because cages are linked to multiple statues, expect one change to undo another—work in small, deliberate steps.
- There are four statues total, arranged left to right as: Fox (left platform), Rabbit (left platform), Fox (right platform), Rabbit (right platform).
Statue orientations by difficulty
The puzzle’s intended arrangement varies by difficulty. You can solve purely by leveling the cages through trial and error, but setting the statues to the patterns below will reach the solution quickly.
| Difficulty | Left platform (fox & rabbit) | Right platform (fox & rabbit) | Cardinal directions (left → right) |
|---|---|---|---|
| Story | Face each other | Face each other | Fox (E) — Rabbit (W) — Fox (E) — Rabbit (W) |
| Hard | Face away from each other | Face away from each other | Fox (W) — Rabbit (E) — Fox (W) — Rabbit (E) |
| Lost in the Fog | Face away from each other | Both face left | Fox (W) — Rabbit (E) — Fox (W) — Rabbit (W) |
Legend: E = East, W = West. Order is from your left to right as you face the altar: Fox-L, Rabbit-L, Fox-R, Rabbit-R.
Step-by-step to clear the room
- Interact with each statue to set it to the orientation for your difficulty (see the table above). Watch the cages adjust after each rotation.
- Confirm all cages are at the same height. If one is off, rotate the statue that affects it while double-checking the neighboring cage it also influences.
- Loot the cages: the middle cage on the left holds the Restrain Lamp Shade; the opposite cage holds the Talon Lamp Shade.
- Place the two lampshades on the lamps flanking the altar. When both lights are covered, the White Rabbit Emblem Key appears.
What you get and what’s next
Completing the Light puzzle yields two items from the cages—Restrain Lamp Shade and Talon Lamp Shade—and, after covering the altar lights, the White Rabbit Emblem Key. With the key in hand, the Worship Hall path continues toward the display of Shu’s possessions, where additional pedestal interactions await.
Lost in the Fog nuances
On the highest puzzle setting, in-game hints are minimal and can omit important context. The mechanical rules are unchanged, however: rotating statues and equalizing cage heights still unlocks the same lampshades and key. Use the Lost in the Fog row in the table above if you want a direct path to the correct orientation.