
Silent Hill f’s My Room puzzle is the lock on Hinako’s bedroom door in the first version of the Shimizu Residence. To open it, you have to track down three crests from around the house, then arrange and flip them on the plaque beside the door. The exact layout changes based on which ending path you’re on, but the places you find the crests don’t.
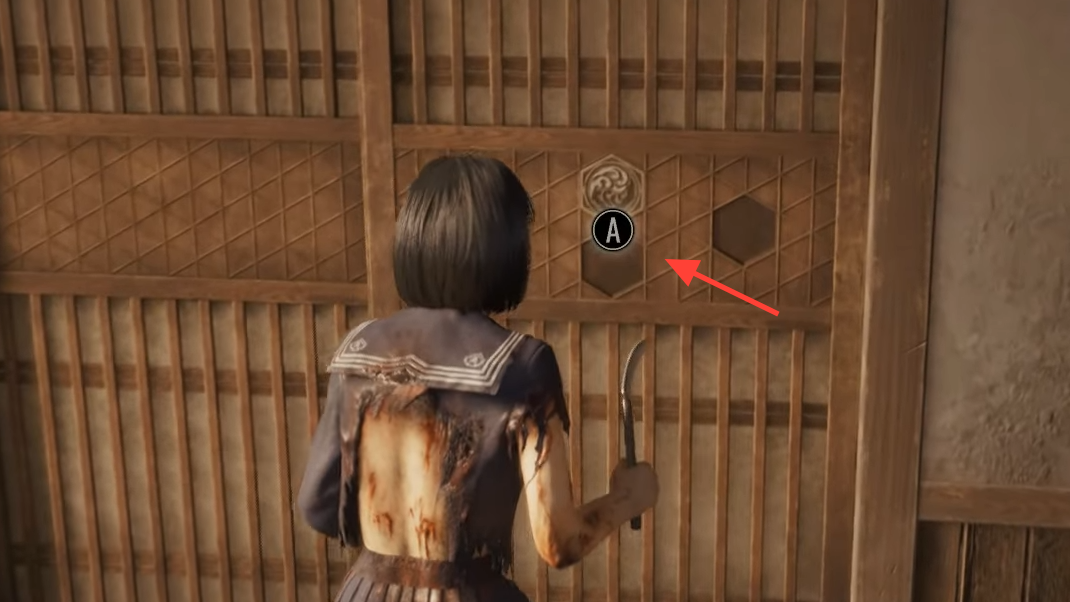
Find the My Room door and start the puzzle (Shimizu Residence I)
From the starting corridor, head north in Shimizu Residence I. Hinako’s door is the brown one just beyond the Hokora; the scroll next to it gives the narrative hint for how the plates should be positioned. Early progression in this wing also involves picking up a calendar and placing it on the wall near Hinako’s room to open up more of the house.

The three crests you need (and how to get them)
You’ll bring three plates back to Hinako’s door. Two come from other puzzles in the residence; the third is locked behind a wax-sealed key. The acquisition steps do not change with puzzle difficulty.
| Crest (plate) | Where it’s obtained | How to get it |
|---|---|---|
| Scales | Shimizu Residence | Solve the Scales puzzle in the residence. The exact difficulty alters the clue, not the reward. |
| White Bird and Fox | Ominous Photo room | Complete the Ominous Photo puzzle: retrieve Hinako’s Portrait (in Shimizu Residence II, right-most room), place it in the photo room, and set the photo orientations as required. A frame falls; collect the plate from the wall. |
| Black Bird and Sword | Bird-marked door, Shimizu Residence III | Find the Block of Wax hidden inside Hinako’s Diary in the upper-right room of Shimizu Residence III. In the kitchen in Shimizu Residence I, connect the Propane Tube to the stove and melt the Block of Wax in the pan to reveal the key (you may see it labeled “Fletching” or “Fletchling”). Use that key on the bird door in Shimizu Residence III, view the scene, then pick up the plate inside. |
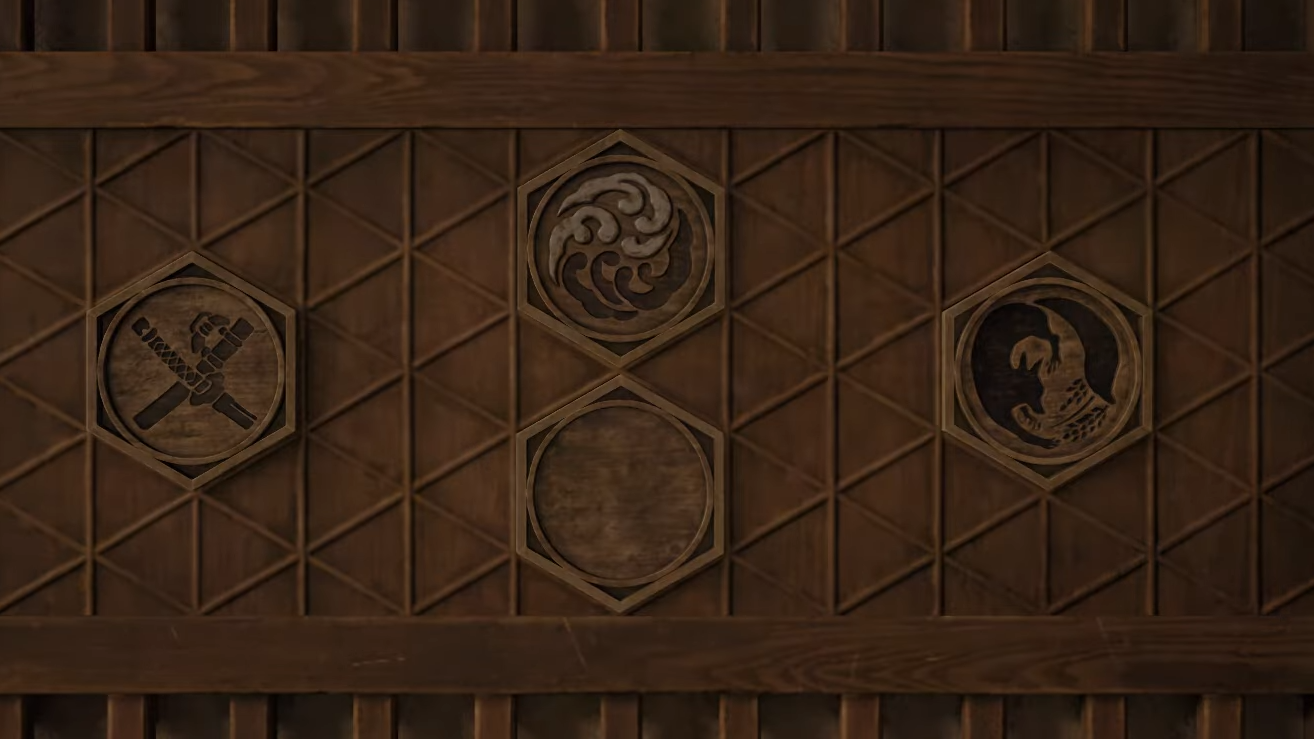
Return to Hinako’s door in Shimizu Residence I. Interact with the plaque to place the plates.
Arrange the plates for your ending
The plaque has four positions (top, left, right, bottom). You only place three plates; one position remains empty. Some solutions require flipping a placed plate to its reverse. In-game, this hides or changes the symbol on that plate.
| Ending path | Top | Left | Right | Bottom | Flip instruction |
|---|---|---|---|---|---|
| Coming Home to Roost (Ending 1) | Heavens | Swords | Fox | — (leave empty) | Flip Scales |
| Fox’s Wedding (Ending 2) | Fox | Scales | Black Bird | — (leave empty) | Flip Swords; flip Heavens |
| Third ending path | Swords | White Bird | Scales | — (leave empty) | Flip Fox; flip Heavens |
What you get for opening Hinako’s room
Inside, collect the Pine Tree Emblem from the desk. You can also grab Red Capsules from the dresser. With the Pine Tree Emblem in hand, return to the southeast corridor in Shimizu Residence I and slot it into the red-glowing door to progress.
Difficulty, hints, and what actually changes
- The My Room plate logic stays consistent across puzzle difficulties; what changes is how explicit the in-game hinting is.
- On the lightest settings, you’ll see clearer nudges; on higher settings or modes that limit guidance, the scroll story remains your primary clue and may omit how the flip mechanic works.
- Crest locations are fixed regardless of difficulty. If you’re stuck on the arrangement, you can safely revisit earlier wings of the house to gather missed items and return.
Once the My Room door yields, the Shimizu Residence opens up quickly. Using the Pine Tree Emblem to unlock the next sealed door keeps you on track toward your chosen ending while leaving room to loop back for any collectibles you skipped.