
Rotate each of the four pillars so the musical lines form continuous, unbroken staves — that’s the core of the Architect’s Melody puzzle in Hollow Knight: Silksong (official site). Below you’ll find the fastest way to reach the room, a reliable method to solve the puzzle, and a pillar-by-pillar reference so you can lock it in quickly.
Requirements and access
You’ll reach this puzzle during Act 2 after entering the Citadel.
- Defeat the Cogwork Dancers in Cogwork Core.
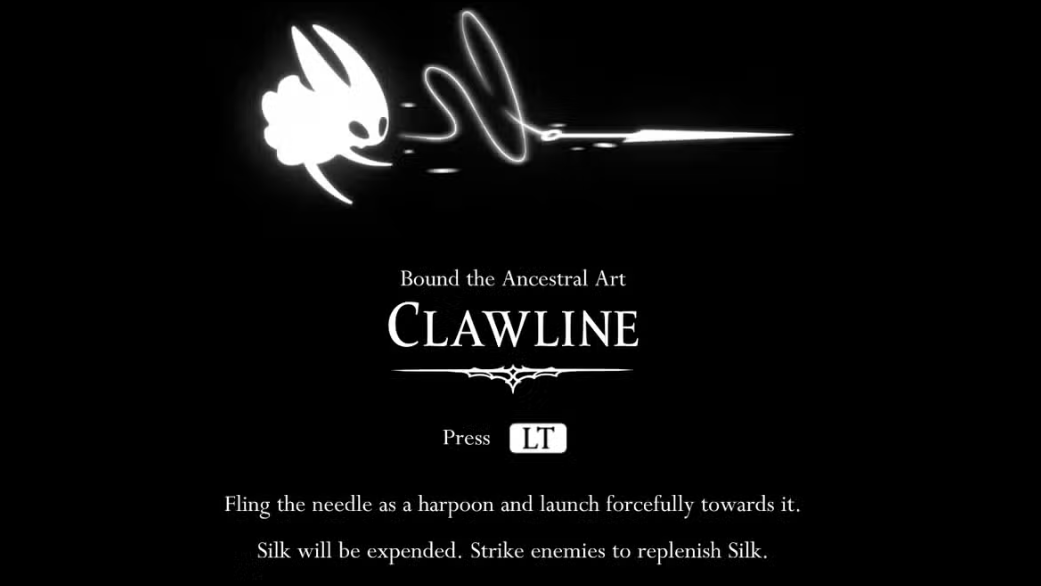
- Unlock the Clawline (grappling harpoon) in the Underworks.
- Open the upper-level doorways in Cogwork Core for a direct path from the area bench.
You do not need a double jump for the ascent; Clawline plus wall movement is sufficient.
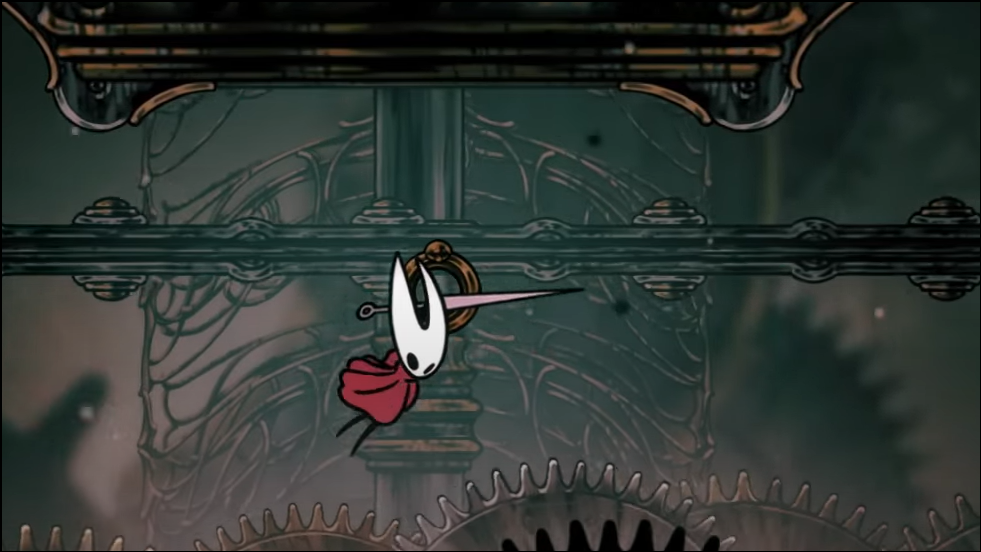
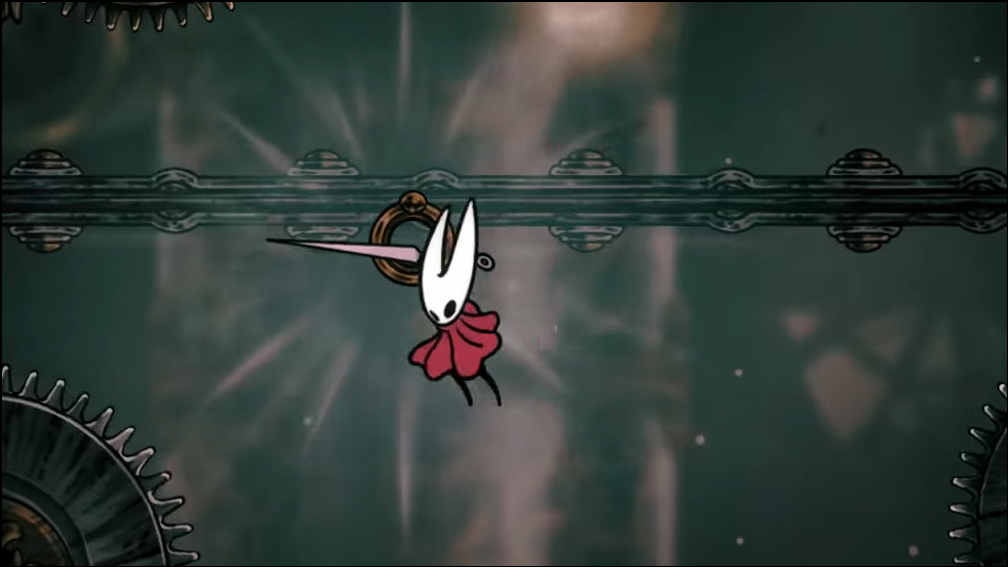
Reach the puzzle room (upper Cogwork Core)
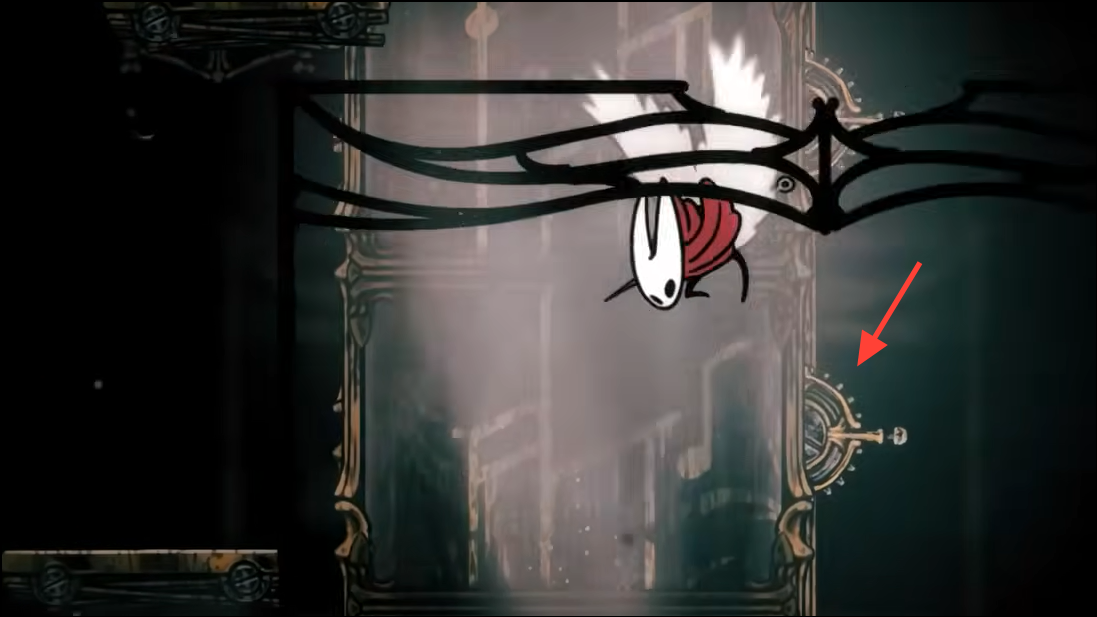
The climb mixes long grapples, pogoing off cogs, and short combat checks. These steps prioritize safe setups and clear timing windows.
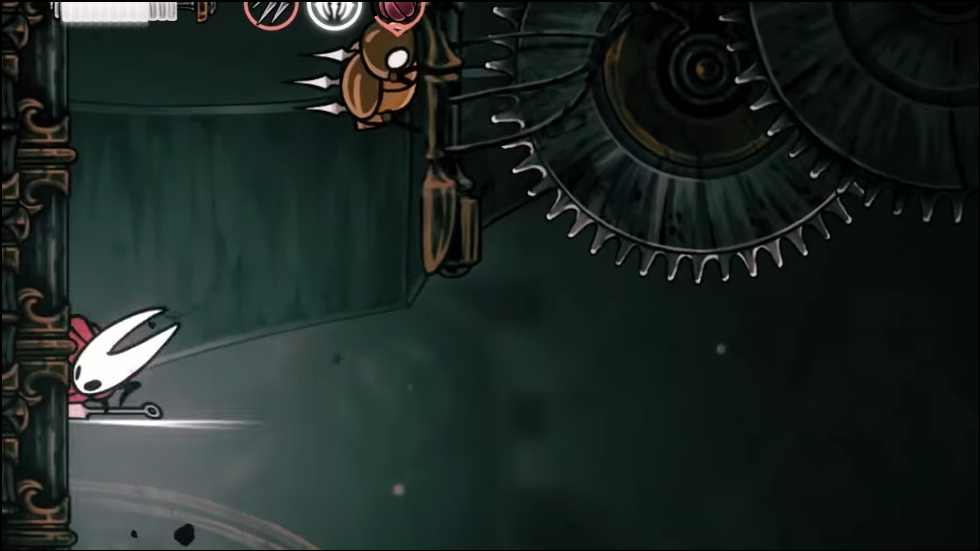
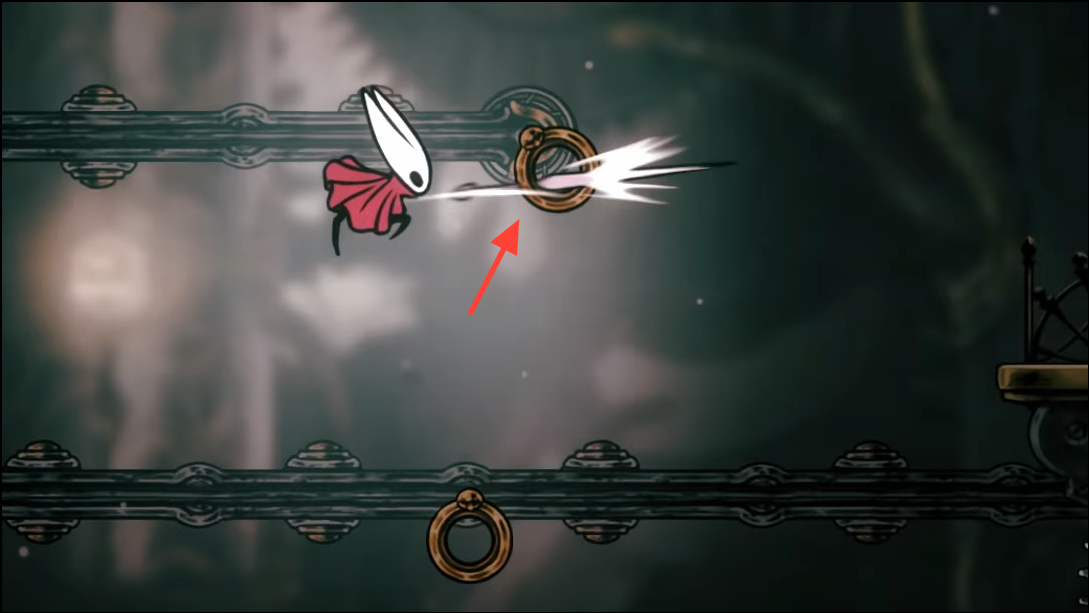
Step 1: From the first grapple ring in Cogwork Core, hook across and dismount early to avoid contact damage on the landing. Take the central platform and clear the nearby enemies so they can’t knock you into spikes.
Step 2: Use a short hop into a forward dash to stick the left wall. Climb past the patrolling bug and reset on the ledge above before engaging anything else.
Step 3: Grapple right, then while attached, pop over the midair spikes and re-grapple on the far side. Release before the endpoint to grab the next wall cleanly.
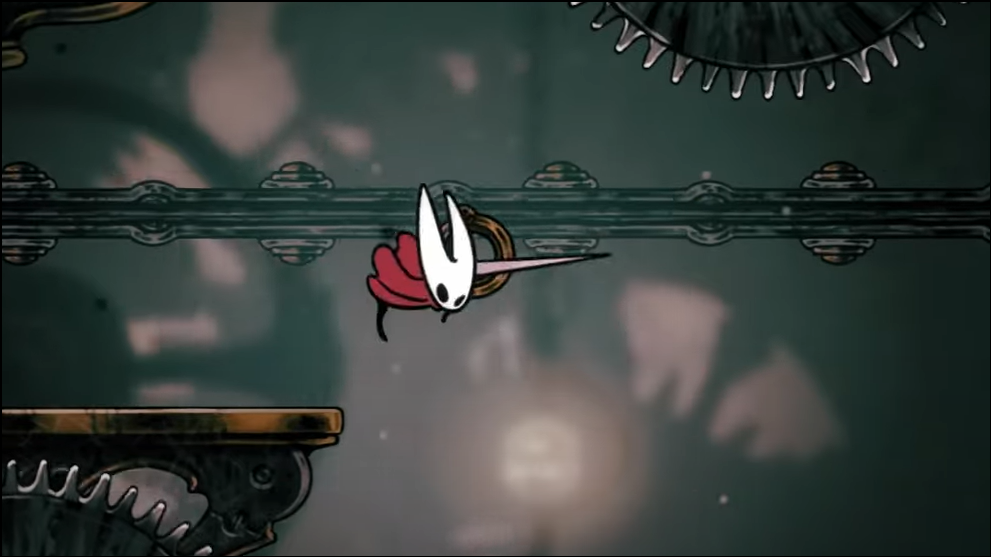
Step 4: Ascend the wall sections that have retracting spikes. Move only when the spikes pull back; commit to one ledge at a time to avoid getting clipped.
Step 5: Ride a long horizontal grapple, release, glide slightly to catch the lower ring, then hop to the safe platform. Immediately clear the enemy above so it doesn’t drift into your space during the next jumps.
Step 6: Pogo off rotating spike-cogs to cross larger gaps. Aim for the top of the arc on each bounce to control height and avoid grazing side spikes.
Step 7: Use the “double grapple” sequence (two rapid hooks) to reach the central spiked cogs. Pogo across them, then glide into the final ring to reach the upper door.
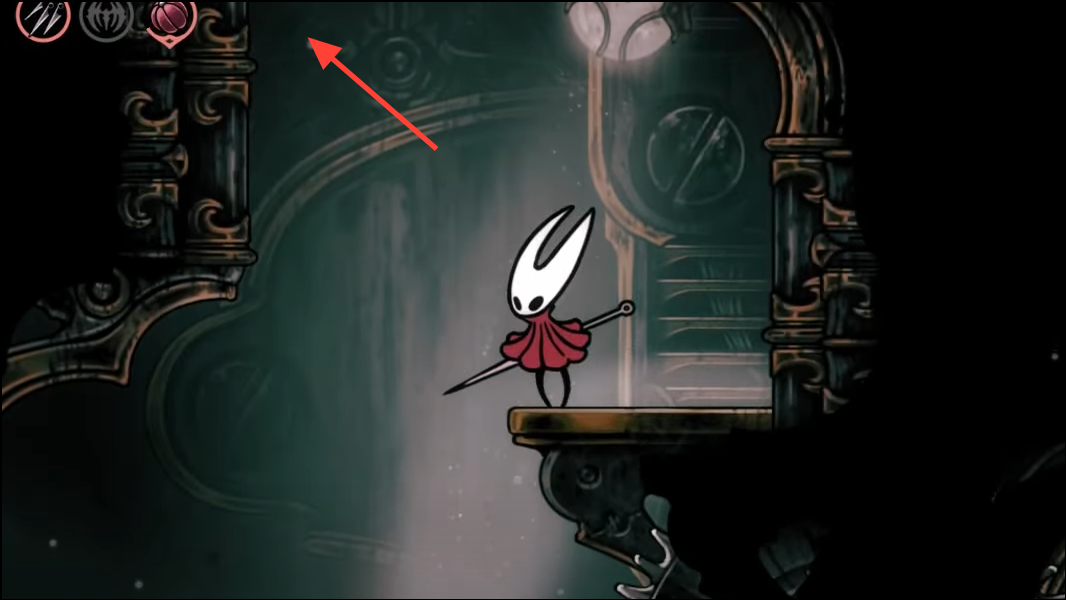
Step 8: Enter the upper-level door to reach the music room. There’s no bench inside, so top off silk before you go in.
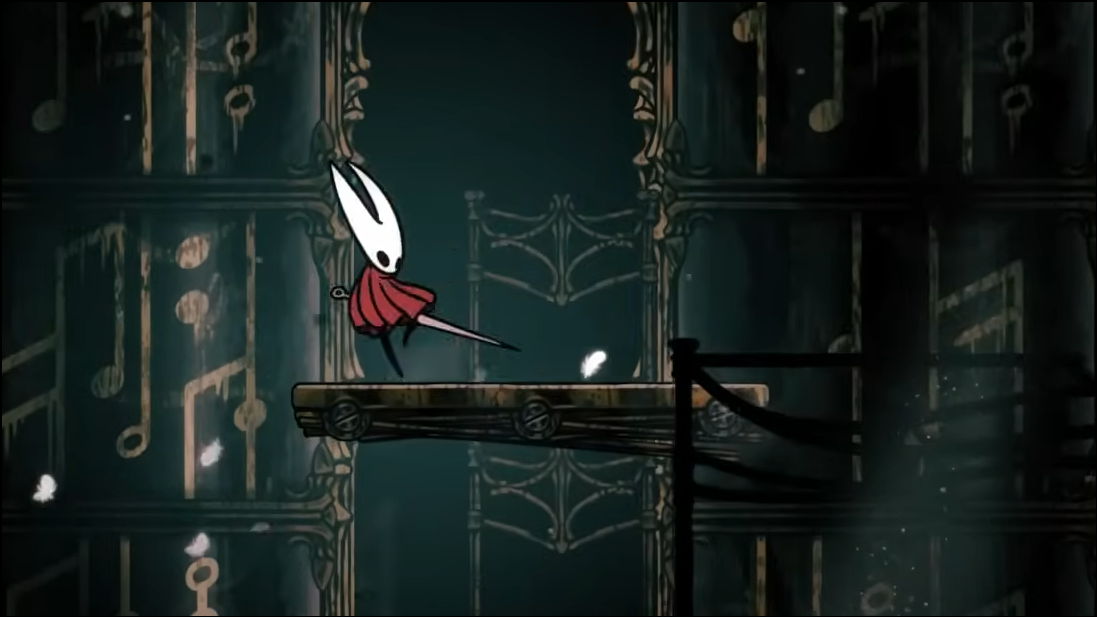
How the Architect’s Melody puzzle works
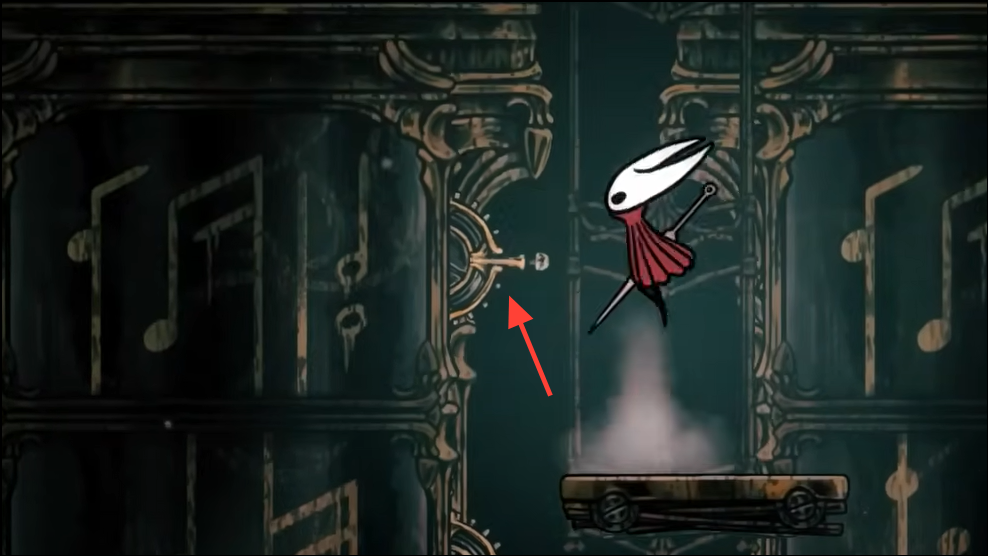
The room contains four freestanding pillars. Each pillar has four rotating “sheets” controlled by nearby levers. Your goal is to rotate each sheet so that the lines and note stems connect seamlessly from top to bottom, forming a continuous staff with sensible note joins. When a pillar is fully correct, its associated temporary platforms disappear.
Step 1: Start by solving three sheets on a pillar, not all four. This preserves its platform so you can traverse comfortably while you work on the others.
Step 2: Use adjacent levers to rotate two sheets until their lines and beamed notes meet cleanly. The joins should look continuous — no offset stems, broken beams, or misaligned staff lines.

Step 3: Match the third sheet to the partial you’ve formed. If a join refuses to align after a full rotation cycle, the sheet above is likely wrong; adjust that one first.
Step 4: Move to the next pillar and repeat steps 2–3, leaving one unsolved sheet on each. Work around the room until every pillar has three correct sheets in place.
Step 5: Finish pillars one at a time, using the remaining platforms to reposition. Save the most awkward pillar (the one with limited footing) for last to avoid unnecessary wall clinging.
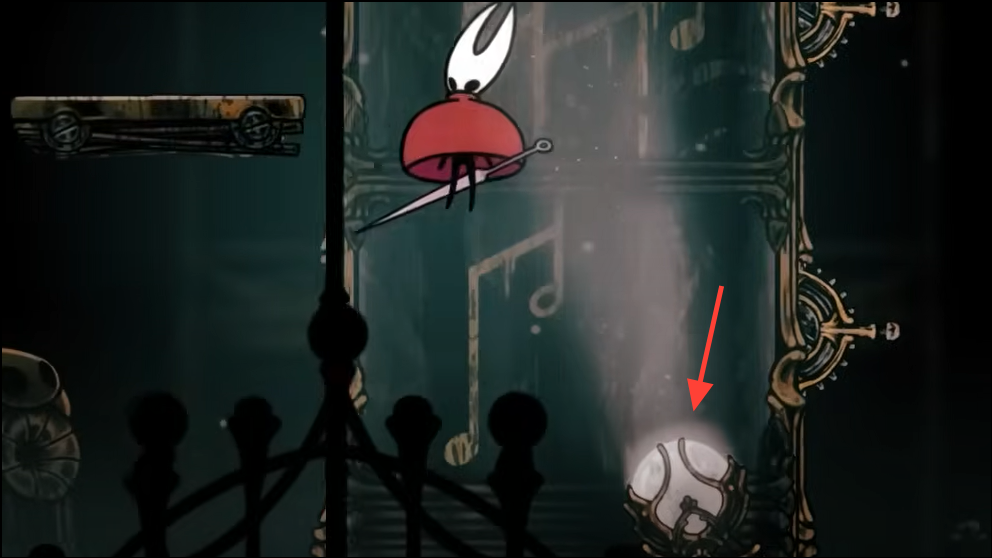
Visibility tip: Strike the floor spotlight to nudge it in the direction you want. A better-lit sheet makes it easier to verify beamed joins and line continuity.
Step 7: Reach tip: For the furthest lever on the final pillar, a short wall jump often gives you the angle you need. Be deliberate — falling here forces a time‑consuming reclimb.
Pillar-by-pillar reference (visual anchors)
Use these start pieces and end cues to lock each column quickly. “Beamed/joint” below refers to notes connected by a horizontal beam.
Pillar 1 (anchor the top): Choose a top sheet showing a single eighth leading into a beamed pair. Progress downward by matching that beamed tail cleanly on each sheet; the joins should look like one continuous beam with intact stems.
Pillar 2 (spot the rounds): Rotate to the sheet that clearly displays two whole notes. Connect downward; a correct stack typically resolves into a run featuring a whole-plus-quarter feel, followed by a half, then a quarter on the final piece.
Pillar 3 (start on a full tone): Begin with a sheet that opens on a whole note. Build the column so the lower staff lines stay perfectly aligned; a correct finish is easy to recognize when the bottom sheet begins with a beamed eighth pair.
Pillar 4 (flags then step): Look for the sheet where flag shapes precede a quarter note. When the column is correct, the last sheet presents a clean “joined quarter into half” relationship without any offset stems or broken beam ends.
These anchors aren’t the only way to solve the puzzle, but they reduce trial rotations significantly and prevent dead-end joins at the bottom sheet.
Reward and next steps
Completing all four pillars grants the Architect’s Melody, one of the three melodies needed for the Threefold song. With all three learned, you’ll be able to perform the full piece at Cogwork Core to open the way to the late-game ascent.
Take your time aligning each join; small misalignments are easy to miss under poor lighting. Preserve platforms until the end and the whole room becomes much less punishing.