
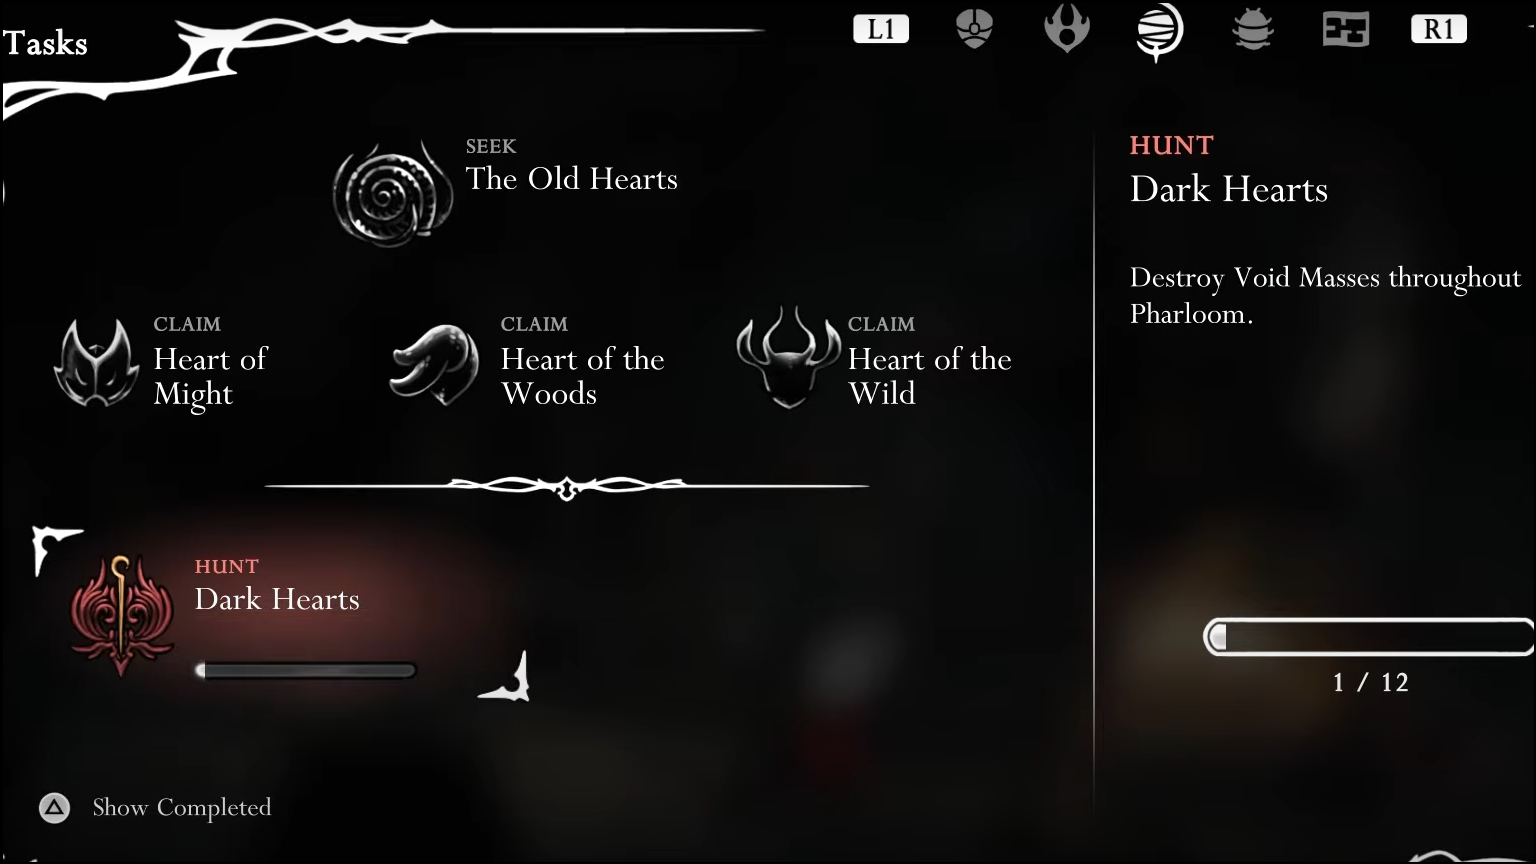
The Dark Hearts wish in Hollow Knight: Silksong appears in Act 3 and tasks you with destroying 12 Void Masses scattered across Pharloom. There are far more than 12 in the world (dozens overall), so the quickest approach is to clear dense clusters near Bellhart and turn the wish in for a Mask Shard. The notes below focus on a fast route, reliable tells to locate Void Masses, and safe ways to remove them.
Unlock and start the wish
Step 1: Progress to Act 3. If you’re finishing Act 2, complete the Silk and Soul quest to advance the story and open Act 3.
Step 2: At Bellhart, interact with the Wish Board and accept Dark Hearts. This logs the objective to destroy 12 Void Masses anywhere in Pharloom.
Step 3: Plan fast travel and healing. Use Bellway stations to hop between clusters quickly, and remember that hitting a Void Mass won’t generate silk, so budget your heals and silk skills accordingly.
How to recognize and handle Void Masses
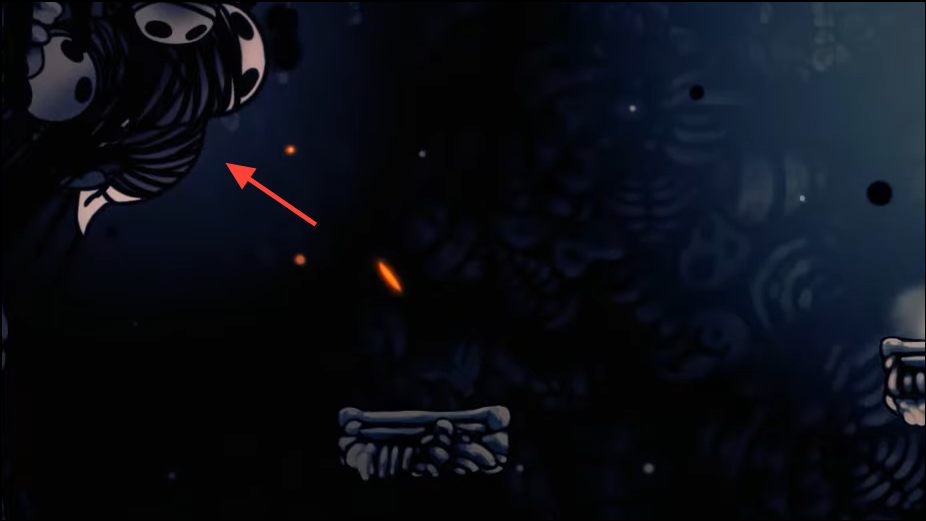
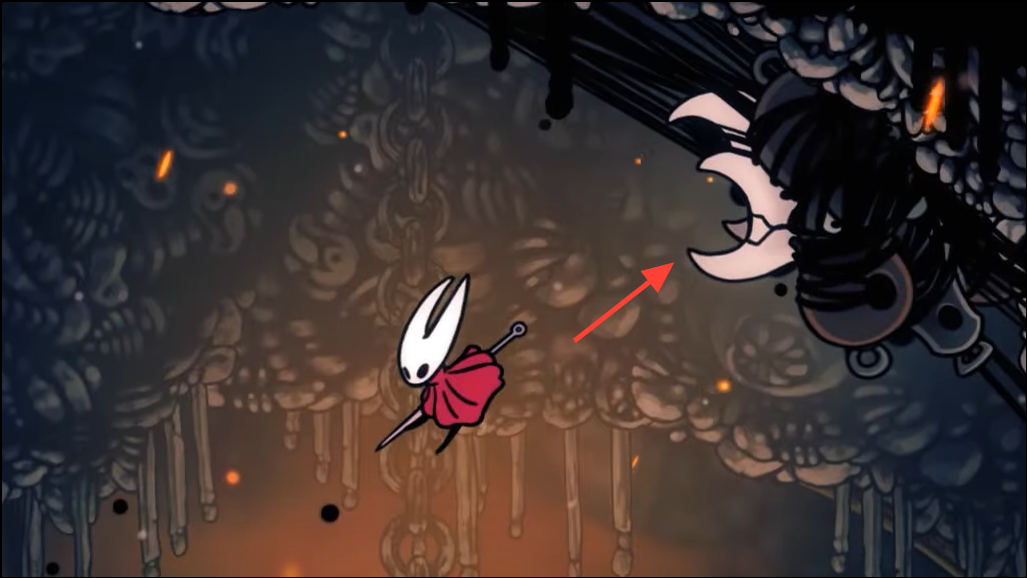
Void Masses look like black, tangled growths fused from creatures and slime. Areas that contain one typically spawn “corrupted” enemies—foes with a shadowy tint and altered attacks—letting you know you’re warm.
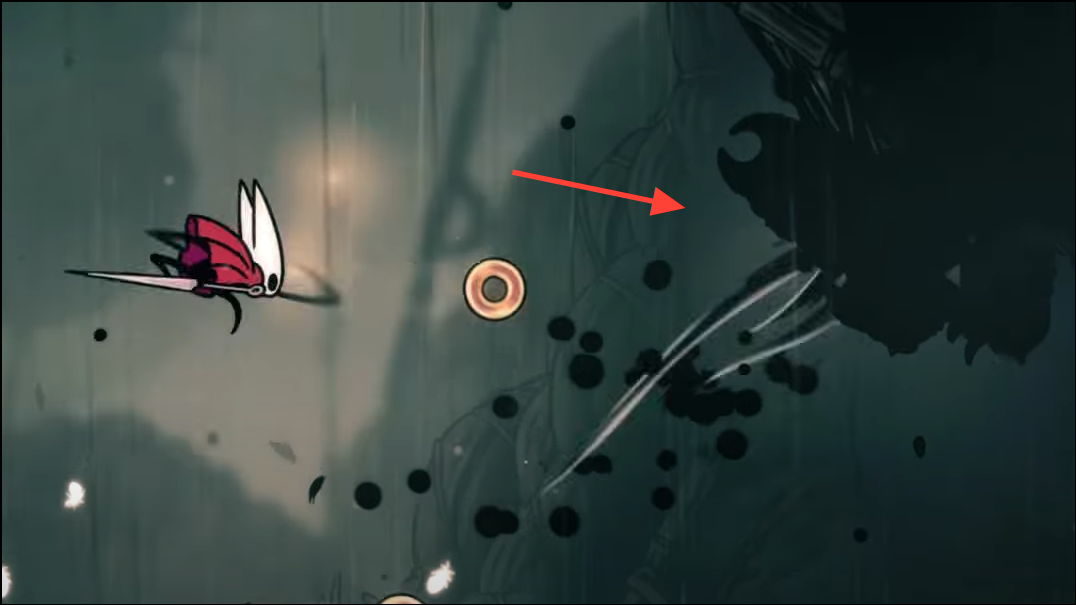
- Expect tentacle swipes in melee and blobs of black ooze at range.
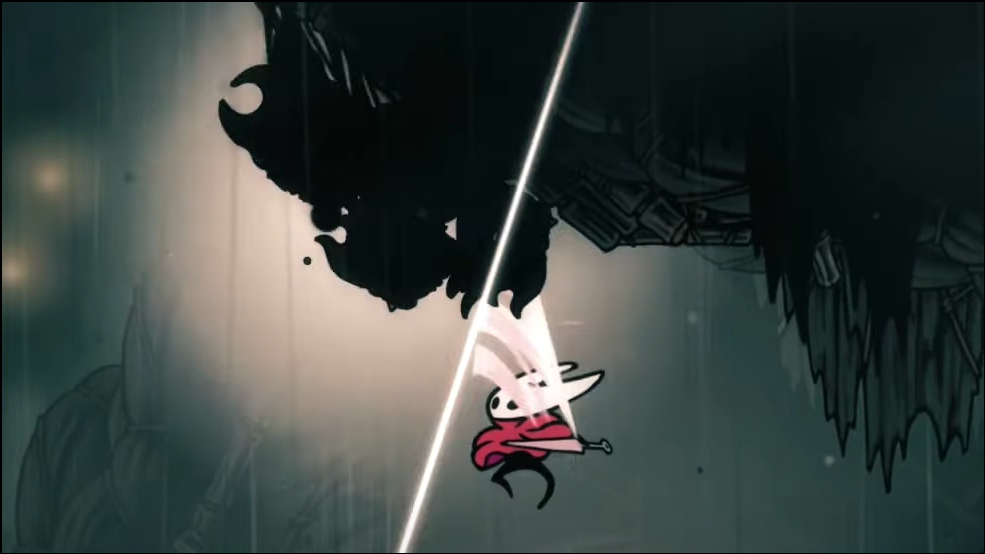
- They’re stationary but durable; you must land multiple strikes to destroy them.
- They do not respawn, and you can find them in many regions across Pharloom.
Safely remove each Void Mass
Step 1: Thin the room first. Lure or eliminate nearby enemies so you can focus on the Void Mass without crossfire.
Step 2: Use positioning. Attack from safe ledges or pogo from above when possible; time your strikes between projectile volleys to avoid trading hits.
Step 3: Conserve silk. Because Void Mass hits don’t refill silk, reserve high-cost skills for emergencies or quick finishes.
Fast route: 12 Void Masses near Bellhart
This path keeps backtracking low by sweeping Shellwood, Bone Bottom, The Marrow, Deep Docks, and Far Fields. Use Bellway stations to reset position when convenient.
Step 1: Ride the right-hand elevator from Bellhart to Shellwood. Just inside Shellwood, check under the first platform to find a Void Mass.
Step 2: From the nearby Shellwood bench on the right side of the zone, look directly below the bench area. Destroy the Void Mass on the lower ledge.
Step 3: Move toward Bone Bottom and reach the horizontal chamber close to its bench. Hit the Void Mass clinging to the ceiling of that room.
Step 4: Fast travel or traverse into The Marrow and head left of the Bellway station. In the small nook beneath a platform, remove the tucked-away Void Mass.
Step 5: Drop to the bottom of the next vertical room in The Marrow. In the upper-left corner of the lower room, clear the Void Mass using the floating platforms for footing.
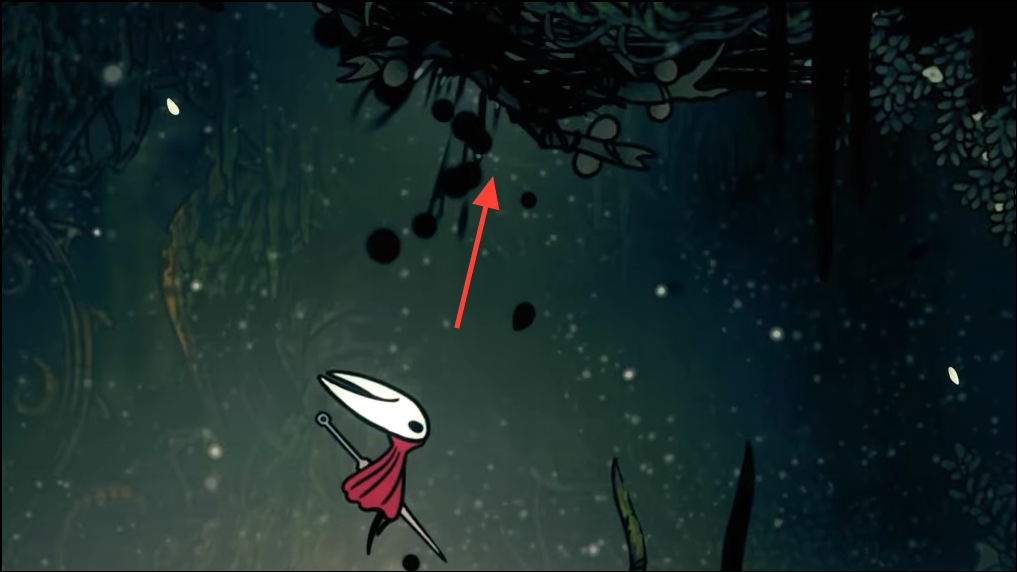
Step 6: Climb back to the top of that vertical room in The Marrow and go right. Destroy the Void Mass hanging from the roof near the red bud.
Step 7: Continue southeast in The Marrow toward the Deep Docks exit. Use the hanging platform to reach and break the Void Mass perched in the top-right corner.
Step 8: Enter Deep Docks and proceed to the second tall chamber. Climb high, head right, and strike the Void Mass attached to the ceiling.
Step 9: From a nearby bench in Deep Docks, move right into the lava-adjacent corridor. Remove the Void Mass stuck to the side of a platform over the hazards.
Step 10: Return toward Far Fields from Deep Docks and ascend to the next room. Break the Void Mass fixed to the top of the arena amid enemies.
Step 11: In the adjacent lower room of Far Fields, scan beneath the platforms near the lava. Clear the Void Mass tucked under the walkway.
Step 12: If you still need one, sweep Greymoor’s approaches near Bellhart. Look for a Void Mass suspended on a scaffolding overlooking the town-side path, or inside vine-blocked cellars you can crack open.
Turn in progress when you’ve destroyed 12; any extras you clear are simply optional toward this wish.
Other reliable clusters (pick any 12 total)
If you prefer to roam, these zones often yield quick counts without detours.
- The Marrow (dense cluster): left of the Bellway, upper-left corners of adjacent rooms, southeast corner near the Deep Docks exit, and one near a red plant bud.
- Far Fields (close to Bellhart): left of the Bellway and bench, opposite the vendor hut chamber, and along the route used during The Old Hearts objectives.
- Greymoor (near Bellhart): behind vine-blocked paths by the Bellbeast, above eastern exits on woodwork, and at the top of open areas by Spool Fragment daises.
- Shellwood (right-side bench): directly below the bench area and on the ledge immediately to the left.
- Blasted Steps (Grand Gate path): one along the main walkway to Grand Gate and another in the chamber where you previously fought Great Conchflies.
Finish and reward
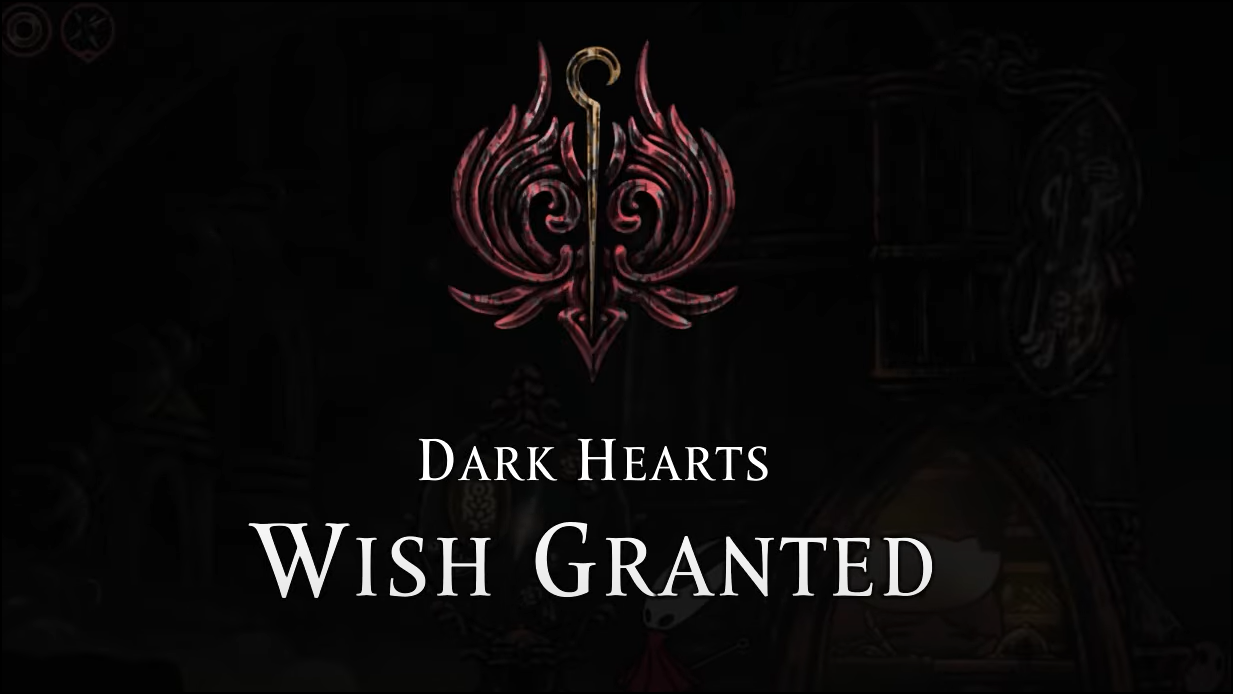
Step 1: Return to Bellhart after destroying 12 Void Masses. Interact with the Wish Board to complete Dark Hearts and receive a Mask Shard.

Step 2: Track your health upgrade progress. Four Mask Shards increase your maximum masks by one, improving survivability for Act 3’s bosses and gauntlets.
Quick fixes if your count stalls
- Follow the corruption: if enemies spawn with a shadowy hue the moment you enter, a Void Mass is somewhere nearby.
- Revisit vertical hubs: scan ceilings, upper corners, and undersides of platforms where Masses often cling out of sight.
- Use Bellway hops: reset to Bellhart and sweep Shellwood → The Marrow → Deep Docks again; these three areas alone can meet the full quota.
With a clean circuit around Bellhart’s bordering regions, Dark Hearts wraps up quickly and nets a valuable Mask Shard. Keep an eye out for corrupted rooms—once you spot the tint, you’re usually one chamber away from your next Void Mass.