
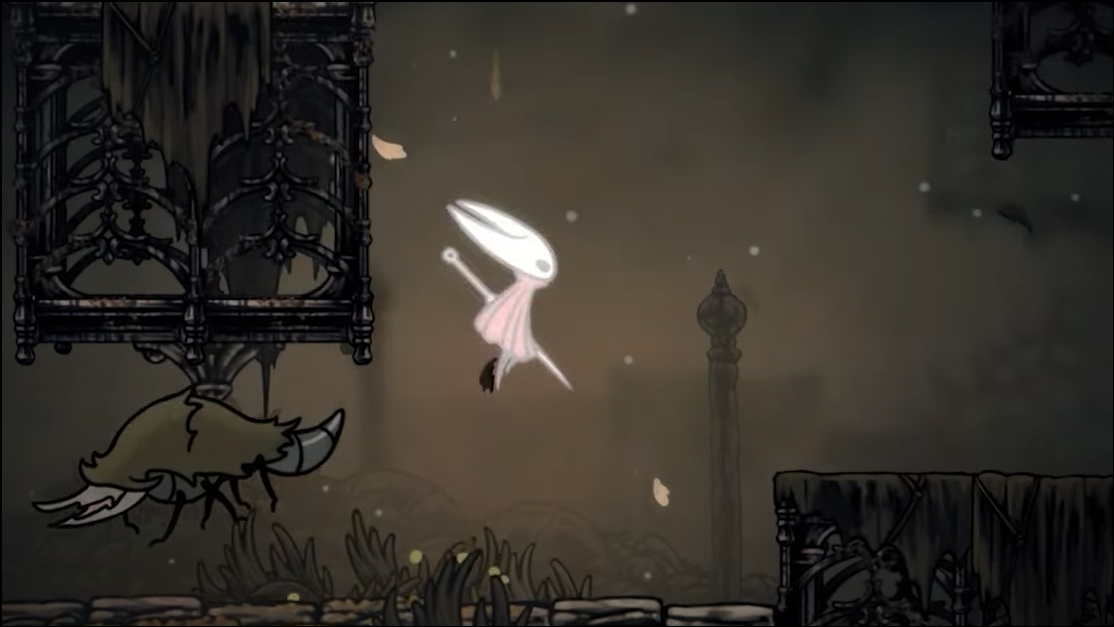
Sinner’s Road is a compact but punishing side region in Hollow Knight: Silksong that branches from Greymoor’s upper paths. Expect dense enemy packs, spike pendulums, and “worm water” that temporarily blocks healing. This guide prioritizes stabilizing the area with a working bench, then routes you through every key pickup, NPC, and exit.
Prerequisites, hazards, and what you’ll find
To reach and comfortably traverse Sinner’s Road, you should have Wall Climb (Cling Grip) and Glide (Drifter’s Cloak). Double Jump (Faydown Cloak) is not required for the main path, but helps with a few optional rooms and a boss tucked away later.
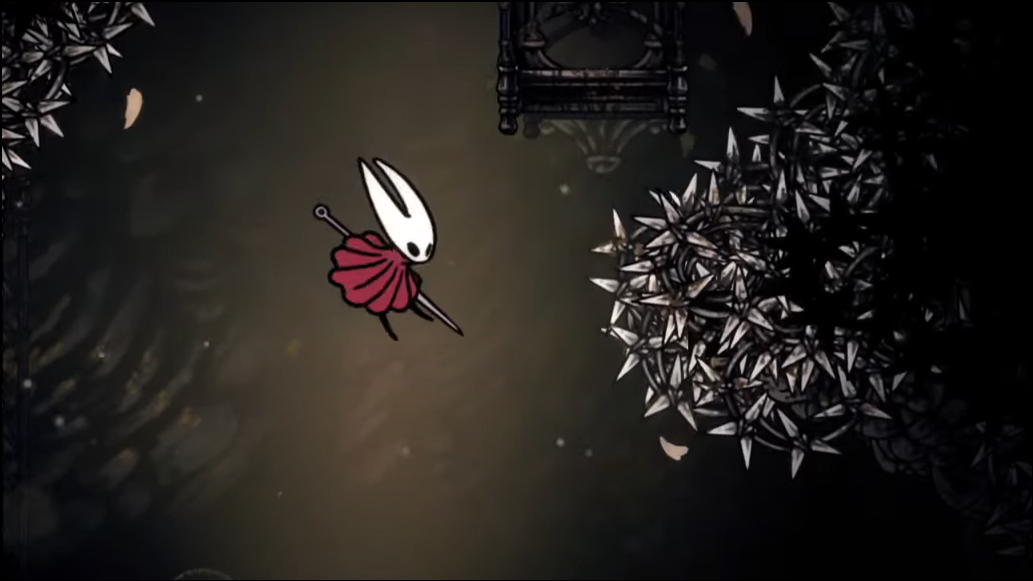
- Primary hazards: Muckroaches leap quickly and hit hard; Roachfeeders (fliers) and Roachkeepers (heavies) mix the encounters.
- Worm water: Contact inflicts an “infested” state that prevents healing; your next Bind removes the infestation but does not restore health.
- Core rewards: Working bench and region map, Barbed Bracelet tool, Simple Key, a Lost Flea rescue, the Green Prince NPC, and exits to Bilewater and The Mist (leading to Exhaust Organ).
Stabilize the area: map and bench (recommended first)
Step 1: Enter Sinner’s Road from Greymoor’s upper-right entrance and clear the first corridor. Break the right side of the ground-level cage mid-room to grab the Frayed Rosary String.
Step 2: In the next long corridor, ignore any floor lever that drops you into worm water. Keep heading right into the adjacent room with cages and pendulums, then take the left-side exit that leads to a small hub with a bench sign.
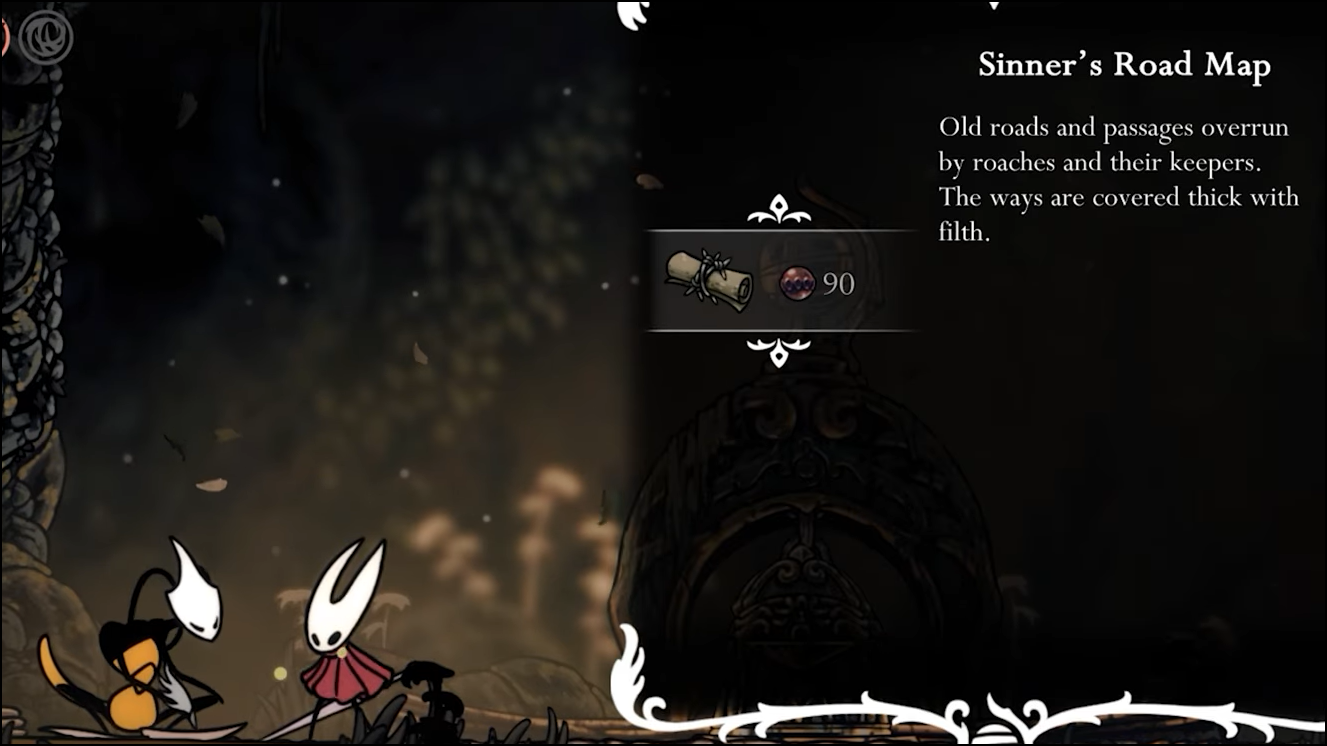
Step 3: Cross the pendulum over worm water to reach Shakra. Purchase the Sinner’s Road map (90 Rosaries). Activate the paid bench (60 Rosaries) beside her; it’s jammed and won’t raise yet.
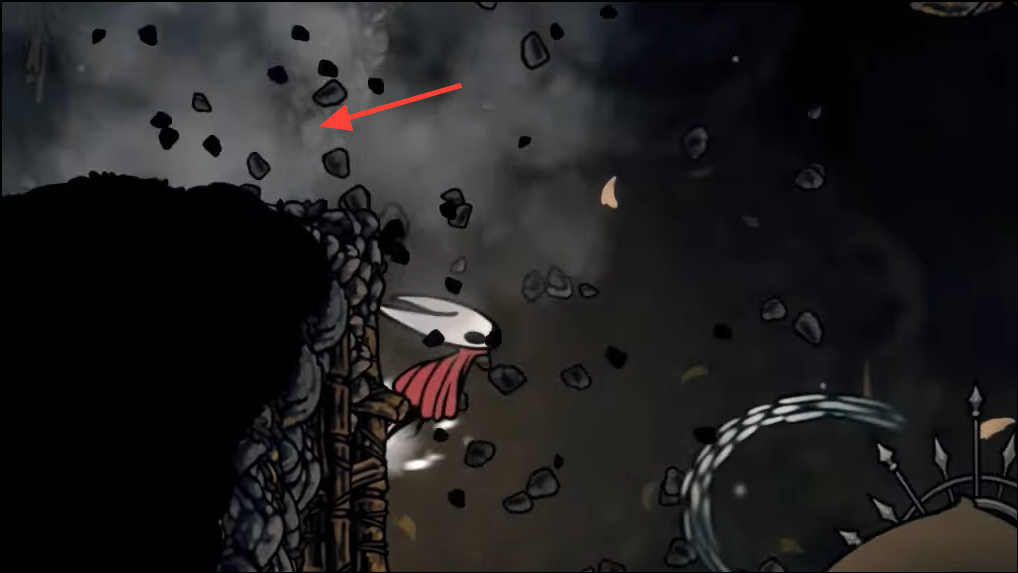
Step 4: Climb the wall above Shakra and hit the cracked top to reveal a hidden path. Float and pogo through the spike course to the bottom, then slash the roots/vines clogging the lift mechanism in the worm water tunnel.
Step 5: Return via the narrow climb to find the bench now functioning. Rest to set your local respawn and clear any infestation. You can pogo on the bench bells to reach a small cache on the upper-right ledge nearby.
Progress the main route and create shortcuts
Step 1: From the bench room, climb the connected vertical shaft to reach a mid-level lever that drops a cage-lift. This creates a reliable shortcut up from ground level to the bench sidebar.
Step 2: Continue to the top and head right into a long, hazardous corridor patrolled by Roachkeepers and pendulums. You can fight or bypass them by pogoing over pendulums at the platform edges.
Step 3: At the far end, hit the ceiling lever to open the next gate and enter a second tall shaft. This is your central column for several objectives below.
Optional: Meet Crull and Benjin (Tacks tool quest)
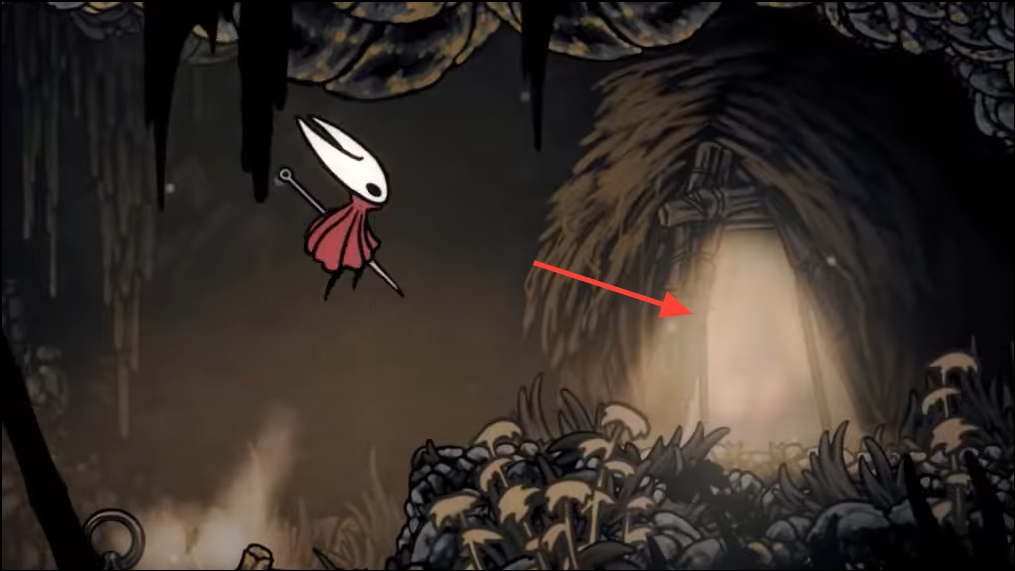
Step 1: Before committing to the eastern shaft, backtrack to the earlier room with stacked pendulums and cages. Use walls and pendulums to reach the far-right hut high above.
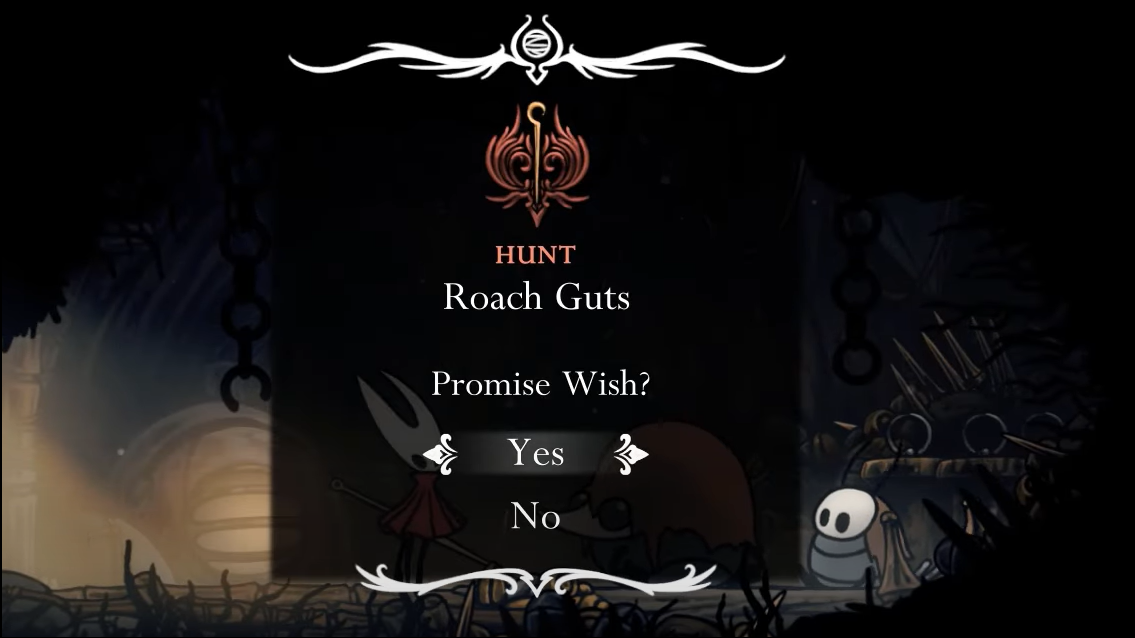
Step 2: Speak to Crull and Benjin and accept their hunt for 10 Roach Guts. The reward is Tacks, a strong offensive tool that helps with crowd control in this region.
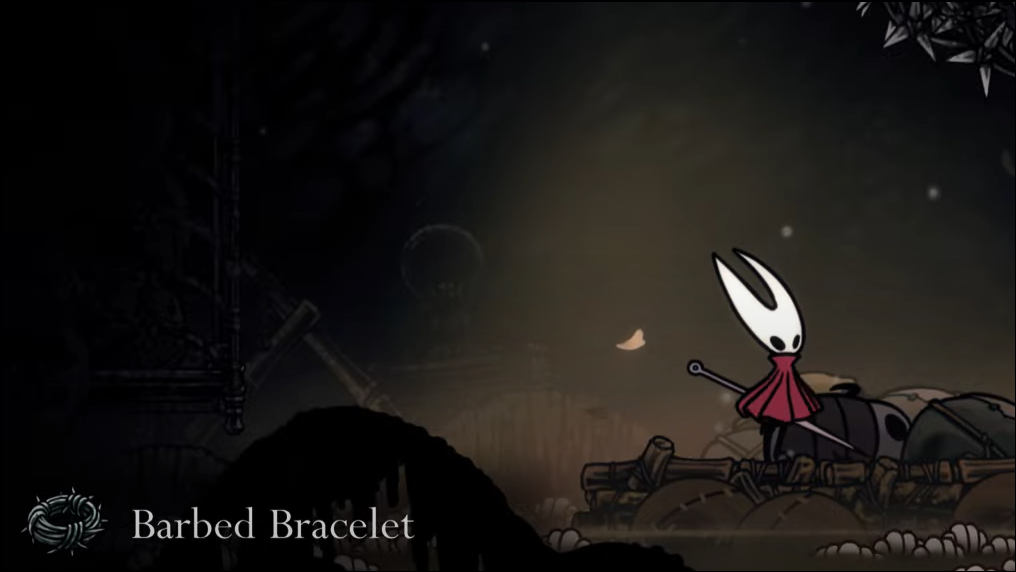
Optional: Acquire the Barbed Bracelet
Step 1: From the long middle corridor (near the early floor lever), continue to the rightmost room and drop into the lower chamber accessible through a break in a hanging cage.
Step 2: Navigate the spike-lined descent using Drifter’s Cloak. Collect the Barbed Bracelet at the bottom. It increases Needle damage dealt but also increases damage taken.
Open the path to Bilewater
Step 1: In the second tall shaft (the “eastern shaft”), climb a couple of stacked cages near the top-left side. Drop behind the second cage to a ledge with a pickup (Shard Bundle).
Step 2: Strike the cracked wall to the right of the pickup to reveal a passage. This is the route into Bilewater. It’s best used as a later exit; note the location for when you’re ready to move on.
Rescue the Lost Flea
Step 1: From the Bilewater breakable wall spot, drop straight down along the right-hand cages to a tucked-away side room.
Step 2: Clear the Muckroaches and break the bars on the opposite side of the cage to free the Lost Flea. Return to the main shaft.
Find Styx and unlock his bench
Step 1: Descend the eastern shaft to the very bottom without falling into the worm water. Move right through a quiet cage corridor, breaking bars that block your path.
Step 2: Glide over worm water gaps in the final room, defeat the enemies, and strike the bench to call Styx. Rest at the silken bed; Styx will appear and begin his interaction line for later returns.
Get the Simple Key and free the Green Prince
Step 1: Climb the eastern shaft to the top again. Thread a precise spike-jump segment near the ceiling to a levered platform where a Roachkeeper spawns. Defeat it to obtain the Simple Key.
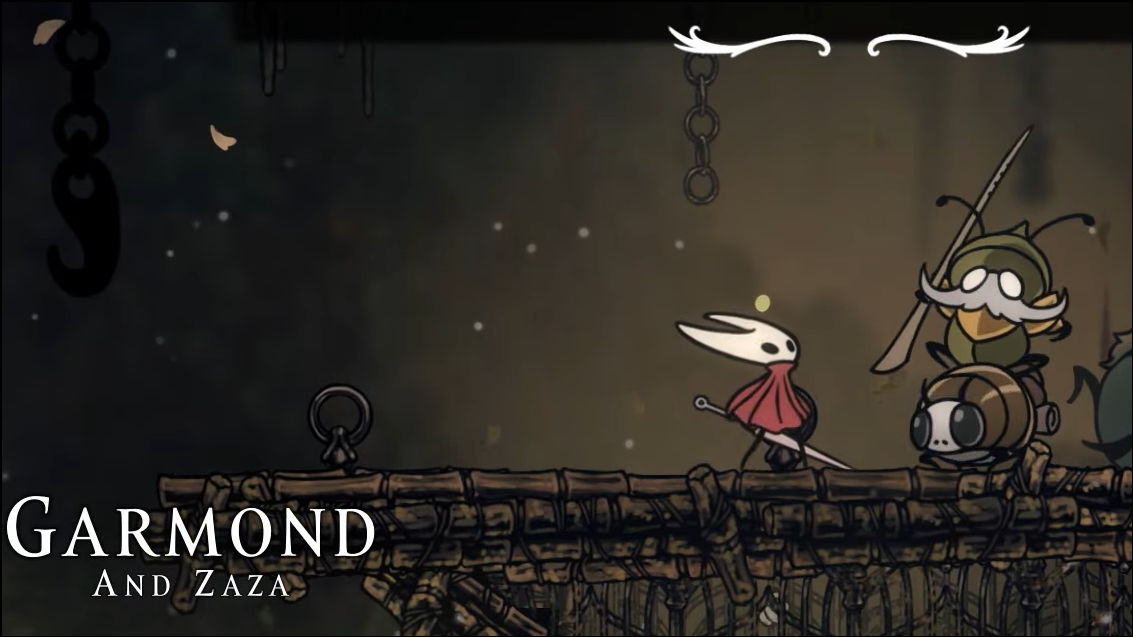
Step 2: Use the nearby one-way drop to return down the shaft quickly. Re-enter the earlier horizontal section that led you toward Shakra; you may meet Garmond and Zaza on the way.
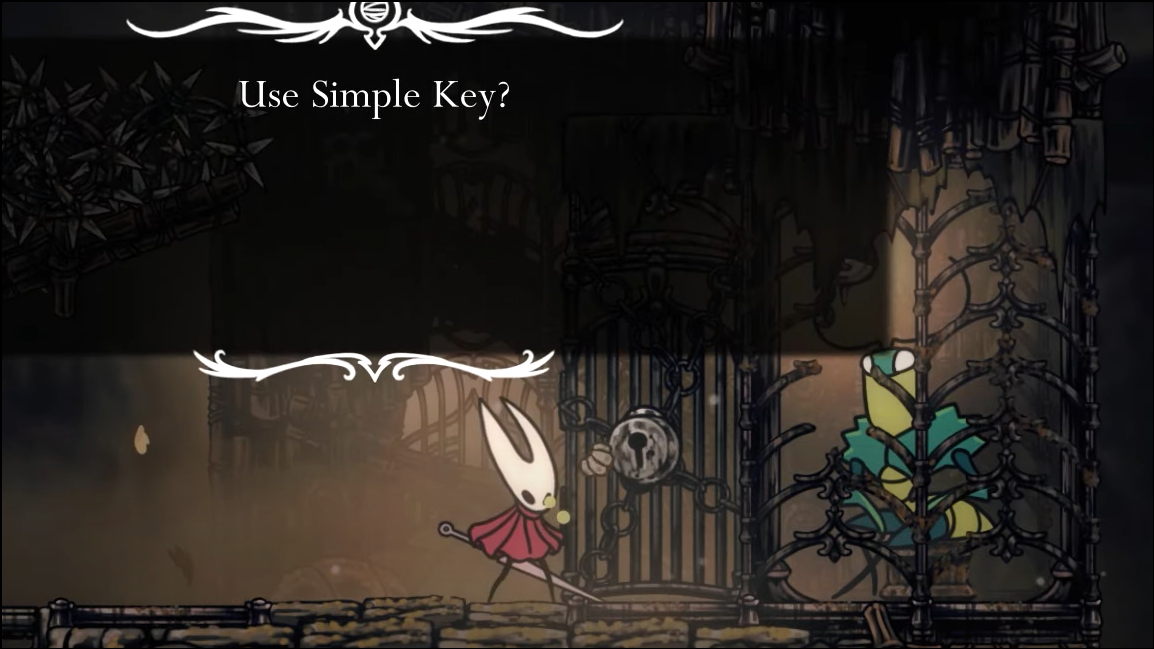
Step 3: Descend the left side of that connector, floating to avoid spike bands, to reach the Green Prince’s cell. Use the Simple Key to open it and exhaust his dialogue for future progression.
Exit through The Mist (to Exhaust Organ)
Step 1: Return to the upper-left end of the long horizontal room near the top of Sinner’s Road. Climb the left wall and strike the upper section until it breaks, revealing a passage into The Mist.
Step 2: Each Mist room has one correct exit; choose wrong and you’ll be sent back to the start. Look for small white moths and play your Needolin nearby. They’ll fly toward the correct exit.
Step 3: Navigate three rooms to a simple corridor, then three more rooms to finish the sequence. You’ll emerge in the Exhaust Organ. If you return immediately, The Mist collapses into a single large Sinner’s Road-style room.
Combat and traversal tips for Sinner’s Road
- Muckroaches: After landing a hit, backstep or jump immediately to avoid their fast leap that hits for two masks. Pull them one at a time when possible.
- Roachkeepers: Learn their rhythm, bait a swing, then take platform edges to pogo past pendulums rather than forcing long duels in cramped spaces.
- Pendulums and spike wheels: Time your pogo to ride one cycle per swing. If a double-touch is tight, pogo once and glide to the next safe ledge.
- Worm water: If you get infested, prioritize building Silk to Bind and clear the status, then find a safe spot to heal properly.
Checklist for 100% in Sinner’s Road (area scope)
- Items: Frayed Rosary String, Barbed Bracelet, Shard Bundle, Simple Key, Rosary chest in the upper-left pendulum route.
- NPCs: Shakra (map vendor), Crull and Benjin (Roach Guts wish → Tacks), the Green Prince (requires Simple Key), Styx (rightmost bench).
- Objectives: Fix the paid bench beside Shakra; free the Lost Flea; open the Bilewater shortcut; break into The Mist and pass through to Exhaust Organ.
- Optional boss access noted by some players: a chef encounter in an upper room appears to require Double Jump to reach comfortably.
That’s the full circuit: with the bench active, key collected, and both exits opened, Sinner’s Road becomes a reliable hub for Act 1 wrap-up and onward routes.