
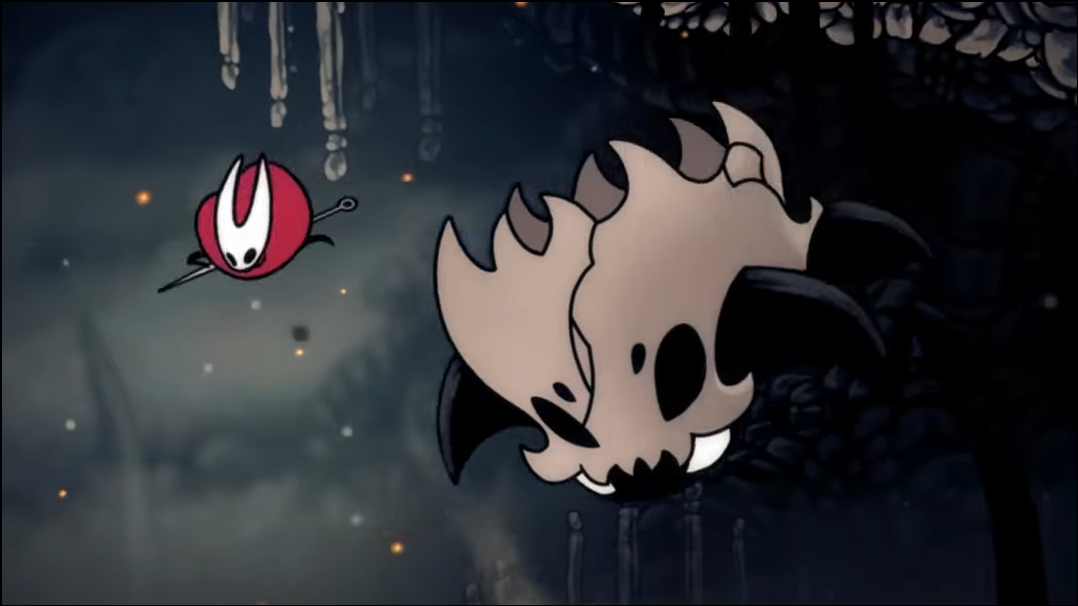
The Skull Tyrant is an early Grand Hunt target in Hollow Knight: Silksong. It prowls a sealed pocket of The Marrow and later turns up in Bone Bottom. Below is a concise path to reach it, reliable ways to win the fight, and what to do after the kill.
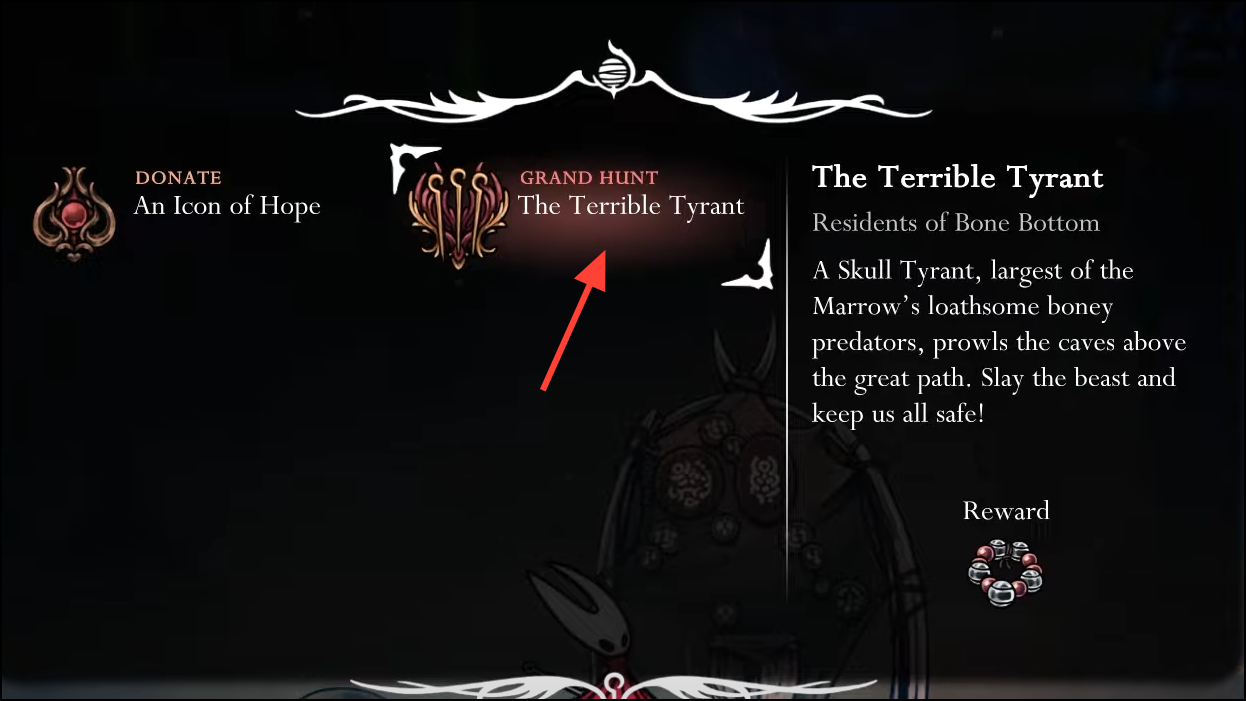
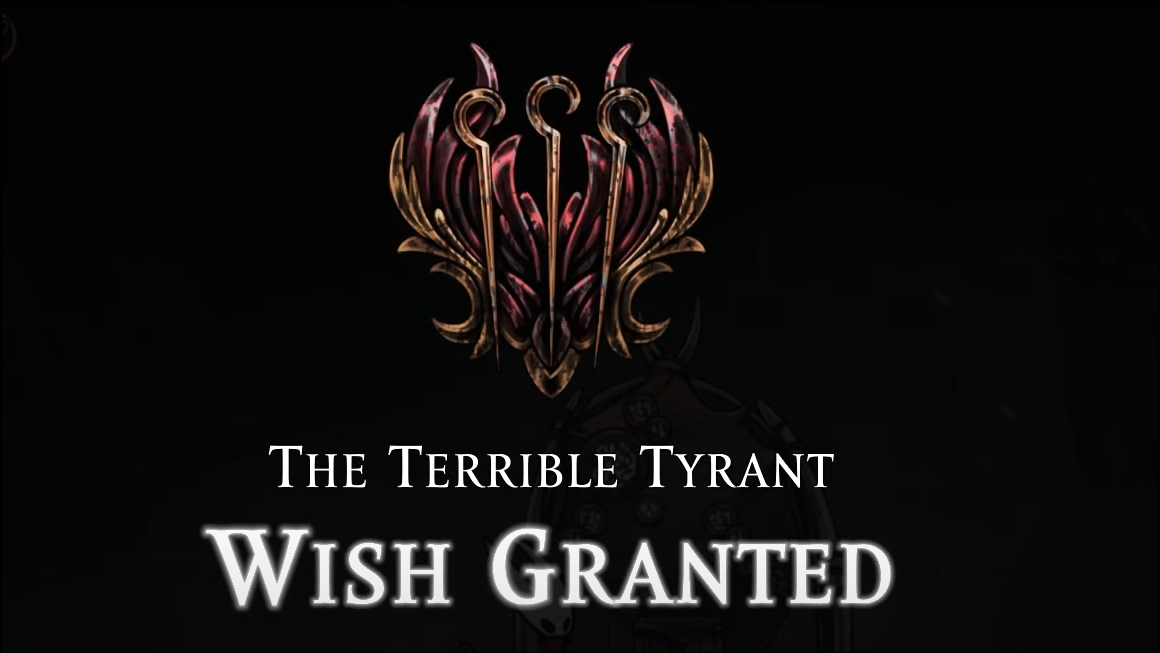
Unlock “The Terrible Tyrant” and spawn the boss
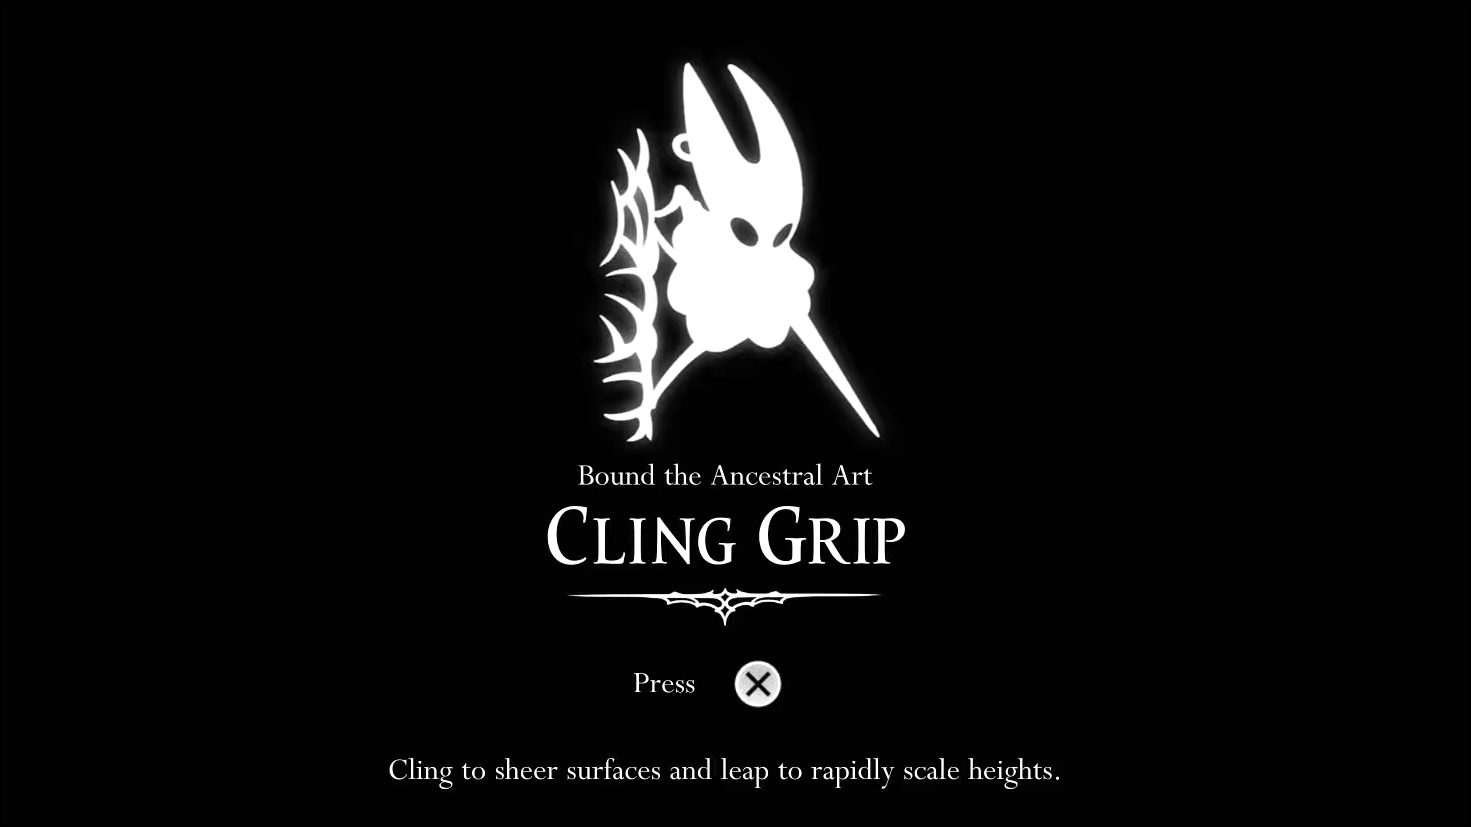
Step 1: Obtain the wall jump ability (Cling Grip) as you progress through Shellwood and into the regions beyond. This movement skill is required to access the Tyrant’s lair.
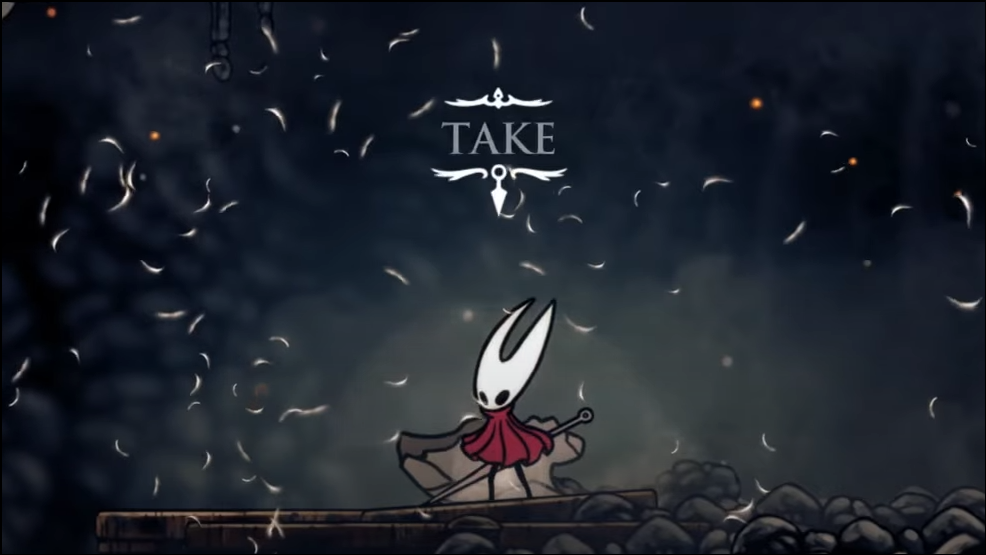
Step 2: Return to Bone Bottom and interact with the Wishwall/Quest Board to accept “The Terrible Tyrant.” Taking the Wish places the Skull Tyrant into The Marrow.
Step 3: Prepare a practical loadout. Long-range tools and sustained healing work well here; the fight is simple but each hit costs two Masks.
How to reach the Skull Tyrant in The Marrow
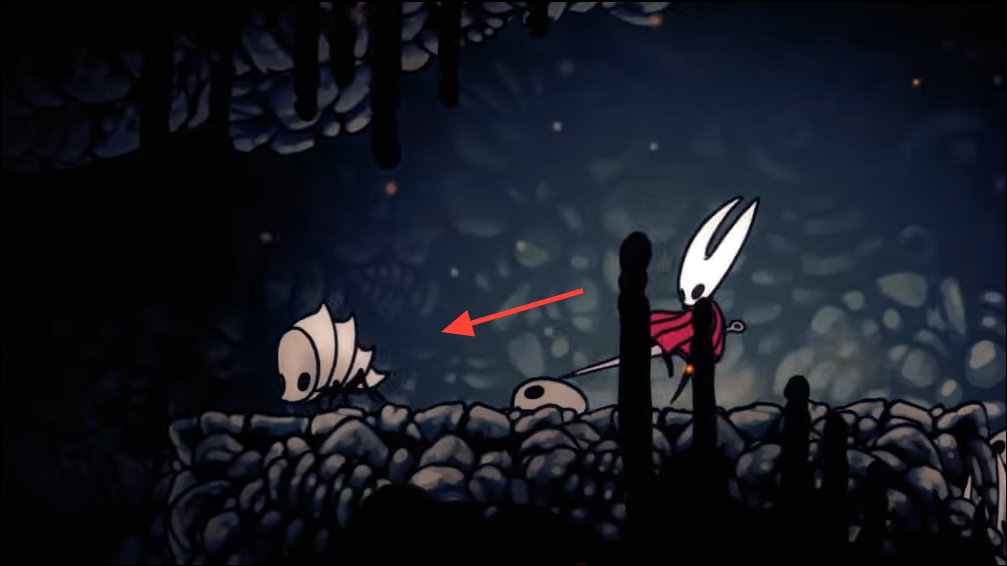
Step 1: Travel to the lava lake on The Marrow’s eastern side and approach it from the right. Doing so activates the crossing mechanism that lets Hornet get over the lava.
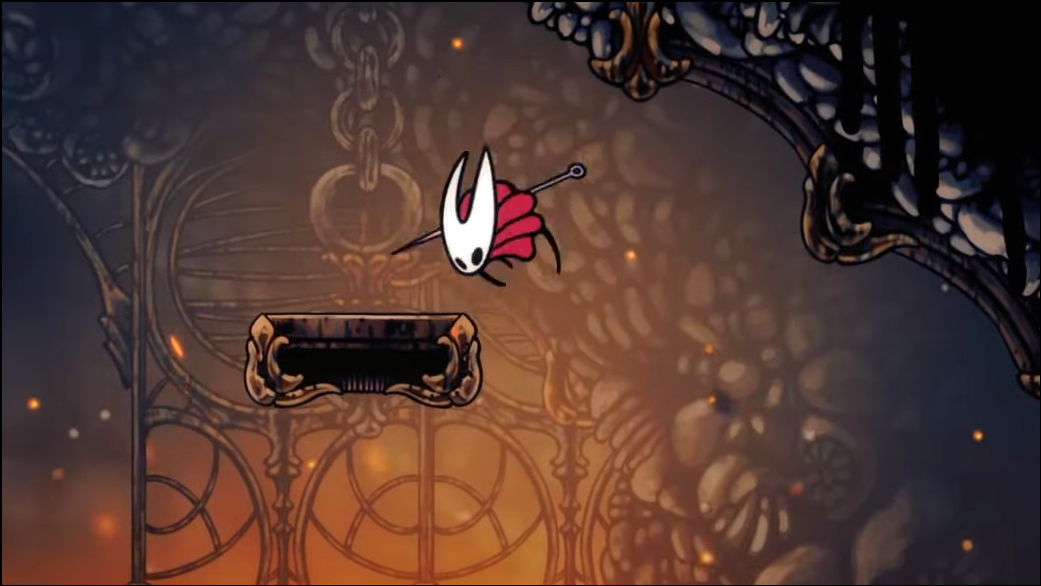
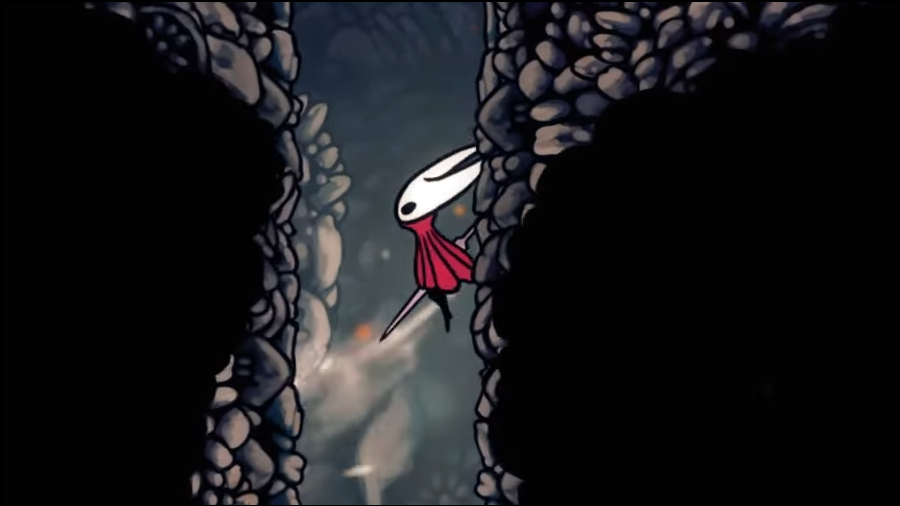
Step 2: Look up on the right-hand side of the lake and use Cling Grip to climb into the hidden shaft above. This vertical entry is the intended path to the boss pocket.
Step 3: Traverse the upper tunnels toward the left, clearing tight rooms with Kiliks and other skull-kin. Keep your health topped up; damage pressure here can add up.
Step 4: Ascend where the path allows and break the brittle wall on the right to open the route onward. You’ll encounter a Skull Brute; dispatch it to keep the corridor safe.
Step 5: Drop through the hole ahead into the next chamber. From there, move left briefly, then change course to the right to reach the Tyrant’s arena.
Boss overview — attacks and clean counterplay
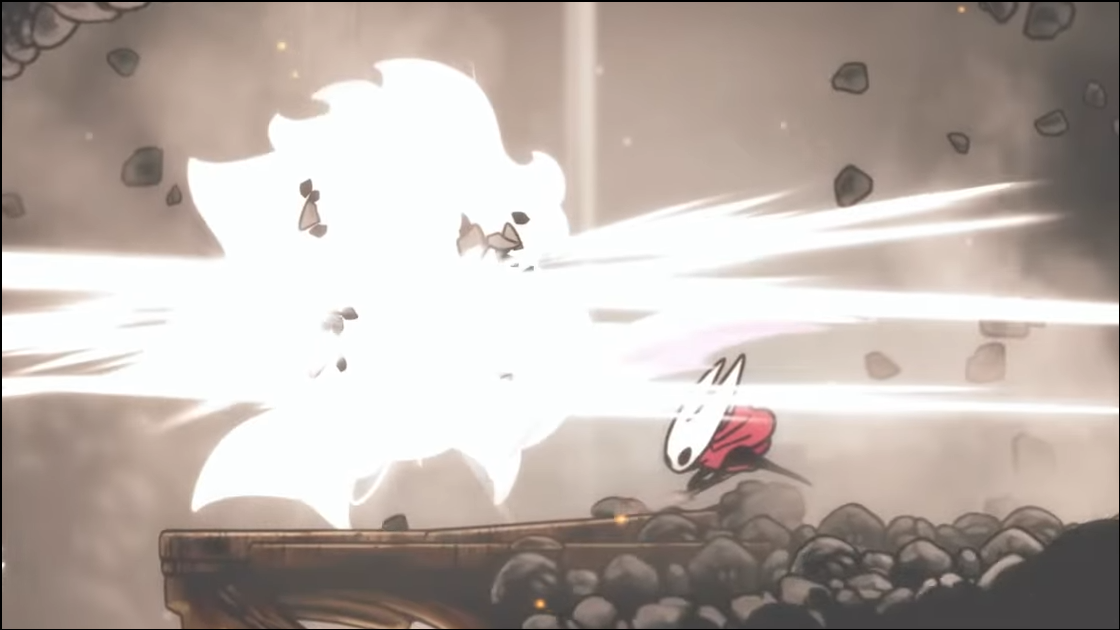
Charge: The Tyrant shuffles back, then barrels forward. Jump over its back and tag the head or spine as it decelerates. Avoid getting trapped on the far right edge.
Leaping crush: A forward pounce lands on Hornet’s last position and shakes loose debris. Dash or run out of the landing zone and punish during the small recovery.
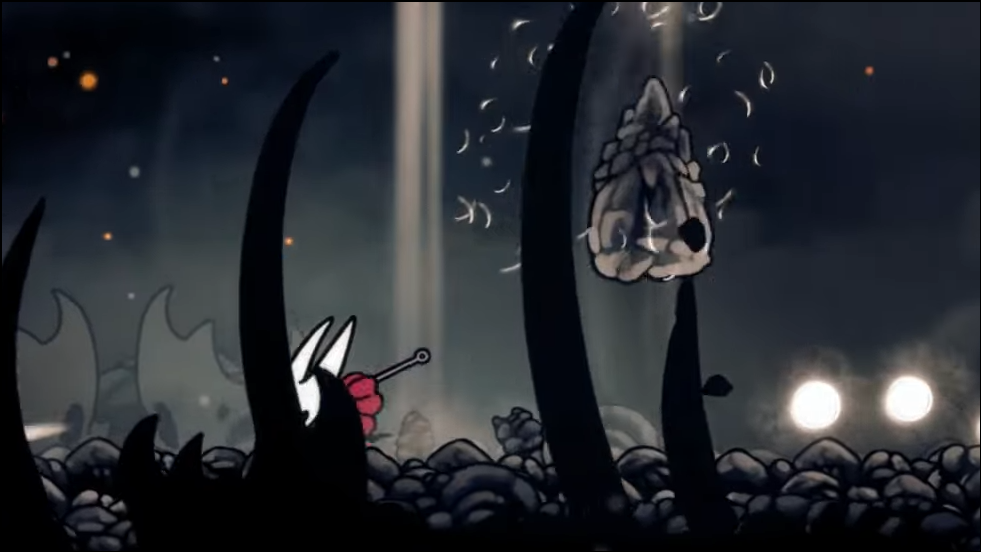
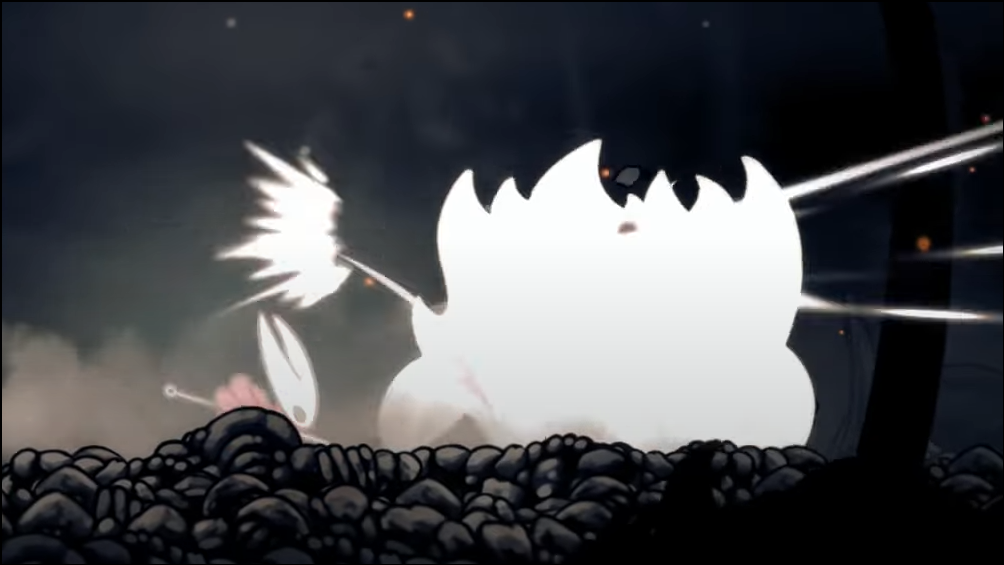
Ceiling slam (rockfall): It roars, then jumps in place several times, causing many boulders to fall. Dust and light cues reveal impact zones; either hug near the boss where gaps are common or move decisively to clear floor.
Downward strikes onto its crown are unreliable — the skull-plate often deflects. Prioritize face- or back-level hits with ground strings or ranged tools.
1: Standard, fast clear (melee-first)
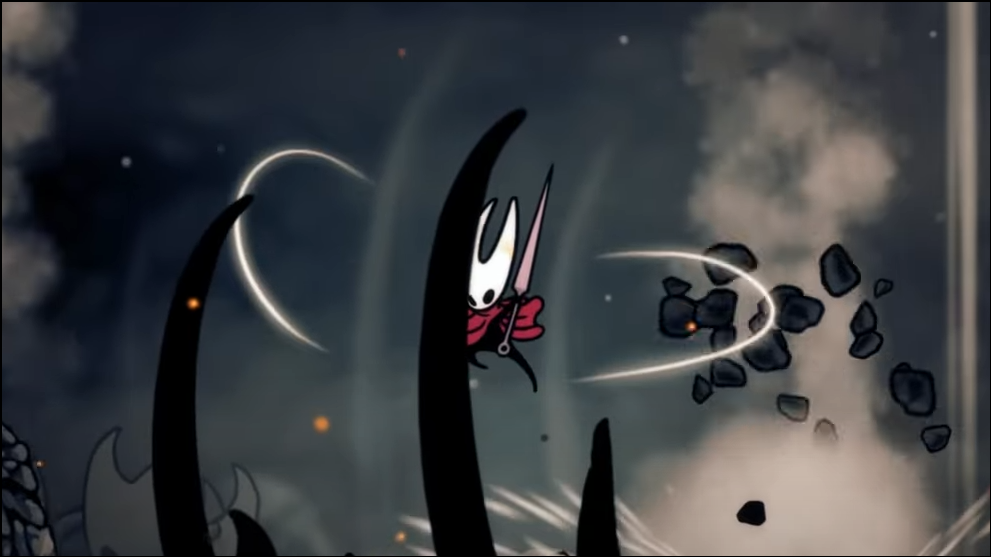
Step 1: Stay at mid range to bait the Charge. As it commits, hop over the shell and deliver 2–3 grounded hits to the back before disengaging.
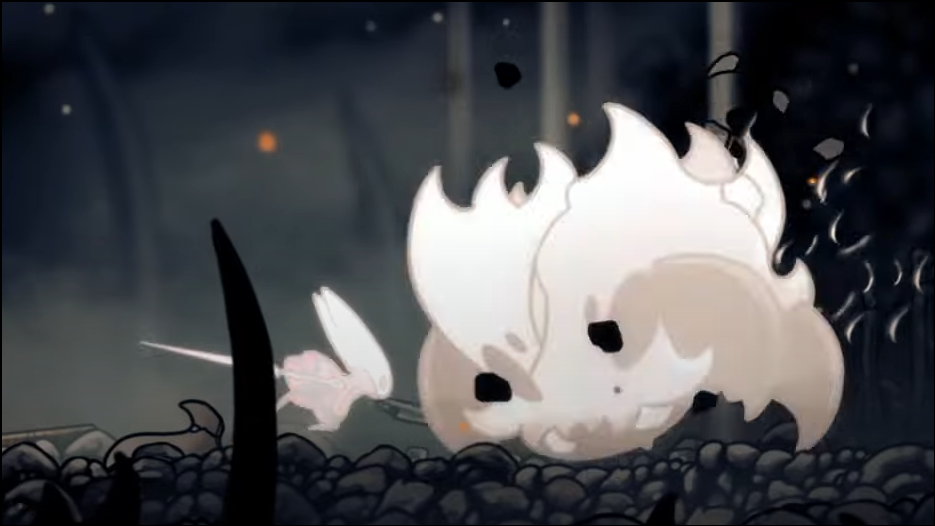
Step 2: Read the Leaping crush by watching its set stance; if it pounces, dash away first, then step back in for safe hits during the landing recovery.
Step 3: For Ceiling slam, pre-position in a lane without dust cues and hold your ground to minimize stray hits. If patterns close in, dash through a single gap rather than weaving.
Step 4: Heal only after a completed Charge or during the early frames of Ceiling slam when you’re already standing in a safe lane. Two quick restorations per cycle is realistic.
2: Ranged and silk-driven plan (consistent at all gear levels)
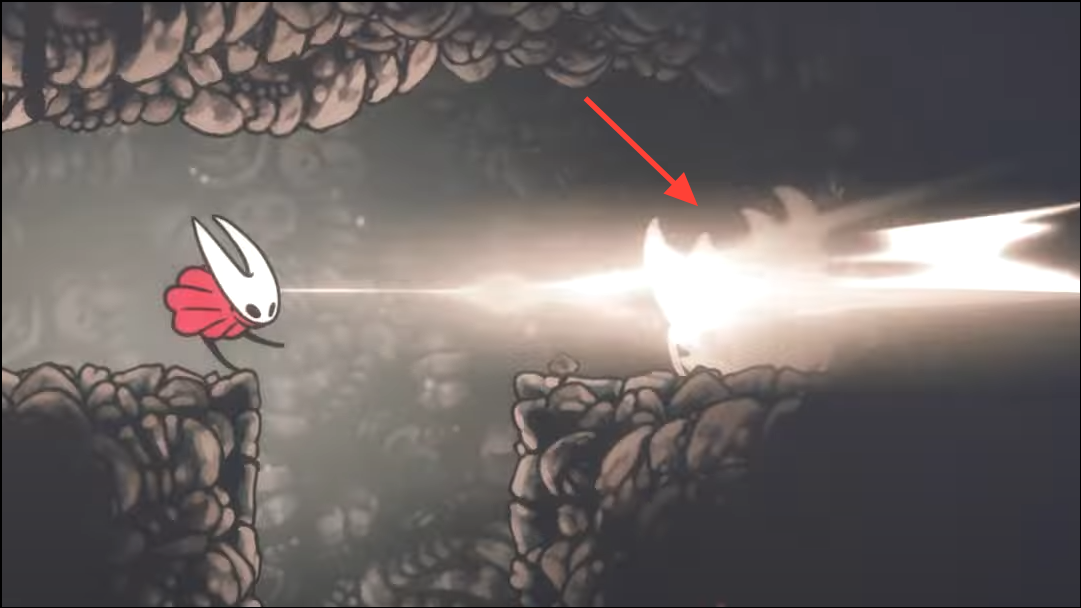
Step 1: Use a straight-line, armor-piercing tool (e.g., Longpin) to tag the head or back from a safe distance. The Tyrant’s large hurtbox makes clean hits easy.
Step 2: Spend silk on a forward-reaching Silk Skill (such as a thrust) only when the boss is locked into Charge recovery or after a Leaping crush. Conserve silk to maintain a steady healing budget.
Step 3: Keep lateral movement active; throw from mid screen, then drift the opposite way so you’re already set for the next Charge or pounce.
3: “Lower lip” safety tactic (slow but low risk)
Step 1: Fight from the lower entrance lip under the arena where the Tyrant’s pathing struggles to reach. Hold position until the boss aligns horizontally.
Step 2: Poke with ranged tools when it’s lined up, then wait out patterns. Repeat until the health pool depletes; the tradeoff is time.
Step 3: Heal here if needed — it’s a consistent safe window. Avoid greed; one or two actions per alignment is enough.
Recommended tools, crests, and pace
- Longpin or similar linear projectile. Reliable damage from mid screen, registers on head/back through its bony armor.
- A ground-focused Silk Skill. Use only during guaranteed recovery windows to avoid trades.
- A sustain-focused crest. Triggering silk pickups after healing stabilizes Mask economy over the long fight.
- Tempo guidance. Aim for short, predictable strings after Charge/landing rather than extended combos.
Turn in the quest and claim rewards
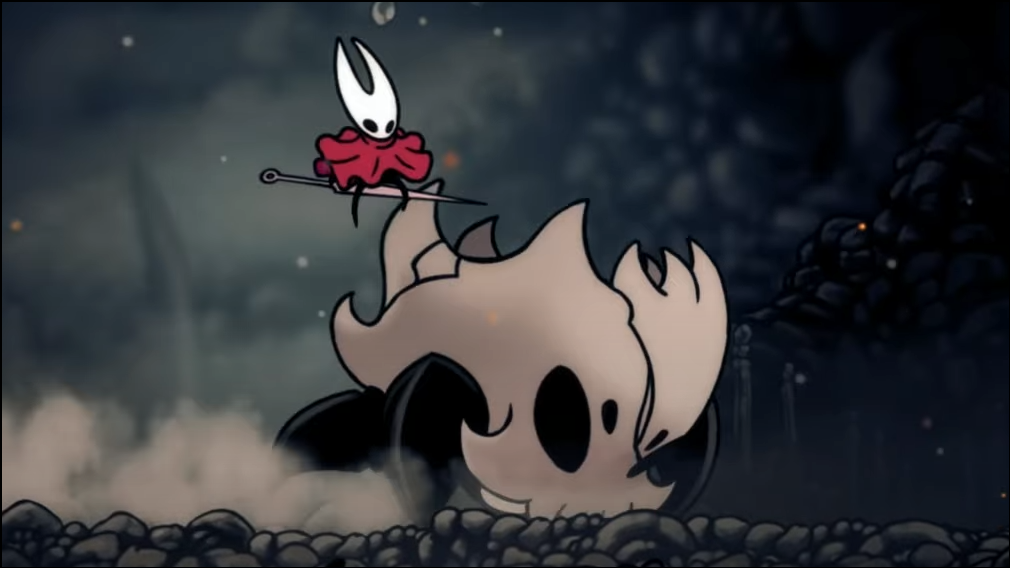
Step 1: After the kill, collect the Crown Fragment dropped in the arena. Leaving without it delays your payout.
Step 2: Return to Bone Bottom’s Wishwall/Quest Board and submit the fragment to complete “The Terrible Tyrant.” You’ll receive the Heavy Rosary Necklace.
Step 3: Consume the Heavy Rosary Necklace whenever you need currency; it grants 220 Rosaries and cannot be lost on death prior to use.
Expect a second fight in Bone Bottom
Step 1: After some progression, resting at Bone Bottom’s bench can trigger a Skull Tyrant ambush. Be ready — the arena is broader and collateral damage ensues.
Step 2: Reuse the same patterns: jump the Charge, punish landings, and stand your ground during rockfalls in a clear lane. The boss kit is unchanged.
Step 3: Post-event, the bench is destroyed and a brief memorial scene plays. The bench later returns to service as town repairs complete.
Troubleshooting common sticking points
Step 1: Getting pinned in the right corner: when you see the shuffle-back tell for Charge, immediately hop forward over it instead of retreating. This resets control of center stage.
Step 2: Random rock hits during Ceiling slam: watch for dust/light cues and pick one lane; moving less often avoids walking into new spawns.
Step 3: Pogo attempts failing: stop committing to downward hits on the crown. The skull cap deflects; switch to grounded strings or ranged tags on the face/back.
Step 4: Running out of silk: cap your offense at two safe windows per cycle and bank silk for heals. The fight speeds up more from survival than from greedy DPS.
With the route, clean punish windows, and a conservative heal plan, the Skull Tyrant goes from damage sponge to a predictable hunt — and the Bone Bottom rematch becomes a formality.