
Mount Fay is Hollow Knight: Silksong’s dedicated platforming gauntlet in Act 2. Make it to the summit and you’ll receive the Faydown Cloak, a true double jump that opens up late‑game routes and removes the area’s cold damage. It’s a demanding climb, but with the right prep and a clear plan, you can turn a long string of near-misses into a reliable ascent.
What you get for finishing Mount Fay
- Faydown Cloak: a mid‑air double jump, functionally similar to Hollow Knight’s Monarch Wings.
- Cold resistance in Mount Fay: the ambient freeze no longer chips away at your health after the unlock. (Falling into the frigid water is still lethal.)
- Broader progression: double jump is used throughout Pharloom and is tied to late‑game objectives.
Prerequisites and recommended loadout
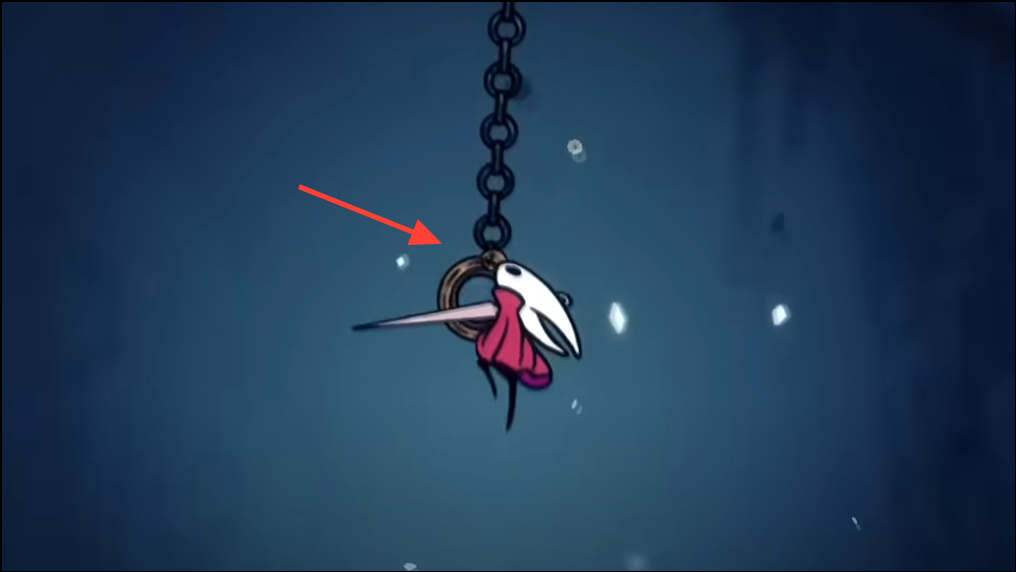
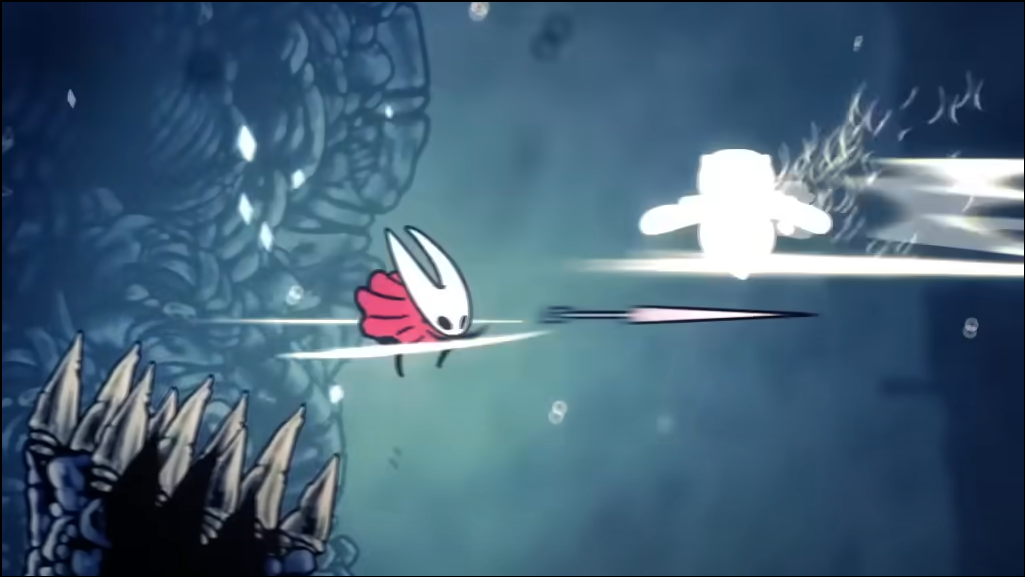
You’ll reach Mount Fay in Act 2 of Silksong, but you won’t get far without the Clawline Ancestral Art. Clawline lets Hornet grapple to rings, floating discs, and some enemies — it’s the backbone of nearly every Mount Fay room. Drifter’s Cloak and your standard mobility kit (wall clings, dashes, downward strikes) round out the moves you’ll actually use on the mountain.
Currency: bring at least ~130 Rosaries. You’ll want a map from Shakra near the entrance (about 40 Rosaries) and there’s a mid‑mountain bench that charges a fee (about 90). If you carry Rosaries via Strings rather than beads, equip an extra String so you don’t cap out mid‑climb.
Helpful Tools and Crests (optional but practical):
- Weavelight: accelerates silk regeneration, smoothing out back‑to‑back Clawlines and quick heals.
- Druid’s Eye: slowly refunds silk when you take hits, giving you a safety margin during learning runs.
- A comfort Crest: Hunter or Wanderer are solid, but use what you’re consistent with for platforming.
Getting Clawline (quick recap)
Clawline is found in the Underworks. Common routes to reach it in Act 2 include:
- Whiteward path: pick up the White Key near the top‑right of the Choral Chambers, unlock the elevator on the chamber’s lowest level, then work through the east Underworks to the Cauldron.
- Whispering Vaults route: after clearing the boss at the top of the Choral Chambers, push through Cogwork Core’s lower right and take the elevator near the Stage into adjacent areas that connect onward.
Either route ultimately lands you in the Underworks to acquire Clawline before tackling the mountain.
How to get to Mount Fay
From the Choral Chambers, head to its middle‑left connection and enter The Slab. Use the Bellway station on The Slab’s west side; Mount Fay sits just beyond that exit. Shakra’s map stand and the first bench are close to the entrance — use both.
How the cold works
Outside of lit zones, the cold builds up and starts eating through your health after a short grace period. Lamps, fires, and bright fixtures create safe bubbles that pause the effect and clear the buildup.
- Plan in sprints: move decisively from one light to the next, then reset your timer before the next section.
- Rule of thumb: you have roughly a dozen seconds to reach another heat source before the damage ticks begin. If you make a mistake, backtrack to the last lamp rather than forcing a failing attempt.
- Water is a hard fail: the icy pools are punishing, especially under low ceilings. Stay high and use rings and enemies to keep momentum.
- Note: some heat sources can be destroyed. If you accidentally break one that anchors a route, leave the room to reset it.
The climb, as a loop (not a pixel-perfect path)
Mount Fay is less about one fixed route and more about repeating patterns under pressure. Expect rooms to remix these building blocks:
- Grapple chains: link Clawline grabs across rings, discs, and enemies, then stick to a wall and breathe under a lamp.
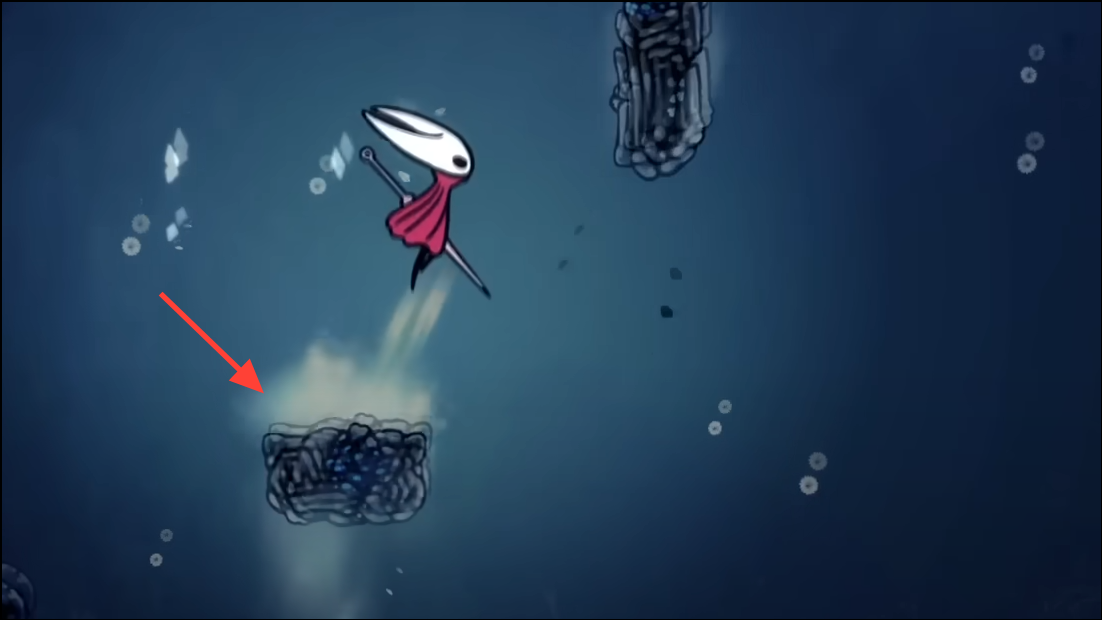
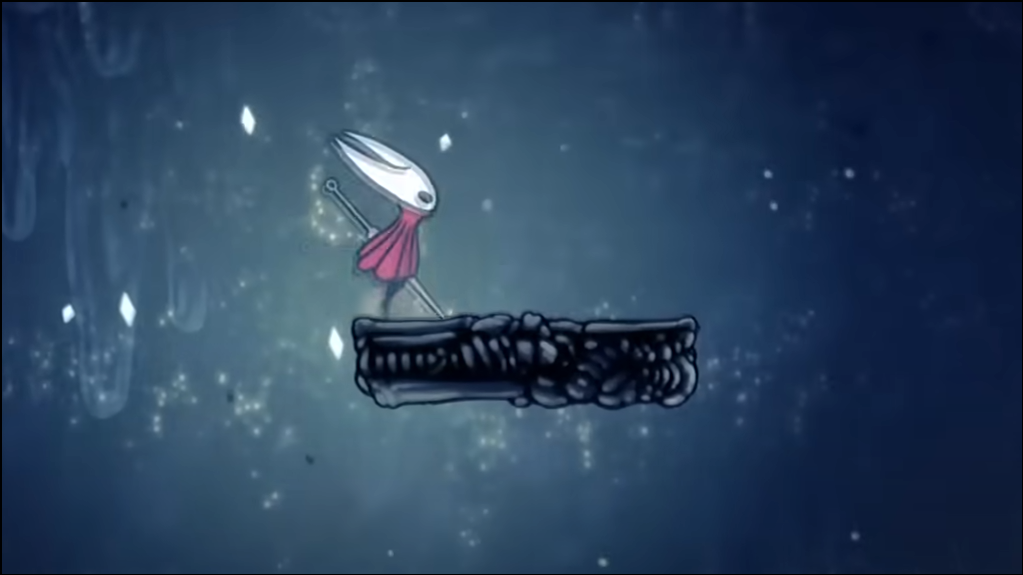
- Crumbling platforms: commit, keep moving, and don’t linger — they exist to set your pace.
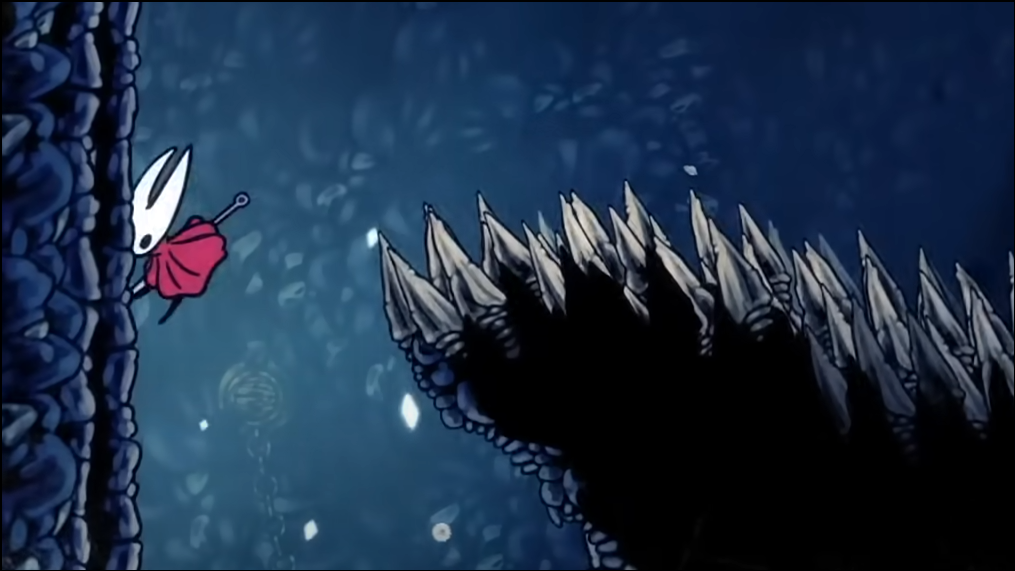
- Spike corridors: short, controlled Clawlines and wall slides are safer than full jumps. Reset at the next lamp.
- Low ceilings over water: bounce off an enemy or snag a ring early to stay above the surface; tiny stalls are costly here.
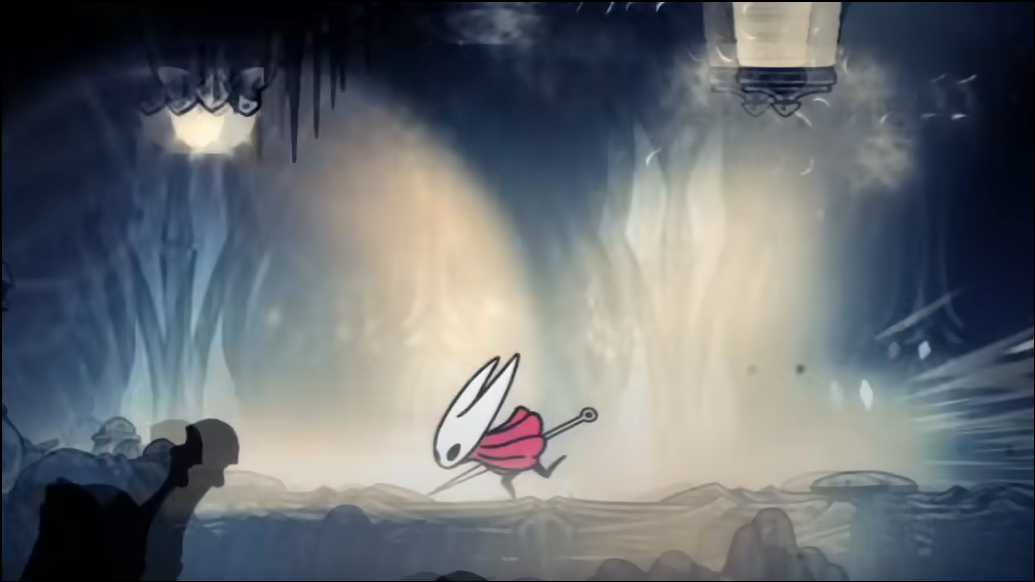
- Wind lifts and drops: use glide to ride favorable currents near the top, but prioritize reaching heat sources.

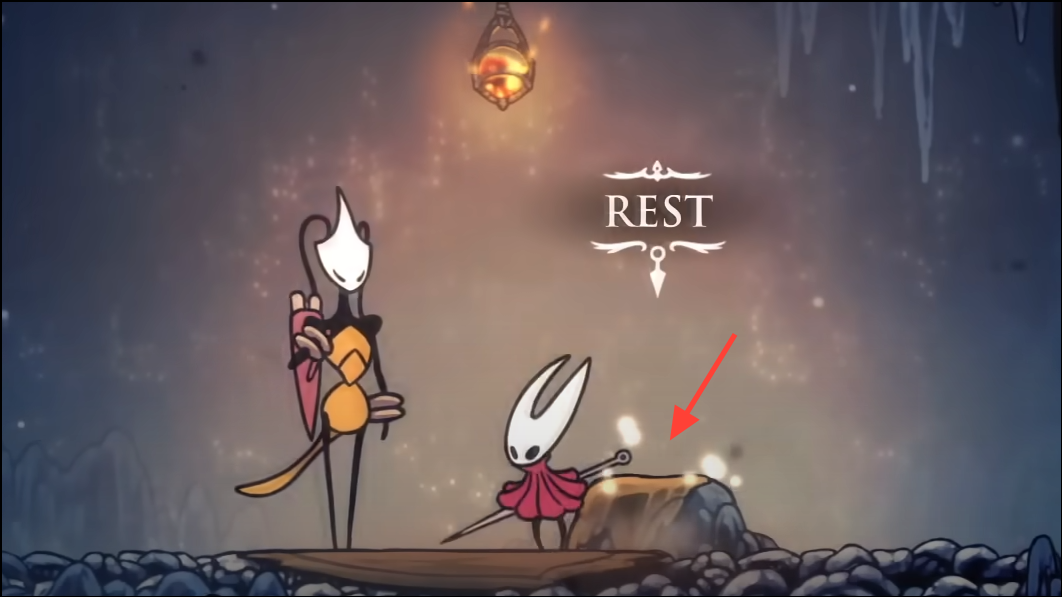
Checkpoints: you’ll unlock at least two benches as you go — one early (by Shakra), one mid‑ascent that charges a fee, and a hidden bench behind a breakable wall farther up. There’s also a late bench on the right side near the final stretch. Make sure you sit on each; the area is long enough that losing a checkpoint is punishing.
Early section: foothills and mapping
From the entrance bench, buy Shakra’s map. Traverse the first frozen lake by staying on floating platforms and using short Clawlines under lamps. This is a good place to learn the area’s tempo: move, reset, move. Don’t chase long chains until you feel the rhythm of your silk regen and lamp placements.
Mid ascent: the stress tests
The middle third is where the mountain starts asking for clean inputs: crumble‑to‑grapple sequences, two‑or‑three enemy chains above water, and spike corridors bracketed by lamps. Use short Clawlines to course‑correct rather than big jumps that over‑commit. When you unlock the paid bench, take it — the next patch has several rooms that punish minor errors with long fallbacks.
There’s a hidden bench behind a breakable wall in a warm alcove off the main line. If a side room looks like a dead end, check the walls.
Upper mountain: lamps, wind, and the last push
Late rooms ask you to mix everything: quick grapples into wall clings, a few fast crumbles, then a wind‑assisted glide to a final ledge. If your cold timer feels tight, it is — reach the next lamp first, heal second. One of the last lamps sits just before a short wind current that lifts you into the summit chamber.
Unlocking Faydown Cloak at the summit
At the top, interact with the tuning fork and play your Needolin. A short sequence plays out and the Faydown Cloak becomes active. From now on you can double jump, and the area’s ambient cold no longer harms you. Use the cloak to explore side rooms you skipped on the way up.
Optional detour: Brightvein
Mount Fay contains a sub‑area called Brightvein — a bright ice cave branching off near the eastern bench. It’s a compact platforming pocket with a Mask Shard at the end and a lore inspectable. If you’re chasing upgrades, it’s worth a look after you’ve secured the cloak.
Tips that make the climb consistent
- Reset often: if you flub a grab, retreat to the previous lamp to clear the cold and reset silk.
- Count your silk: Clawline is resource‑gated; if you’re down to a single pip, pause under a lamp to refill before attempting a long chain.
- Favor short grapples: small, directional Clawlines into a wall slide are more forgiving than long, airborne commitments.
- Mind destructible lights: if a lamp or fixture disappears mid‑sequence, leave and re‑enter to restore it.
- Spend the Rosaries: the paid bench is cheaper than replaying half the mountain.
Where double jump pays off next
With the Faydown Cloak, you can reach upper tiers of areas like Memorium and the top of Cogwork Core, push deeper into biomes such as the Sands of Karak, and make progress on late‑game objectives tied to the main story. More importantly, standard traversal becomes less brittle — the extra hop smooths out both combat positioning and tricky room geometry back in the Citadel’s orbit.
If you’re struggling
Mount Fay is intentionally exacting. Treat your first visits as recon: learn lamp locations, note rooms with low ceilings or long water spans, and identify which benches you’re aiming to unlock. Equip a silk‑friendly build (Weavelight is especially forgiving), buy the map, and keep attempts short. Most players find that once they commit to short Clawlines and frequent resets at lamps, the ascent clicks — and the double jump arrives sooner than it felt on run one.