
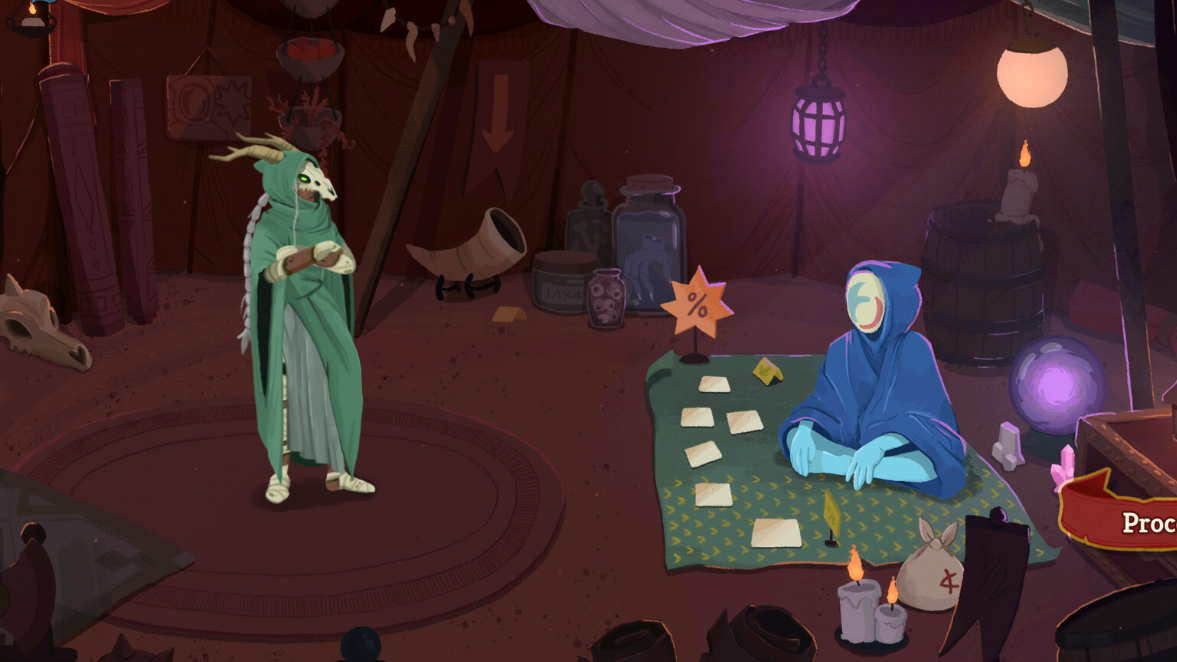
The Crystal Sphere is a mystery room event in Slay the Spire 2 that drops you into a fortune-teller's hut and presents a tile-flipping divination mini-game. Unlike many events in the game, there is no option to walk away — you must commit to one of two paths, both of which carry a cost. The rewards hidden beneath the crystal ball's tiles can be substantial, but the wrong entry choice can quietly drain your run.
Quick answer: Pick Uncover Future (pay gold upfront) in almost every situation. The Debt curse from Payment Plan is an unplayable card that costs you 10 gold every time you draw it, and removing it at a Merchant runs 75 gold. The math rarely favors the extra divination attempts unless you're running an Exhaust-focused deck or are flat broke.
Where the Crystal Sphere Event Appears
The Crystal Sphere is a shared event, meaning it can show up in mystery rooms across multiple acts. It has been confirmed in Act 2 (Hive) and Act 3 (Glory). You won't encounter it in Act 1.
Crystal Sphere Event Choices
| Option | Cost | Divination Attempts |
|---|---|---|
| Uncover Future | Gold (upfront payment) | 3 |
| Payment Plan | Debt curse added to deck | 6 |
The exact gold cost for Uncover Future may vary slightly between runs — values of 54, 56, and 79 gold have all been observed during early access. Regardless of the specific number, the upfront payment is a one-time hit with no lingering consequences.
Payment Plan doubles your divination attempts to six but shoves a Debt curse card into your deck. Debt is unplayable, meaning it takes up a draw slot and contributes nothing. Worse, every time you draw it, you lose 10 gold at the end of that turn. In a fast-cycling deck that draws through its pile quickly, Debt can trigger multiple times in a single fight, hemorrhaging gold at an alarming rate.
When Payment Plan Makes Sense
Payment Plan has niche value in two specific scenarios. First, if you're running an Exhaust-focused deck that can burn curse cards out of your hand, Debt's downside effectively disappears — you exhaust it once and never see it again, pocketing three extra divination attempts for free. Second, if you genuinely cannot afford the gold cost and would otherwise get almost nothing from the event, the extra attempts might justify the risk.
Before choosing Payment Plan, check your map. If no Merchant appears in the next several nodes, the removal cost becomes a distant problem that compounds every combat. Factor your route into the decision.
How Divination Works
After you pick your entry option, the mini-game begins. A crystal ball filled with hidden tiles appears on screen. Beneath those tiles sit artefacts representing in-game rewards — gold, cards, and possibly relics. Your job is to reveal them using your allotted divination attempts.
Each attempt lets you choose between two tools:
| Divination Type | Area Revealed | Risk Level |
|---|---|---|
| Small Divination | Smaller cluster of tiles | Lower — more precise targeting |
| Big Divination | Larger area of tiles | Higher — more tiles means more chance of hitting a negative artefact |
Both types consume exactly one divination attempt regardless of size. You can mix and match freely across your available attempts — three small divinations, three big ones, or any combination.
The critical wrinkle is that some hidden artefacts carry negative effects. The moment a harmful artefact is uncovered, it is automatically applied to your run with no option to refuse. Big Divination exposes more tiles per use, which increases both the upside and the risk of stumbling into something bad. Small Divination lets you navigate more carefully around areas you suspect might contain negative items.
Save Scumming the Crystal Sphere
The game does not prevent save scumming during this event. If you reveal a negative artefact, you can immediately save and quit, then reload. The tile layout resets when you re-enter the event, but you'll remember roughly where the harmful item was located and can avoid that area on your next set of divinations.
Whether you use this technique is entirely a matter of personal preference. The developers have not patched it out, and the save-and-quit option is available at any point during the mini-game.
Crystal Sphere Divination Rewards
Gold is the most common reward hidden in the crystal ball. In many runs, the total gold uncovered during divination exceeds the upfront entry cost, making the event net-positive financially even with only three attempts.
Card rewards also appear beneath the tiles. Gold-tier (rare) cards have been confirmed as possible drops, making a lucky divination session a genuine power spike for your deck.
Relics are believed to exist as potential rewards, though both positive and negative relic artefacts may be hidden in the grid. Since Slay the Spire 2 is still in early access, the full reward pool has not been completely documented, so treat relic drops as preliminary.
Once all divination attempts are spent, a reward screen displays everything you uncovered. This screen works identically to post-combat loot — you can skip any reward you don't want to take.
Making the Right Call Every Time
Three factors determine the optimal choice at the Crystal Sphere. Your current gold count tells you whether you can afford the upfront payment without crippling your ability to buy cards or remove curses at the next Merchant. Your deck archetype matters because Exhaust builds can neutralize Debt while draw-heavy builds suffer enormously from it. And your upcoming map route dictates how long a Debt curse would linger before you could pay to remove it. Weigh all three before committing, and in most cases, the clean upfront payment will serve your run far better than the allure of three extra tile flips.