
Solo Hunters looks straightforward at level one: walk into a gate, swing your weapon, grab the loot. The game only starts to open up once you understand how stats, portals, gear, abilities, and rerolls all layer together. Get those wrong early, and you’ll feel underpowered no matter how often you queue into dungeons.
This walkthrough focuses on practical progression: which stats to level, which gates to run, how to handle gems and gold, when to upgrade gear, and how to use resets and rerolls without burning through your resources.

Solo Hunters stats: where to put points first
Level-ups give you stat points, but not all stats pay off equally in the early game.
Strength and Defense are the primary stats for new players. Strength directly raises your M1 weapon damage, which is the backbone of almost every efficient build right now. Defense boosts your health and reduces incoming damage, letting you stay in melee range longer and clear without constant deaths or potion spam.
By contrast, Energy and Agility are low priority early. Energy mainly fuels dashes, which helps positioning but doesn’t increase damage. Agility raises movement speed, not attack speed, so you feel a bit snappier but don’t clear gates noticeably faster.
Magic Power is worth saving for later. Once you’re around level 50 and you start relying more on abilities for damage, Magic Power becomes a serious multiplier. Until then, spreading points across all four offensive stats only slows your growth.
For most players through the early and mid game, a simple baseline works:
- Early levels (up to ~50): dump almost everything into Strength with a smaller chunk into Defense.
- Mid game: keep Strength high, bring Defense up so you can stand in melee comfortably, and only then start adding Magic Power if your abilities are doing real work in your build.

How to level quickly through gates and Red Gates
Experience comes from clearing dungeon portals, and the game rewards speed more than raw difficulty. You want gates you can delete, not gates that delete you.
In practice, that means:
- Run portals at your current power level and aim for fast clears instead of pushing the highest rank you can barely survive.
- Use the world progression: start with Subway portals, then advance through Jungle, Desert, and finally Snow Forest as your gear and stats catch up.
On top of standard portals, there are two types of special dungeons that matter a lot:
- Red Gates match your power level and have higher chances to drop stronger gear.
- Dungeon Breaks also scale with you and pay out more rewards when you clear them.
Whenever you see a Red Gate or Dungeon Break in your lobby, it’s worth dropping what you’re doing and clearing it. The experience and drops from these runs will usually outclass another lap through a regular gate.

Gold farming: gear choices and portal routing
Gold is the friction point for almost everything long term, from enchanting to resets. You earn it in two main ways: killing enemies in dungeons and selling unwanted items to the Merchant.
The temptation is to jump into higher and higher portals for “bigger” rewards. That’s usually a mistake if you’re trying to build a gold pile. You earn more gold per minute by clearing low-to-mid difficulty portals very quickly than by grinding through high ones slowly with multiple deaths.
Two levers improve gold income dramatically:
- Perks on weapons and accessories. Look for Gold Gain traits and prioritize equipping them when they don’t wreck your core stats.
- High-impact gold perks. Traits like Pristine (+300% Gold Gain) and Gilded (+300% Gold Gain) on any piece you regularly use in farm runs are enormous multipliers.
Because upgrading and rerolling get expensive later, you want to protect a gold reserve rather than spending everything on small, early upgrades. In particular, try to keep enough to buy:
- Power Cells for your good gear
- Stat reset items, if you don’t want to use Robux
- Enchanting scrolls and Magical Fruit from the Merchant, once your equipment is worth investing into

Gems and quests: your pipeline for abilities
Gems are the premium resource for summoning abilities. There’s no grindable dungeon that drops them outright; they come from quests.
There are three key sources:
- Regular NPC quests pay out around 20 Gems each. You can accept multiple at once and clear them passively while you run gates, which is the most efficient way to handle them.
- Daily quests grant a fixed 240 Gems per day when you finish the full set.
- Weekly quests stack more Gems on top and are built to be cleared over time as you naturally play.
Skipping quests means starving your build of abilities, so treat them as mandatory. You’re not forced to stand around doing side objectives; just pick everything up, then route your dungeon play so objectives overlap.

Abilities: when to chase rarity and how to scale them
Abilities are rolled with Gems, and their acquisition is heavily random. It can be tempting to pour everything into chasing a specific Mythic skill early on, but that’s not necessary and often not useful.
For the first stretch of progression, any high-damage or area-of-effect ability is fine as long as it matches what your stats are already doing. A melee-focused Strength build benefits most from abilities that scale with physical damage, while a later Magic Power investment makes spell-like abilities more appealing.
The long-term power of an ability comes from Mastery levels. As you use an ability, it levels up, heavily boosting its damage and utility. Abilities with good Mastery scaling often outperform a higher-rarity ability that you haven’t invested in.
A sensible approach is:
- Use the Gems from your early quests to build a small pool of usable abilities instead of aiming for a single perfect drop.
- Prioritize abilities that are easy to weave between M1 chains and that scale with your main stats.
- Stick with a core set and raise their Mastery during the early and mid-game instead of constantly swapping skills and resetting muscle memory.

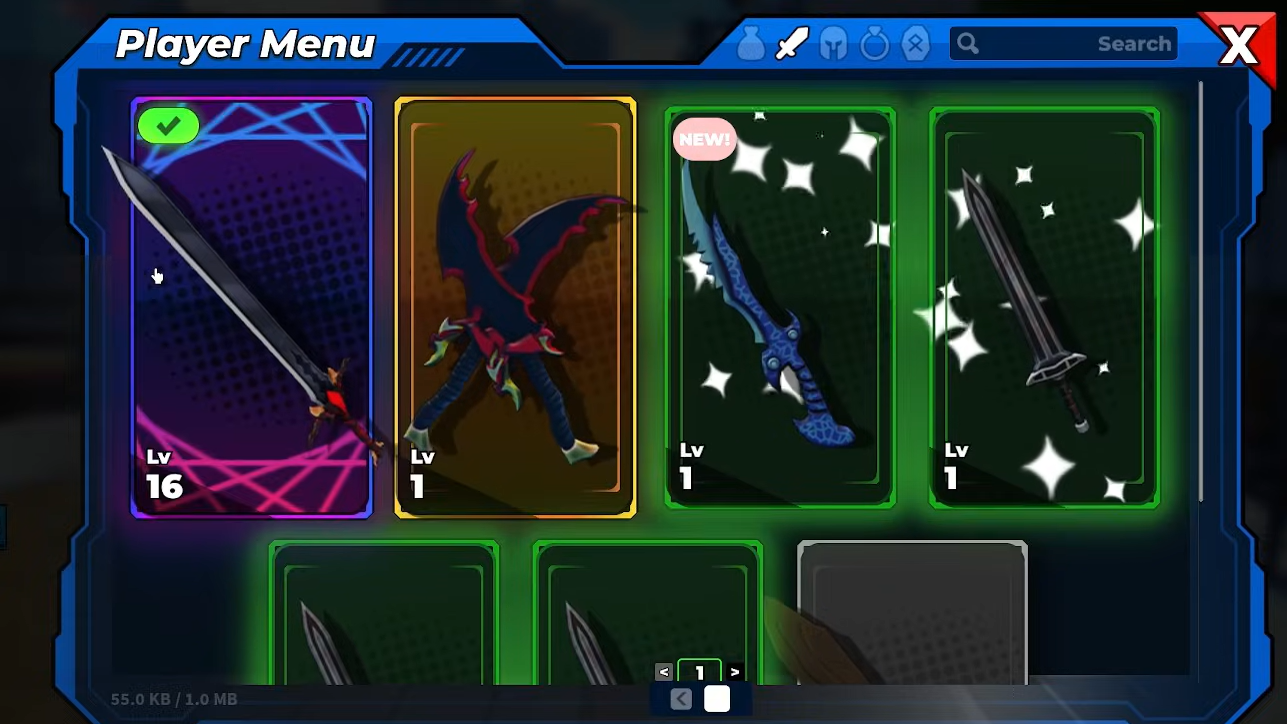
Gear and sets: when to upgrade and what to chase
Every gear piece in Solo Hunters drops from dungeon portals. Higher-power gates drop higher-rarity items, but upgrading every blue item you find is the fastest way to waste Power Cells.
For most characters, it’s more efficient to:
- Run content until you have a mostly Epic or Legendary loadout.
- Only then start investing Power Cells into leveling and refining those pieces.
Mid-game and beyond, set bonuses are as important as raw stats. Equipping multiple pieces from the same set can significantly alter your damage and survivability profile. A simple example is the Bloodsteel Set, which provides +8% HP and +20% Melee Damage when its conditions are met, making it ideal for Strength-heavy melee builds.
Red Gates are particularly valuable here. They carry a higher chance of dropping premium gear, including set pieces, so weaving them into your rotation speeds up set completion dramatically.
Current best builds: melee M1 meta
At the moment, Solo Hunters strongly rewards melee M1-focused builds. These builds center on left-click weapon attacks rather than ability rotations and tend to deliver faster clears with fewer risks once they’re online.
A typical pattern looks like this:
- Stats: about 60% of your allocation in Strength and 40% in Defense. Strength drives damage; Defense keeps you alive in melee.
- Class: Assassin, Tank, or Knight, all of which lean into weapon damage and survivability.
- Weapons: high-performing melee choices such as Demon King Daggers or Link Sword.
- Gear: sets like Venomspike or Bloodsteel that boost HP and melee output.
Magic-heavy builds work in the opening hours and can feel safer at range, but once gear and stat scaling kick in, optimized melee setups almost always win out in clear speed and reliability. Late-game content is effectively tuned around strong M1 damage backed by a small, high-value ability kit.
Classes: why Assassin is so coveted
Classes in Solo Hunters act less like traditional MMO classes and more like passive templates. They modify your stats but don’t hard-lock you into a specific weapon or ability set.
The standout option is Assassin (Mythic). Its passive package is extremely strong for almost any build:
- +20% M1 Damage
- +20% Magic Damage
- +20% Health
This combination buffs both physical and magical output while also making you tankier, so it slots neatly into melee M1 builds and more spell-reliant setups later in the game.
Legendary classes like Tank and Mage are solid if you don’t pull Assassin. They provide narrower but still useful bonuses and are more than capable of clearing content as you progress. Because you can reroll class later, there’s no need to stall your progression waiting for the perfect roll.

Codes and rerolls: resetting stats and class safely
Stat allocations and class rolls are not permanent. You can change them, but every reset has a cost, either in Robux or in rare items.
How stat resets work
Stat reset is handled directly through the Stats menu.
Step 1: Open the in-game Stats menu once you are in the lobby or safe zone.
Step 2: Press the Reset button. This refunds all spent stat points back into a pool you can reassign.
Step 3: Confirm the reset. Free resets are limited; beyond that, the game charges 99 Robux per reset or lets you spend specific reset items if you have them.
Because of the cost, it’s smart to avoid constant tinkering. A simple Strength/Defense allocation will comfortably carry you well into mid-game without needing a reset.

How class rerolls work
Class rerolls sit in the same place but have separate rules and costs.
Step 1: Open the Stats menu.
Step 2: Select the Class Reroll option.
Step 3: Trigger a reroll using either a consumable reroll item (commonly obtained from codes or special rewards) or 199 Robux.
Each roll pulls from a fixed odds table. Assassin sits at roughly a 5% chance, so there’s no guarantee you’ll see it immediately. Because of this, it’s more efficient to save several rerolls and use them in a batch rather than burning them one at a time whenever you feel impatient.
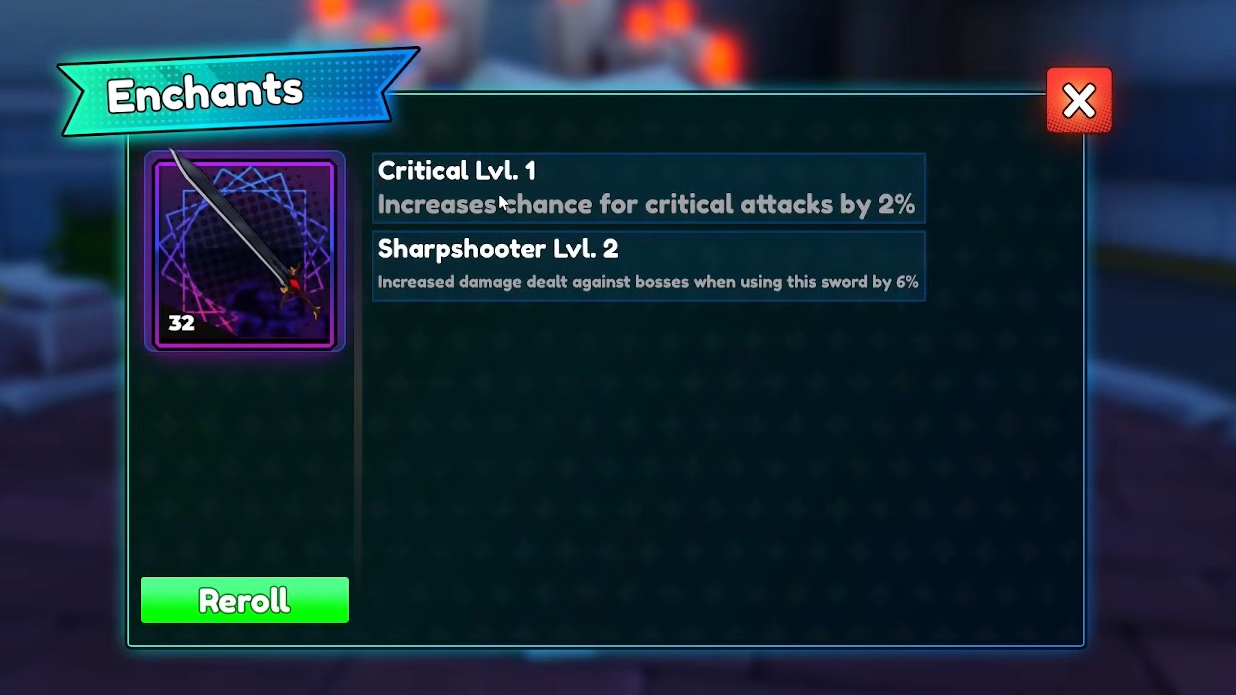
Enchanting weapons with scrolls
Enchanting adds randomized traits to weapons, turning a good base item into a long-term keeper. You can’t enchant for free; you need scrolls bought from the Merchant and some gold.
Scroll tiers and costs are roughly:
| Scroll type | Approximate cost (Gold) | Usage |
|---|---|---|
| Regular Scroll | 1,500 | Entry-level enchant with modest traits. |
| Epic Scroll | 7,500 | Better trait pool and higher values. |
| Legendary Scroll | 30,000 | Highest trait quality and more lines. |
Step 1: Buy your chosen scrolls from the Merchant in the hub area.
Step 2: Head to the Enchanting Table, located on the west side of the map.
Step 3: Place your weapon in the interface, consume a scroll, and roll traits. Look for perks like increased Loot Drops, Gold Gain, Crit Chance, or other damage multipliers that align with your build.
Because Legendary Scrolls are expensive, reserve them for weapons you know you’ll keep for a while, such as a high-rarity Demon King Daggers or Link Sword with good base stats.
Resetting skill trees with Magical Fruit
Your skill trees split into M1-focused and ability-focused branches, and their layouts encourage experimentation. Respeccing them is much easier and cheaper than resetting stats or class.
The key item here is Magical Fruit, purchased from the Merchant for about 30,000 Gold each.
Step 1: Buy at least one Magical Fruit from the Merchant when you’re ready to experiment with a new skill layout.
Step 2: Open the skill tree you want to change (either M1 or Abilities).
Step 3: Press the Reset button in the bottom-left corner. This consumes one Magical Fruit and refunds all spent points in that tree.
This setup encourages trying different pathing and combinations as your gear and stat priorities evolve. You can flip from an ability-heavy setup to a pure M1 focus without touching your core stat allocation or rerolling your class.
Once these systems are in place—strong Strength/Defense stats, fast clears on the right gates, sensible gold and gem usage, a solid melee build, and a plan for resets—Solo Hunters stops feeling like a wall and starts to feel like a sandbox. From there, progression is mostly about repeating the same good decisions: favor efficient portals over ego pushes, invest only in high-quality gear and traits, and save heavy resets for moments when your build direction genuinely changes.