
Artifacts are one of the biggest power spikes in Solo Leveling: Arise Overdrive. They decide how hard Sung Jinwoo and your Hunters hit, how reliably they survive, and how easily you push higher star gates. The game explains the basics, but it is easy to waste resources on the wrong pieces or ignore crucial systems like enhancement.
What artifacts do in Arise Overdrive
Artifacts are equippable armor and accessories for Sung Jinwoo and all Hunters. Each piece comes with three key elements:
- Main stat – one primary value such as Attack, Defense, HP, Crit Rate, Crit Damage, or elemental damage.
- Sub stats – up to four secondary bonuses (for example, HP%, Attack%, Defense Penetration, elemental damage, etc.).
- Set effect – a bonus that activates when you wear multiple pieces from the same set.
The main stat and sub stats directly raise raw numbers like Attack or HP, while set effects add conditional rules such as “increase damage when landing a critical hit” or “recover HP over time after using an Ultimate Skill”.
Artifacts can significantly boost:
- Attack, Defense, and HP for basic survivability.
- Critical Hit Rate and Critical Hit Damage for burst builds.
- Elemental damage and Break effectiveness for Elementalist and Break-focused setups.
- Defensive utility, such as damage reduction or healing-over-time.
Artifact slots and when they unlock
Artifacts are split into two broad types with their own slots:
- Armor artifacts – Helmet, Chestplate, Gloves, Boots.
- Jewelry artifacts – Necklace, Bracelet, Ring, Earrings.
Armor slots unlock earlier in the story, while jewelry opens later. By mid‑game, you can run a full eight-piece loadout on Jinwoo and on each Hunter, which is where set planning starts to matter.
How to get artifacts
Artifacts drop as loot from almost everything that matters in combat:
- Enemies and minibosses in story chapters.
- Bosses in World Map missions, including Instance and Encore dungeons.
- Red Gates and multi-floor “orange gate” expeditions that recycle a chapter boss at the end.
- Some challenge rewards and progression milestones.
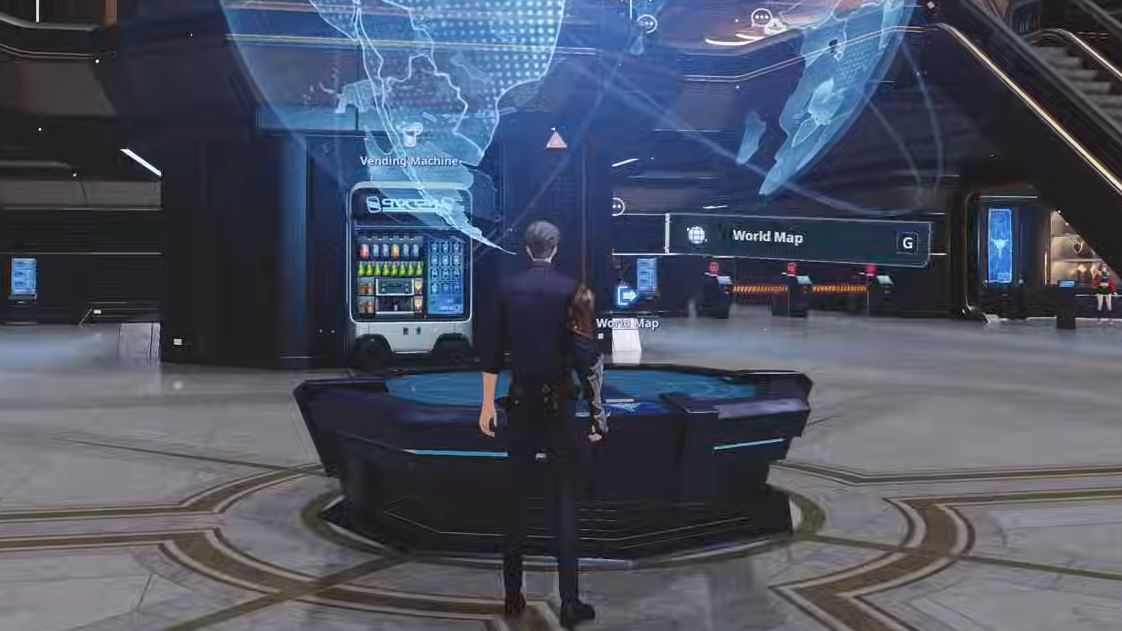
World Map content is the strongest source. Each chapter’s area has a selection of repeatable missions that:
- Reward XP, gold, and crafting materials.
- Have specific artifact sets in their drop tables.
- Scale from 1 to 15 stars, with higher stars increasing both enemy level and drop quality.
For example, a chapter with Vulcan as the boss includes a three‑star orange gate where mobs can drop Burning Curse, Beast, Archangel, Paladin, and Holy Knight sets. Pushing that gate to a star level you can clear quickly is one of the cleanest ways to farm high‑end artifacts.

Artifact rarities and sub stats
Artifact rarity controls how many sub stats a piece starts with and how much potential it has:
- Common – 1 sub stat.
- Rare – 2 sub stats.
- Heroic – 3 sub stats.
- Legendary – 4 sub stats.
Sub stats are rolled individually from a shared pool and can include things like:
- Attack (%) or flat Attack.
- HP (%) or flat HP.
- Defense (%).
- Critical Hit Rate, Critical Hit Damage.
- Defense Penetration.
- Elemental damage bonuses.
Two artifacts with the same name can have different sub-stat rolls (for example, two Behemoth’s Bracelets with slightly different Crit Damage values). That is why end‑game builds often chase duplicates of the same set until the rolls line up.
Important constraint: a single artifact cannot roll the exact same effect twice (you will not see two separate “Attack (%)” sub stats on one item), but it can have related types like flat Additional Attack and Attack (%).
Armor sets, jewelry sets, and complete sets
Artifact sets come in three structural types:
- Armor sets – their bonuses trigger from the four armor slots.
- Jewelry sets – their bonuses trigger from the four jewelry slots.
- Complete sets – multi‑piece packages that span both armor and jewelry and can go up to 8‑piece bonuses.
Every set has at least a two‑piece effect, usually an offensive or defensive bump, and many also have a four‑piece or even eight‑piece upgrade that adds stacking behavior or teamwide utility.
Examples of powerful set effects
| Set name | Pieces | Key effect |
|---|---|---|
| Red-eyed Set (Champion on the Field) | 2 / 4 | 2-piece: raises Attack for a few seconds on every Critical Hit; 4-piece: allows that Attack buff to stack up to a cap. |
| Romantic Seashell Set (Seashell Romance) | 2 / 4 | 2-piece: on Critical Hit, has a chance to add a small Attack increase, stacking many times; 4-piece: doubles both trigger chance and per‑stack Attack gain. |
| Set of Chaotic Desire | 2 / 4 / 8 | Stacks elemental damage when Break skills hit, then at high stacks converts into a large Break‑skill damage and elemental damage buff for the user and team. |
| Set of Chaotic Wish | 2 / 4 / 8 | Buffs Attack, then evolves into a state that also raises Defense, heals over time, and increases damage after Ultimate or Support Skills. |
| Set of Burning Blessing | 4 / 8 (via Blessing/Enhanced Blessing) | Improves damage and sustained healing when tagging out or using Support/Ultimate Skills, with the 8‑piece granting a stronger “Burning Blessing” version. |
| Set of Burning Greed | 2+ | Applies a Greed effect on Break hits that ramps damage over time, ideal for Break‑centric builds. |
These effects scale extremely well with aggressive play: Break-heavy Duelists, Elementalists hitting weaknesses, or team comps that cycle Support Skills often make the most of complete sets.

How to enhance artifacts (and why it matters)
Enhancement is where artifacts turn from “nice drops” into major stat sticks. Every artifact can be enhanced up to level 20. Each level raises the main stat, and at certain thresholds, it also improves sub stats.
Enhancement basics
- Open the Artifacts menu, select a piece, and choose Enhance.
- Each attempt consumes Artifact Enhancement Chips and gold, and in some cases Mana Crystals or their upgrades.
- Enhancement has a success chance. Each successful level reduces the success chance for the next level by 5 percentage points.
- If an attempt fails, you still lose the materials, but the next attempt gets a +1% success bonus until you succeed.
Later levels are both expensive and less reliable. For a Legendary piece, however, the payoff is huge: main stats can climb to very high percentages (for example, attack bonuses over 80% on a glove at moderate enhancement) and sub stats scale alongside.
Which artifacts to enhance
- Prioritize Legendary and strong Heroic items with good sub stats.
- Focus on sets that fit your current build (for example, high-Attack Burning Curse armor on an Assassin, Crit‑focused offensive sets on DPS Hunters).
- Avoid dumping chips into Common or low‑roll Rare pieces unless you are very early and have no alternatives.
Artifact enchantment after level 20
Once an artifact reaches level 20, you can push it even further through Enchantment:
- Each sub stat can be enhanced separately using Magic Crafting Logs.
- Magic Crafting Logs come in grades (1–4), with higher grades offering higher potential increases.
- Logs are tied to effect types; for example, a Crit Damage log only boosts Crit Damage sub stats.
Magic Crafting Logs drop from Simulation Gates and other high‑end content, so treat them as late‑game refinement for builds that are already mostly complete.

How to use artifacts on Sung Jinwoo
For Sung Jinwoo specifically, artifacts should first shore up core survivability and then push the stats that match his class and weapons.
- Core stats – prioritize Attack (ATK), Defense (DEF), and HP on early pieces so you can survive high‑star missions.
- Class fit – match set effects and sub stats to your main skill tree:
- Assassin: Crit Rate, Crit Damage, Agility-scaling sets, and any bonus from attacking from behind.
- Duelist: flat Attack, Strength%, Defense, HP, and Break-focused sets.
- Elementalist: Intelligence, elemental damage%, and sets that reward hitting weaknesses or casting Ultimates/support skills.
- Ruler: Perception, elemental and AoE damage, CC or team-buff sets.
- Weapon synergy – check scaling letters on your favorite weapons at May’s crafting table and lean artifact stats toward those attributes (for example, Agility for Kasaka’s Venom Fang and other daggers, Intelligence for grimoires).
Strong armor sets like Burning Curse or Beast, combined with jewelry that pumps Crit and Attack, let Jinwoo stay aggressive in high‑star World Map missions and longer Red Gates, where chip damage adds up.
How to use artifacts on Hunters
Hunters use artifacts in exactly the same way Jinwoo does, but they only have one weapon slot and cannot change their core skills. That makes artifacts even more important for them.
Key points when gearing Hunters:
- Match artifact sets to each Hunter’s role: damage dealers get Crit/Attack sets, supports get HP/Defense, and healing or team‑buff oriented sets.
- Do not hesitate to temporarily move Jinwoo’s best artifacts onto top Hunters like Essel when you run Encore dungeons or Hunter‑only missions.
- Combine artifacts with each Hunter’s exclusive weapon to unlock their full potential.
Farming artifacts efficiently on the World Map
Spamming any gate will eventually drop artifacts, but certain content is much more efficient if your goal is to gear up.
Best missions for artifact grinding
- Orange multi-floor gates – long, mob‑dense runs with a chapter boss at the end and several high‑value sets in the drop table. Ideal for farming Burning Curse and similar divine gear once you can handle the chapter.
- Story chapter repeatables – shorter missions tied to bosses or dungeon breaks that drop specific materials and a smaller pool of artifacts. These are good for targeted farming while you wait on potions or Strike Squad timers.
- Red Gates – extended free‑roam dungeons with a boss at the end. Their first‑clear rewards often include high‑rarity Blessing Stones, but repeat runs still shower gear and materials.
World Map missions can be scaled from 1 to 15 stars. Raising the star level also raises enemies’ level up to 85 and improves drops. The most efficient point is usually the highest star you can clear in a few minutes without dying or burning all consumables.
How artifact enhancement chips and materials fit into the wider upgrade loop
Artifact growth is tied closely to the game’s broader crafting and salvage systems:
- Artifact Enhancement Chips drop from gates and can also be obtained via exchanges that use Mana Crystals.
- Mana Crystals come from dismantling or salvaging gear and from certain missions; they can be traded for chips and other materials in the Exchange Shop.
- Salvage lets you break down unwanted weapons and low‑value gear into Weapon Enhancement Gear, weapon designs, and other crafting items. Keeping your inventory clean and salvaging low‑rarity drops is the easiest way to keep gold and materials flowing.
Because artifact enhancement is both expensive and unreliable at higher levels, maintaining a steady income of chips and gold through gate runs, dispatches, and salvage is essential for long‑term progression.
Strike Squad and passive artifact material income
After roughly Chapter 4, Strike Squad unlocks and quietly becomes one of the most important support systems for artifact growth.
- Gate Dispatch – you purchase special dispatch gates with gold, send a team of Hunters, and they auto‑clear a set number of missions over time, returning with crafting materials and gear. Dispatched Hunters can still be used in normal content.
- Bounties – targeted assignments to hunt specific bosses on the World Map with extra rewards on completion.
Running multiple dispatch gates in parallel ensures a constant trickle of gold, crystals, and chips while you play other content with Jinwoo. That passive stream makes it much easier to justify pushing your best artifacts to level 20 and beyond.
Once artifacts click, Arise Overdrive’s grind feels very different. World Map gates stop being generic XP runs and become targeted farms for specific sets, Strike Squad turns idle time into resources, and enhancement decisions start to define your class identity. Build one or two strong sets for Sung Jinwoo, mirror the logic onto your favorite Hunters, and artifact management will carry you through high‑star missions and late‑game content.