
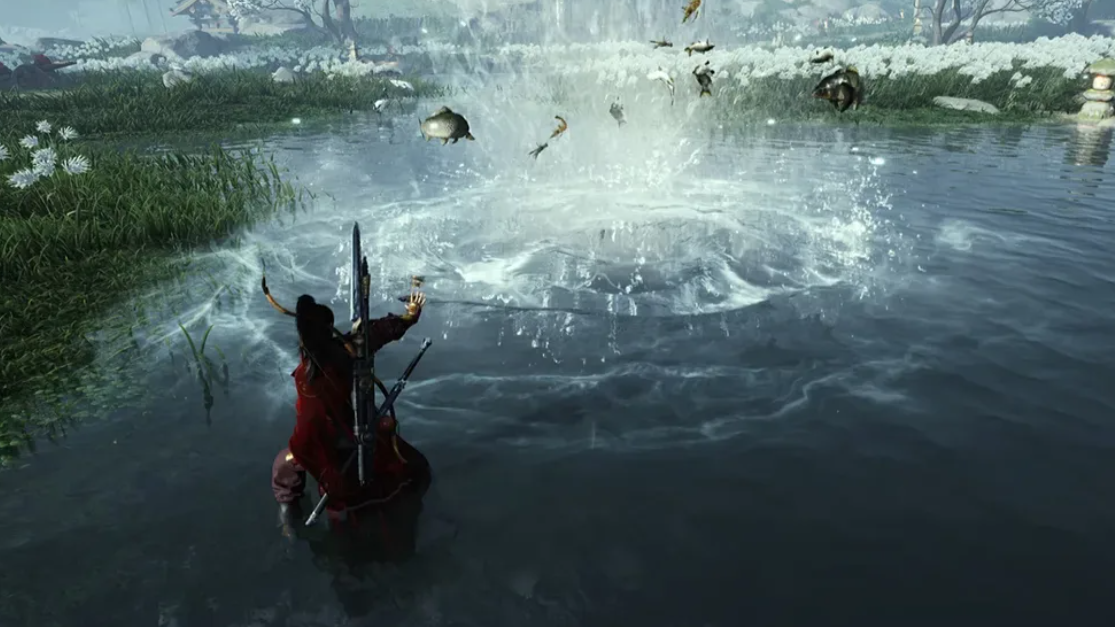
The glowing wall in the Northern Vow Ruins is one of the first moments Where Winds Meet stops being a brawler and asks you to actually read the room. You’re locked in a stone chamber, Chinese characters are jutting out of the walls, and the game quietly expects you to reconstruct a forgotten oath using nothing but a clue and some very stylised calligraphy.
This explainer walks through how to reach that room, how the wall puzzle actually works, and the exact blocks you need to leave lit so you can move on to the final chamber and unlock Touch of Death.
How the wall puzzle fits into Echoes of Old Battles
The wall appears partway through the side quest, often titled Volume I – Echoes of Old Battles or The Realm Endures. It all plays out in the Northern Vow Ruins, a burned-out fortress in the Verdant Wilds/Battlecraft Slope area near your starting bamboo grove.
You only reach the wall puzzle after a short combat-and-puzzle run:
| Stage | What you do | Why it matters for the wall |
|---|---|---|
| 1. Gate and courtyard | Talk to Lie Bujin at the gate, open it, clear out bandits and archers inside the fortress. | Opens access to the training ground and the first clue. |
| 2. Training ground boss | Defeat Zhang Bao and his allies in the arena on the left side of the fort. | Looting his chest gives you a treasure map that marks specific braziers. |
| 3. Fire/brazier puzzle | Light only the braziers marked on the map; a stone disk rises in the arena. | Correct flames unlock the hidden entrance below the arena. |
| 4. Heavenly Slam / Mighty Drop | Jump above the raised stone circle and perform a slam (Heavenly Slam / Mighty Smash). | Shatters the mechanism and opens a staircase down to the catacombs. |
| 5. Oath corpse and statue | Inspect a corpse in an odd pose, then use the newly learned “Oath of Vow / Yanyun Oath” emote at a hero statue. | Gives you “Clue 3” – the line of characters the wall puzzle is built around – and makes the wall blocks appear. |
Once you trigger the emote at the statue, the chamber rearranges itself. Characters slide out of both side walls, some already glowing, some dark. This is the “puzzle on the wall” everyone gets stuck on.
How the wall puzzle works (and what “Clue 3” is doing)
The wall puzzle is less about random pattern matching and more about editing a sentence.
| Element | What it is | Role in the puzzle |
|---|---|---|
| Clue 3 tablet | A stone clue you picked up earlier showing a short line of Chinese characters (the Northern Vow’s motto/oath). | This is the “correct” sentence the chamber wants you to reconstruct. |
| Left wall blocks | Movable stone tiles with glowing characters, arranged in a grid on the left as you enter. | Contain the first half of the motto, plus decoy characters you must disable. |
| Right wall blocks | Movable tiles mirroring the left wall, on the right side of the room. | Contain the second half of the motto, again padded with characters that don’t belong. |
| Interactable vs. fixed tiles | Some blocks move in and out when you interact; others are locked in place. | Only the movable tiles are part of the puzzle logic. Locked ones are either flavour or red herrings. |
Your job is not to pull everything out. The goal is to leave only the characters that appear in Clue 3 glowing on the walls. Any glowing block that doesn’t appear in the motto needs to be pushed back in until it’s no longer lit.
Think of it as erasing typos from a sentence carved into stone. When the characters on both walls collectively match the oath, the door to the next area opens.

Exact inputs to solve the wall puzzle on the left and right walls
If you don’t read Chinese or you’re struggling with the stylised calligraphy, the puzzle can feel opaque. The chamber’s logic is consistent, though, and you can brute-force it once you know where the interactable tiles are.
Left wall solution
Stand in the doorway facing into the puzzle chamber. The left wall forms a block of movable tiles. Only a handful of them actually matter.
- The game expects the left wall to show the first half of the motto.
- On this wall, there is one interactable block you must disable to match Clue 3.
Use this simple move:
- On the left-hand wall, push in the block in the top-left corner that can be interacted with. After you do this, it should no longer glow.
Leave the other glowing tiles on the left wall alone; they align with the first part of the oath.
Right wall solution
The right wall covers the second half of the motto. It has more interactable positions, but you again only need to turn off a few of them.
- The right wall is where the second group of characters from Clue 3 belongs.
- There are several interactable tiles; only some are wrong.
From the doorway, identify the interactive blocks you can pull and push. Then:
- On the right-hand wall, push in the first interactable block in the sequence so that it stops glowing.
- On the same wall, push in the third interactable block so it is no longer lit either.
After that, the remaining illuminated blocks on the right wall should line up with the second half of Clue 3’s text.
Once both walls only display characters that appear in the motto, you’ll hear the mechanism complete, and the stone door ahead will unlock.
What opens after the wall puzzle, and why it matters
Solving the wall doesn’t drop loot directly; it’s a gate to the final leg of the ruins.
| After the wall | What happens | What you gain |
|---|---|---|
| Waterwheel cavern | You drop into a cavern with a large waterwheel jammed in place. | Teaches you to look behind environmental features such as waterfalls. |
| Waterfall mechanism | Walk straight through the waterfall behind the wheel to find a chain or mechanism on the far wall; interact with it. | Freeing the wheel releases the lock on the final stone gate. |
| Final chamber | A stone door opens deeper in the cave, leading to a tomb-like room full of chests and an inscription. | Grants loot, currency, upgrade materials, and the Touch of Death technique once you inspect the mural and writings. |
After you collect the rewards and read the red-marked inscription on the back wall, a short scene plays, and the side quest flags as complete. A white interaction marker lets you exit back to the surface, where the game gives you a brief tutorial prompt on using Touch of Death as a stealth finisher on unaware enemies.
The wall puzzle in Echoes of Old Battles looks more intimidating than it is. You’re not decoding an entire new language; you’re cleaning up a sentence that the ruins are already trying to show you. Push in one stray block on the left, two on the right, and the Northern Vow’s motto lines up, taking you the rest of the way to one of the game’s most satisfying early skills.