
The music puzzle in ARC Raiders’ Buried City turns a mysterious locked door into a full-map scavenger hunt. The reward is a hidden music room packed with legendary instruments, but getting there means pressing 15 red buttons scattered across the map in a very specific order. Miss one, or let another player tap a random button, and the whole thing resets.
How the Buried City music puzzle works
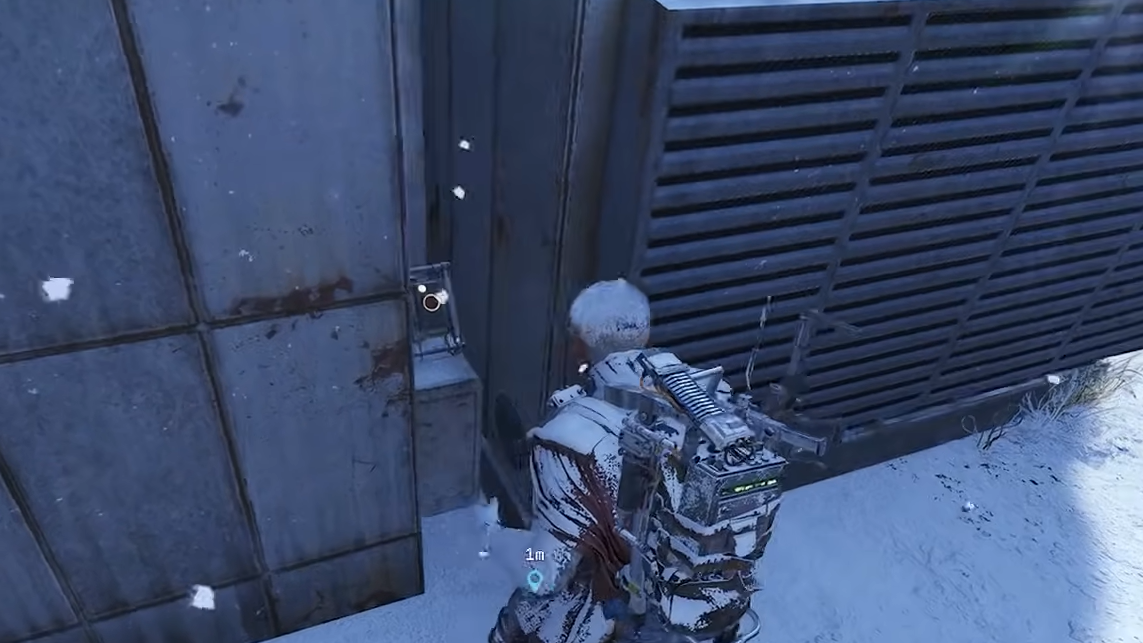
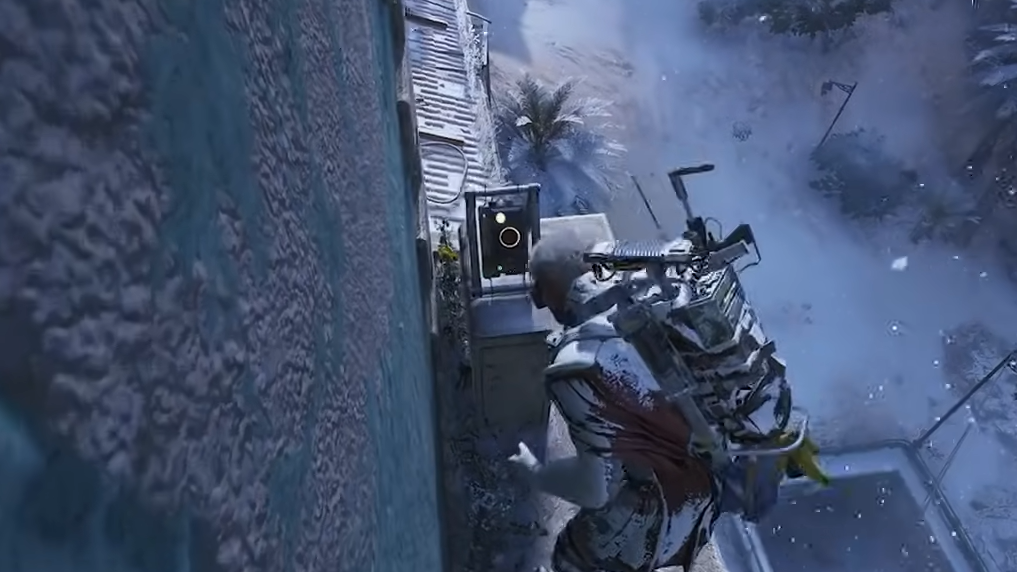
Near the Red Tower in Buried City, a half-buried yellow building hides a locked door with a red button and a wall of 15 lights. Pressing the button does nothing at first. The key is a nearby music room that shows a sequence of notes on the wall:
CDDF AFG FGFGA CDD
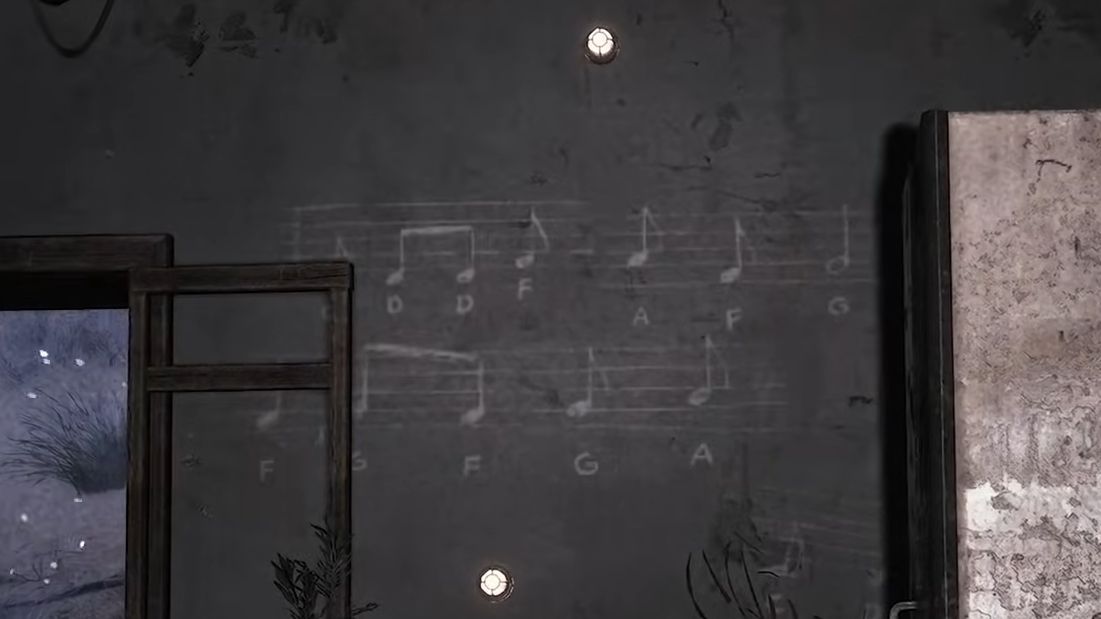
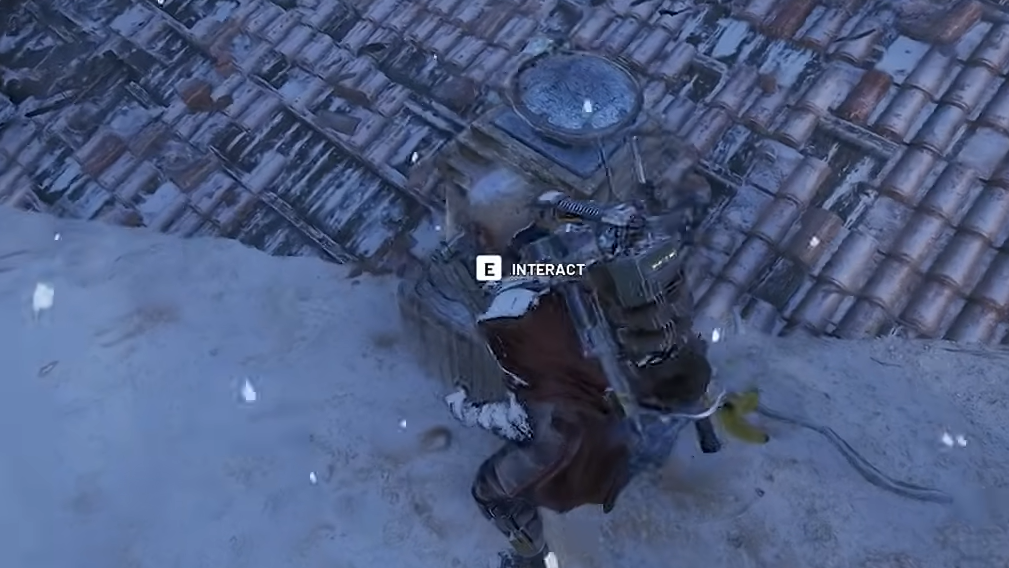
Each of those letters corresponds to a specific red button somewhere in Buried City. There are 15 notes in the sequence and 15 buttons on the map. To open the door, every button must be pressed in the exact order of the notes on the wall. When a button is hit in the correct place in the sequence, it lights up and becomes inactive. If a button is pressed out of sequence, it stays interactable, nothing lights, all progress is wiped, and you must start again from the first button.
The sequence the game expects is:
C, D, D, F, A, F, G, F, G, F, G, A, C, D, D
That final D is the button right in front of the locked door. As soon as that last input registers in sequence, music plays, fireworks launch over Buried City, and the door swings open onto the music room.
General rules and best approach
There are a few constraints that shape how you tackle this puzzle:
- Progress is global to the raid. Any player in the instance can reset the sequence just by pressing a wrong button at any time.
- Buttons are single-use while “correct.” Once a button has been activated in its proper place, it lights up and can’t be pressed again until the sequence is broken.
- You’re racing the raid timer and the weather. Finishing solo is possible but tight; snow, ARCs, and other players all eat into your window.
Trio lobbies make this dramatically more manageable. You can divide the map into rough zones, give each player five buttons to cover, and maintain voice or ping coordination so no one double-presses or goes off-script. Duos are workable but demanding; solo runs need near-perfect routing and a cooperative lobby that ignores red buttons.
Music note sequence and button mapping
Each note in the CDDF AFG FGFGA CDD string lines up with a specific button. The table below shows the logical order (Note 1–15), the note itself, and the button’s location.
| Sequence # | Note | Button location (Buried City) |
|---|---|---|
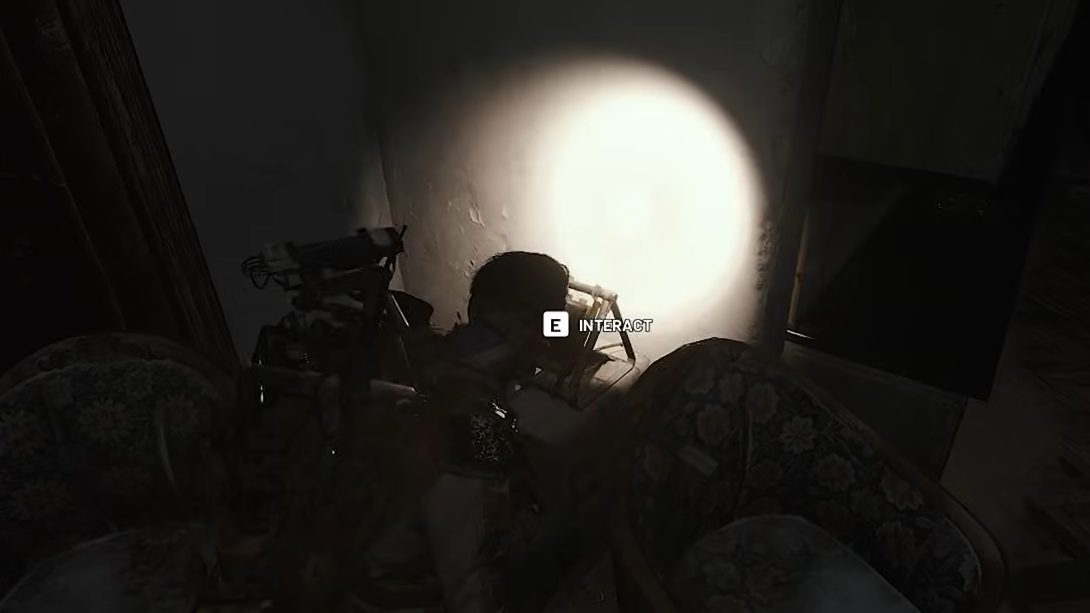
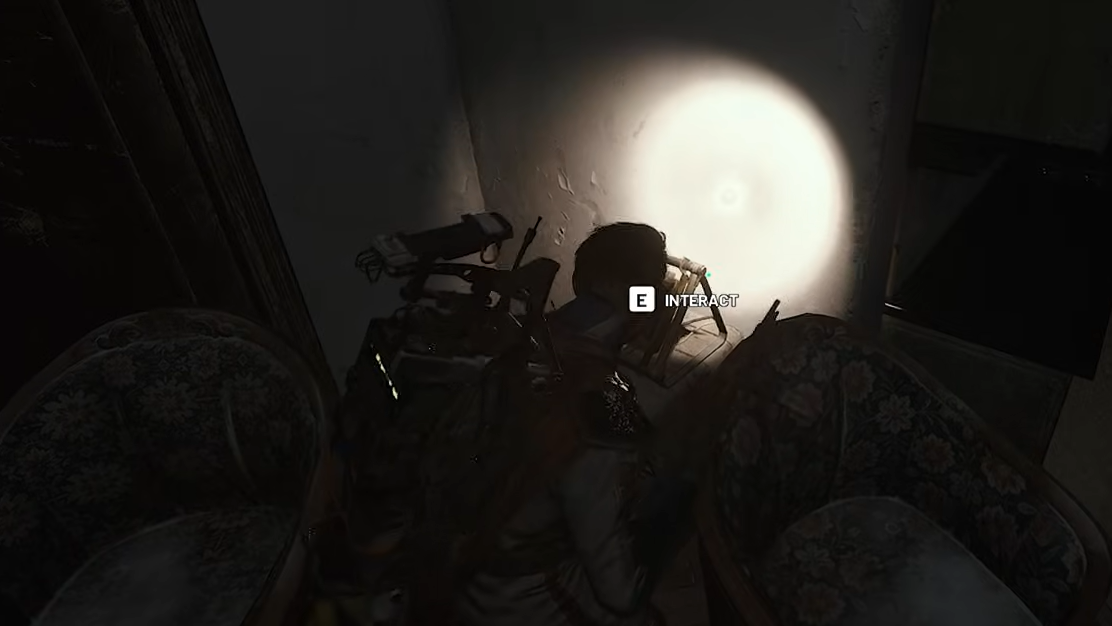
| 1 | C | Plaza Rosa attic building, south side, second floor room behind chairs and a cupboard. |
| 2 | D | Galleria building, lower level reached from the rooftop elevator shaft, behind a metal shelf. |
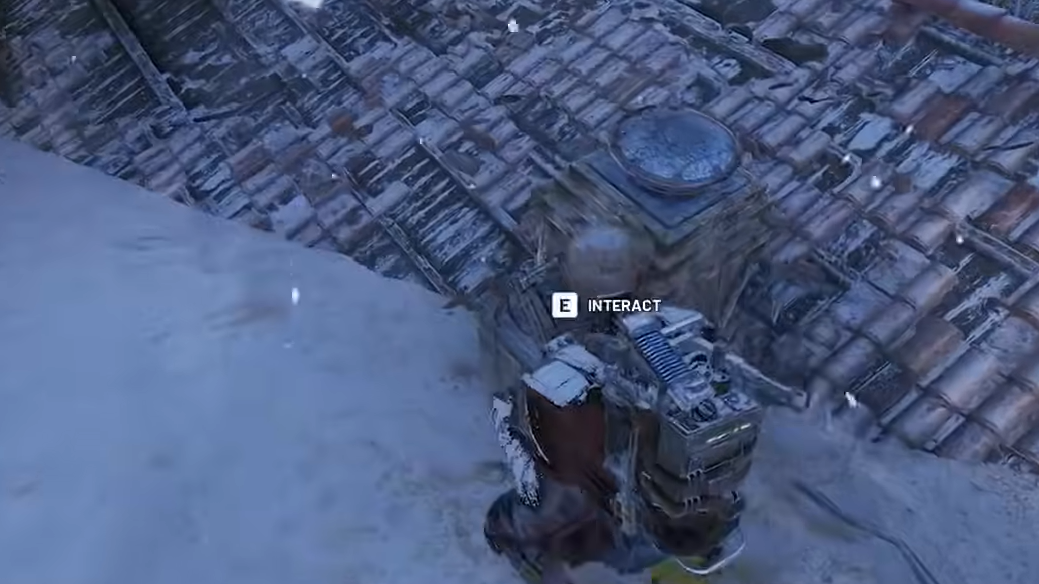
| 3 | D | Warehouse on the far west edge of the map, on the roof between two large vents near the skylights. |
| 4 | F | Marano Park, inside the small central shop, in a corner beside shelving. |
| 5 | A | Grandioso Apartments, south/B1 building, top interior floor; through the balcony window and behind a couch in the side room. |
| 6 | F | Piazza Arbusto blue tower, on the second roof just below the main balcony, on the thin outer edge. |
| 7 | G | Bus on the road between the Library and Su Durante Warehouses, near an empty billboard. |
| 8 | F | Red building near Town Hall, above “Corso da Vinci” on the map, in the small bedroom off the kitchen upstairs. |
| 9 | G | Buried Properties on the eastern edge by the highway, inside a ruined building between a yellow generator and the wall. |
| 10 | F | Hospital ground floor, under the emergency staircase by the “OSPEDALE” entrance and metro access. |
| 11 | G | Under the collapsed highway, on the ceiling/underside of the building just right of the “Grandioso Apartments” map label. |
| 12 | A | Church Ruins, on the lower-left roof cluster, beside the chimney closest to the sand. |
| 13 | C | Santa Maria Houses, western side of the yellow block, in the attic reached by an interior stairway and a zipline up. |
| 14 | D | Partially buried tower between Piazza Roma and Warehouse, at the top of the diagonal tower visible on the map. |
| 15 | D | Ground floor of the yellow building north of the Red Tower, directly in front of the locked music room door. |

Solo route: pressing all 15 buttons in order
Running this alone is an exercise in pathing and risk management. The sequence below follows a route that matches the note order while trying to minimize backtracking and exposure to open streets during heavy snow.
Step 1: Start at Plaza Rosa. Enter the attic building on the lower left corner of the plaza through the open window, head to the second floor, and hit the first button behind the chairs and cupboard. This is your first C.
Step 2: Move to the Galleria. Climb to the rooftop, drop down through the open elevator shaft on the zipline, turn left at the bottom, and press the button tucked behind the metal shelf for your first D.
Step 3: Head west to Warehouse. Climb onto the roof, navigate to the area with glass skylights, and press the button wedged between the two large vents. That’s the second D in the sequence.
Step 4: Double back east toward Marano Park. Cut through buildings if the bombardier has line of sight. Enter the small shop in the park’s center and press the button in the corner. This is the first F.
Step 5: Go to Grandioso Apartments, focusing on the south/B1 building. Move up through the interior shaft to the top floor, step out onto the balcony, smash the first glass window on the left, and find the button behind the couch in the nearby room for your first A.
Step 6: Run toward Piazza Arbusto. Avoid the Bastion if it has spawned in the plaza by cutting inside nearby buildings. Climb the blue tower, stop at the second roof level just below the balcony, and edge along the thin ledge to reach the button. That’s your second F.
Step 7: From Piazza Arbusto, cut back toward the Library. Stay under cover by using the parking garage if the bombardier is active on the roof. Find the bus near the empty billboard between the Library and Su Durante Warehouses and press the button inside for the first G.
Step 8: Continue toward the cluster of buildings near Town Hall, just above the “Corso da Vinci” label. Enter the red building, head upstairs, pass through the kitchen, turn into the small bedroom, and hit the button in the corner near the bed. That’s your second F.
Step 9: Push east to Buried Properties by the highway. Navigate into the ruined building beside the yellow generator and press the button nestled between it and the wall for your second G.

Step 10: Rotate back toward Hospital. Enter from the eastern ground-floor entrance near the “OSPEDALE” sign, locate the emergency stairs, and press the button under the staircase next to the wet floor signs for your third F.
Step 11: Move under the collapsed highway that borders Grandioso Apartments. Climb to the building that sits under the broken bridge section just right of the “Grandioso Apartments” text. The button is on the ceiling or roof line where the bridge has crashed into the structure. This is the third G.
Step 12: Head out toward Church Ruins on the sandy edge of the map. Use interior paths to break line of sight with ARCs when possible. Climb onto the lower-left roof section in the ruins and press the button beside the chimney nearest the sand for your second A.
Step 13: Cross back inland to the Santa Maria Houses. Enter the western side of the yellow housing cluster, make your way up the interior stairs to the top, and take the zipline into the attic. The button is between an empty shelf and boxes. That’s the final C in the sequence.
Step 14: From Santa Maria, angle toward the nearly buried tower that sits visually on a diagonal between Piazza Roma and Warehouse. Climb into the tower and find the button near the top. This gives you the penultimate D.
Step 15: Finish at the building north of the Red Tower where the whole puzzle began. Enter through the half-buried window on the yellow facade, walk to the locked door, and hit the red button for the final D. If every previous input was correct and no one else has disturbed a button out of order, the wall lights up, music plays, and the door unlocks into the music room.
What’s inside the Buried City music room
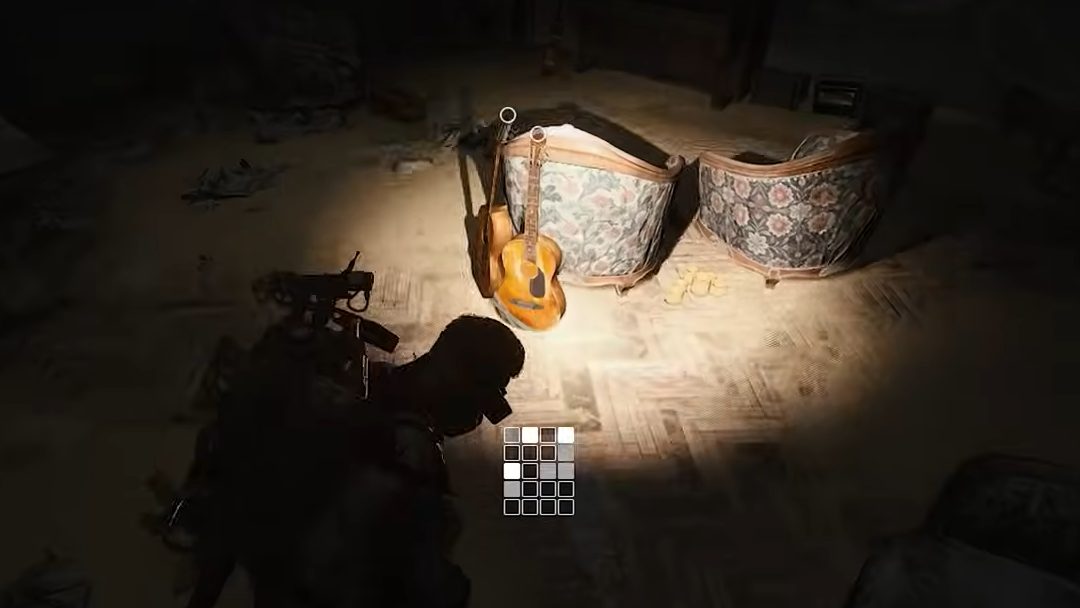
Once the last button is pressed, a short fanfare plays and fireworks streak above Buried City. Inside the unlocked room, the reward is thematic rather than strictly mechanical. You’ll find multiple legendary-quality musical items:
- Acoustic guitars you can equip and play in raids.
- Shakers and similar rhythm instruments.
- Recorders and candle holders scattered around the room.
The instruments function like other playable items in ARC Raiders. They can be used to signal friendliness to other squads, create impromptu jam sessions in social hubs, or sold for a solid pile of coins if you’re focused on progression rather than roleplay. The room can be looted quickly, but you still have to extract from the raid, so budget enough time after the last button press to reach a hatch or extraction zone.
The real appeal is the spectacle: the synchronized fireworks over the snow-covered skyline, the glow from the door’s light wall, and the pile of instruments waiting inside. It’s a rare puzzle that turns an extraction shooter run into something closer to a communal event, especially when a full lobby cooperates and no one griefs the sequence.
Running the puzzle in a trio
For groups, the most efficient strategy is to split the map into three logical zones and give each player five consecutive buttons within or near their territory.
- Player A can handle Plaza Rosa, Galleria, Warehouse, and Marano Park.
- Player B can cover Grandioso, Piazza Arbusto, the bus, the Corso da Vinci building, and Buried Properties.
- Player C can take Hospital, the collapsed highway, Church Ruins, Santa Maria, the buried tower, and then regroup at the final door.
Use straightforward callouts such as “Button 4 pressed” or “On 9 now” so everyone knows where the sequence stands. If someone notices a reset — a button fails to light and remains active — halt, regroup, and restart from the first C at Plaza Rosa instead of guessing where the break occurred.
Trio runs not only beat the timer more comfortably but also let someone double back to fix a mispress if a random player taps a later button. As long as that mispress didn’t happen before your current point in the sequence, you can sometimes recover by deliberately re-running the order from an earlier step.
Once you’ve cleared the Buried City music puzzle a few times, the map starts to feel smaller and the instrument room becomes a reliable target for both flair and income. It’s a demanding bit of design that rewards coordination and a lobby that can resist the urge to push a mysterious red button “just to see what it does.”