
Accessories in Sorcerer Ascent provide passive stat buffs that stack across six equipment slots: Head, Face, Neck, Shoulder, Torso, and Legs. Each piece offers bonuses to Physical Damage, Cursed Energy, Health, or regeneration stats, and higher-rarity items deliver multiple buffs at once. Choosing the right combination lets you tailor your character for melee combat, cursed-energy builds, or hybrid setups.
Quick answer: Accessories drop from bosses, dungeons, and challenges across the map. Equip one item per slot to gain its buffs immediately; mix rarities and sets to match your stat priorities.
Accessory Slots and Rarity Tiers
Sorcerer Ascent divides accessories into six body slots. You can wear one item per slot, and buffs apply as soon as you equip the piece. Rarities range from Rare to Heian, with higher tiers offering more buffs and larger percentage bonuses:
- Rare: Single-stat boost, often Cursed Energy Damage or Cursed Energy.
- Epic: One or two buffs, typically Health or regeneration, paired with a damage stat.
- Glorious: Two to three buffs, including Cursed Energy Damage, Physical Damage, or Health Regeneration.
- Special: Three to four buffs, with the highest percentages and unique bonuses such as Black Flash Damage or Burn Damage.
- Heian: Rare ultra-tier drops with two to three buffs and very low drop rates.
Each slot accepts only items designed for that position, so you cannot equip a Torso accessory in the Head slot. Rarity does not lock you into a single build; you can mix a Rare Headband with a Special Shirt to balance drop rates and stat goals.
Head Accessories
| Accessory | Rarity | Buffs | Source |
|---|---|---|---|
| Bojaack Amigasa | Special | Physical Damage, Health, Health Regeneration | Meadown Dungeon (1% drop) |
| Straw Hat | Glorious | Cursed Energy Damage, Cursed Energy | Yoshiwara Challenge (4% drop) |
| Grasshopper Hat | Glorious | Cursed Energy Regeneration, Health Regeneration | Grasshopper Curse Boss (4% drop) |
The Bojaack Amigasa suits melee and weapon builds with its Physical Damage and Health bonuses, while the Straw Hat pushes Cursed Energy output for technique-focused characters. The Grasshopper Hat offers dual regeneration, useful for sustained fights or raid content.

Face Accessories
| Accessory | Rarity | Buffs | Source |
|---|---|---|---|
| Lieutenant Headband | Rare | Cursed Energy Damage | Lieutenant Boss, Minagata Village (30% drop) |
| Nanami Glasses | Glorious | Physical Damage | Nanami Kento Boss, Jujutsu High (4% drop) |
| Panda Bandage | Epic | Cursed Energy, Health Regeneration | Temple Challenge |
| Black Mask | Epic | Cursed Energy Regeneration | Yoshiwara Challenge (10% drop) |
The Lieutenant Headband is the easiest face piece to farm, with a 30 percent drop rate and a straightforward Cursed Energy Damage buff. Nanami Glasses provide a rare Physical Damage boost for this slot, making them valuable for Black Flash or weapon-centric builds.
Neck Accessories
| Accessory | Rarity | Buffs | Source |
|---|---|---|---|
| Red Necklace | Epic | Physical Damage, Cursed Energy Regeneration | Hotarugawa Dungeon (13% drop) |
| Ryoma Scarf | Glorious | Cursed Energy, Cursed Energy Damage | Ryoma's Soul Boss, Kaito Village (4% drop) |
| Kato Necklace | Glorious | Health, Cursed Energy Regeneration | Kato Akumori Boss, Yoshiwara City (4% drop) |
| Cursed Necklace | Glorious | Cursed Energy, Cursed Energy Regeneration | Gloomhorn Curse (4% drop) |
| Blue Adventure Necklace | Heian | Cursed Energy, Health | Yoshiwara Challenge (0.2% drop) |
The Ryoma Scarf is a top pick for Cursed Energy builds, stacking both raw energy and damage. The Blue Adventure Necklace offers similar stats at Heian rarity but requires extreme luck or repeated challenge runs.
Shoulder Accessories
| Accessory | Rarity | Buffs | Source |
|---|---|---|---|
| Town Warden Coat | Glorious | Cursed Energy Regeneration, Cursed Energy Damage | Town Warden Boss, Hotarugawa Town (4% drop) |
| Nanami Jacket | Special | Physical Damage, Cursed Energy Damage | Nanami Kento Boss, Jujutsu High (1% drop) |
| Lieutenant Coat | Epic | Cursed Energy, Physical Damage | Lieutenant Boss, Minagata Village (10% drop) |
| Vice-Captain Coat | Epic | Health Regeneration | Vice-Captain Boss, Kanazawa Town (10% drop) |
| Kato Cape | Heian | Physical Damage, Cursed Energy | Kato Akumori Boss, Yoshiwara City (1% drop) |
| Kanazawa Raider Coat | Glorious | Health, Cursed Energy Damage | Kanazawa Dungeon (4% drop) |
| Ryoma's Haori | Special | Cursed Energy Regeneration, Health, Cursed Energy Damage | Temple Challenge (0.2% drop) |
| Jogo Coat | Glorious | Health Regeneration, Health, Burn Damage | Jogo Cursed Dungeon (4% drop) |
| Invader Leader's Coat | Glorious | Physical Damage, Health | Village Invaders Leader Boss, Ruined Village (4% drop) |
The Nanami Jacket is the only Special shoulder piece that boosts both Physical and Cursed Energy Damage, making it a universal upgrade for hybrid builds. Ryoma's Haori offers three buffs but drops at 0.2 percent from the Temple Challenge, so expect a long grind.
Torso Accessories
| Accessory | Rarity | Buffs | Source |
|---|---|---|---|
| Male Sorcerer Shirt | Rare | Cursed Energy | Main Quests, Jujutsu High |
| Female Sorcerer Shirt | Rare | Cursed Energy | Main Quests, Jujutsu High |
| Invader Leader's Shirt | Epic | Health | Village Invaders Leader Boss, Ruined Village (14% drop) |
| Lieutenant Shirt | Glorious | Health Regeneration, Health, Physical Damage | Lieutenant Boss, Minagata Village (10% drop) |
| Yuji Shirt | Special | Black Flash Damage, Health, Physical Damage | Yuji Itadori Boss, Jujutsu High (1% drop) |
| Nanami Shirt | Glorious | Physical Damage, Cursed Energy Damage | Nanami Kento Boss, Jujutsu High (4% drop) |
| Vice Captain Shirt | Glorious | Cursed Energy Regeneration, Health, Health Regeneration | Vice-Captain Boss, Kanazawa Town (4% drop) |
| Kanazawa Raider Shirt | Special | Health Regeneration, Health, Cursed Energy | Kanazawa Dungeon |
| Ryoma's Kimono | Special | Cursed Energy Damage, Health, Cursed Energy | Ryoma's Soul Boss, Kaito Village (1% drop) |
| Bojaack Shirt | Glorious | Cursed Energy Damage, Health, Physical Damage | Meadown Dungeon |
| World Curse Shirt | Special | Cursed Energy Regeneration, Health, Cursed Energy | Wraith Blue Curse Boss, Blue Forest (1% drop) |
| Kato Shirt | Special | Cursed Energy Regeneration, Health, Health Regeneration, Cursed Energy | Kato Akumori Boss, Yoshiwara City (1% drop) |
| Jogo Shirt | Glorious | Burn Damage, Health | Jogo Cursed Dungeon |
| Grasshopper Shirt | Special | Physical Damage, Health | Grasshopper Curse Boss (1% drop) |
The Yuji Shirt is essential for Black Flash builds, adding a direct damage multiplier to that mechanic alongside Physical Damage and Health. Kato Shirt provides four buffs, the most of any torso piece, and synergizes with Cursed Energy regeneration strategies. The Nanami Shirt is a strong hybrid option at Glorious rarity, easier to farm than Special drops.

Leg Accessories
| Accessory | Rarity | Buffs | Source |
|---|---|---|---|
| Male Sorcerer Pants | Rare | Cursed Energy | Main Quests, Jujutsu High |
| Female Sorcerer Pants | Rare | Cursed Energy | Main Quests, Jujutsu High |
| Invaders Leader's Pants | Epic | Health | Village Invaders Leader Boss, Ruined Village (4% drop) |
| Town Warden Pants | Epic | Cursed Energy Regeneration, Health, Cursed Energy | Town Warden Boss, Hotarugawa Town (10% drop) |
| Lieutenant Pants | Glorious | Physical Damage, Health, Health Regeneration | Lieutenant Boss, Minagata Village (10% drop) |
| Yuji Pants | Special | Physical Damage, Health, Black Flash Damage | Yuji Itadori Boss, Jujutsu High (1% drop) |
| Vice-Captain Pants | Glorious | Cursed Energy Regeneration, Health, Health Regeneration | Vice-Captain Boss, Kanazawa Town (4% drop) |
| Ryoma's Hakama | Special | Cursed Energy Damage, Health, Cursed Energy | Ryoma's Soul Boss, Kaito Village (1% drop) |
| Bojaack Pants | Glorious | Physical Damage, Health, Cursed Energy Damage | Meadown Dungeon |
| World Curse Pants | Special | Cursed Energy Regeneration, Health, Cursed Energy | Wraith Blue Curse Boss, Blue Forest (1% drop) |
| Grasshopper Pants | Special | Physical Damage, Health | Grasshopper Curse Boss (1% drop) |
| Kato Greaves | Special | Cursed Energy Regeneration, Health, Health Regeneration, Cursed Energy | Kato Akumori Boss, Yoshiwara City (1% drop) |
| Jogo Pants | Glorious | Burn Damage, Health | Jogo Cursed Dungeon |
| Gray Hakama | Special | Cursed Energy Damage, Health | Yoshiwara Challenge (1% drop) |
The Yuji Pants pair with the Yuji Shirt to maximize Black Flash Damage, while Kato Greaves offer four buffs focused on Cursed Energy and regeneration. Bojaack Pants provide a hybrid option at Glorious rarity, easier to obtain than Special drops.

Recommended Accessory Sets by Build
Cursed Energy Build: Prioritize Cursed Energy Damage and Cursed Energy pool bonuses. The Straw Hat, Ryoma Scarf, Ryoma's Haori, Kato Shirt, and Kato Greaves form a strong set, with the Ryoma's Kimono as an alternative torso piece. This setup maximizes technique output and sustains longer rotations.
Black Flash Build: Equip the Yuji Shirt and Yuji Pants for direct Black Flash Damage buffs, then fill remaining slots with Physical Damage pieces such as Nanami Glasses, Nanami Jacket, and Bojaack Amigasa. This combination scales both your melee hits and Black Flash procs.
Physical Damage Build: The Bojaack set (Amigasa, Shirt, Pants) and Nanami set (Glasses, Jacket, Shirt, Pants) are the best options. The Grasshopper set (Hat, Shirt, Pants) adds extra Health if you need survivability. Mix and match based on drop luck and stat priorities.
Hybrid Build: The Nanami Jacket and Nanami Shirt provide both Physical and Cursed Energy Damage, making them ideal anchors. Pair with the Lieutenant Coat for balanced stats or the Kato Necklace for regeneration. This setup works for players who switch between melee and techniques mid-fight.

Boss Respawn Times and Farming Strategy
All bosses respawn five minutes after defeat. If you defeat the Village Invaders Leader at Ruined Village, return after five minutes to farm again. The Grasshopper Curse spawns randomly during rainy weather, so check the map frequently when rain appears.
Dungeon keys drop from specific bosses: the Town Warden drops the Hotarugawa Dungeon Key (3 percent), and the Vice-Captain drops the Kanazawa Dungeon Key (3 percent). You can also collect key fragments (Upper Part and Bottom Part) at 7.5 percent each and combine them. Dungeons offer higher-tier accessories but require repeated runs for rare drops.
Challenge content such as the Yoshiwara Challenge and Temple Challenge drops Heian-rarity accessories at 0.2 percent. These challenges reset on a schedule, so check in-game timers and plan farming sessions around resets.

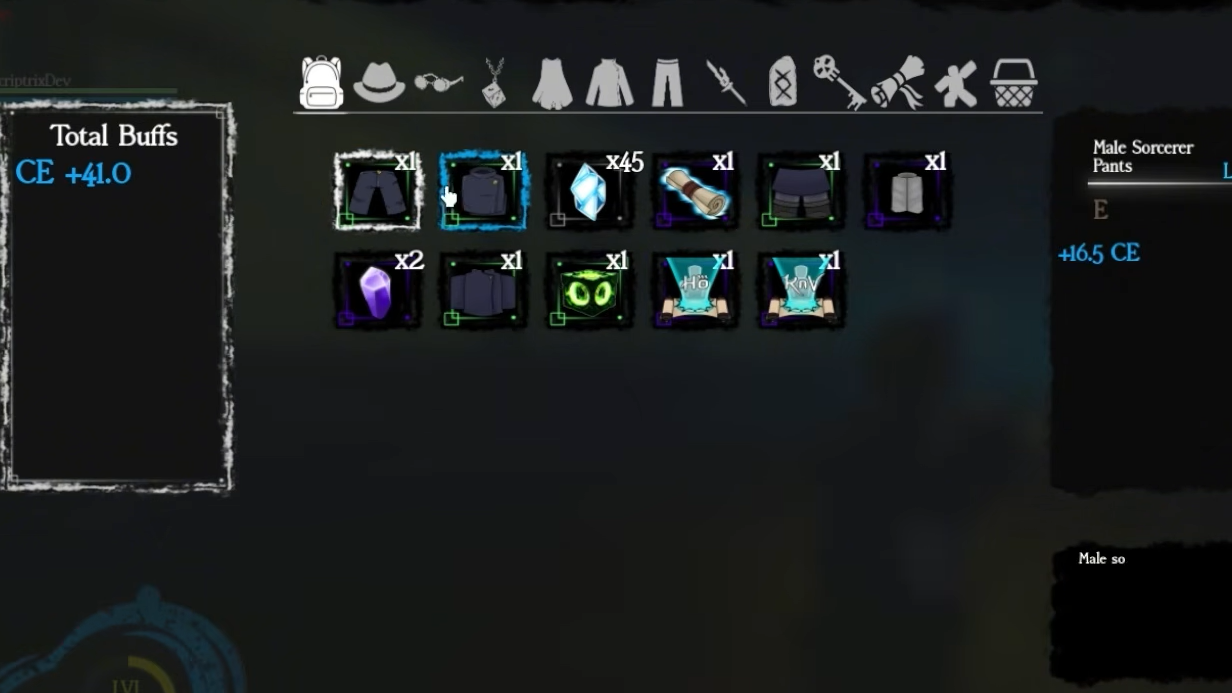
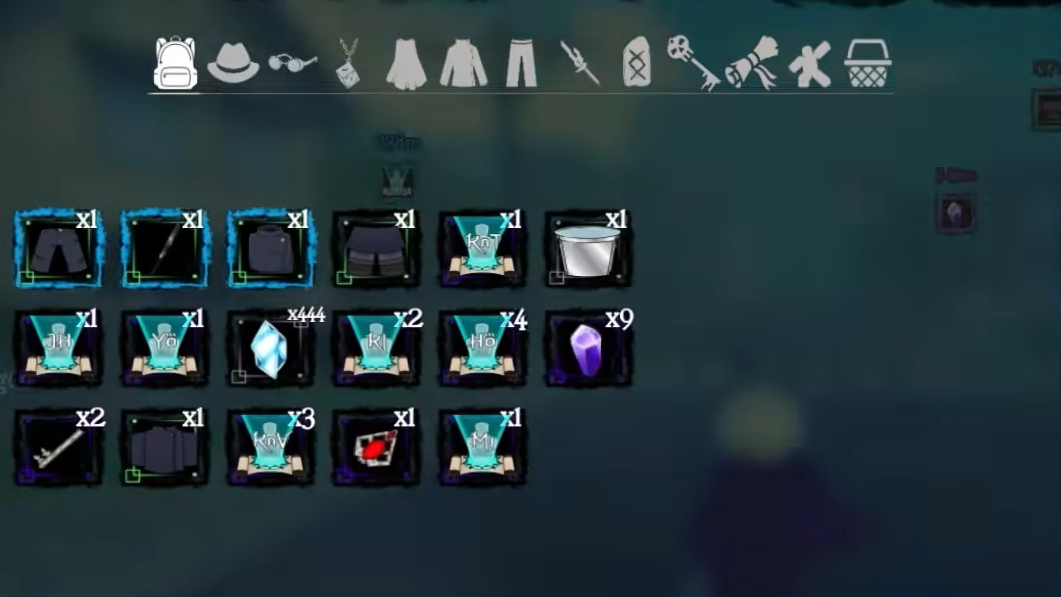
Equipping and Verifying Accessories
Open your inventory and navigate to the Accessories tab. Each slot displays the currently equipped item and its buffs. Click a slot to see all items you own for that position, then select a new piece to equip it. Buffs apply immediately; you can verify the change by checking your character stats in the main menu.
If a buff does not appear, confirm the item is equipped in the correct slot. Some accessories share similar names but belong to different slots, so double-check the slot label. Unequipping an item removes its buffs instantly.

Drop Rate Context and Farming Expectations
Special-rarity accessories drop at 1 percent from most bosses, while Heian pieces drop at 0.2 percent from challenges. Glorious items range from 4 to 10 percent, and Epic pieces drop at 10 to 14 percent. Rare accessories, such as the Lieutenant Headband drop at 30 percent, making them reliable early-game upgrades.
Energy Shards drop at 75 percent from most bosses and serve as a common consolation reward. Skill scrolls and weapons share the same loot tables, so expect to collect multiple items before landing the accessory you want. Farming a full Special set requires patience; focus on Glorious alternatives while grinding for the rarest drops.
Bosses that drop multiple accessories (for example, Nanami Kento drops Glasses, Shirt, Pants, and Jacket) dilute individual item rates. The Nanami Jacket drops at 1 percent, but you may receive other Nanami pieces first. Plan your farming route around bosses that drop the specific slot you need.