
StarRupture does not have one perfect, permanent base spot. The game pushes you to spread out, wrap rails around the landscape, and turn resource clusters into specialized factories rather than obsessing over a single megabase.
There are, however, clear patterns for where early cores work best and how to avoid boxing yourself out of key ore nodes like Wolfram.
How base cores and build radius actually work
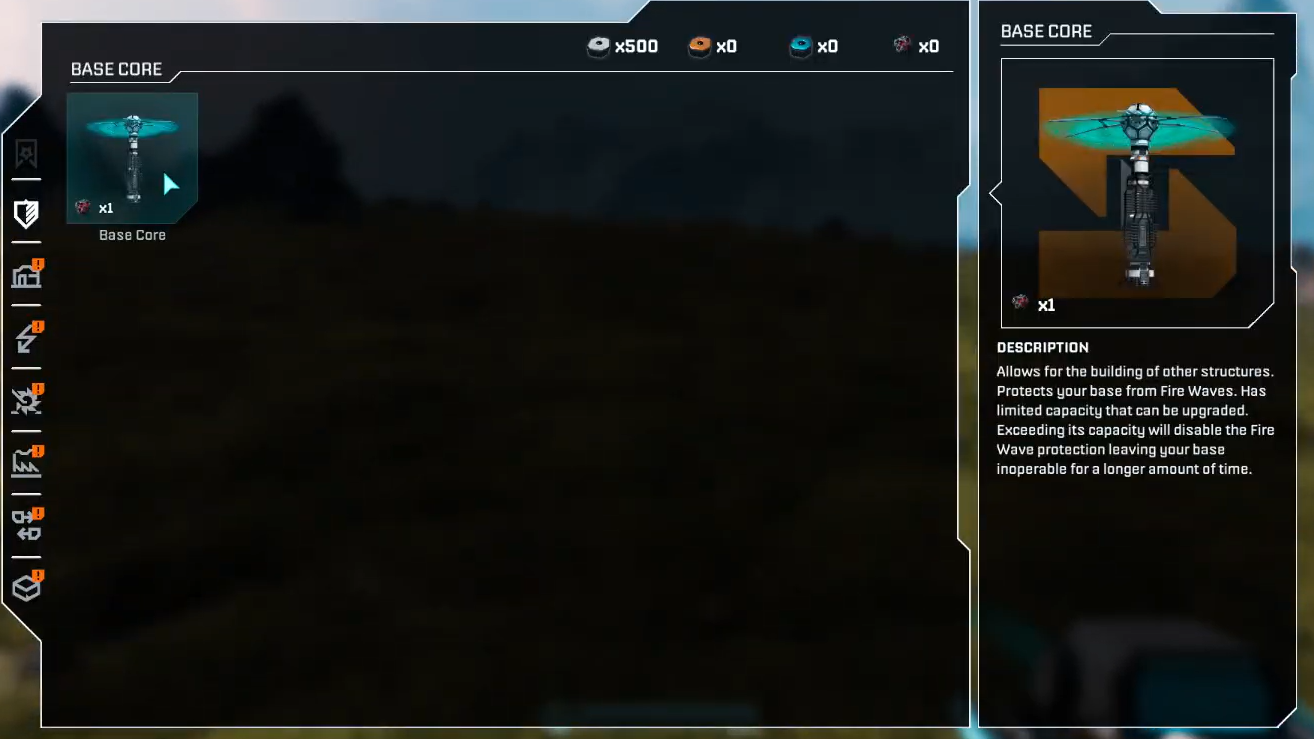
The Base Core defines a circular area where platforms and buildings are protected from rupture waves. You can see the edge as a faint perimeter on the horizon when placing the core. Anything outside that ring cannot host supported platforms or machines tied to that core.
Upgrading the Base Core improves its cooling and survivability during rupture, but it does not meaningfully stretch that perimeter. If an ore deposit is outside the ring when you place the core, leveling the core will not magically pull it inside. The fix is core placement or an additional core, not upgrades.
You are not limited to a single core. Meteor Hearts let you craft more Base Cores and drop new protected build zones around the map. Cores cannot be placed too close together, but you can comfortably maintain several — each with its own Habitat and production footprint.
First base location: stay near the Lander, but capture Titanium and Wolfram
The best first core location is still roughly around the starting Lander. That area gives quick access to early Titanium and Wolfram excavation points, plus relatively gentle terrain for your first platforms.
Two things matter when you snap the very first Base Core into place:
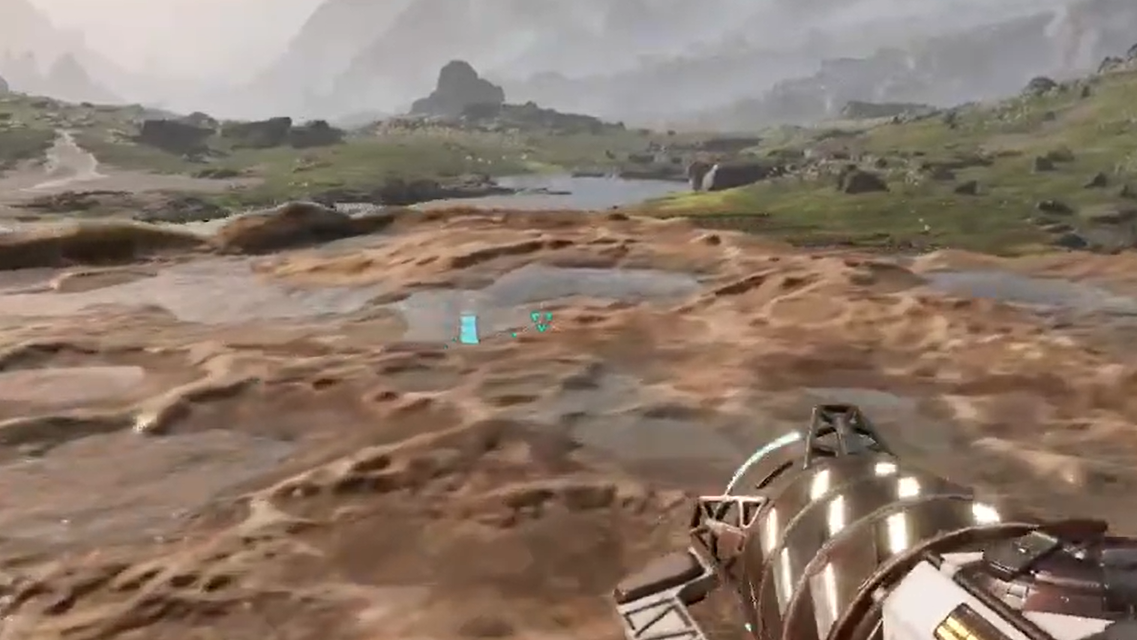
- Bring all nearby Wolfram inside the ring. Walk the nearby Wolframite and Titanium nodes before placing the core. Make sure the blue perimeter cleanly covers at least one solid Wolfram and Titanium patch so you can drop Ore Excavators on them later without having to move the core.
- Build slightly elevated on the highest nearby ground. Place the core so your first platform layer sits just above the highest ground around it, not down in a low bowl. If you build too low, outer platforms will float above the terrain in places, which makes expansion and stairs annoying. If you build too high, simple jumps back onto the platform become tedious early on.
Once the core is down and you have ore inside the radius, you can set up an efficient starter factory without moving again:
- Drop Ore Excavators directly on the Titanium and Wolfram spots near the Lander.
- Run short rail lines into at least two Smelters for each ore, turning raw ore into bars.
- Feed those bars into early Fabricators that produce construction materials, rods, plates, and beams, so you always have a stock of building parts to grab.
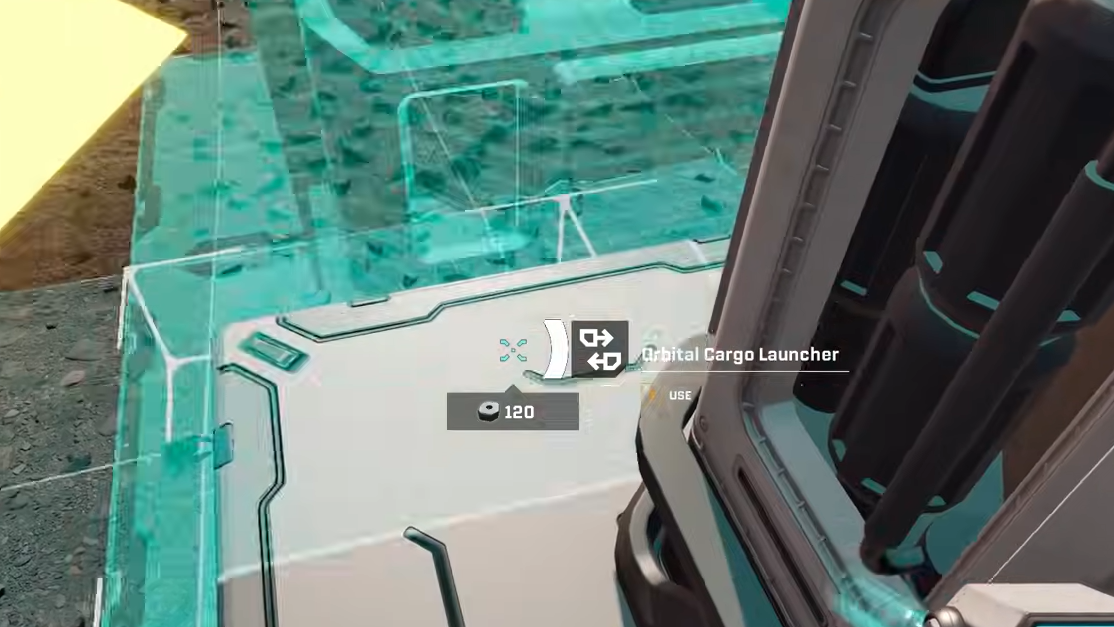
- Keep your Orbital Cargo Launchers in a single, dedicated section so contracts can pull from shared rails and storage.
This “Lander belt” starter base can comfortably handle the entire low‑tier contract curve. It becomes your early logistics hub, even if you later move your main production somewhere else.
Factory thinking: spread cores where the ores are
StarRupture plays better when you stop thinking in terms of one home base and start thinking in terms of a network of factories. Each major resource cluster becomes its own protected island of production, connected by rails.
A practical early progression looks like this:
- Factory 1 – Launch zone, Titanium and Wolfram. This is your first core near the Lander, focused on basic metals and early contract items.
- Factory 2 – Nearest Calcium deposit to the east of spawn. Once you reach Calcium, drop a second Base Core by the closest deposit and dedicate that footprint to Calcium processing and any recipes that are Calcium‑heavy.
- Factory 3 – Helium cluster east of the Calcium. After unlocking the Helium Extractor, push further east from that Calcium site to a zone where Helium vents sit close to Titanium and Wolfram. This becomes a powerful mid‑game factory with three key resources in one radius.
At each site, you can add a modest Habitat with workstations and a Regeneration Chamber. That way, you always have somewhere safe to shelter when a rupture wave rolls in, even if you are far from the Lander.
Using Meteor Hearts to fix a bad first placement
Many new players drop the first Base Core slightly too far from a Wolframite or Titanium node, then discover they cannot place an Ore Excavator on it. If that happens, there is no need to restart a save.
Use Meteor Hearts to solve the problem instead:
- Craft a new Base Core with a Meteor Heart once you can afford it.
- Place that core so its radius clearly covers the “orphaned” Wolframite deposit.
- Build an Ore Excavator and minimal processing (a Smelter and short rail) at the new site.
- Run a supported rail line all the way back into your original factory’s rail network.
Rails not only move resources; they also transmit power along the line as long as the remote platforms remain supported by their own core. The result feels more like a small ore outpost powering and feeding your main base, not a separate save‑breaking decision.
Calcium and Helium: the best follow‑up base locations
Once the starter Titanium/Wolfram factory is stable, Calcium and Helium determine your next big placement calls.
Calcium base placement
The easiest Calcium to incorporate early is the deposit to the east of the starting area. That route is relatively safe with only the pistol unlocked, and it keeps your expansion roughly in one cardinal direction, which simplifies your rail network.
Drop a Base Core right by that eastern Calcium patch. Treat it as a specialist factory:
- Put multiple Ore Excavators on every Calcium node covered by the core.
- Smelt and refine Calcium products on site rather than shipping raw ore.
- Add a small Habitat and basic defenses so you can camp there between waves.
You can either launch Calcium‑based products directly from this base using their own Orbital Cargo Launchers or feed refined materials back to the Lander hub over rails.
Helium base placement
Helium comes slightly later and is tied to a dedicated extractor. The most efficient placement uses a Helium area that also includes Titanium and Wolfram within the core radius. East from the starting region, just beyond another set of Titanium and Wolfram deposits, there is a pocket where all three sit close together.
That cluster is an ideal spot for a major mid‑game factory:
- Helium Extractors work on multiple vents inside the core radius.
- Nearby Titanium and Wolfram feed advanced alloys and structures.
- The surrounding terrain offers long, flat spans for large, parallel production lines.
Many players eventually move their primary Habitat and contract infrastructure here. By producing advanced items at the resource source, you cut out one of the longest rail segments in your network, improve uptime, and gain plenty of room to grow multi‑line factories.
Layout tips that matter more than the exact spot
Picking a good zone is half the battle; making it easy to live with over dozens of rupture cycles is the other half. A few layout rules apply at every core location:
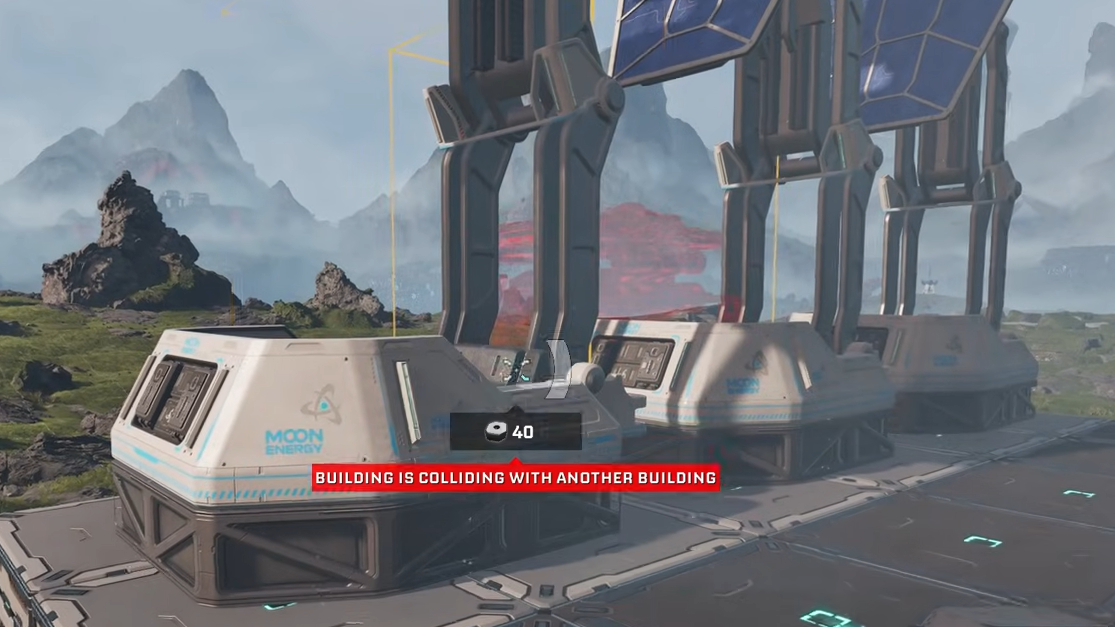
- Group machines by type. Keep Ore Excavators and Smelters in one cluster, then put Fabricators and advanced processors in another. This reduces backtracking when you need to tweak recipes and makes rail routing cleaner.
- Build production “lanes.” Long, straight lines of machines connected by rails are easier to understand and extend than tangled webs. Many players line up parallel lanes — for example, one for Titanium products and one for Wolfram products — that both feed a shared belt toward storage and launchers.
- Use Storage Depots aggressively. Once unlocked, Storage Depots can sit at almost every stage: directly after Ore Excavators, after Smelters, and before key Fabricators. They soak up surpluses so Excavators keep running instead of backing up and shutting down.
- Centralize contract flow with multiple OCLs. Building around four Orbital Cargo Launchers and focusing on a couple of corporations at a time gives you much smoother throughput. As contract demands grow, having multiple launchers pre‑fed by your lanes becomes more important than the exact coordinates of the base.
Because you get all building materials back when you dismantle something, it is safe to redesign frequently. Early layouts do not need to be pretty; they just need enough space to expand outward as new machines unlock.
Habitat placement and vertical design
Where you put the Habitat at each core is less about efficiency and more about survivability and comfort during rupture waves.
A practical pattern for Habitats at any base location looks like this:
- First floor as a work deck. Place the Recipe Station, personal storage, and any crafting or utility stations on the lowest level so you can reach them quickly when a wave is imminent.
- Second floor as bulk storage. Fill it with large containers for spare LEMs, food, weapons, and overflow materials that do not need to sit in production depots.
- Top floor as a viewing and safety deck. Surround it with windows and put a Regeneration Chamber in the middle. During ruptures, you can watch your production lines survive the blast while healing safely.
Placing the Habitat close to the center of your platforms, with walkways wrapping around major machine clusters, keeps traversal tolerable as the factory grows. It also shortens the run when you have to hunt down and clear bug nests after an attack.
StarRupture rewards early planning, but it does not punish experimentation. A sensible first core near the Lander that cleanly covers Titanium and Wolfram, followed by dedicated Calcium and Helium factories to the east, gives a strong backbone for any playthrough. From there, every Meteor Heart is an opportunity to stake out a new pocket of resources and fold it into an ever‑denser web of rails, storage, and launchers.