
Calcium sits at the heart of StarRupture’s mid-game factory progression. You need large amounts of it to unlock the Smelter’s Calcium Block recipe in the Recipe Station, then even more to manufacture Calcite Sheets and Calcite Blocks for corporation level-ups and late-game structures. Manually chipping meteorites for a few fragments at a time does not scale.
The game quietly expects you to locate proper Calcium Ore deposits and build a second base around them, complete with Ore Excavators and rail logistics. Once that system is running, Calcium becomes just another bulk resource flowing through your network instead of a constant bottleneck.
What Calcium Ore deposits look like in StarRupture
Calcium does appear in small quantities inside both small and large meteorites, but that source is deliberately stingy. The efficient way to farm it is from surface deposits that are easy to overlook if you only hunt for metallic outcrops like Titanium or Wolfram.
Calcium Ore deposits have a distinct look:
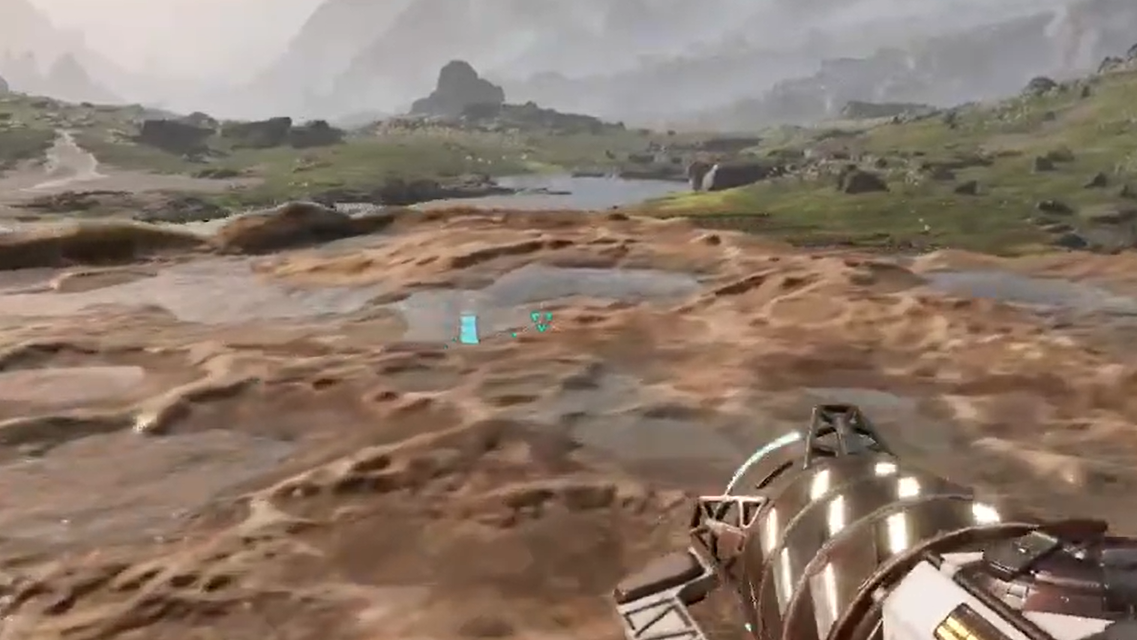
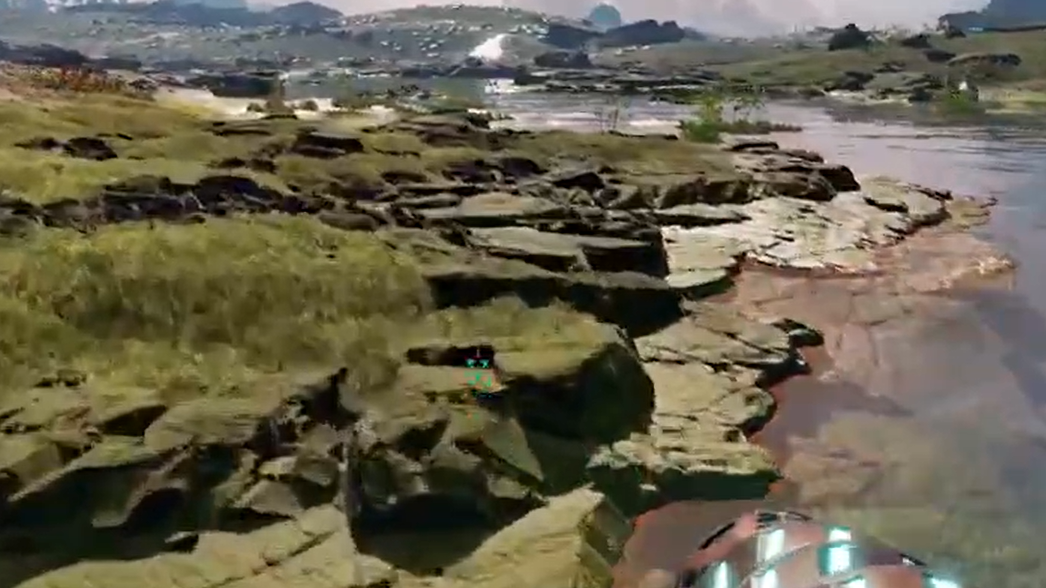
- Large, pale plateaus that stand out against the surrounding terrain.
- Sandstone-like or chalky white surfaces rather than metallic columns or dark rock.
- Shallow puddles often collect on top of the plateaus, giving them a wet, cratered appearance.
Players often describe these deposits as looking like melted cream cheese or geothermal pools: wide, lumpy slabs of pale rock with slightly glossy, water-filled depressions. If you are scanning the horizon, look for broad, beige-white shelves rather than isolated boulders.
With the map upgrade unlocked, these areas show up as large sandy or pale patches on the map, which makes them much easier to track from orbit or from your main base.
Calcium Ore map locations relative to the Orbital Lander
The starting Orbital Lander is the best reference point for early Calcium. You do not need to traverse the entire planet; the first viable veins sit within a manageable distance of the tutorial base.
Two main clusters are nearby:
- Directly north of the Orbital Lander. One Calcium plateau lies almost straight north if you leave the lander and head up the map, crossing typical starter terrain until the pale sandstone surface comes into view.
- To the east and northeast of the Orbital Lander. Another set of Calcium ledges sits roughly east from the lander, with overlapping descriptions calling this area east to northeast from the starting position.
With the map upgrade, both of these regions appear as broad, light-colored patches. Without it, rely on line-of-sight: climb nearby elevations and look for wide, cream-colored terraces with small pools.
Why you should stop grinding meteorites for Calcium
In theory, you can collect Calcium purely from meteorites. In practice, the numbers make that approach untenable.
To progress your Smelter, you need around 1,000 Calcium just to unlock the Calcium Block upgrade in the Recipe Station. Corporation progression and construction then demand even more Calcium for Calcite Sheets and Calcite Blocks. Meteorites only yield small, mixed stacks of ores and gases, so you spend significant time hunting impacts and micromanaging inventory for very little Calcium gain.
Automated excavators on a proper vein flip that equation. Once powered and connected, they output Calcium continuously into your rail network, with no more manual mining than it took to set up the site.

Setting up a dedicated Calcium outpost
Because Calcium plateaus sit a meaningful distance from your tutorial base, the game effectively pushes you to establish a second hub. That means new power, new logistics, and at least one Base Core.
Use this sequence once you have found a Calcium deposit you want to exploit.
Step 1: Break a large meteorite completely to obtain a Meteorite Heart. This item is required for placing a Base Core and is not consumed often, so keep at least one on you when exploring.
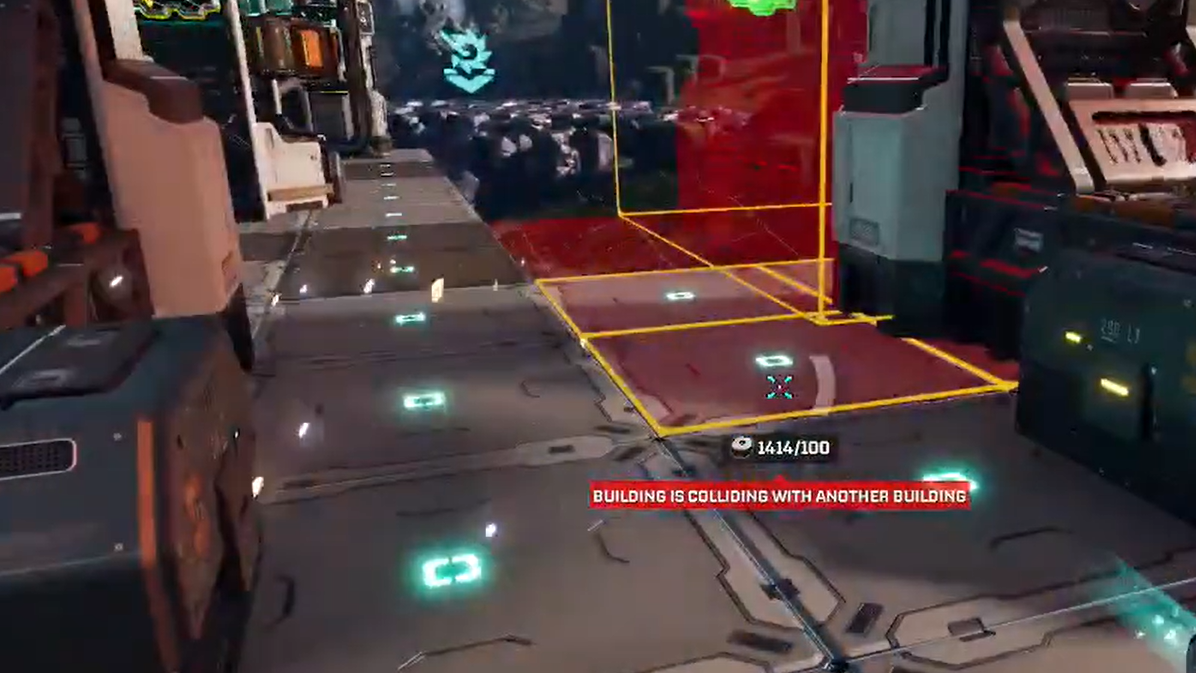
Step 2: Place a Base Core near the Calcium plateau you intend to mine. The Core defines the build zone for that outpost, so pick a spot with room for platforms, machines, and rail lines.
Step 3: Surround the Base Core with power generators, typically solar panels, early on. Ensure the Core has enough power headroom to cover Excavators, Smelters, Fabricators, and any defensive or life-support structures you add later.
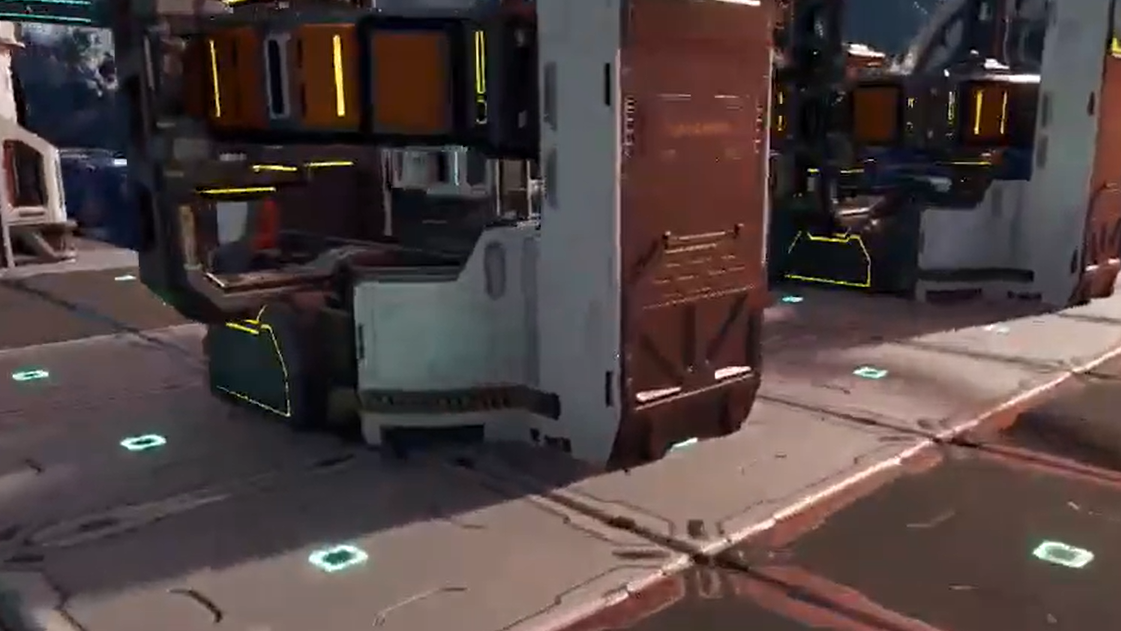
Step 4: Build an Ore Excavator directly on top of a Calcium deposit. You can place a platform over the vein first if you prefer a flat build surface, then snap the Excavator into position.
Step 5: Lay rails from the Ore Excavator to a processing or export building, such as a Smelter, Fabricator, or Orbital Cargo Launcher. Rails in StarRupture handle both transport and power, so a continuous rail connection from the Core’s powered area to the Excavator ensures it can run without separate power lines.
Once that network is live, the Excavator begins pulling raw Calcium from the plateau and sending it along the rail route. You can collect the ore directly from the Excavator’s output or let it flow into downstream buildings for immediate processing.
Unlocking and using Calcium Blocks in the Smelter
Mining raw Calcium Ore is only half of the story. To integrate Calcium into your factory chains, you need the relevant Smelter recipe and then the downstream fabrication steps.
The main progression looks like this:
- Unlock the Calcium Block recipe at the Recipe Station. This costs a substantial amount of raw Calcium (around 1,000 units). Until this unlock is complete, the Smelter will list Calcium Blocks as unavailable or locked.
- Smelt raw Calcium Ore into Calcium Blocks in the Smelter. Once the recipe is active, treat Calcium Blocks like any other smelted material, routing them via rails to storage or to fabricators.
- Convert Calcium Blocks into Calcite Sheets and Calcite Blocks using the appropriate fabrication recipes. These refined products feed into higher-tier structures and corporation upgrades, such as raising Moon Energy from level three to four.
Because the initial unlock consumes so much ore, it is more efficient to wait until your Excavator outpost is running before committing Calcium to the Recipe Station. Otherwise, you risk stalling progression while you manually scrape together the last few hundred units from meteorites.
Comparing Calcium to other ores in StarRupture
Calcium sits alongside familiar ores like Titanium, Wolfram, and Quartz, but with its own visual and logistical quirks. Understanding those contrasts makes it easier to scan for the correct formations when you are moving quickly between objectives.
| Ore | Typical appearance | Primary locations | Notes |
|---|---|---|---|
| Calcium Ore | Pale, sandstone-like plateaus with shallow puddles | Groups of deposits north and east / northeast of the Orbital Lander | Also in meteorites in small amounts; best mined by Excavators on plateaus |
| Titanium Ore | Metallic plateaus made of hexagonal columns | Common around cliffs and metallic landscapes | Also gained from small silver rocks and meteorites |
| Wolfram Ore | Large orange metal deposits | Muddy or darker fields | Also present in small orange rocks and meteorites |
| Quartz Ore | Glowing deposits inside caves | Underground Caves opened briefly after a rupture | Each cave holds only one or two deposits, so requires roaming |
When you are scanning the map or skyline, translating these silhouettes into quick mental tags helps: white plateau with puddles for Calcium, metallic hex columns for Titanium, bright orange lumps for Wolfram, and cave glows for Quartz.

Practical routing options for your Calcium supply
Once Excavators are running, you have a few viable ways to integrate Calcium into your broader factory:
- On-site smelting. Place one or more Smelters within the Calcium outpost and run rails directly from Excavators into them. This lets you convert Ore into Calcium Blocks locally, then ship only the compact blocks back to your main base or to an Orbital Cargo Launcher.
- Raw ore export. If power or tech is limited at the outpost, run rails from Excavators to an Orbital Cargo Launcher and ship raw Calcium Ore to another base that has spare Smelter capacity.
- Hybrid setups. Use a small Smelter line for immediate local needs (for example, on-site construction and upgrades) and export surplus ore or blocks via rails and cargo launches.
Rails carry both items and power, so designing a loop that runs from the Base Core through Excavators, Smelters, and launchers minimizes the need for extra infrastructure. Keep the run as straight and uncluttered as terrain allows to simplify expansions later.
Once a Calcium outpost is established, your relationship with the resource changes completely. The occasional meteorite becomes a bonus instead of a lifeline, the Smelter’s Calcium queue stays fed, and Calcite-based upgrades stop feeling like a grind. The main investment is the first scouting trip north and east of the lander and the decision to stop trying to mine everything from the same starter base.