
Electronics sit on the critical path for late-game automation in StarRupture. Until you unlock their recipe, high-tier factory components and several Corporation upgrades stay out of reach. The good news: the Electronics blueprint is a fixed spawn. The bad news: it’s buried in one of the more dangerous outposts on the map.
The blueprint you want is located at Selenian’s Mining Base, far to the east of your starting ship, on the top floor of a tall triple-story building. There are also Electronics and Rotor blueprints in a separate ruined facility west of the crashed ship at the center of the map, but the eastern mining base is the most direct way to secure Electronics early in a run.
Electronics blueprint primary location (Selenian’s Mining Base, far east)
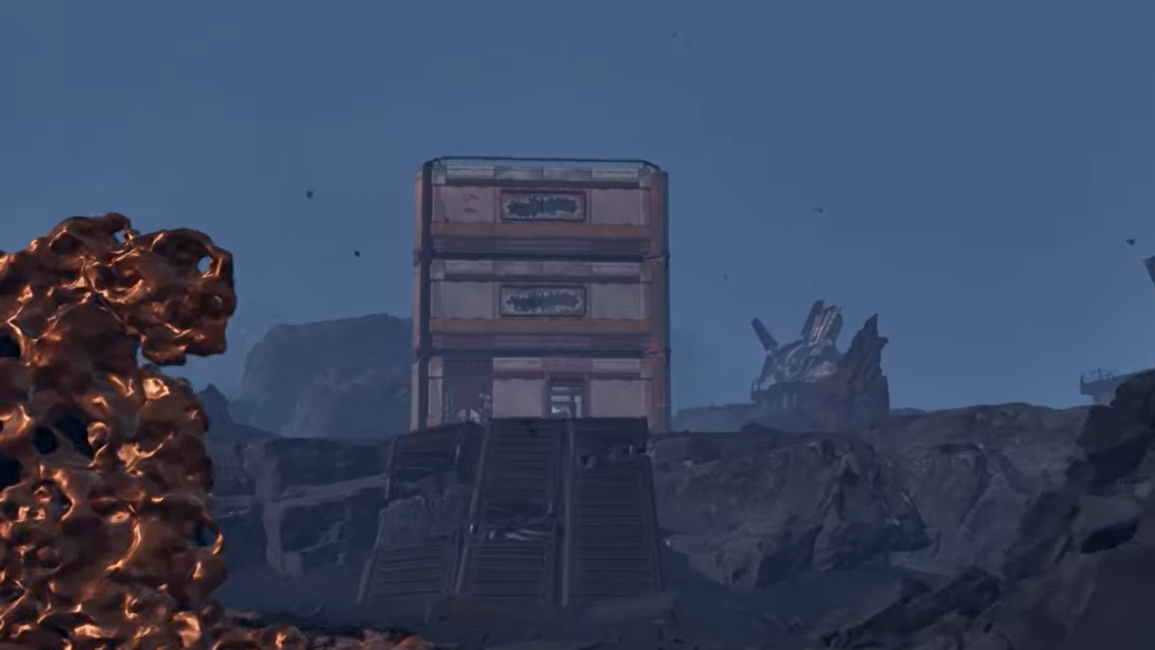
Electronics are guaranteed inside Selenian’s Mining Base, a large outpost deep in the eastern part of the playable area. The layout is straightforward: several low industrial structures and one taller, three-story building that stands out over everything else.
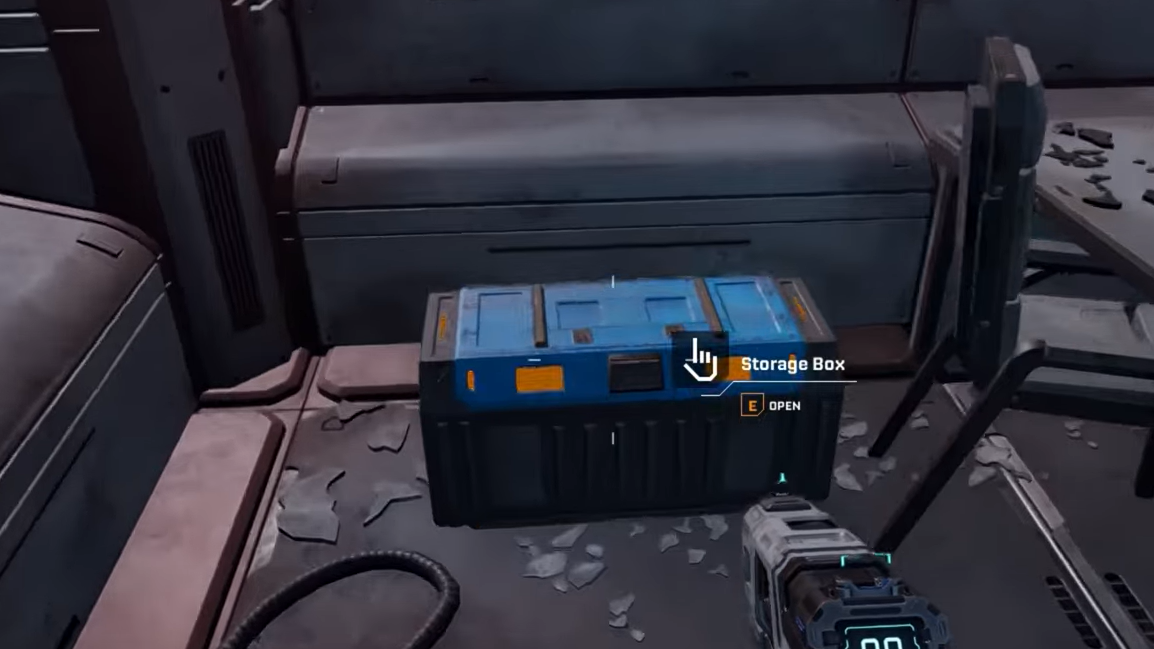
Inside that triple-story building, the Electronics blueprint sits on the top floor in a loot container. Once you’ve fought or slipped your way into the base, you just need to clear the interior, climb to the upper level, and loot the container to permanently unlock the recipe in your corporate tech tree.
For precise coordinates, the in-game map (once unlocked through Griffits Blue’s corporate upgrades) and external interactive maps line up on this same position: a named Selenian’s Mining Base outpost on the far eastern edge of the explorable zone.
How to reach Selenian’s Mining Base from your starting ship
The outpost is much farther away than the early-game blueprint spots clustered around the crash site and northern research stations. You should treat the trip as a long expedition rather than a quick detour.
Step 1: Begin at the Orbital Lander (your starting ship) and set your heading broadly east. Because bases can end up in slightly different relative positions depending on where you chose to settle, use the ship as the consistent reference point rather than your factory.
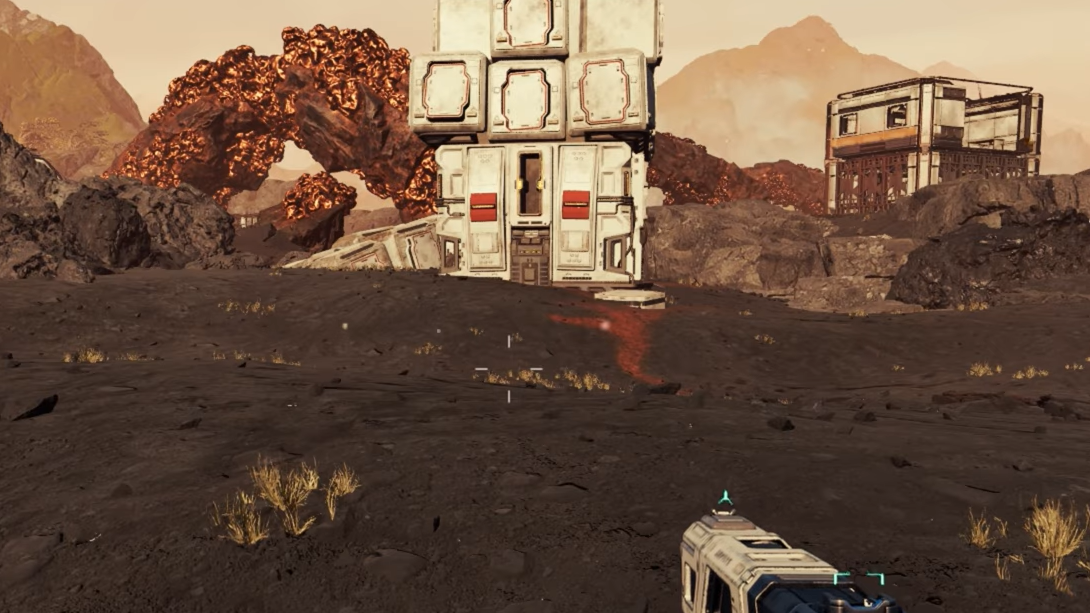
Step 2: Travel steadily eastward, keeping an eye out for large, industrial-looking structures on the horizon. Selenian’s Mining Base is a sizable complex, so it becomes visible at a long distance once the terrain lines up.
Step 3: As you close in on the base, slow down and pick a safe approach route. The outpost is heavily guarded by alien swarms and large elite enemies, so running straight up the main road without a plan usually ends in a respawn.
What to bring for the Selenian’s Mining Base run
This is not an early-pistol-and-a-dream trip. Selenian’s Mining Base is one of the more hostile locations in the game.
- Weapons and ammo: Bring at least one reliable mid-range weapon with ample ammunition. Automatic rifles or LMGs handle the volume of enemies much better than slow-firing guns.
- Shields and healing: Make sure your shield generator is upgraded and carry medical items. The base throws waves of smaller aliens at you, and chip damage adds up quickly.
- Building materials: Pack enough resources to drop a small habitat or defensive structure on short notice. This is vital if a Ruptura firestorm hits while you are still inside the combat zone.
- Utilities: Extra batteries, turrets (if unlocked), and basic fortifications can turn a difficult push into a safe grind.
Combat strategy at Selenian’s Mining Base
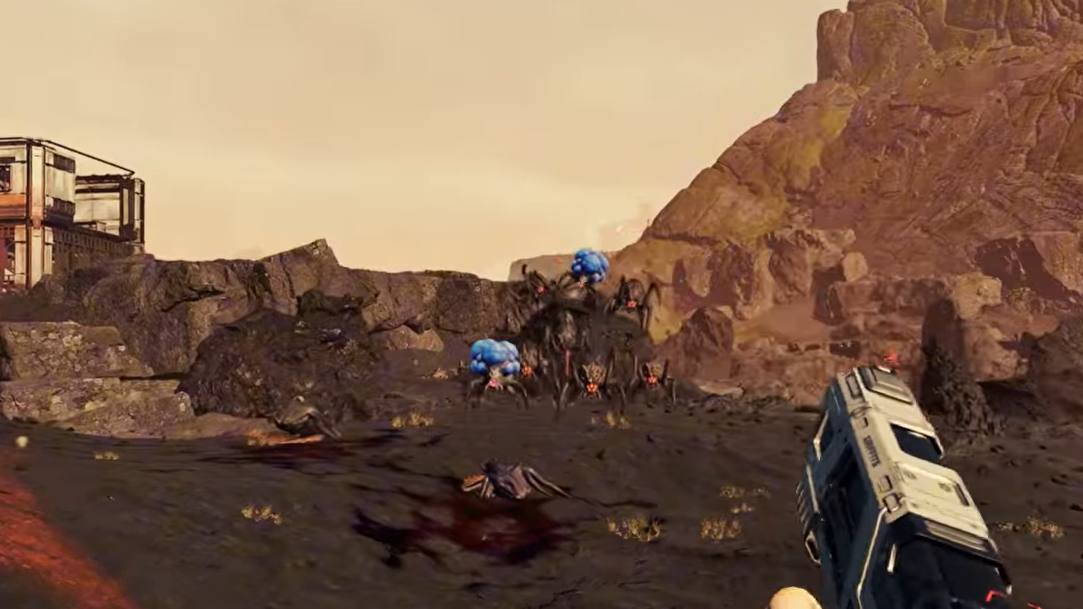
Enemy density and behavior make more of a difference here than raw health bars. Treat the base like a layered encounter rather than a single firefight.
Solo play: When playing alone, the number of enemies is lower, but still punishing if you stand your ground too long. A hit-and-run rhythm works best: empty a magazine into the nearest pack, retreat while reloading, then re-engage from another angle.
Shield management: Your shield is the real health bar. Once it breaks, you become extremely vulnerable. As soon as the warning flashes or audio cue hits, disengage. Sprint away, break line of sight behind terrain or structures, and only re-enter the fight after the shield has fully recovered.
Handling the Goliath: The Goliath variant is the major spike in difficulty at this outpost. It hits hard and extends the encounter if you try to brute-force it. Focus fire whenever it appears, pull it into open space where you can circle-strafe, and avoid getting cornered in narrow corridors or stairwells.
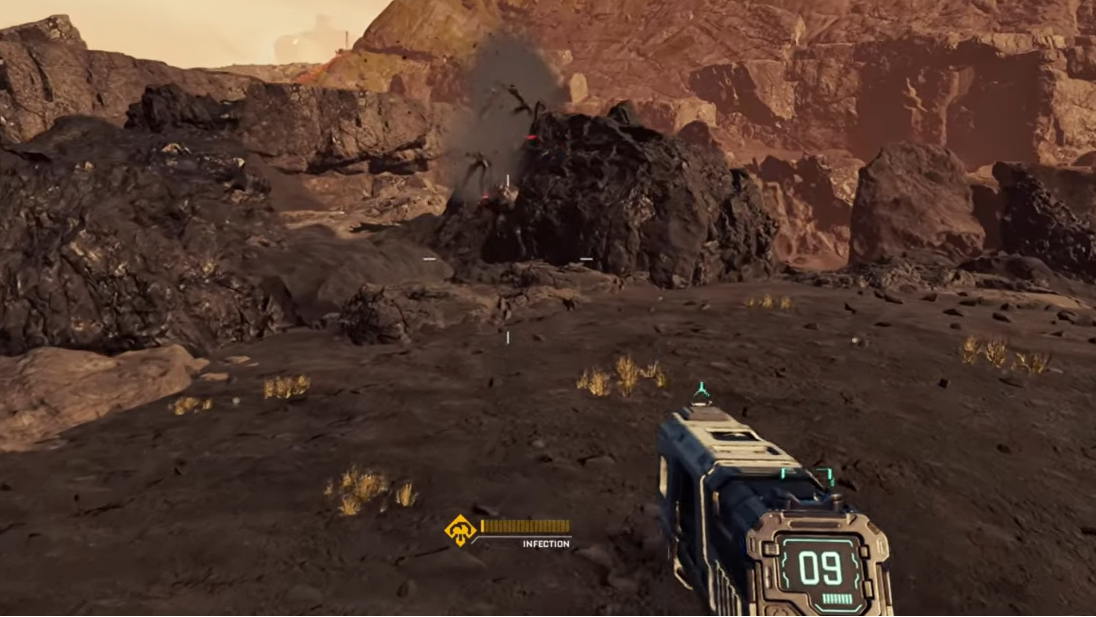
Using Ruptura firestorms to your advantage
Ruptura firestorms transform the sky and turn open ground lethal in seconds. They can arrive at awkward moments, including right after you’ve finished a heavy fight at the mining base.
Step 1: At the first sign of the sky shifting color or particle effects intensifying, stop pushing further into the base. Look for a flat area or a safe corner where you can quickly place a structure.
Step 2: Build a habitat or similar shelter immediately and move inside. Do not assume you can simply outrun the storm back toward your ship from this distance.
Step 3: Wait out the firestorm safely under cover, using the downtime to reload, craft a bit if your setup allows, and plan the next push toward the blueprint building.
Once the firestorm ends, there is a brief grace period where new alien waves do not spawn. That window is ideal for fast, focused looting. Use it to finish clearing buildings, open containers, and head straight for the Electronics blueprint without worrying about fresh hordes dropping on top of you.

Finding the Electronics blueprint inside the mining base
With the exterior mostly under control and the immediate waves thinned out, it is time to actually grab the blueprint.
Step 1: Identify the triple-story building. It is the tallest structure in the local cluster and sits across from the lower warehouses and industrial sheds. Visually, it reads more like an office or main operations block than a small outbuilding.
Step 2: Enter through the ground floor and sweep the first level. Clear any remaining enemies and loot the smaller containers for bonus ammo, healing, and supplies. This is a good chance to top off before you climb.

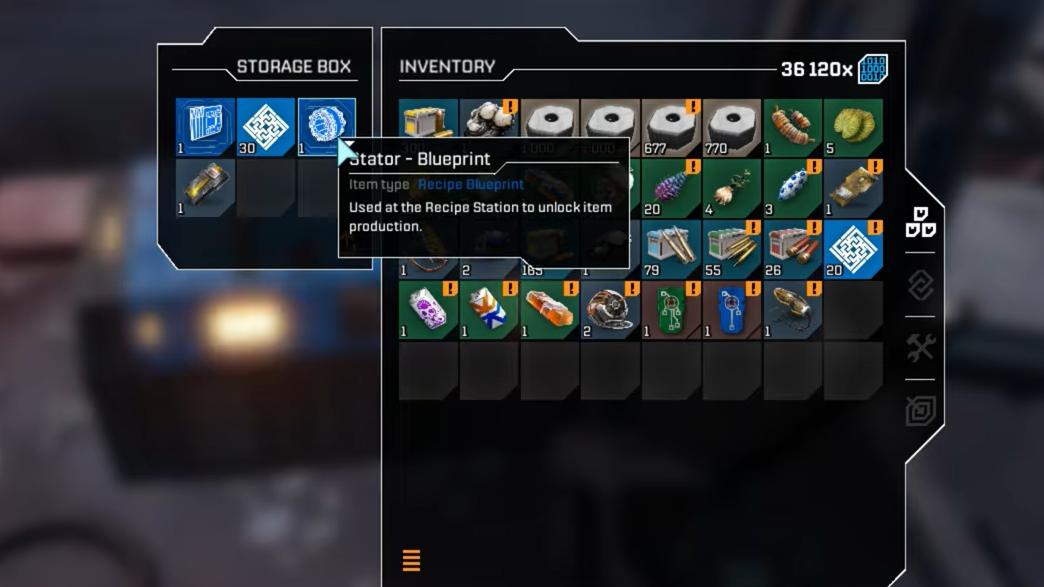
Step 3: Move up to the top floor using the internal staircases. The Electronics blueprint is on this upper level, stored in a loot container. Interact with the container to claim the blueprint and permanently unlock the Electronics recipe.
That single interaction solves one of the biggest bottlenecks for late-game automation. From that point on, you can mass-produce Electronics in your factory chain without revisiting the blueprint location.
Alternative Electronics blueprint location near the crashed ship
There is another way to secure Electronics, paired with a Rotor blueprint, in a different part of the world. This second spawn sits west of the massive crashed ship that dominates the center of the map.
In that area, a ruined, unmarked building lies below a ravine. The closest named landmark is Selenian’s Research Outpost “Starry Night.” Inside this buried structure, a blue chest contains both the Electronics and Rotor blueprints.
This route trades the long run east for a shorter trip from the central ship, but the path winds through tight terrain, and the structure lies below the ravine line, so you need to be comfortable navigating vertical space and ambush-prone corridors.
How Electronics fit into your broader blueprint progression
Electronics sit alongside other mid-tier recipes that collectively unlock advanced production:
| Blueprint | Outpost / Landmark | General Direction from Start |
|---|---|---|
| Rotor & Tube | Selenian’s Mining Base (SMB) “Purple Haze” | Northwest |
| Stator | Griffith’s Research Outpost (GRO) “Lemon Souls” | North |
| Stabilizer | Claywood’s Research Center (CRO) “Grey Owl” | Northeast |
| Synthetic Silicon | GRO “Mythic Cry” | Far north, mountainous |
| Electronics | Selenian’s Mining Base (eastern outpost) | Far east |
| Electronics & Rotor | Ruined building west of crashed ship | West from center crash site |
| Chemicals | Clever Robotics Research Outpost (CRRO) “Spored Rock” | Far east |
| Hardening Agent | Debris at base of crashed ship, near IRO-SO “Next Step” | Center |
| Valve & Electromagnetic Coil | CRFHSRB “Redleaf” | Northeast corner |
Electronics pair particularly well with Synthetic Silicon and Chemicals. Together, these recipes open up a wide range of refined materials and components that drive high-end corporate contracts and dense automation setups.
Once the Electronics blueprint is in your inventory, the limiting factor shifts from recipe access to actual resource throughput. At that point, the best upgrade you can give your factory is a stable route back and forth between your production hub and the far-flung outposts that feed it.
Unlocking Electronics turns Selenian’s Mining Base from a deadly obstacle into a solved problem. Make a single, well-prepared push east, manage your shields and storms, climb the triple-story building, and that blueprint will never hold your factory back again.