
Ore is the backbone of progression in StarRupture. Almost every structure, upgrade, and shipment you fire off with the Orbital Cargo Launcher leans on a steady supply of raw materials, and there are only five true ores on Arcadia-7: Wolfram, Titanium, Calcium, Helium-3, and Sulfur.
Each one lives in a specific kind of biome, has a very clear visual identity, and often needs dedicated machinery or tech levels before you can automate it. The fastest way to scale your factory is to stop wandering with a hand laser and start treating each ore as a fixed industrial site that you build around.
All ore types in StarRupture
| Ore | Main form | General area | Automation requirement |
|---|---|---|---|
| Wolfram | Orange‑brown metallic deposits, chunks, meteor patches | Very common near the Orbital Lander and across the map | Ore Excavator on surface veins |
| Titanium | Gray rocky or metallic hexagonal plateaus, small rocks, meteors | Starting area, north and northeast of the Orbital Lander | Ore Excavator on surface veins |
| Calcium | Pale white, damp plateaus with puddles, small white rocks, meteors | North and east/northeast of the Orbital Lander | Ore Excavator on Calcium plateaus, usually from a secondary base |
| Helium-3 | Purple vents/geysers, small rocks with purple gas, meteors | Far north and far east of the Orbital Lander | Special extractor unlocked by Selenian level 6 |
| Sulfur | Subsurface deposits inside corrosive yellow gas fields | Discrete sulfur “clouds” marked bright yellow on the map | Sulfur Extractor unlocked by Selenian level 9, placed after a rupture |
How ore extraction works
StarRupture splits ore into two broad categories: anything you can casually grab while exploring, and anything you mine in bulk with heavy machinery. All five ores exist in some kind of natural vein, but some also appear as loose rocks or inside meteorites.
Hand mining with your basic mining tool or Harvester is always an option. It works on the following:
- Loose Wolfram and Titanium rocks on the ground.
- Small Calcium rocks and meteorites that contain Calcium.
- Meteorites that contain Helium-3, Wolfram, or Titanium.
- Helium-3 stones with purple smoke, and Sulheart plants in sulfur fields.
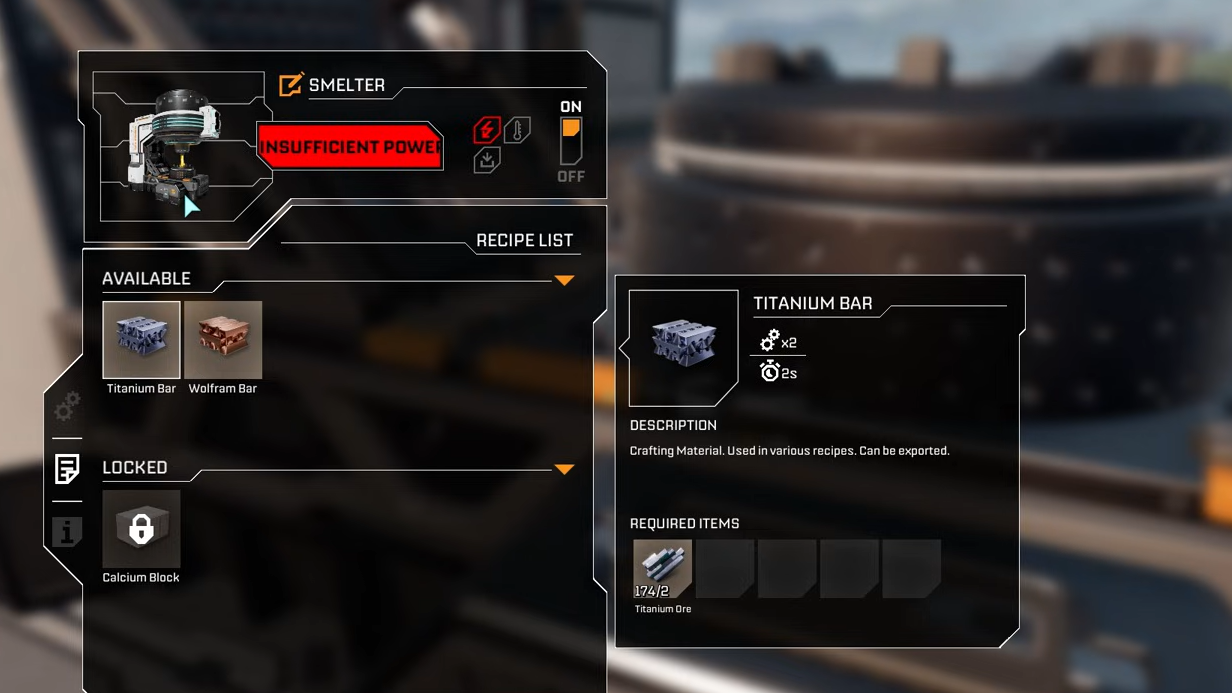
The tradeoff is time. Late‑game unlocks such as Calcite, advanced blocks, and Selenian or Moon Energy levels demand hundreds or thousands of units; at that point, hand mining is mostly a stopgap.
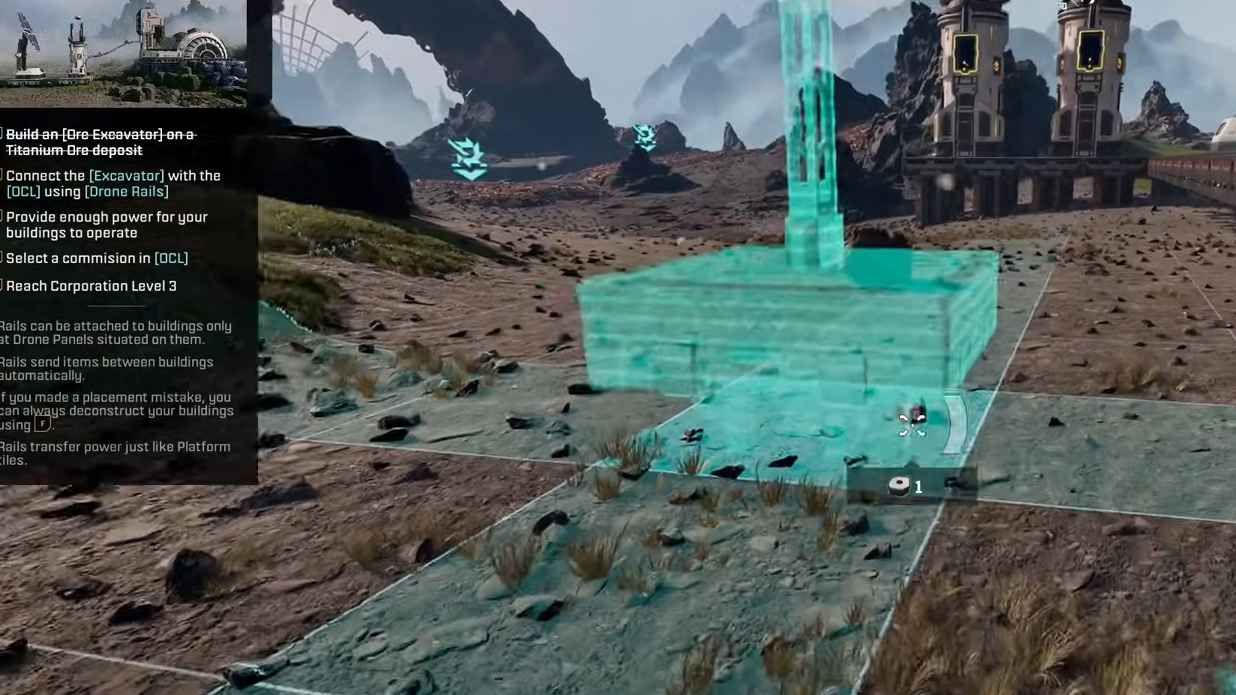
Automation uses dedicated extractors placed directly on veins or vents, powered by a local grid and usually connected by rails to smelters, printers, or the Orbital Cargo Launcher. The important patterns:
- Ore Excavator handles Wolfram, Titanium, and Calcium surface veins.
- Helium-3 extractors (a dedicated machine) sit on purple geysers and require a high Selenian tech level.
- Sulfur Extractor is a late unlock that only works in sulfur fields after a planetary rupture.
Every extractor needs nearby power, so a typical site is a Base Core with solar panels or other generators, one or more extractors on veins, and rails to bring ore into your manufacturing chain.
Wolfram locations and extraction
Wolfram is the copper‑analogue of StarRupture and your first taste of industrial mining. It is also the most forgiving ore to find.
How to recognize Wolfram
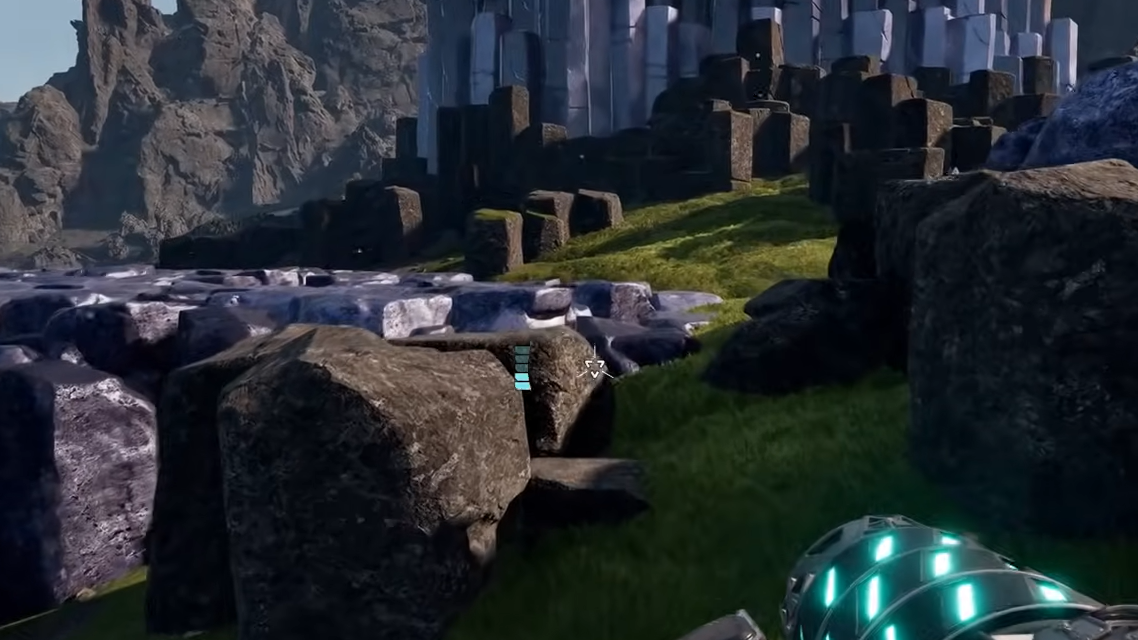
- Large surface veins with a brown–orange metallic sheen, often forming arches or ridges in the ground.
- Small round orange rocks lying in mud or along paths.
- Meteorite patches where sections of the meteor glow copper‑orange.
You encounter your first big Wolfram structure almost immediately after leaving the Orbital Lander during the tutorial, where it is used to demonstrate the Ore Excavator.
Where Wolfram spawns
- Directly around the tutorial valley near the Orbital Lander.
- Clustered to the north and northeast of the starting zone.
- Additional deposits toward the far north of the map.
How to mine Wolfram efficiently
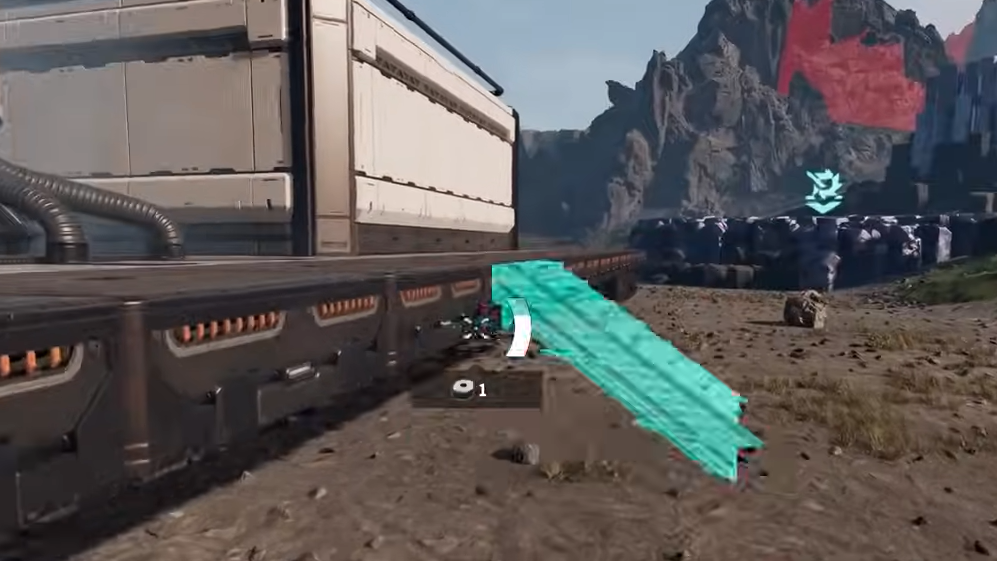
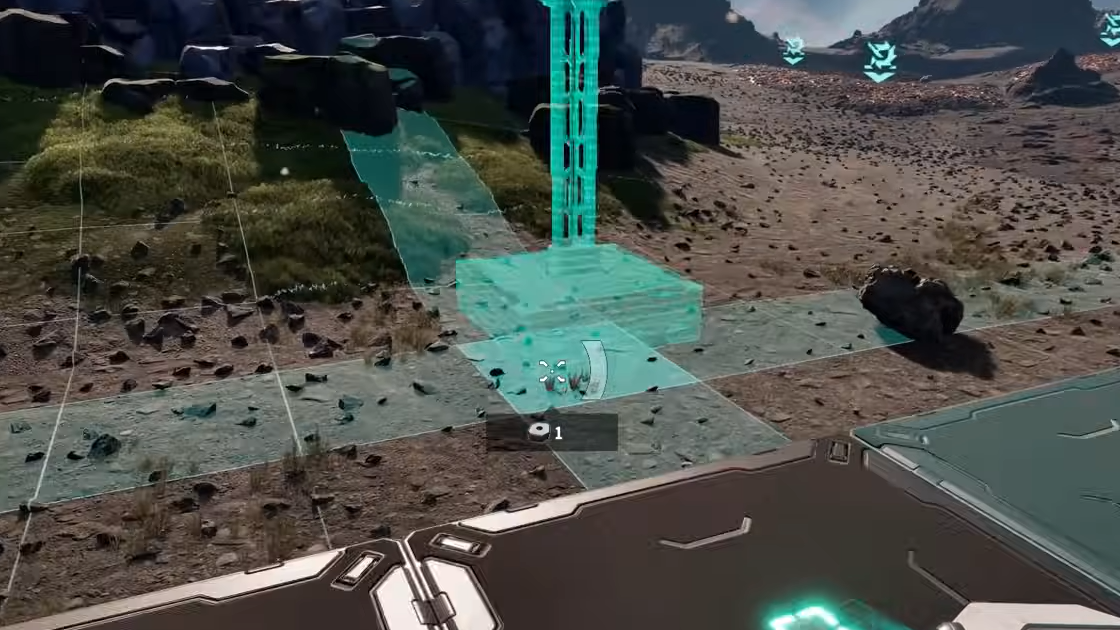
Step 1: Place an Ore Excavator on a flat section of a Wolfram vein. The game allows placement only on the solid ground‑level plates of the deposit, not the vertical arches.
Step 2: Build a power source within the same base radius, such as a solar panel, and ensure the Excavator and generator are connected by platforms or rails.
Step 3: Run rails from the Excavator to a Smelter or directly to the Orbital Cargo Launcher if you are feeding contracts and tech levels.
Loose orange rocks and meteorites are still worth hitting whenever you pass them, but for continuous Basic Building Material production and ammo, anchor at least one permanent Wolfram mine near your first base.
Titanium locations and extraction
Titanium is introduced alongside Wolfram in the opening sequence and quickly becomes just as important for construction.
How to recognize Titanium
- Compact surface veins made of gray rock, sometimes with distinct metallic, hexagonal columns.
- Small silver‑gray rocks scattered on the ground.
- Meteorites with silvery patches that break down into Titanium.
On the map, Titanium often appears as small gray circles or clusters, especially once you unlock ore overlays.
Where Titanium spawns
- Within and around the starting area near the Orbital Lander.
- More densely as you move north and northeast from the lander.
How to mine Titanium efficiently
Step 1: Drop an Ore Excavator on a flat section of a Titanium deposit, the same way you handle Wolfram.
Step 2: Power it with a generator cluster tied into a Base Core, then link the extractor to processing via rails.
Step 3: Supplement your income by zapping loose gray rocks or meteorites whenever you travel between sites.
Titanium feeds early structural blocks and a long list of mid‑game upgrades. Because deposits are small but frequent, it is often better to automate several small veins within one power grid than to chase a single huge patch.
Calcium locations and building a second base
Calcium is the first ore that pushes you out of the comfort zone around the Orbital Lander. You can get scraps from meteorites, but the game expects you to pivot to full‑scale extraction fairly early if you want to keep up with unlock costs.
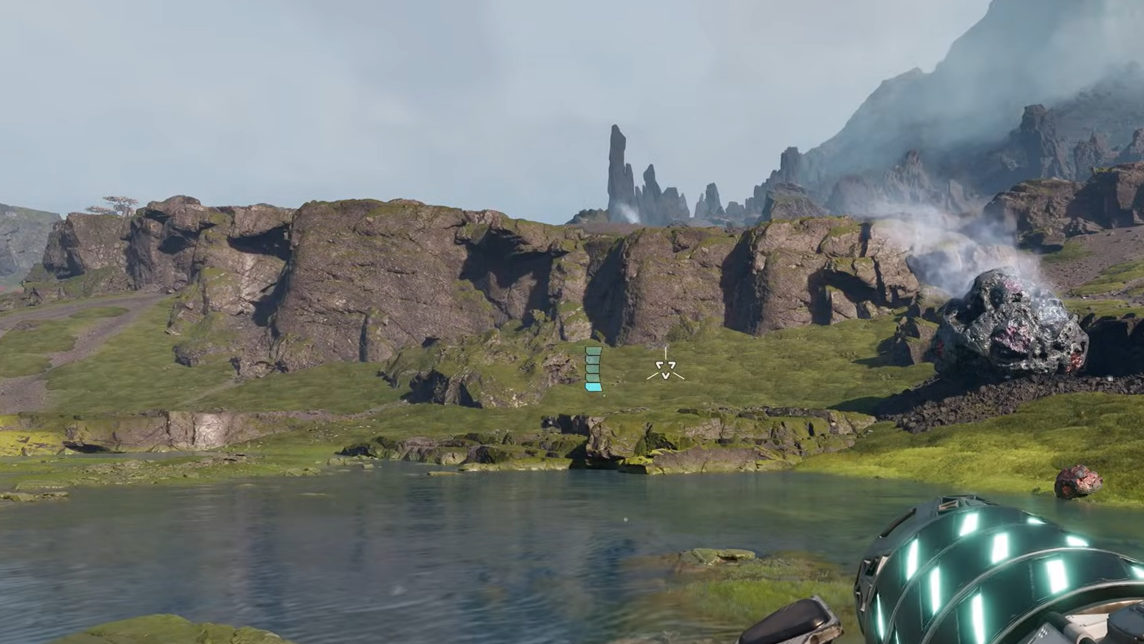
How to recognize Calcium
- Large pale white plateaus that look almost like bone or sandstone, often with shallow puddles on top.
- Smaller white rocks with dark speckles scattered nearby.
- Calcium inside meteorites as a low‑yield drop.
On the map, major Calcium areas register as big sandy or light‑colored patches once you have the relevant map upgrade.
Where Calcium spawns
- A major deposit almost directly north of the Orbital Lander.
- A second major deposit roughly directly east of the lander.
- Additional groups further northeast, often beyond small mountain ranges.
Why meteorite farming is a trap
It is technically possible to stockpile Calcium just by cracking meteorites, but progression soon demands four‑figure quantities. Smelter upgrades, Calcite Sheets, Calcite Blocks, and Moon Energy corporation levels all burn through Calcium at scale. At that point, a dedicated mine is vastly more efficient than roaming between meteor impacts.
How to set up a Calcium mining base
Step 1: Travel to a known Calcium plateau north or east of the Orbital Lander, taking enough food, water, and building materials to operate independently.
Step 2: Destroy a large meteorite with your Harvester to obtain a Meteorite Heart if you do not have one in your inventory.
Step 3: Place a Base Core near the edge of the Calcium plateau using the Meteorite Heart as the key component.
Step 4: Surround the Base Core with power generators, such as solar panels, until the base radius comfortably covers multiple Calcium deposits.
Step 5: Install Ore Excavators on top of the Calcium plates within range.
Step 6: Build rails from each Excavator to local Smelters, Fabricators, or directly to an Orbital Cargo Launcher, depending on whether you want refined output or raw ore shipments.
Once the line is running, you can unlock Calcium‑focused recipes at the Recipe Station and start mass‑producing Calcium Blocks and Calcite Sheets instead of scraping meteorites for crumbs.
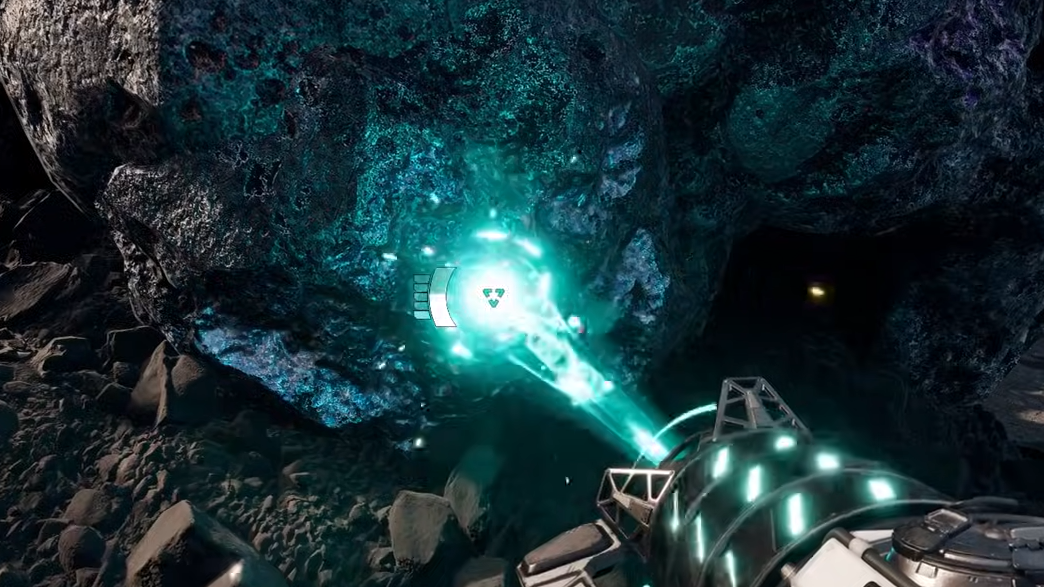
Helium-3 locations and extraction
Helium-3 sits in the middle of the ore progression. You start seeing it early as an incidental pickup, but the game delays true farming behind tech requirements.
How to recognize Helium-3
- Small stones on the ground emitting a thin plume of purple gas.
- Large purple mineral deposits in specific biomes far from the lander.
- Meteorites that contain Helium-3, especially those that fall during or after ruptures.
Where Helium-3 spawns
- High‑yield deposits and geysers in the far north of the map.
- Additional vents in the far east from the Orbital Lander.
- At least one triple‑geyser region reached by moving northeast past a large Calcium vein, then heading further north.
One potential geyser site is blocked by an abandoned base, which means you cannot place extractors there and will need to look for other vents.
How Helium-3 progression works
Early on, you only need small amounts. Loose rocks and Helium‑rich meteorites cover that demand, and you can ignore full automation for a while. The turning point is when Selenian Corporation reaches level 6 and unlocks a dedicated Helium-3 extraction machine.
How to farm Helium-3 once unlocked
Step 1: Push Selenian Corporation to level 6 through regular shipments and tasks so the Helium-3 extractor appears in your build menu.
Step 2: Scout the far north and far east for purple geysers, prioritizing multi‑vent clusters like the triple geyser north of the big Calcium field.
Step 3: Drop a Base Core and power grid covering as many vents as possible.
Step 4: Place Helium-3 extractors on each geyser, then link them to storage, refineries, or directly into your power or manufacturing network.
Because geysers are rare and fixed, it is worth treating each Helium-3 field as strategic infrastructure rather than a side project. Plan your rail lines and base defenses accordingly.
Sulfur locations and extraction timing
Sulfur is the final ore in the progression and the most hostile to interact with. You never find it as casual rocks on the ground; until you commit to a sulfur field, your Sulfur Ore count stays at zero.
How to recognize Sulfur and sulfur fields
- Large zones of corrosive yellow gas hanging close to the ground.
- Map overlay highlights that show these fields as bright yellow patches.
- Sulheart plants that grow inside these fields and are used for high‑end buff foods.
Entering the gas without protection causes continuous damage, so there is real risk involved in exploring sulfur regions before you are ready to build.
Where Sulfur spawns
- Discrete sulfur fields scattered across Arcadia‑7, each acting as its own ore “vein”.
The exact field locations vary across the map, but once you unlock the relevant map tools, they are hard to miss thanks to their bright yellow coloring.
Tech requirements and rupture windows
- You must reach Selenian Corporation level 9 to unlock the Sulfur Extractor.
- You can only place Sulfur Extractors when the field is not filled with corrosive gas.
- That safe window opens immediately after a rupture, once extreme temperatures subside and before the gas reforms.
How to set up a Sulfur farm
Step 1: Level Selenian Corporation to 9 so you can build Sulfur Extractors.
Step 2: Identify one or more sulfur fields on the map and scout them from the edge so you know the terrain and potential extractor spots.
Step 3: Wait for a rupture event, take shelter, then move to the chosen sulfur field as soon as temperatures drop enough to travel safely.
Step 4: While the gas is cleared, place a Base Core and power generators just outside or on the edge of the field.
Step 5: Run into the cleared zone, install Sulfur Extractors directly on sulfur deposits, then retreat once the gas begins to return.
Step 6: Connect the extractors to your rail network when conditions allow, prioritizing uptime during cooler cycles.
Because you cannot casually pick up Sulfur Ore elsewhere, this timing dance is mandatory if you want sulfur‑based structures or high‑end food buffs that rely on Sulheart harvested within these same fields.
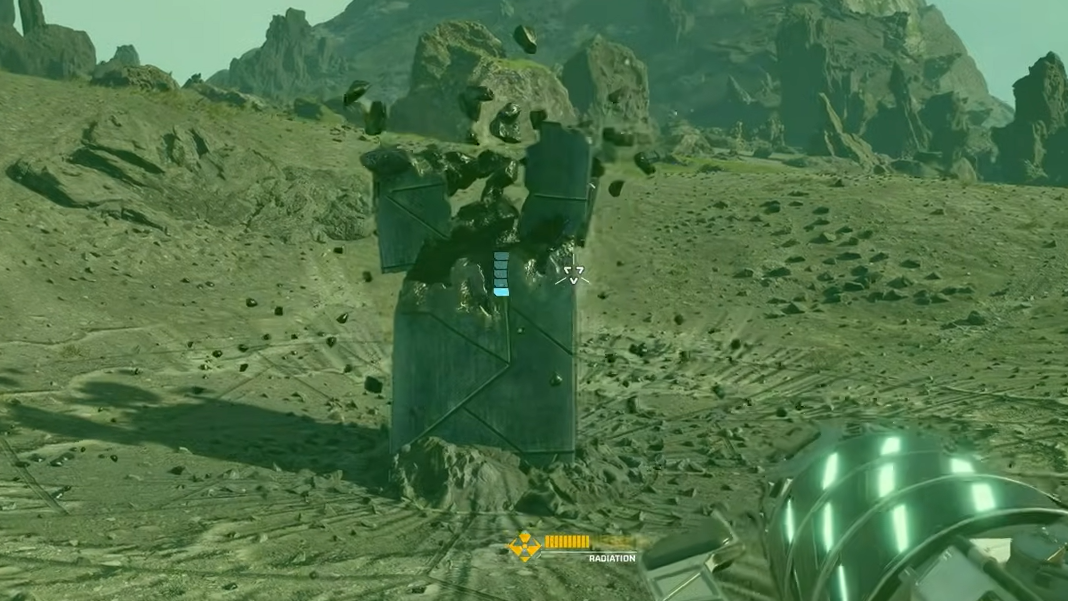
Using meteorites as a supplemental ore source
Meteorites are the wildcard of StarRupture’s resource system. They drop across Arcadia‑7 during normal play and more frequently around rupture events, and they are a flexible way to top up almost every basic ore.
- Wolfram, Titanium, Calcium, and Helium-3 all appear as meteor contents.
- Fully destroying a meteor with the Harvester yields a Meteorite Heart, needed for new Base Cores.
Step 1: When a meteor lands nearby, clear the area of threats and approach it with your Harvester or mining tool.
Step 2: Strip off the outer stone to expose colored patches that correspond to different ores, then mine those fully.
Step 3: Continue until the meteor is completely destroyed to secure a Meteorite Heart.
Meteorite Hearts are critical for expanding your network of remote mining bases. Keeping one in your inventory, along with a stack of Basic Building Materials, means you can drop an emergency shelter or a new resource outpost almost anywhere on short notice.
Choosing which ore to prioritize
The five ores do not all compete for attention at the same time. They come in waves that match your tech climb.
- Early game: Focus on Wolfram and Titanium around the tutorial valley to unlock core structures and get your first automated lines running.
- Early–mid game: Shift to Calcium by building a second base north or east of the lander, then unlock Calcium‑heavy recipes and Moon Energy upgrades.
- Mid game: Bank small amounts of Helium-3 from rocks and meteors, then bring Selenian to level 6 and stand up a dedicated Helium-3 facility on northern or eastern geysers.
- Late game: Push Selenian to level 9 and tame one or more sulfur fields during rupture windows to secure Sulfur Ore and Sulheart.
Treat each new ore not just as a new ingredient but as a reason to extend your logistics web into another part of Arcadia‑7. The game’s pacing is built around that outward expansion; once every ore has a stable mining complex behind it, the Orbital Cargo Launcher and corporate tech trees open up in a way that hand mining never could match.