
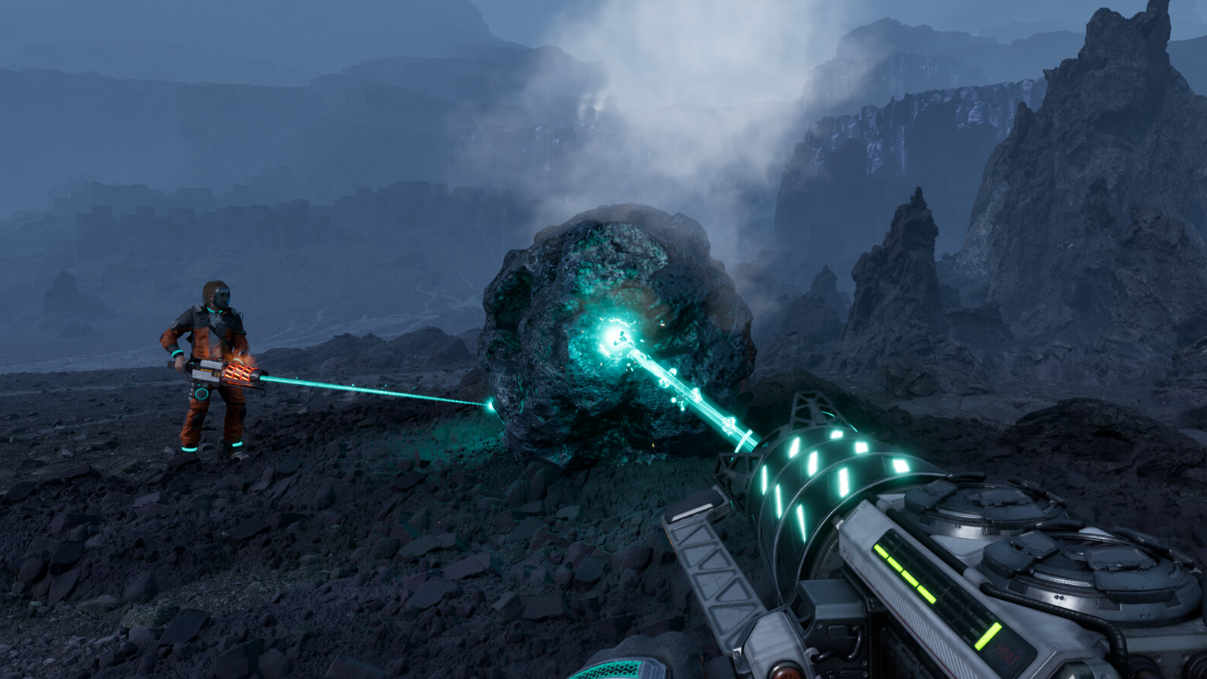
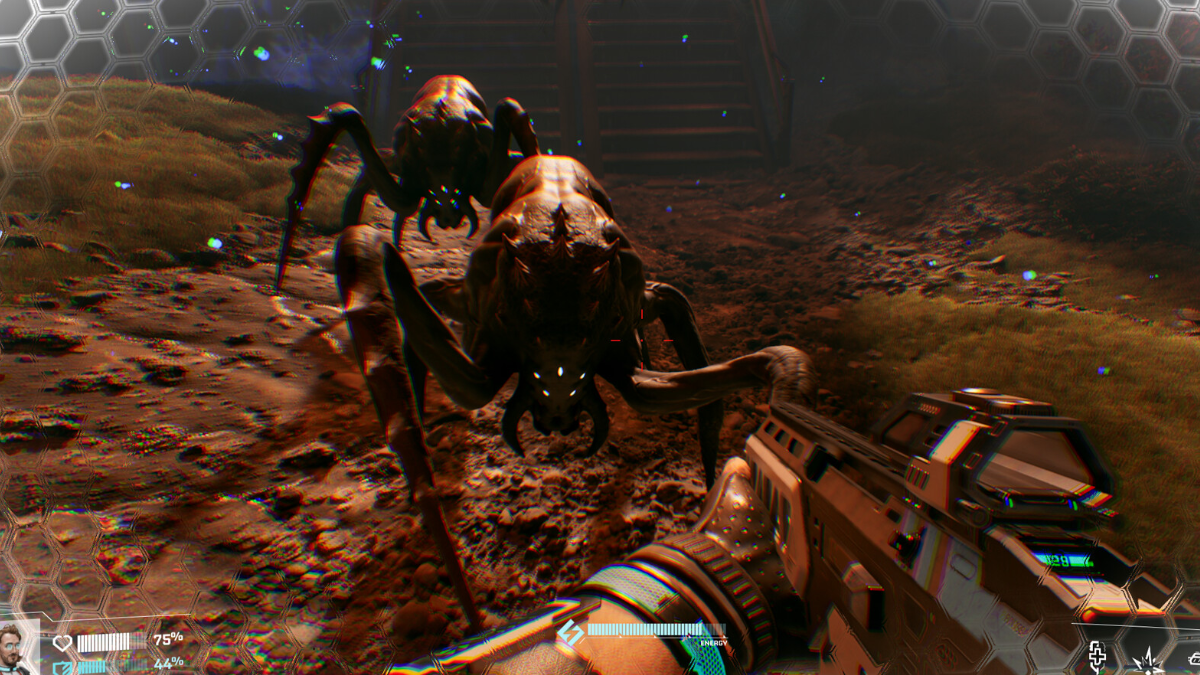
Character stats in StarRupture quietly decide how far you can push into Arcadia‑7 before a bad pull of enemies, a long sprint, or a carelessly eaten snack sends you back to your Regeneration Chamber. The game never fully pauses to explain what each bar means, but once you understand how they interact, you can plan routes, food, and LEMs instead of firefighting crises every few minutes.
Core survival stats in StarRupture
Press Tab to open the character overview. Five main stats appear as bars there — Shield, Health, Calories, Hydration, and Toxicity — while Stamina is tracked in the HUD and in how your character moves.
| Stat | What it represents | What happens when it fails |
|---|---|---|
| Shield | A regenerating barrier that absorbs incoming damage before Health. | Once empty, all further damage goes straight to Health. |
| Health | Your actual hit points. | At zero, you die, respawn at your Regeneration Chamber, and must recover your dropped body to get items back. |
| Calories | Your food reserve; effectively hunger. | Below zero, you start taking damage over time. |
| Hydration | Your water reserve; thirst. | Below zero, you also start taking damage over time. |
| Toxicity | Build‑up from risky foods and some buffs. | At 100, you suffer harsh penalties such as losing Calories and Hydration. |
| Stamina | Capacity for sprinting, dashing, and double‑jumping. | When empty, mobility drops and you become an easy target. |
On the in‑game HUD, Calories, Hydration, and Toxicity sit in a vertical stack next to your character portrait, while Shield and Health form your main defensive bars. Food buffs appear above the Shield bar, and Stamina is expressed through the sprint/dash bar and your character’s movement responsiveness.
Shield: your first line of defense
Shield is the blue bar above your Health. Any hit from alien fauna or environmental damage hits Shield first. If you avoid taking further damage for a short time, Shield refills on its own.
There’s no consumable that temporarily improves Shield beyond this passive regeneration. Shield capacity and related bonuses come from long‑term upgrades like LEMs (more on those later), not from quick items.
Practically, that means your safest pattern in early combat is to trade short bursts of damage for safety windows: take a few shots, break line of sight to let Shield come back, then repeat. As long as you don’t let enemies chew straight into Health, you can stay in the field much longer without using healing items.
Health: death, respawns, and how to recover
Health is the red bar under Shield and behaves exactly how it looks: when it hits zero, you die. Death sends you back to your Regeneration Chamber with your gear, but your carried items stay on your corpse. To fully recover, you have to physically run back and loot your own body.
Health doesn’t regenerate on its own at any meaningful rate while you’re in the wild, so you need deliberate tools to bring it back up.
How to restore Health
Medtool and healing items are your main levers.
- Medtool: Once unlocked, this utility can grant free chunks of Health, especially after you’ve defeated a set number of enemies. It’s your reliable, repeatable heal during long outings.
- Star Tears food: Foods built around Star Tears give instant Health as well as extra health‑related buffs. They’re effectively your “potions” and are ideal when you need a spike heal during a fight or just after one.
Because death sends you back to base and eats time, it’s usually more efficient to burn a healing item than to risk a corpse run, especially if you’re loaded with rare resources or far from a shelter for the next Rupture.
Calories: managing hunger over time
Calories steadily tick down as you exist on Arcadia‑7, whether you’re building, mining, or wandering. Think of it as a slow timer on how long you can stay out without eating.
When Calories drop below zero, the game punishes you directly with damage over time. That means it’s entirely possible to die in a “safe” area simply by ignoring this bar while you’re distracted by building layouts.

How to refill Calories
- Polifruit: The basic, low‑effort solution is to grab Polifruit as you move around and eat it whenever the bar takes a noticeable dip. It’s common enough that you can treat it as a background chore instead of a dedicated farming run.
- Cooked recipes: Once you start unlocking cooking, better food recipes provide more Calories per bite and often add buffs. These reduce how often you have to interrupt mining or exploration to snack.
For early runs, the simplest habit is to never walk past Polifruit if your inventory has space. It’s cheap insurance against annoying starvation deaths mid‑objective.
Hydration: thirst and damage over time
Hydration behaves like the second leg of your survival stool. It also drops passively with time, and falling below zero triggers damage over time just like starving does. Running both Calories and Hydration into the red is an easy way to find yourself suddenly at low Health without having taken a visible hit.
How to refill Hydration
- Hydrobulbs: These are the basic building block for keeping Hydration up. Eating them directly will top up the bar.
- Hydration‑focused recipes: Cooking with Hydrobulbs unlocks more efficient foods that restore more Hydration and often help with Calories or other stats at the same time.
In practice, Hydration and Calories are best treated as a pair. Plan food that covers both, and don’t wait for the bars to hit zero; topping off when they hit roughly half keeps you a long way from the point where you’re taking survival damage in the middle of a fight.
Toxicity: the hidden cost of powerful food
Toxicity only climbs when you ingest something that explicitly raises it. Many of the more aggressive food buffs, particularly those that accelerate Stamina regeneration, trade short‑term power for added Toxicity.
Hit 100 Toxicity and you get punished hard. One outcome is a forced vomit that strips away much of your Calories and Hydration, pushing you toward starvation and thirst damage almost instantly. Even before that point, high Toxicity undercuts the safety those bars normally give you.
How to lower Toxicity
- Purplant food: Foods built from Purplant reduce Toxicity directly, giving you a quick way to dump accumulated poison from earlier choices.
- Time: Toxicity also bleeds off naturally over time as you play, as long as you’re not adding more with every meal.
The sensible pattern is to reserve high‑Toxicity foods for moments when you genuinely need their benefits — sprinting through a hostile zone or surviving a tough skirmish — and follow them with Purplant‑based meals or a quiet stretch of play while Toxicity drops.

Stamina: the mobility stat that keeps you alive
Stamina governs how long you can sprint, how often you can dash, and whether you can reliably double jump your way out of trouble. It doesn’t appear as a bar in the same overview screen as the other stats, but its impact is immediate any time you try to cover distance or dodge a pack of enemies.
Once Stamina runs dry, your character slows dramatically and loses access to those movement tools. In a game where many threats are melee and where Rupture timers force you to respect distance, that loss of speed is often more dangerous than a half‑empty Health bar.
That’s why Stamina ends up being one of the most important stats in actual play, even though the UI treats it differently.
How to recover and boost Stamina
- Serpent Root food: Foods built around Serpent Root accelerate Stamina regeneration or otherwise improve your ability to keep moving. They’re the easiest way to feel immediately “snappier” in combat or during long sprints.
The catch is that Serpent Root recipes typically add a significant amount of Toxicity. You can’t spam them without consequences. The healthy pattern is to spike Stamina with Serpent Root when you need to cross a dangerous area or kite enemies, then intentionally detox afterward with Purplant food or downtime.
How to improve stats permanently with LEMs
Temporary fixes — healing items, snacks, and short buffs — keep you alive day to day. Permanent power comes from LEMs, augment modules you attach to your character at a dedicated station once you’ve earned the slots for them.
As you play, you level three broad categories: Movement, Combat, and Survival. Hitting milestones in these categories unlocks LEM slots for that type. You can see progress toward each in the final section of the character screen.
Once you unlock the LEM Station and have a few levels under your belt, you can slot specific LEMs that improve each stat directly. The naming is straightforward:
| Stat improved | LEM name |
|---|---|
| Shield | Shieldgiver |
| Health | Lifegiver |
| Calories | Dietician |
| Hydration | Irrigator |
| Toxicity | Detoxifier |
| Stamina | Endurancegiver, Runner |
These modules are permanent upgrades as long as they stay slotted. You still need to manage food and moment‑to‑moment risk, but a character stacked with the right LEMs has more room for mistakes and can roam farther between supply runs.

Practical stat priorities for early play
With all six stats in mind, a few priorities emerge for the opening hours on Arcadia‑7:
- Keep Calories and Hydration above zero at all times. Damage over time from starvation or thirst is an avoidable way to die. Collect Polifruit and Hydrobulbs as you pass them and eat before the bars empty.
- Respect Toxicity thresholds. High‑Toxicity foods are useful, especially for Stamina, but always have a plan to lower Toxicity afterward so you don’t chain yourself into a crash.
- Treat Stamina as your survival multiplier. Movement skills — sprint, dash, double‑jump — let you disengage from bad fights, reach shelter before a Rupture, and dodge enemy attacks. Feeding Stamina and investing in LEMs like Endurancegiver or Runner often pays off more than a small bump to raw Health.
- Use Shield as the buffer it is. Dip into combat, back off while Shield refills, then re‑engage. This rhythm saves healing items and lowers the odds of a corpse run.
StarRupture is still in Early Access, so numbers and exact item behavior can shift, but the structure of its stats is already clear. Shield and Health keep you alive in the moment, Calories and Hydration define how long you can roam, Toxicity tracks the risk side of your strongest foods, and Stamina quietly makes all of your decisions more forgiving. Once you start planning around all six instead of just the red bar, Arcadia‑7 becomes much less hostile.