
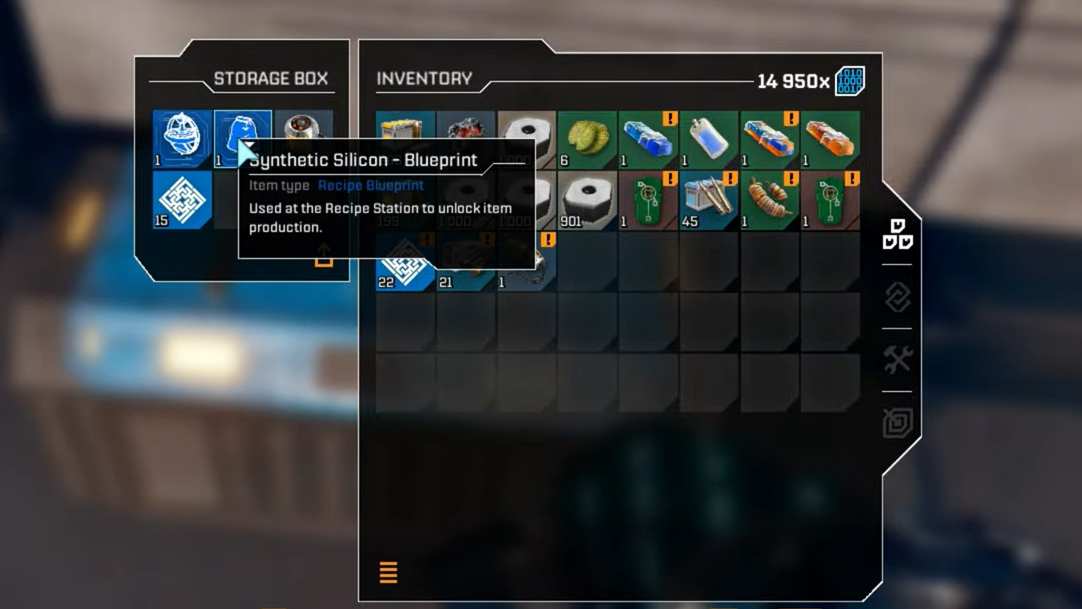
Synthetic Silicon sits at the heart of StarRupture’s late-game factory chain. It feeds straight into Electronics, Chemicals, Hardening Agent, and other advanced components, so progressing the corporations eventually depends on unlocking this one blueprint.
Why the Synthetic Silicon blueprint matters
Synthetic Silicon is crafted at the Furnace, but the recipe is locked behind a blueprint. Until you pick it up and register it at a Recipe Station, you cannot produce any Synthetic Silicon, and that blocks multiple higher-tier recipes such as Electronics, Chemicals, and Hardening Agent.
Once you have the blueprint, the Recipe Station shows the Synthetic Silicon recipe as unlockable. At that point, you can convert mid-tier materials like Ceramics and Calcium Powder into a key late-game resource rather than relying only on basic ores.
Where the Synthetic Silicon blueprint is located
The Synthetic Silicon blueprint is found far to the north of the starting area, in a heavily infested research complex in the calcium region. Different names are used for this outpost (including Griffith’s Research Outpost and Clever Robotics Research Outpost), but they all refer to the same cluster of buildings under a prominent blue infection cloud.
The outpost sits beyond broad Calcium fields and north of the early-game grasslands. It is one of the first “advanced” blueprint locations you are intended to tackle and is roughly north or northwest from most starter bases.
Route from the starting ship to the northern outpost
Step 1: Leave the Orbital Lander and head generally north into the grasslands. Keep a tall, sharp-peaked mountain on your left and a broader mountain on your right as rough landmarks. This natural corridor points you toward the northern plateau.

Step 2: Move through the pass until you see your first northern research facility ahead of the smaller, sharper mountain. This earlier lab typically holds a basic blueprint (such as a Stator or similar) and serves as a visual checkpoint. For Synthetic Silicon, continue past it rather than stopping there.
Step 3: Push over the next ridge and start veering slightly left (northwest). You should begin to see scattered Calcium ore veins and then a broad Calcium field. Cross this field, keeping an eye on a large hill or cliff line on your left-hand side as you move across the open area.
Step 4: After crossing the Calcium field, turn toward that large hill on the left. Follow the slope up, aiming for the high ground. If you stay roughly on the hill’s left-hand side, you will naturally climb toward the research outpost that holds the blueprint.

Handling orange flora and the approach fight
As you climb the final hillside toward the facility, you will see glowing orange bushes or flora patches. These are hazardous environmental elements rather than harmless decoration.
- Walking through the orange bushes rapidly drains your energy.
- Your movement speed drops sharply while affected, which makes you an easy target for nearby Vermin.
Stay just outside these patches as you circle up the hill. Try to keep clear lanes of retreat in mind in case you are forced back by enemies.
Near the top of the slope, expect a sizeable Vermin wave. The game leans on this encounter to test whether you are ready for advanced blueprint runs, so basic pistol fire alone is not ideal here. An upgraded assault rifle or LMG, a charged grenade, and a ready Medtool make the approach much more manageable.

Recognizing the infected facility
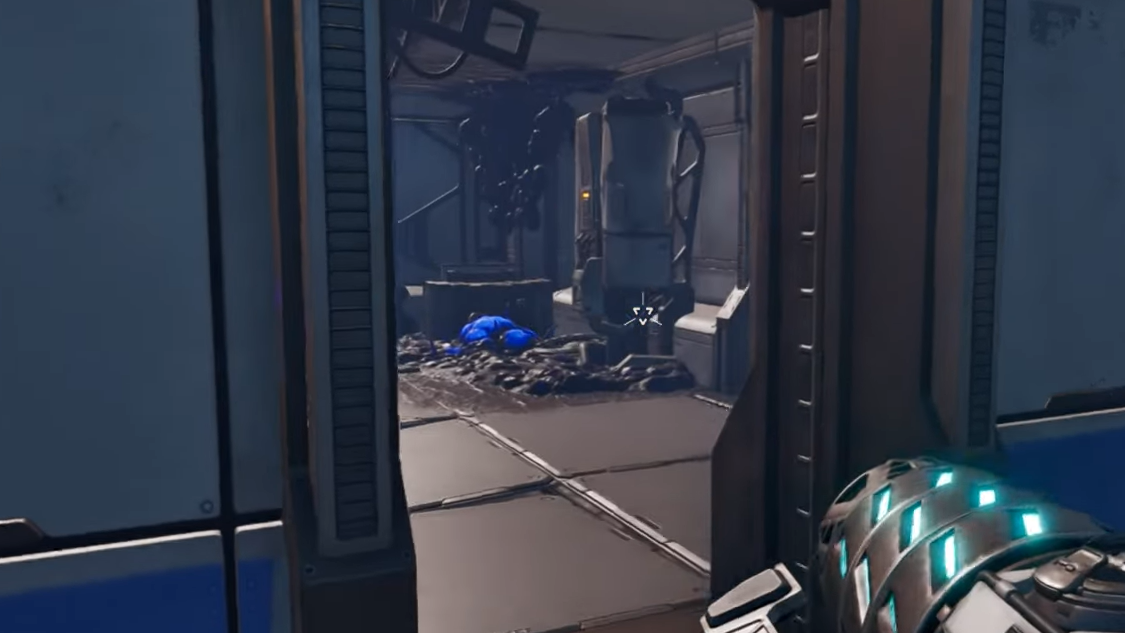
Once you crest the hill, the target outpost is hard to miss. A thick blue infection cloud hangs over several small industrial buildings, with spores clinging to walls, roofs, and supports. Vermin spawn aggressively around and inside the complex.
The layout usually includes three main buildings connected by walkways and gantries, along with platforms and under-floor struts that can also host spores. The blueprint you need is inside one of these structures, not in the open air.
Clearing spores to control enemy spawns
There are two phases to stabilizing the area: thinning the current wave and dealing with the infection sources.
Step 1: Fight off the immediate Vermin near the outskirts of the blue cloud. Use range where possible and avoid backing into orange bushes or tight corners. If your shields are low or your Medtool is on cooldown, kite around the outer buildings until you recover.
Step 2: Start destroying visible spores on walls, roofs, and pipes. Small spores can be shot, but using the mining laser or harvesting tool on them and on weaker enemies conserves ammunition for tougher waves. Work methodically around the buildings rather than running through the center of the cloud.
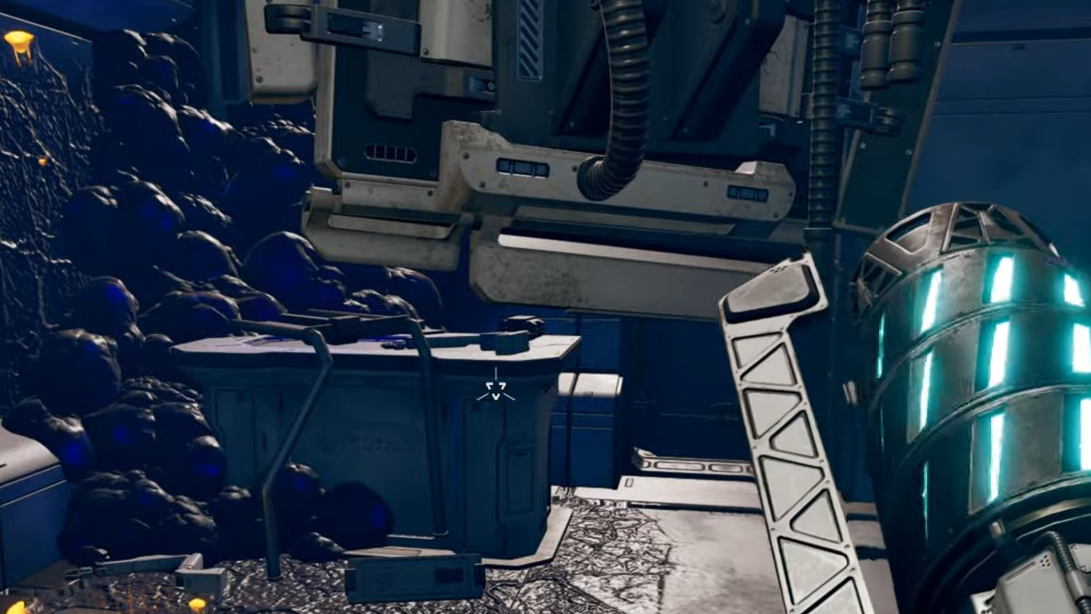
Step 3: Check underneath raised parts of the facility. Additional spores often cling to underside beams and supports, and at least one dead body can spawn under the complex with extra loot. Leaving spores in these hidden spots can keep the area in a semi-infinite spawn state, so it is worth sweeping the understructure.
Fully eradicating spores significantly reduces ongoing spawns and gives you the breathing room needed to navigate rooftops and interiors safely.

How to enter the building with the Synthetic Silicon blueprint
The blueprint is not on a ground-floor shelf; it is in a room you reach from above. The outpost’s internal layout pushes you to approach from the roof rather than forcing open a door under pressure.
Step 1: Move around the complex’s perimeter until you find exterior staircases, ladders, or metal gantries that climb up the sides of the buildings. Use these to reach the higher walkways that link the structures.

Step 2: Traverse the upper walkways toward the far end of the outpost. Look for a building with a clear hole or broken panel in the roof. This opening sits directly above the room that holds the blueprint chest.
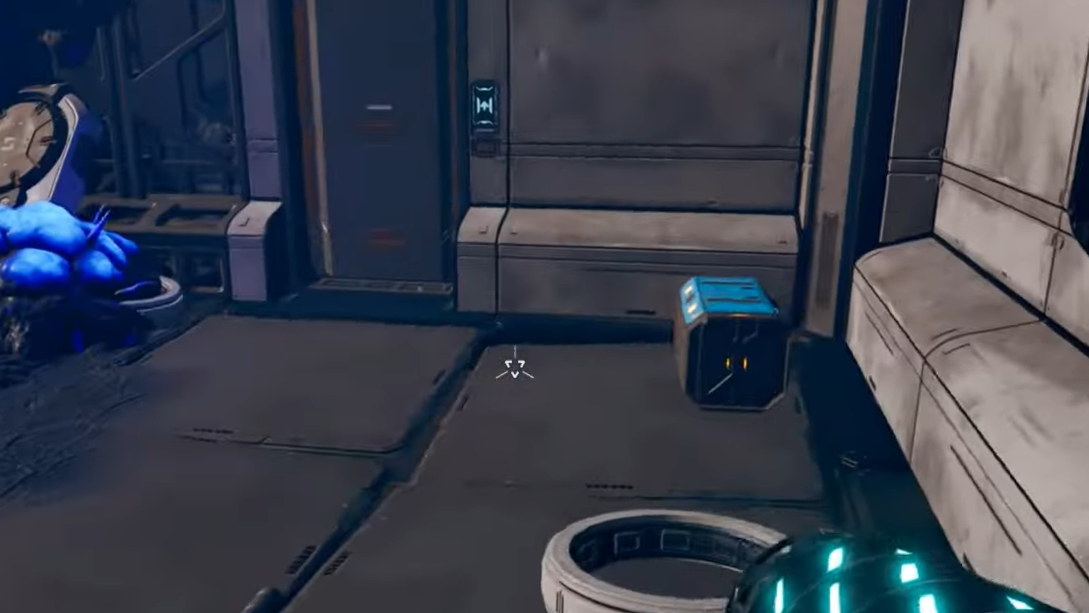
Step 3: Drop carefully through the roof opening into the interior. As you land, you should see a blue storage box or chest directly in front of you on the floor. This specific blue container is the one that contains the Synthetic Silicon blueprint.
Step 4: Open the container and collect the blueprint. The game stores it in your story items tab in the inventory, and it remains permanently unlocked even if you die afterward.
Once inside this room, you can also open the doors that connect to other sections of the building. That lets you leave by a ground-level exit instead of climbing back up.
Recommended loadout and prep for the run
The northern outpost is reachable fairly early, but going in under-geared turns the encounter into an ammo sink. Before you commit to the trip, it helps to:
- Bring at least one mid-range weapon stronger than the starter pistol, such as an upgraded assault rifle or LMG.
- Charge your grenade so you can delete clustered Vermin waves near the roof opening or choke points.
- Keep the Medtool fully charged to recover during the hill fight and interior wave.
- Carry enough ammunition to deal with multiple waves; the infection cloud can keep enemies coming if spores are left alive.
For solo runs, some players also drop a small forward base or a turret on the outskirts to help clean up lingering enemies while they focus on spores and navigation.
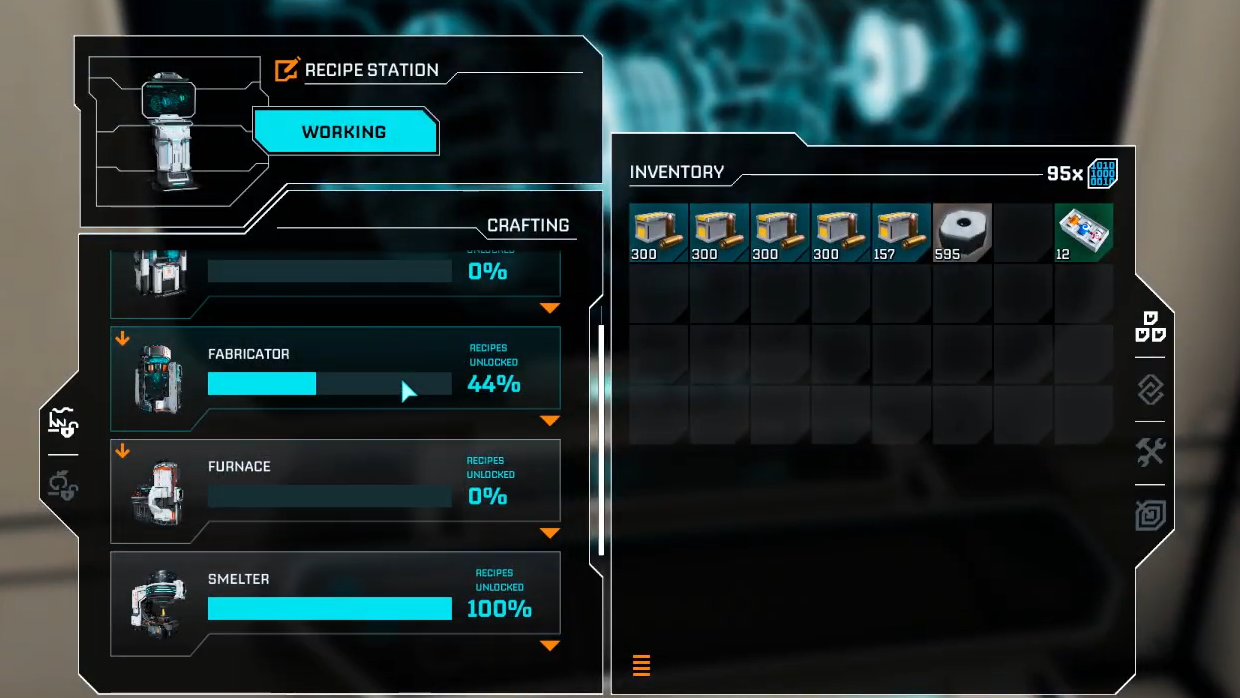
Registering the Synthetic Silicon blueprint at the Recipe Station
Once you extract the blueprint and return to base, the final step is unlocking the actual Furnace recipe through a Recipe Station. The Recipe Station itself is a building that sits inside a Habitat and is unlocked as a Level 2 reward of the Moon Energy Corporation via the Corporate Terminal.
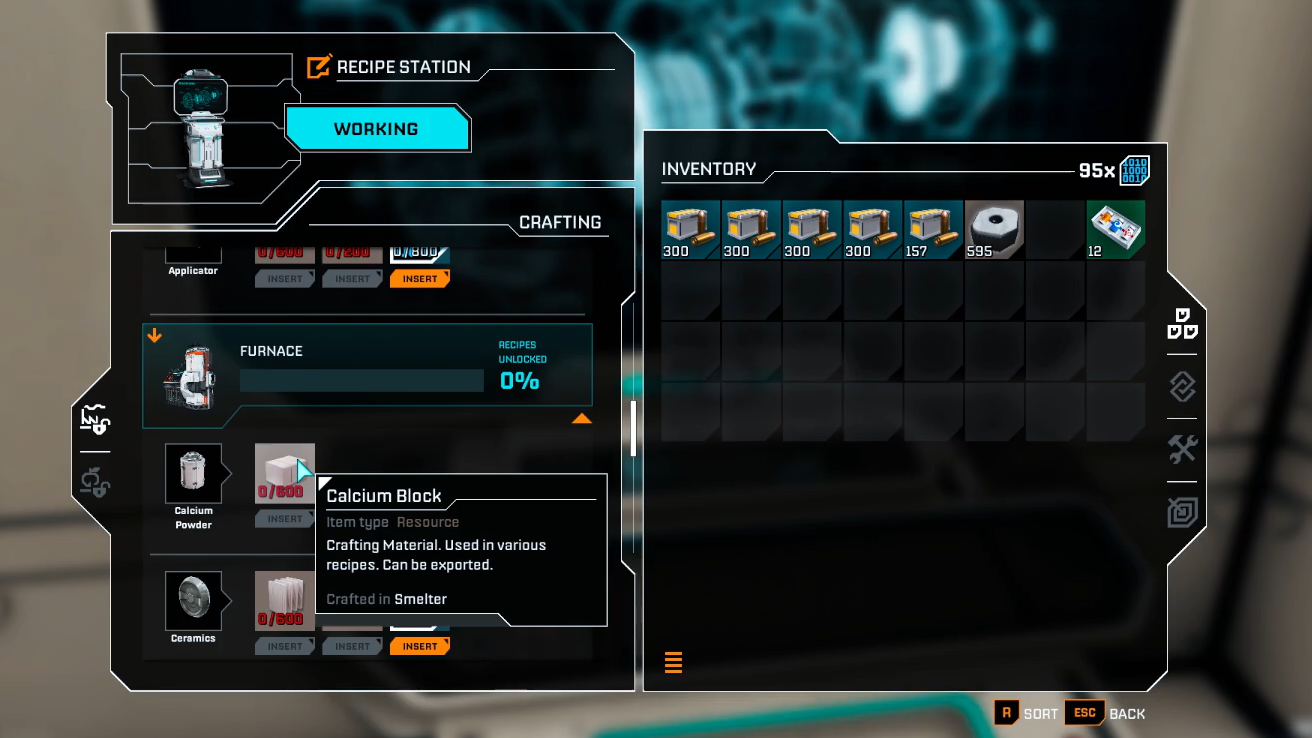
Step 1: Interact with your Recipe Station inside a Habitat. Open the recipes list and switch to the Furnace-related tab, where advanced materials are managed.
Step 2: Select Synthetic Silicon. With the blueprint in your inventory’s story items tab, the recipe becomes eligible for unlocking, but you still need to pay the material cost.
The wiki lists the cost for Synthetic Silicon as:
| Recipe | Blueprint needed | Materials required to unlock |
|---|---|---|
| Synthetic Silicon | Synthetic Silicon Blueprint | 600 Ceramics, 800 Calcium Powder, 600 Data Points |
Some in-game descriptions and coverage mention Helium or Helium-3 as part of the unlock cost. The Recipe Station data focuses on Ceramics, Calcium Powder, and Data Points, so expect at least those three inputs when you finalize the unlock.
Step 3: Insert the listed materials and confirm. The Furnace gains the Synthetic Silicon recipe permanently for your save. From that point onward, you can convert mid-tier ceramic and calcium products into Synthetic Silicon on demand.
What Synthetic Silicon unlocks next
Crafting Synthetic Silicon opens several follow-up recipes at the Recipe Station, which in turn enable late-game machinery and objective items. For example, Electronics and Chemicals both list Synthetic Silicon as part of their unlock costs and ongoing crafting inputs.
This cascade means that the northern blueprint run is not just another collectible; it is the gateway to most high-end components. Securing it early, even if the encounter is challenging, gives your factory room to scale and prepares you for objectives that involve devices like advanced sensors, structural hardening, and endgame power solutions.
Once Synthetic Silicon is online, the rest of the advanced Furnace blueprints become practical targets rather than theoretical objectives, and the northern calcium plateau turns from a lethal run into a productive resource hub.