
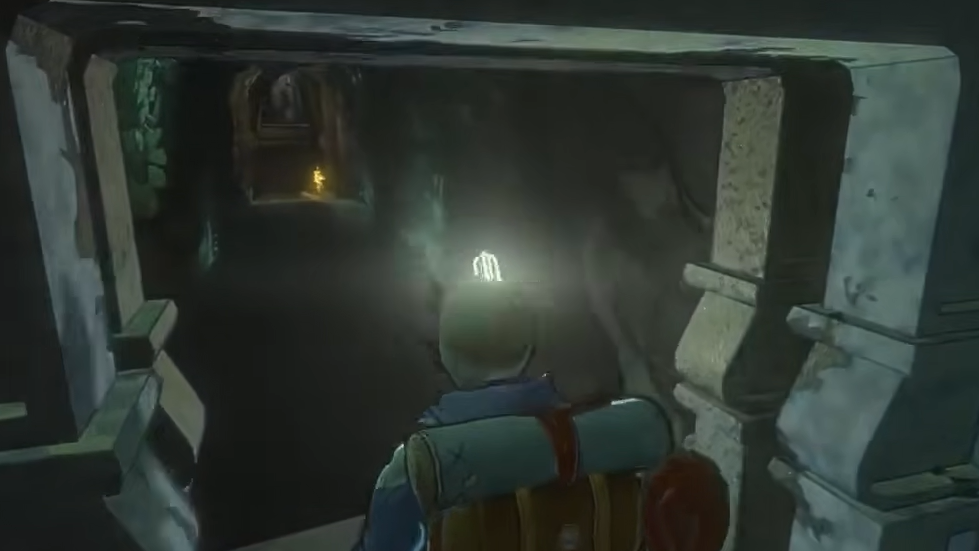
Cairn is built around falling. The game expects you to slip, drop, and sometimes die as you work your way up Mount Kami. You can’t remove that completely, but you can control when and how it happens. That comes down to three things: how you move, how you use pitons, and how you manage stamina and weather.
Quick answer: To significantly cut down on falls, place pitons frequently on difficult sections, avoid over-stretching or twisting Aava’s limbs, hang “off belay” on pitons to refill stamina, and treat every move in the rain or wind as high risk unless you’re anchored.
Cairn climbing mechanic: why you actually fall
Most falls in Cairn come from stamina and body position, not from missing a prompt.
- Per‑limb control: On PlayStation, you move one limb at a time with the left stick and place it with Square. The game auto-picks which limb moves, but you can hold R1 to choose a specific hand or foot. Bad auto-selection can twist Aava into unstable positions that drain stamina faster and lead to slips.
- Physics‑influenced stance: Over‑stretching or contorting Aava (think “pretzel” shapes) rapidly burns stamina. A slip with no secure piton below usually means a long fall or death and a reset to your last campsite.
- Environmental fatigue: Rain reduces grip, and strong wind can knock you off marginal holds. On exposed faces in bad weather, any move that isn’t supported by a piton is a potential full reset.
Whenever you find yourself slipping a lot in one section, assume the stance or limb order is wrong, not just your timing.
Pitons in Cairn: the real anti‑fall system
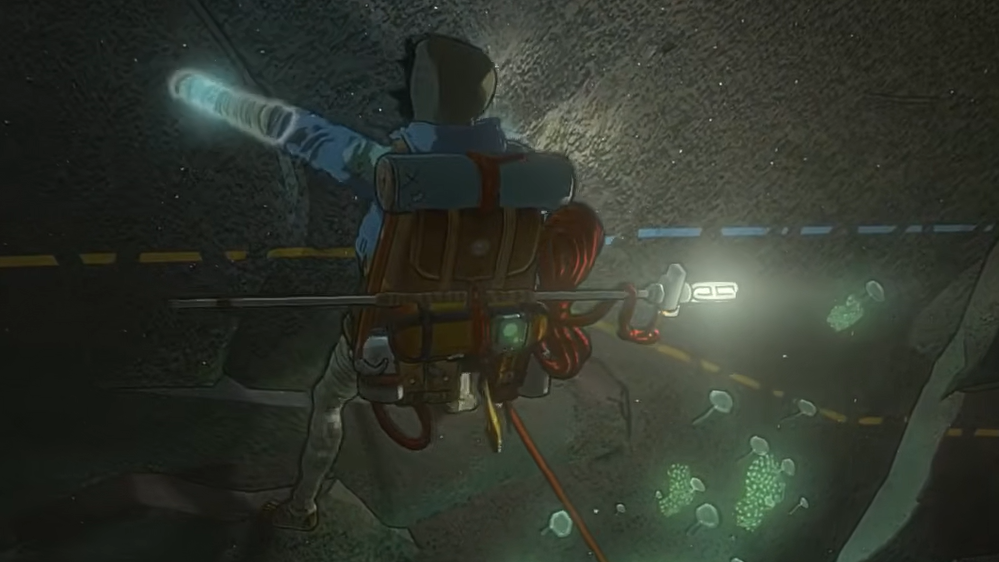
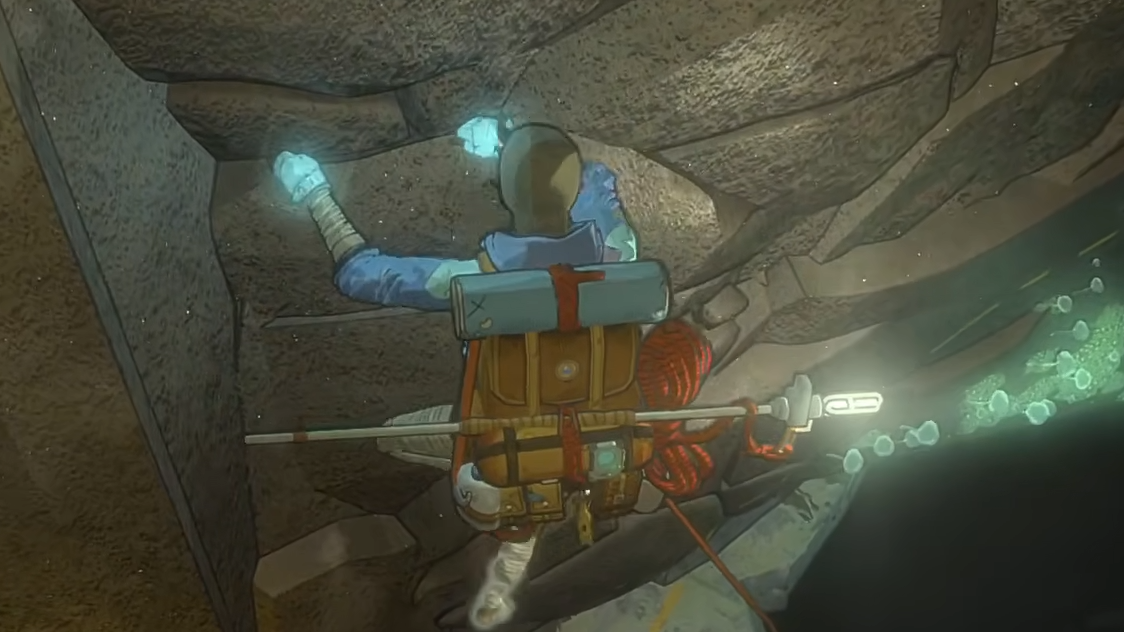
Pitons are the game’s main tool for reducing catastrophic falls. You can carry six attached to Aava’s harness (plus extras in the backpack), and they serve three purposes at once: checkpoints, safety lines, and rest points.
- Mini‑checkpoints: A well‑placed piton catches you when you slip. Instead of falling hundreds of meters, you drop to that anchor and try the section again. Without one, a slip means replaying a long stretch from the last bivouac camp.
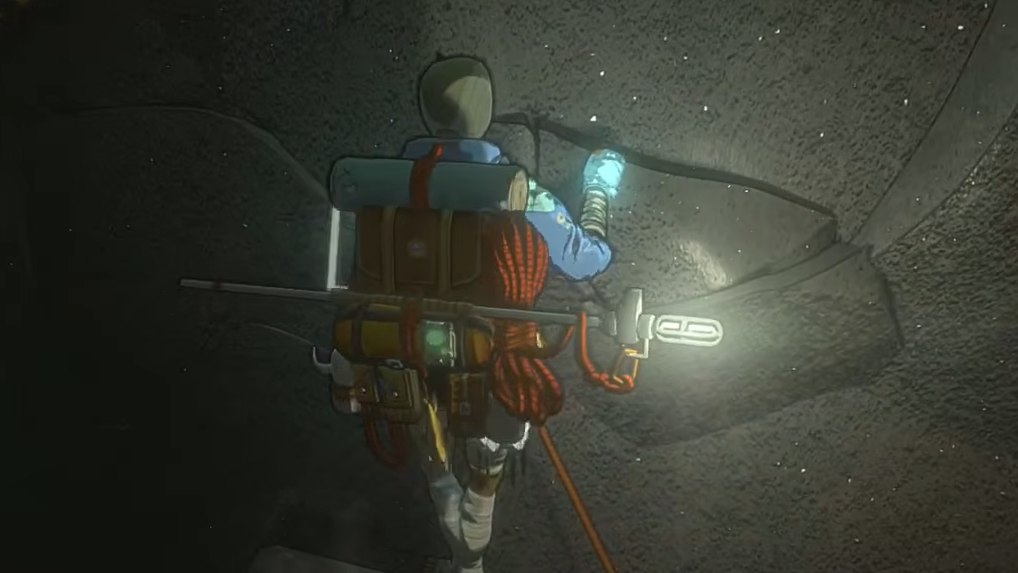
- Off belay to refill stamina: Clipping into a piton and hanging “off belay” lets Aava rest. Stamina refills, and you can open the backpack for food, water, or tape without clinging to holds on near‑empty reserves.
- Piton recovery via Climbot: If a piton is placed on solid terrain along your route, your Climbot can later retrieve it, letting you reuse anchors instead of hoarding all six forever.
Falls become much rarer when you treat pitons as expendable safety tools rather than a finite collectible to be saved “for later”. In long, complex pitches, they are your only practical way to break the route into safe segments.

How to place pitons to reduce falls
Step 1: Before committing to a big wall, zoom out with L1 and scan the route. Identify natural “nodes” — small ledges, cracks, or clusters of holds where you can briefly stabilize. Plan to place a piton just below or at each of these nodes so a slip on the crux sends you back a short distance, not to the base.
Step 2: As you climb, drop pitons slightly below the hardest moves, not after them. If a section ahead looks steep or awkward, place an anchor on the last comfortable stance. That way, every attempt at the crux is protected. Avoid spacing pitons so far apart that a single mistake wipes out five minutes of careful climbing.
Step 3: Use off‑belay to manage stamina. Any time your stamina bar is low, clip into the nearest piton, hang, and refill. Top up before starting a sequence of reachy moves or before entering rain or wind, where grip loss is frequent.
Step 4: Once you clear a section and reach solid terrain above, let Climbot recover pitons that are now below riskier terrain. This keeps your effective stock near six even on long pushes without new camps.
Well‑spaced anchors convert dangerous free‑solo sections into short, repeatable problems. You might still fall, but falls stop erasing your progress.
Reading holds and body position
Staying attached to the wall is mainly about picking good holds and avoiding unstable shapes.
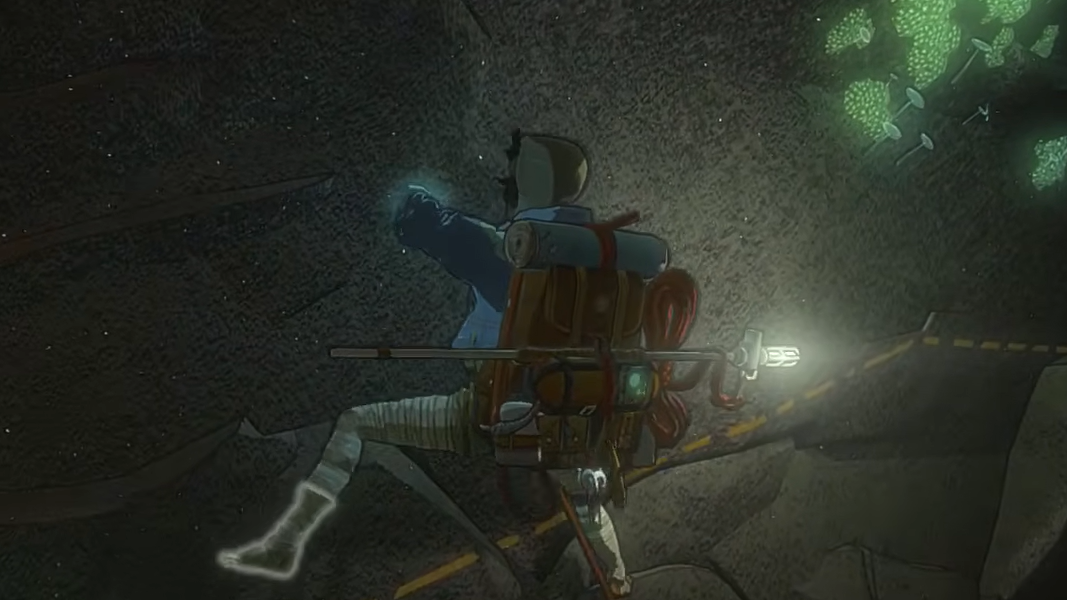
- Prioritize footholds: High, solid footholds dramatically extend your reach for the next hand. If Aava’s feet are low and arms are stretched far above, you’re closer to slipping and stamina drains faster.
- Avoid “pretzel” stances: Crossed limbs and twisted torsos consume stamina and reduce grip. If you notice the model contorted, backtrack a move or two and re‑route rather than forcing it.
- Pause on good ledges: Any time you find a stance where Aava looks stable and the stamina drain slows, treat it as a natural rest and potential piton spot. Progress from rest to rest, not from random hold to random hold.
- Back out of dead ends: If the next few reachable holds all look tiny or lead into overhangs, you may be entering a “death trap” route that can’t be reversed. It’s often safer to retreat to the last piton than to gamble your entire position.
Many “random” falls come from forcing one extra reach when Aava is already off‑balance. If you are stretching so far that the limb barely touches a hold, assume a slip is imminent unless a piton sits just below.
Weather, stamina, and when to walk away
Cairn deliberately spikes difficulty with weather and long, uninterrupted walls. The huge mid‑game rockface, several times taller than anything you’ve climbed before, highlights how the systems interact.
- Rain: Wet rock makes Aava lose grip more often. On long faces without camps between bottom and top, climbing in heavy rain without dense piton use is a recipe for repeated full‑height falls.
- Wind: Strong gusts can blow you off marginal holds. The more exposed the route, the more aggressive you should be with anchor placement.
- Hunger, thirst, temperature: Cairn’s survival layer matters. Starvation, dehydration, and cold all undermine your ability to push through long pitches. Use bivouac sites to cook food, warm up, and reset your condition whenever you find them.
When you hit a wall — especially that giant mid‑game face — and find yourself repeatedly falling from high up, the game is signaling that your current approach is unsustainable. At that point, you have three levers to pull:
- Place pitons more frequently, even if it feels “wasteful”.
- Break attempts into shorter pushes, returning to lower anchors to rest and refuel.
- Adjust the game’s difficulty or enable assists if you’re simply not progressing.
Using assists and difficulty settings to limit falls
Cairn offers three main difficulty modes — Explorer, Alpinist, and Free Solo — plus assists that can be toggled individually.
- Explorer: The least punishing mode if you mainly want the experience and story. Use this if repeated falls are turning the climb into pure frustration.
- Alpinist: The default “intended” experience, where falls are frequent but manageable with smart piton use and route planning.
- Free Solo: The most uncompromising setting. Expect any mistake to be heavily punished; only switch here if you already have a solid grasp of the systems.
If a specific section — like that massive rain‑slicked face with limited resting spots — is blocking all progress, turning on one or two assists for grip, stamina, or fall forgiveness is a straightforward way to reduce fall frequency without abandoning the climb. They exist explicitly for these difficulty spikes.
How to know your anti‑fall strategy is working
You’ll know your approach is dialed in when three things change:
- Falls still happen, but they usually drop you to a nearby piton instead of all the way down.
- You reach new bivouac sites — and eventually the summit — without long stretches of repetition.
- Most deaths come from deliberate risks you chose to take (shortcuts, side routes), not from basic upward progress.
Cairn never becomes a game where you stop falling completely. The goal is to turn those 168 falls and nine deaths into something closer to short, recoverable slips anchored by good piton discipline and smarter body positioning. Once that clicks, the climb stops being a cycle of punishment and starts feeling like a demanding puzzle that you can actually solve.