
Sturdy chitin sits in an awkward spot in Hytale’s progression. It isn’t a legendary material, but you can’t grab it in your starter zone either, and you need a fair amount of it to push your crafting stations to the next tier.
Everything revolves around a single region: Howling Sands.
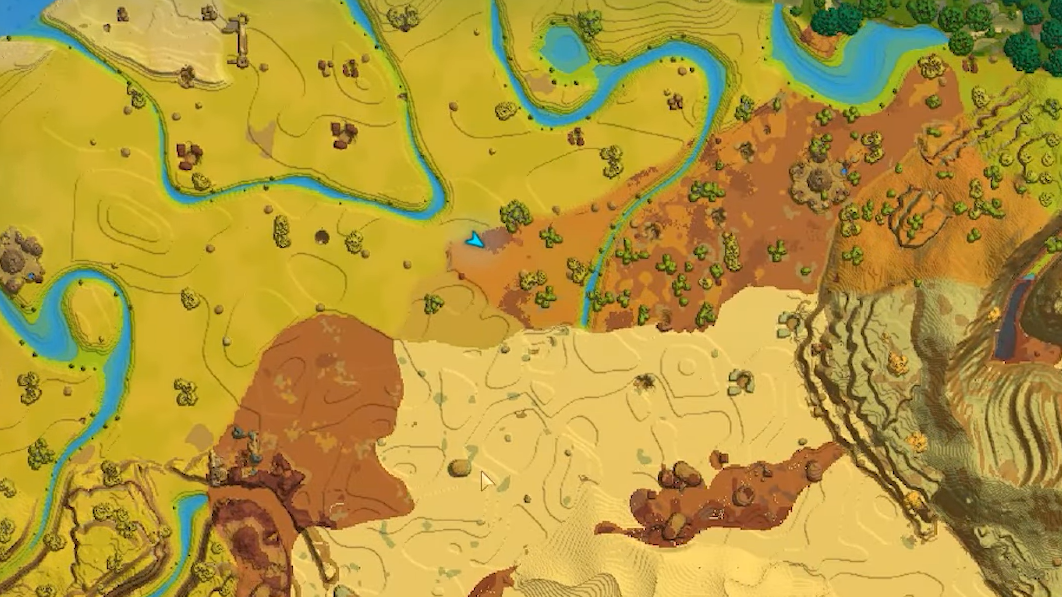
Where sturdy chitin drops in Hytale
Sturdy chitin only drops from enemies in the Howling Sands, Hytale’s desert-themed Zone 2. On the world map, this zone shows up in yellow and orange tones, with a mix of dunes, rocky canyons, and savannah pockets.
Any sturdy chitin you pick up will come from killing armored creatures there. These are the main sources:
| Mob | Area within Howling Sands | Notes on behavior and danger |
|---|---|---|
| Scorpions | Desert and savannah | Hostile, apply venom, drop venom sacs alongside sturdy chitin. |
| Armadillos | Savannah regions | Passive, will not fight back, low individual chitin yield. |
| Turtles / Tortoises | Coastlines around Howling Sands | Passive, only one or two chitin each, also found where sand meets water. |
| Wasps | Across Howling Sands, often above ground | Flying and aggressive, best handled with ranged weapons. |
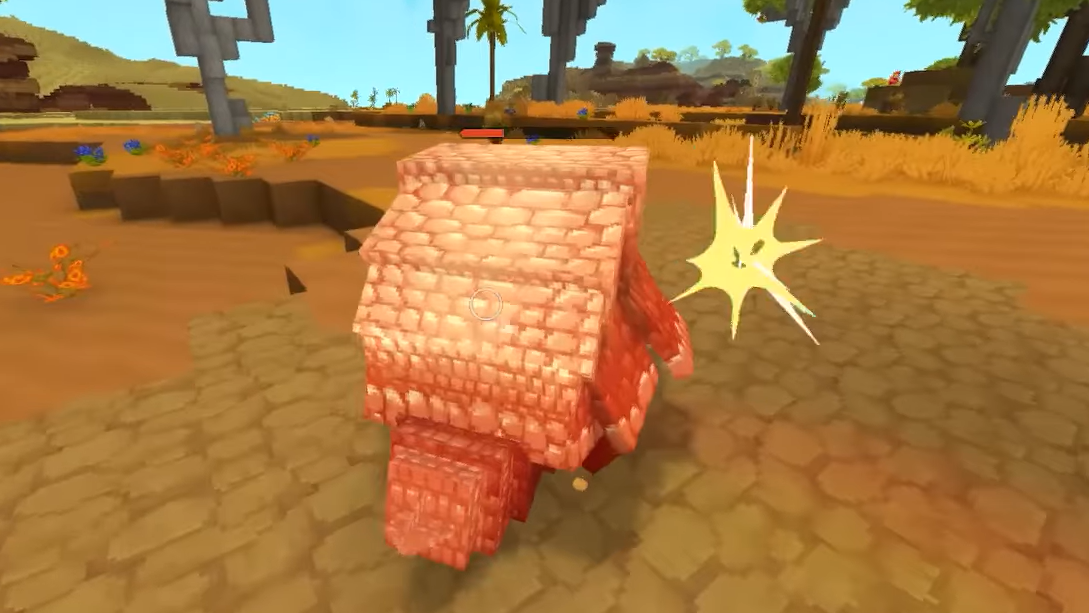
| Scarak (Defender, Fighter, Louse, Seeker, Broodmother) | Underground nests in caves | Dangerous but high-yield; multiple mobs clustered together. |
| Scarab Seekers | Desert biome surfaces | Another armored insect-type enemy that drops sturdy chitin. |

How to reach the Howling Sands biome
Most runs start in Emerald Grove, the greener starter region. From there you need to transition into Zone 2.
Step 1: Open your world map and look for the bands of yellow and orange terrain that mark the desert. These indicate Howling Sands.
Step 2: Travel toward that zone, keeping basic gear and food stocked for the journey. Expect tougher enemies than in Emerald Grove once you cross the biome boundary.
Step 3: Once the landscape shifts toward dunes, sparse vegetation, and sandstone formations, treat that as your starting point for sturdy chitin farming.
Safe surface farming: armadillos and turtles
Not every source of sturdy chitin will try to kill you on sight. If you’re undergeared or just don’t want to deal with venom and swarms yet, lean on the passive creatures first.
Step 1: Head for savannah-style parts of Howling Sands, where grass and scattered trees break up the sand. Armadillos spawn here more frequently than in the open desert.
Step 2: Hunt armadillos with any melee weapon. They do not retaliate, so you can clear them without taking damage. Each kill yields a small amount of sturdy chitin, usually one or two pieces.
Step 3: Move toward the coastlines of Howling Sands to find turtles or tortoises along the water’s edge. Like armadillos, they are non-aggressive and drop a similarly low amount of chitin.
Higher risk farming: scorpions and wasps
Once you’re more comfortable with combat or have better armor, you can speed things up by targeting hostile surface mobs.
Step 1: Roam the desert and savannah looking for scorpions. They are easy to recognize, and in practice, they drop sturdy chitin very frequently, often alongside venom sacs.

Step 2: Close the distance carefully. Scorpions can poison you, so keep healing items ready or gear that mitigates damage over time effects.
Step 3: For wasps, switch to a bow or staff. Since they are airborne, melee-focused builds will struggle to connect hits safely. Bring enough arrows or focus on spells that can reliably hit moving targets.
Best sturdy chitin farm: Scarak nests in caves
The fastest way to build a large stack of sturdy chitin is to clear Scarak nests. These underground colonies concentrate multiple chitin-dropping enemies in a tight space.
Step 1: Enter caves in Howling Sands and pay attention to the block patterns. Grey or brown stone blocks with spotty textures often signal that a Scarak nest is nearby.
Step 2: Move slowly into the nest. You’ll often find several Scarak Defenders and Fighters sleeping or clustered together. Pull them in small groups to avoid getting overwhelmed.
Step 3: Focus on Defenders and Fighters first. Fighters tend to drop one or two pieces of sturdy chitin per kill, while Defenders can drop two or three.

Step 4: Break the blue egg sacs scattered around the nest. These hatch into Scarak Lice when destroyed, and each Louse has a chance to drop additional sturdy chitin.
Step 5: If you encounter a Scarak Seeker or Broodmother, treat them as mini-boss targets. They are more dangerous but represent a high-yield opportunity for chitin if you can handle the fight.

How much sturdy chitin you need for upgrades
Sturdy chitin is tied directly to Hytale’s crafting bench progression, especially in armor and leather processing.
| Station | Upgrade target | Sturdy chitin required | Benefit |
|---|---|---|---|
| Armorer's Workbench | Tier 3 | 40 sturdy chitin | Unlocks adamantite and mithril armor sets. |
| Tanning Rack | Level 2 | 5 sturdy chitin | Adds more processing slots and speeds up hide-to-leather workflows. |
Before you reach tier 3 on the Armorer’s Workbench, you first push it to tier 2 using copper ingots, which opens access to thorium and cobalt armor sets. Only after that step do sturdy chitin, voidhearts, and shadoweave scraps come into play for the jump to tier 3.
Across both key upgrades, you’re looking at a total of 45 pieces of sturdy chitin. With that number in mind, surface farming alone will feel slow; a handful of Scarak nest clears combined with armadillo and turtle loops in between is a more realistic path.

Planning an efficient sturdy chitin route
To avoid wandering the desert aimlessly, treat sturdy chitin farming as a loop rather than a single spot grind.
Step 1: Identify a Howling Sands region that includes savannah, coastline, and at least one cave entrance within a short run of each other.
Step 2: Start at the savannah and clear armadillos and scorpions as you move toward the coast. Pick up any wasps you can safely shoot down along the way.
Step 3: Sweep the shoreline for turtles or tortoises, then head into a nearby cave to search for Scarak nests using the distinctive spotty stone blocks as markers.
Step 4: Clear any Scarak nests you find, loot all sturdy chitin, then exit back toward the savannah to let some surface mobs respawn while you deposit materials or craft.
Repeating a loop like this keeps your kill variety high, which helps ensure a steady stream of chitin without relying on a single mob type or location.

Once you know that sturdy chitin lives almost entirely inside Howling Sands and that Scarak nests are the real jackpots, the material stops feeling rare and becomes a predictable mid-game grind. Plan a route that mixes passive and hostile targets, check back on productive nests, and you’ll have enough chitin on hand to push both your Armorer’s Workbench and Tanning Rack into their next tier.