
Sungrove Manor sits in the Demeniss region of Crimson Desert, near the letter M on the world map. Inside, a strongbox puzzle waits on the second floor — and unlike the cylinder-alignment or musical puzzles found elsewhere, this one asks you to rotate individual painting squares until they form a complete image. Solving it rewards you with the Sungrove Manor Key.
Quick answer: Head to the second floor of Sungrove Manor, enter the room at the end of the corridor, and rotate each square of the fragmented painting until the full picture is assembled. The strongbox opens automatically once every piece is correctly oriented, giving you the Sungrove Manor Key.
Where to Find Sungrove Manor
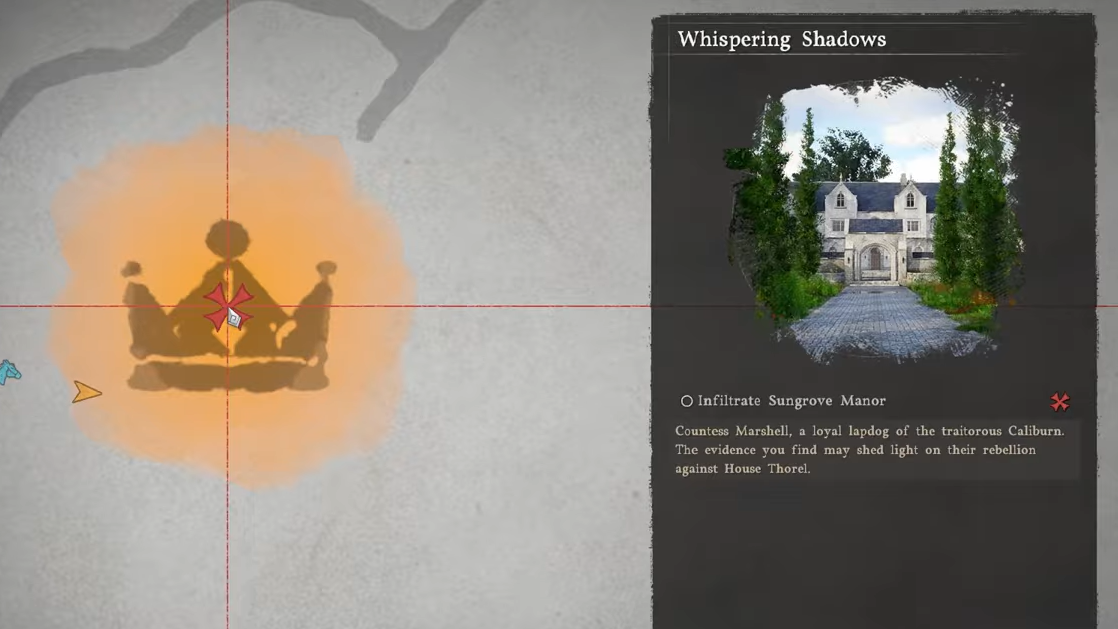
Sungrove Manor is located in the Demeniss region, close to the M label on the map. You can reach it during the Whispering Shadows main quest, which naturally takes you inside the building. If you miss the puzzle during that quest, you can return later through free exploration and solve it at any time.
Reaching the Strongbox Room
Step 1: Enter Sungrove Manor and make your way to the second floor. The staircase is inside the main building.
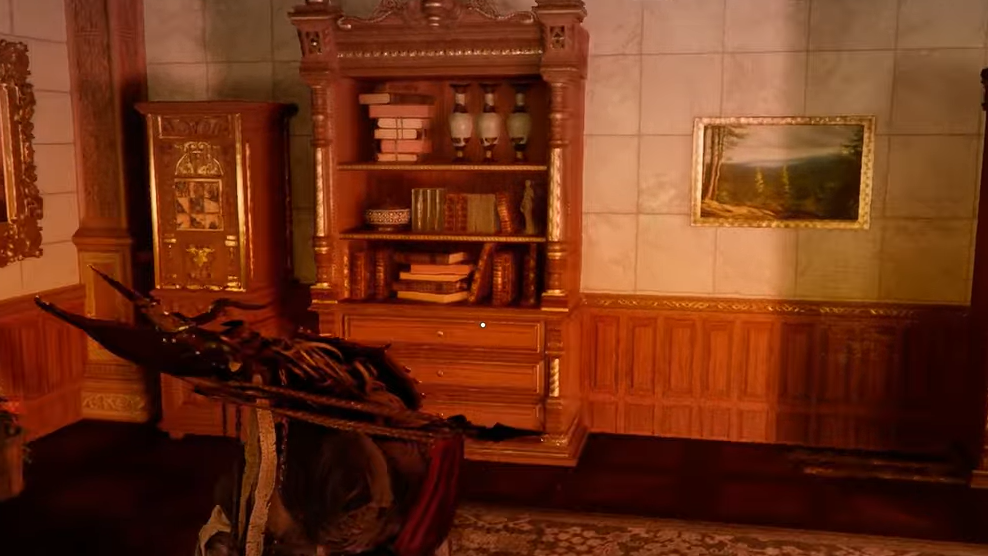
Step 2: Walk down the corridor on the second floor until you reach the room at the very end. The strongbox is inside this room, and it appears as a white chest icon on your mini-map.
How the Rotating-Square Puzzle Works
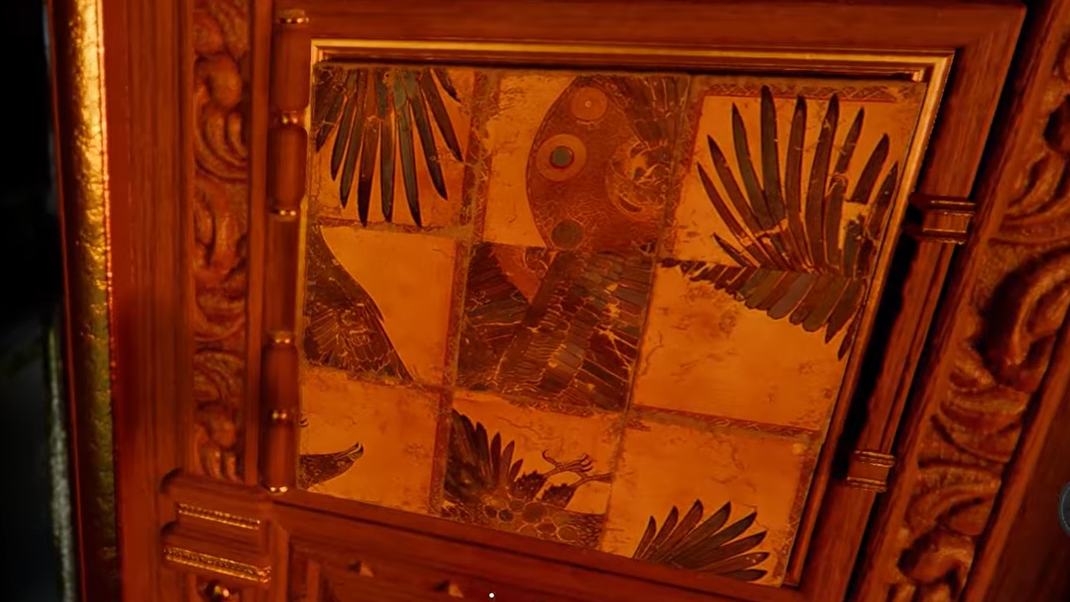
The Sungrove Manor strongbox uses a picture-rotation mechanic. The painting on the front of the strongbox is split into a grid of individual squares, and each square can be rotated independently. Your goal is to turn every square so that the fragments align into a single, coherent image.
Interact with a square to rotate it. Each press turns that square by 90 degrees. Since each piece operates independently — unlike the multi-panel rotation puzzles at Bluemont Manor or the button-sequence puzzles elsewhere — there is no cascading effect. You can fix one square at a time without worrying about disturbing the others.
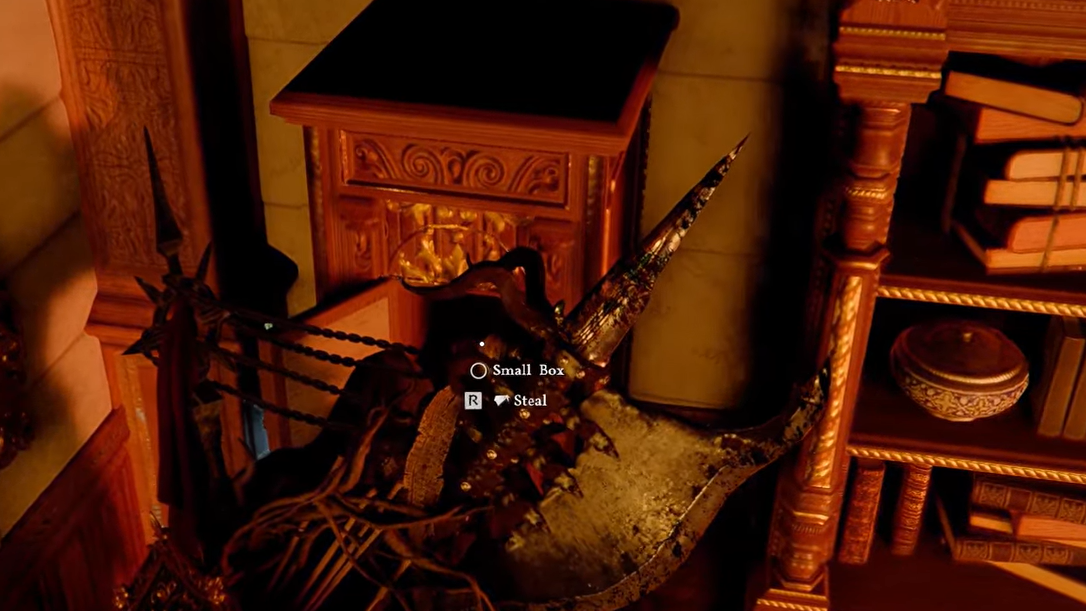
Once all squares are properly oriented and the picture is complete, the strongbox unlocks automatically. Equip your mask, then interact with the box to steal the reward inside.
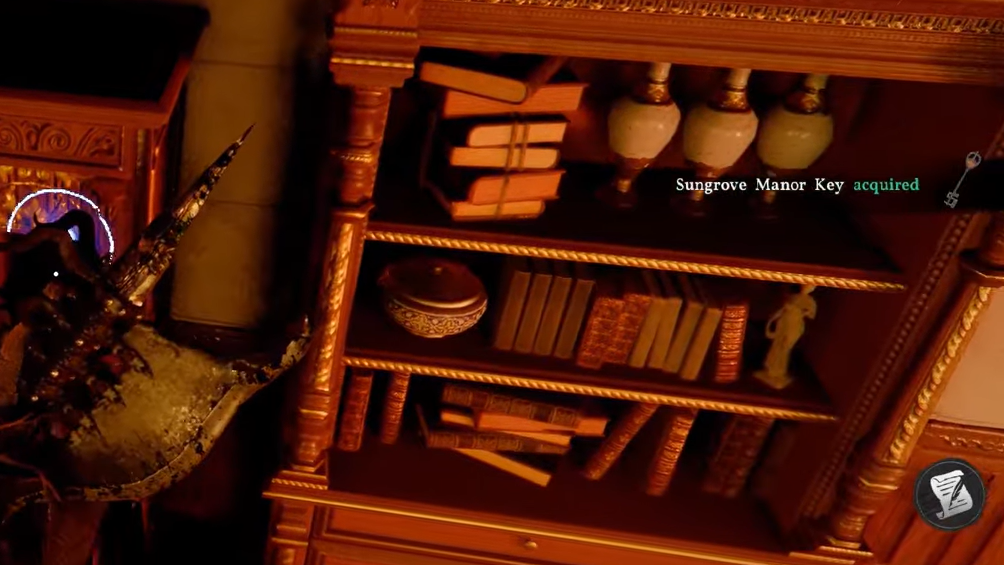
Reward — Sungrove Manor Key
Opening the strongbox gives you the Sungrove Manor Key. This key grants access to locked areas within or around the manor, so hold onto it rather than selling it.
Tips for Solving Rotation Puzzles Faster
The Sungrove Manor puzzle shares its rotation mechanic with the Lioncrest Manor strongbox in Hernand, which also asks you to rotate painting fragments (that one rewards an Engraved Gold Earring). If you've solved that puzzle before, the same approach applies here. Start from one corner of the grid and work outward, locking in edge pieces first so you have reference points for the interior squares.
Because each square rotates independently, there is no specific numerical sequence to memorize — just keep turning each piece until its artwork lines up with its neighbors. The puzzle cannot be failed or locked out; you can rotate squares as many times as needed.
With the Sungrove Manor Key in hand, you're free to continue exploring Demeniss. The nearby Azerian Manor holds another strongbox with a different puzzle type — a button-sequence rotation that rewards the Ancient Earring — so it's worth stopping there on the same trip through the region.