
Wolf taming in Icarus looks simple on the surface – drop a snare, add bait, throw in a few carcasses – but in practice, it is picky about distance, threat, valid food, and even how the wolf enters the trap. Small mistakes often lead to wolves that never eat, despawn while you are away, or die to passing predators.
Requirements to tame a wolf in Icarus
Before trying to capture a wolf, you need a few specific Tier 2 items and the right biome.
| Requirement | Details |
|---|---|
| Tech tier and level | Tier 2, level 10 or higher to unlock animal husbandry blueprints. |
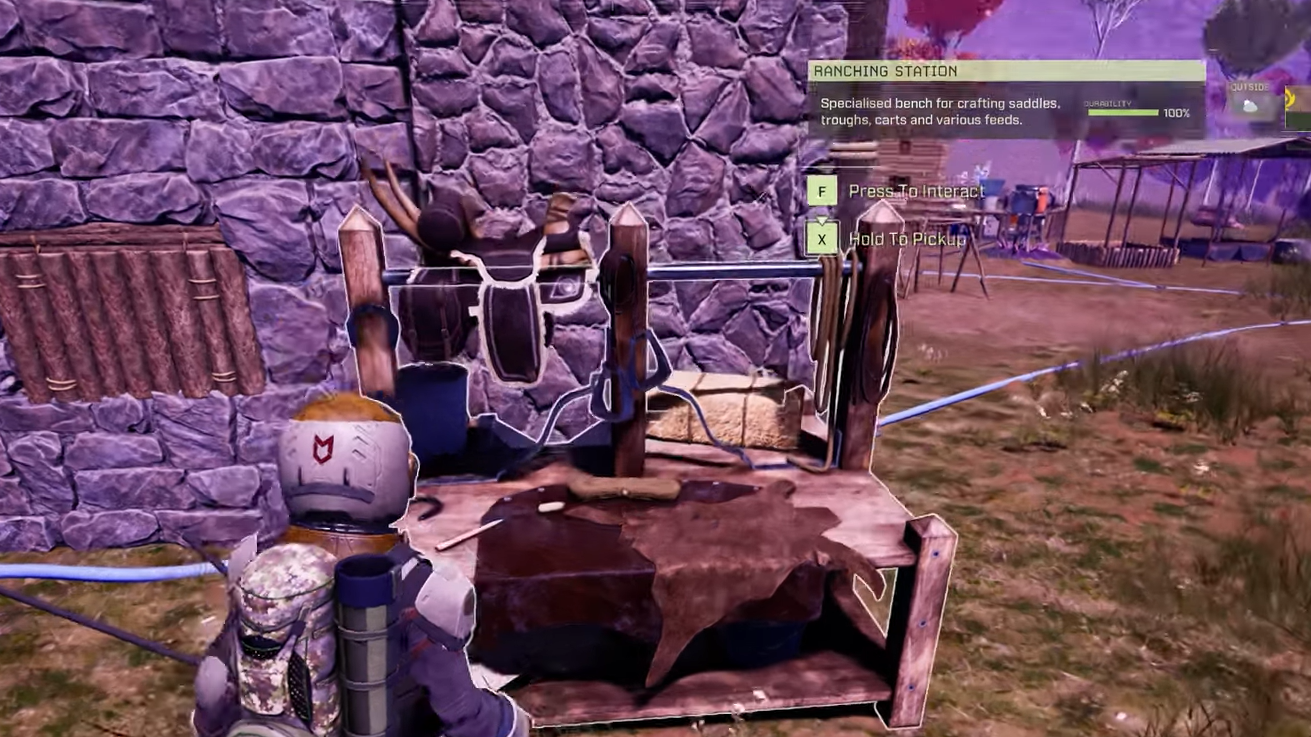
| Ranching Station | Used to craft the Snare Trap and Wolf Bait. |
| Snare Trap | Deployable that restrains a wild wolf once it walks into the trap radius. |
| Wolf Bait | Single-use bait that attracts wolves to the snare in eligible biomes. |
| Valid biomes | Forest, Grassland, or Arctic zones where Conifer Wolves or Snow Wolves naturally spawn. |
| Carcasses | Whole bodies of small or medium animals you can carry (rabbits, fawns, pronghorns, chamois, small deer, etc.). |
Wolf Bait is crafted at the Ranching Station using raw stringy meat, animal fat, and spoiled meat. It does not decay in your inventory and only functions when slotted into a snare placed in Forest, Grassland, or Arctic biomes.
Talents in the Husbandry tree speed taming and make the process less punishing, but they are not required. You also do not need a nearby bed, trough, or water source for the taming step itself.

How wolf taming actually works
The wolf taming loop has three distinct phases: capture with bait, repeated feeding with carcasses, and a final claim interaction once its hostility drops.
Step 1: Craft a Ranching Station, then use it to craft at least one Snare Trap and several units of Wolf Bait. Prepare a basic shelter, campfire, weapons, and a few repair materials, since the process can take 15–30 minutes in real time.
Step 2: Travel into a Forest, Grassland, or Arctic biome where wolves naturally patrol. For faster captures, place the snare slightly away from your main base to avoid creature deterrent devices and your own tames interfering with pathing or aggro.
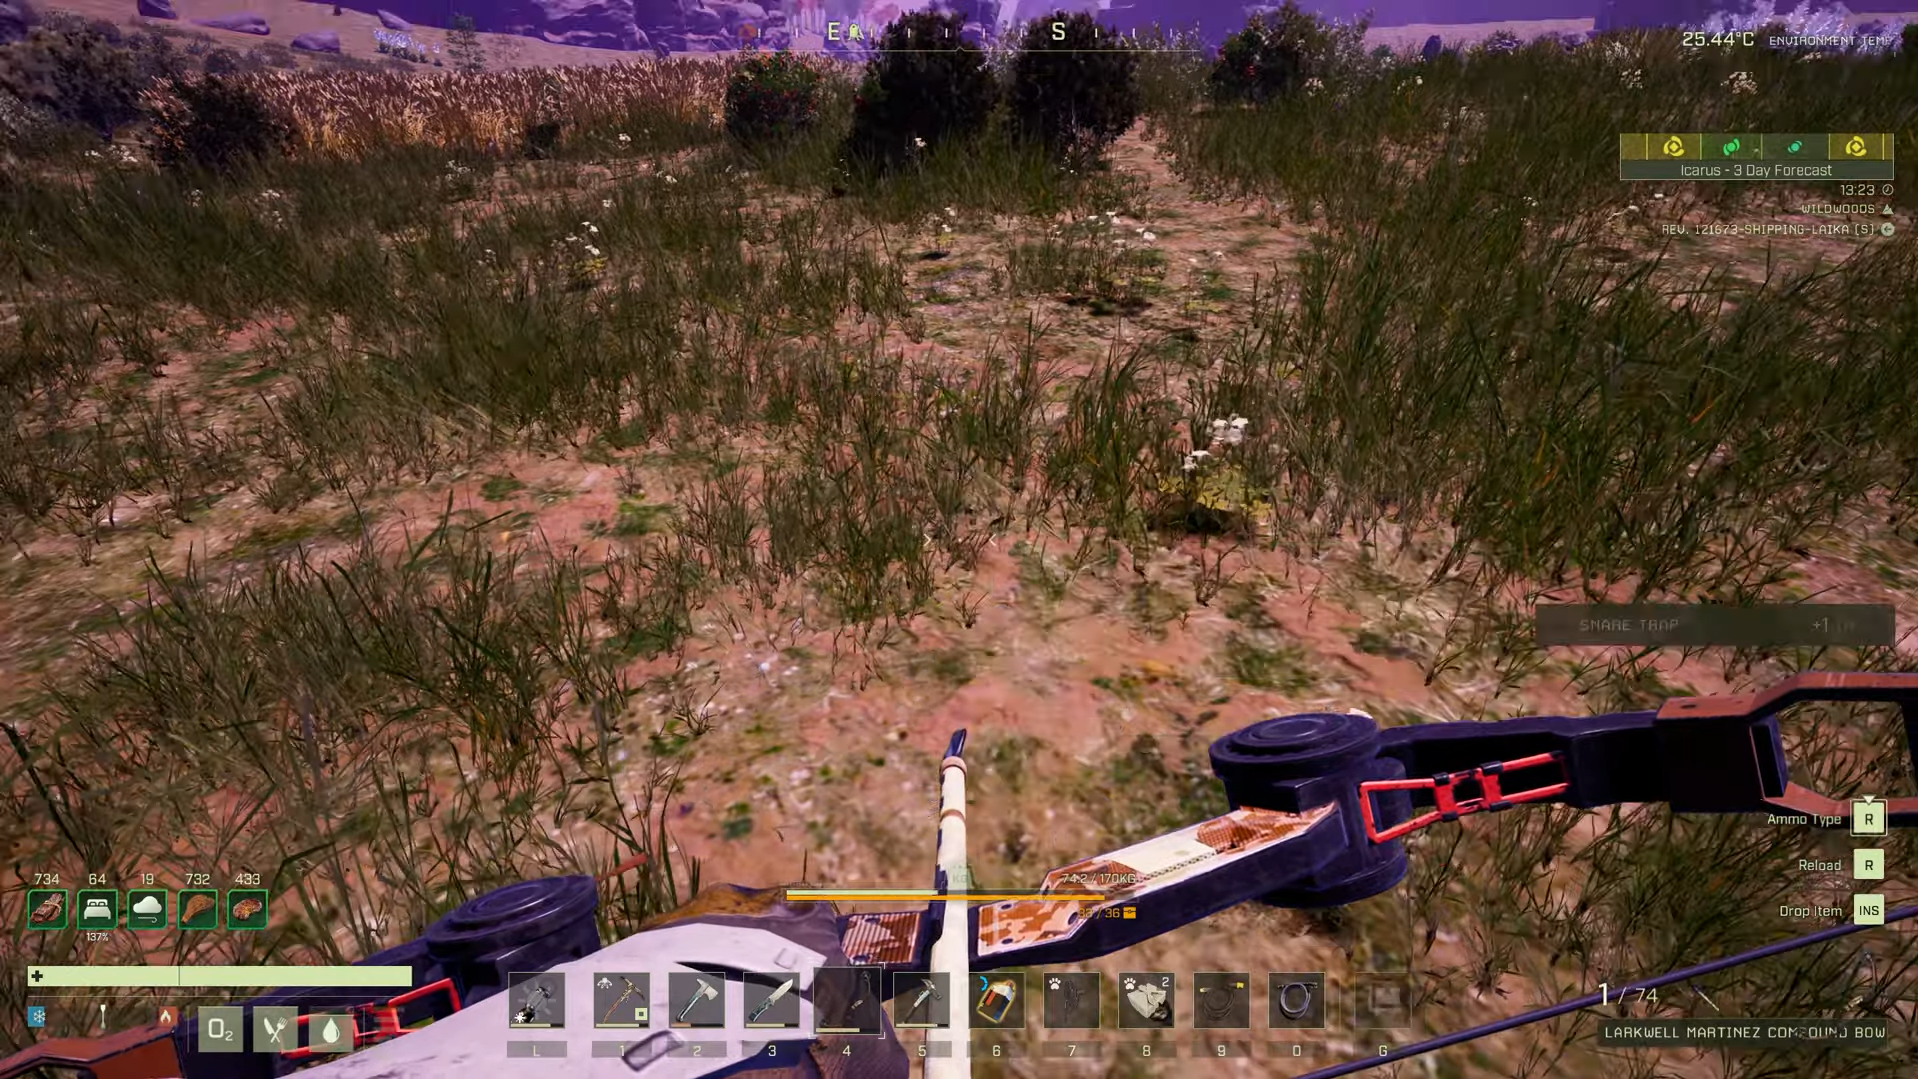
Step 3: Deploy a single Snare Trap on relatively flat ground and arm it with one Wolf Bait. Avoid placing multiple snares close together; overlapping traps can cause inconsistent triggering.

Step 4: Move away from the snare and break the line of sight. Stay within render distance, but far enough that nearby wolves no longer show an aggression marker on your HUD. A wolf must approach feeling “unthreatened” for the taming logic to progress smoothly.
Step 5: Allow a wolf to wander into the armed snare. One reliable pattern is to let it patrol naturally into the trap; in many cases, chasing a wolf through the trap while it is actively attacking you prevents taming from progressing even if the snare visually triggers. Some players do succeed with a chase-through, but organic capture is more consistent.
Once the wolf is snared, it consumes the bait automatically. After a short time, a fork-and-knife icon appears above its head, indicating it now wants a carcass, not another bait item.
Feeding carcasses to the trapped wolf
This is the stage where most attempts fail. The game is strict about what counts as valid food and whether the wolf feels safe enough to eat.
Step 1: Hunt small or medium animals close to the snare – rabbits, baby deer, pronghorns, chamois, and similarly sized creatures you can physically carry. Carcasses from animals that cannot be carried (e.g., buffalo, adult moas) do not count even if you kill them next to the trap.
Step 2: Pick up a carcass and walk it to the trapped wolf. Approach from behind when possible and use crouch to reduce your perceived threat so the wolf does not re-aggro unnecessarily.
Step 3: Drop the carcass as close to the snare as you can, essentially on top of the wolf if the prompt allows. If the corpse is too far from the trap radius, the wolf will ignore it, and you will see an X indicator instead of a check mark when inspecting taming progress.
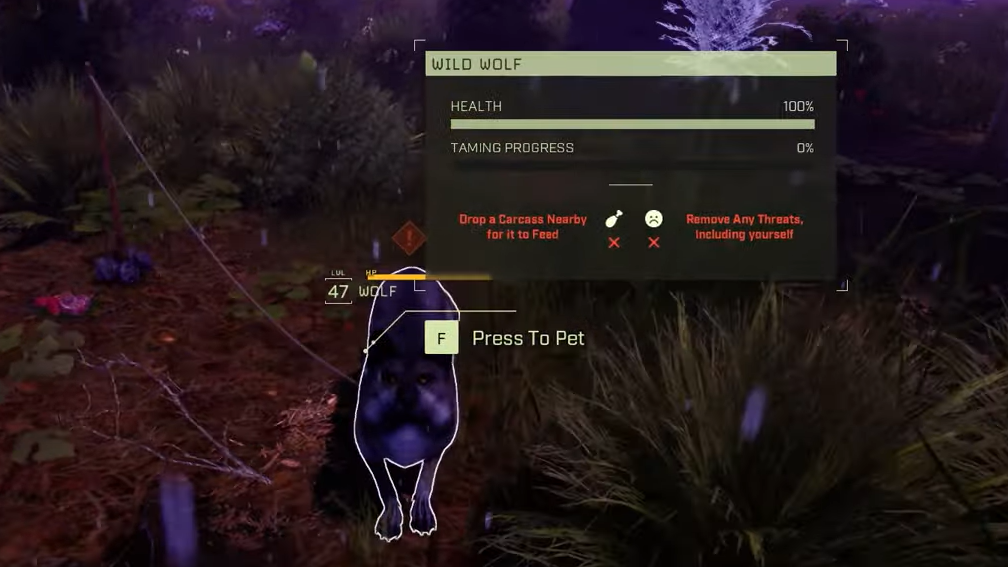
Step 4: Immediately back away until the wolf’s aggression indicator disappears again. Remaining close enough to keep it angry – or having any nearby animal on Defensive stance – causes the taming prompt to stay stuck on “remove all threats including yourself”, and the wolf will not eat.
Step 5: Wait a few minutes out of line of sight. The taming percentage only increases when the wolf is calm and starts consuming the carcass. Each carcass advances the taming bar; expect to use several bodies (for example a deer, a couple of rabbits, and another medium animal) before it reaches 100 percent.
Wolves can eat a wide range of prey, including other wolves and even predators like jaguars, although some players see inconsistent behaviour when using same-species carcasses. If you repeatedly get an invalid marker, prioritise rabbits, baby deer, and other small herbivores that you can carry.
Check progress by sneaking close and interacting with the snare. A check mark icon confirms there is still usable food; do not assume a visible corpse is valid if it is nearly eaten or close to spoiling. When the health bar above the wolf disappears while it is still in the trap, that is a strong signal that it has fully converted to a tame.
Managing despawns, predators, and environmental hazards
Even with correct feeding, wolves can disappear or die if you overlook render distance and ambient threats.
Stay within render range. If you walk too far – for example, into your base to craft items or several hundred meters away to hunt – the trapped wolf can despawn, or the trap can silently reset. Remaining nearby, but not aggressive, keeps the entity active and allows taming ticks to process.
Disable creature deterrents near the snare. On-base deterrent devices reduce nearby wildlife spawns and can interfere with wolves approaching or remaining around the trap. Temporarily turning them off improves consistency.
Control your other animals. Any of your tamed creatures set to Defensive or Aggressive stance may rush the snared wolf when it growls at you and kill it instantly. Tie them up, park them well away from the trap, or set all tames to Passive until the wolf is claimed.
Protect from aerial and roaming threats. Predators like bears and passing wolves can steal carcasses or kill your trapped wolf. Flying enemies such as Dreadwings are especially punishing, repeatedly diving onto the snare area. A simple 2×2 shelter with a roof covering the trap’s wander radius dramatically increases survival. Some players also lead juvenile animals into that covered area before killing them so that larger carcasses, which cannot be carried, still land inside the safe zone.
Do not hunt too close to the snare. Arrows and projectiles aimed at prey around the trap frequently clip the wolf instead, wasting hours of progress. Kill feeder animals at a safer distance, then carry their bodies in.
Recognising a successful tame and claiming the wolf
After several carcasses and a stretch of waiting at a safe distance, the wolf will finish its taming cycle.
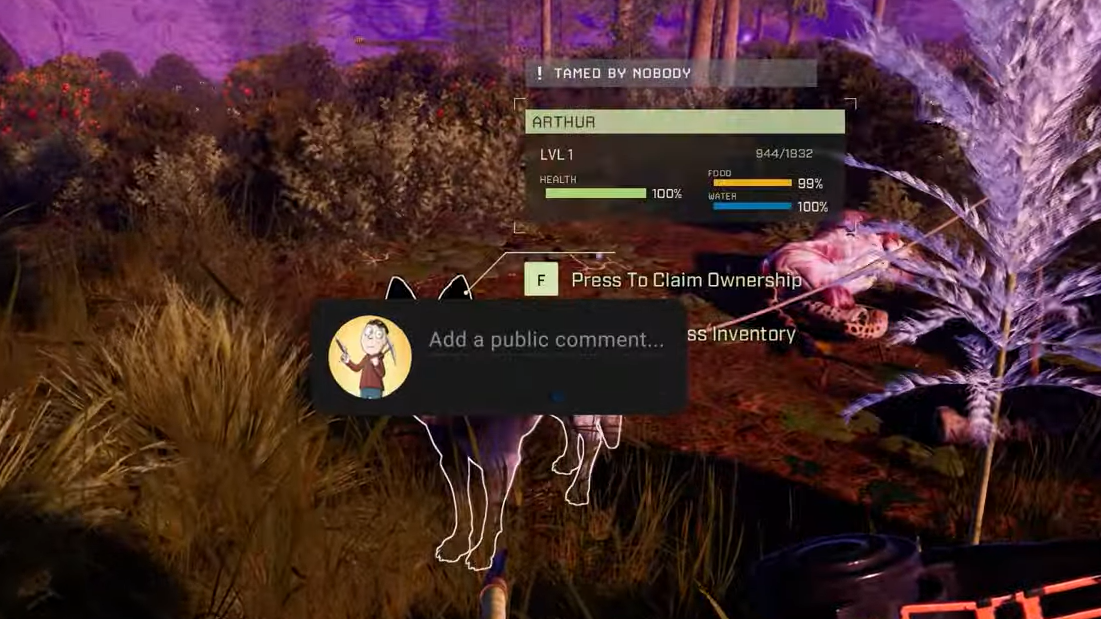
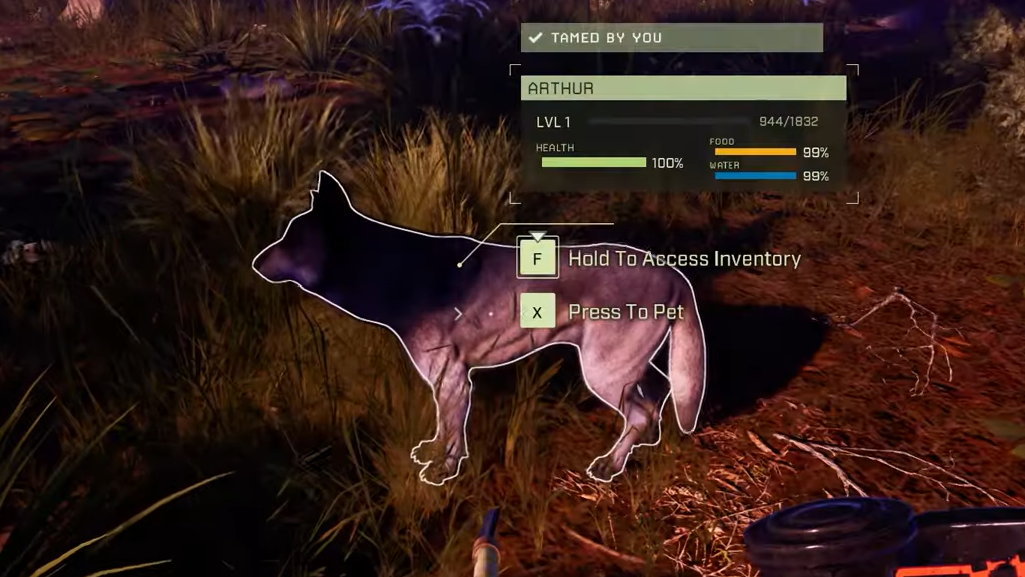
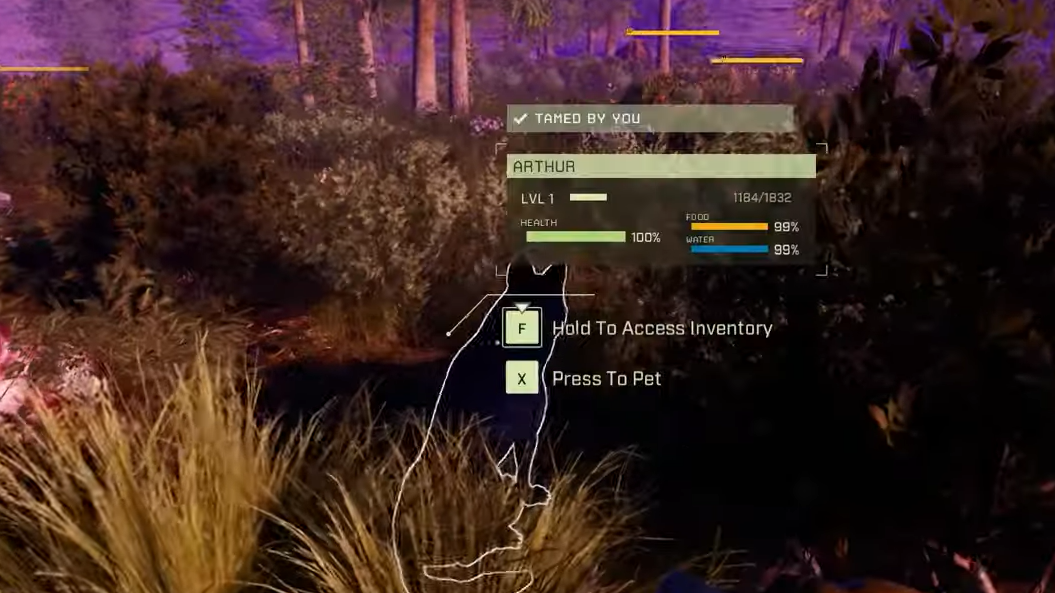
Step 1: Periodically sneak back toward the trap to check the taming progress. When the bar reaches 100 percent, the wolf stops acting as a hostile enemy. The usual red health bar disappears, and a prompt appears when you approach.
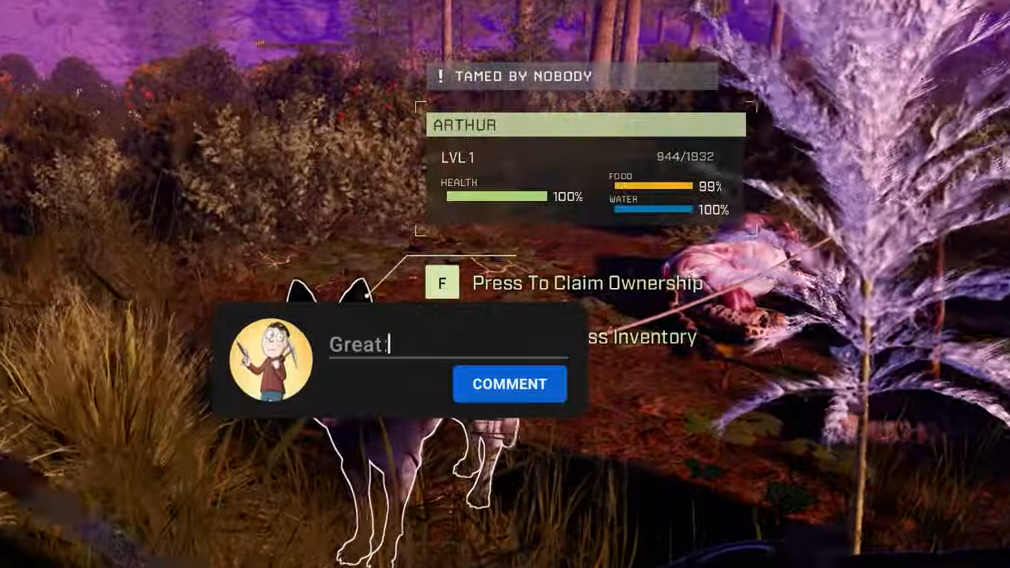
Step 2: Walk up to the wolf and interact when the “claim” prompt shows. This binds it to you as a permanent tame. If the prompt does not appear but the animal is no longer attacking, move slightly around it until the interaction triggers.
Step 3: Once claimed, pet and feed the wolf using standard animal feed and tamed-creature food items rather than carcasses on the ground. It now uses the same food and stomach-slot system as other pets, and you can keep it healthy and levelling with Omni Animal Feed or specialised animal foods.
Step 4: Open the wolf’s interaction menu and set its stance to Passive, Defensive, or Aggressive depending on your needs. Also, start assigning talent points as it levels – wolves gain access to combat-focused talents such as slows, target marking, and life steal, which make them valuable frontline companions.
If the wolf seems to stay rooted at the taming spot after claim, ensure it is not leashed to the snare or blocked by the remaining shelter. Remove the trap, clear any walls directly in front of it, and issue a follow command again.
Biome and variant notes for wolves
There are two main wolf types that can be tamed with snares and Wolf Bait.
| Wolf type | Biome | Notes |
|---|---|---|
| Conifer Wolf | Forest and Grassland | Standard combat wolf with strong pack synergy and crowd control talents. |
| Snow Wolf / Arctic Wolf | Arctic | Tamable using the same snare-and-carcass process in snow biomes; has frost-oriented talents and cold resistance auras. |
Both are attracted by Wolf Bait and both follow the same taming pattern: bait in snare, repeated carcass feeding, then claim. Reports of black “epic” wolves not triggering traps suggest some variants may not currently fire snares correctly; if a specific visual variant repeatedly walks through armed traps without being caught, focus on standard-coloured wolves instead.
Practical setup that tends to work reliably
Putting all of this together, a practical, low-friction pattern for taming a first wolf looks like this:
Step 1: Unlock the Ranching Station, Snare Trap, and Wolf Bait at level 10+, then craft one snare and several baits along with a basic stone or wood 2×2 shelter kit.
Step 2: Head to a Forest or Grassland shoreline or other clear patrol route where wolves commonly wander. Deploy your 2×2 shelter frame but leave one side open so the wolf can enter the covered area.
Step 3: Place a single Snare Trap in the center of the roofed space and arm it with Wolf Bait. Turn off any nearby creature deterrent structures and park all other tames far away on Passive.
Step 4: Move 20–30 meters away, just outside the wolf’s aggression range, and wait. Once a wolf is snared inside the covered area, start hunting small game within a short radius and carrying their carcasses back under the roof to drop almost on top of the trap.
Step 5: After each drop, retreat again beyond aggro range while staying within render distance. Over 15–30 minutes, keep topping up carcasses as needed and periodically check the taming bar until the health bar disappears and the claim prompt appears.
Follow this pattern consistently, and you end up with a combat-ready wolf that is far less fragile during the taming phase and much less likely to despawn or starve on a bugged prompt. From there, you can experiment with multiple wolves, boars, or hyenas using the same snare-and-carcass logic, adjusting only the bait type and biome.