
Boons are the quiet power creep in An Average Campaign. They sit in the background, changing how much damage you deal, how often you crit, and even whether you survive a killing blow. With only five boon slots to work with, every choice matters more than the next shiny piece of gear you pick up mid-run.
There are two broad categories to think about:
- Starter Boons – permanent unlocks you buy from the Tavern Master with Cealts (the currency you earn per run).
- Unlockable Boons – special effects that show up once you meet specific in-run conditions, then become selectable for all future runs.
The trick is knowing which ones are good in every build, which are class‑ or subclass‑locked, and which are basically a slot tax for a fun meme.
How boon slots and purchasing work
Every character starts with a fixed number of boon slots (five). Each boon consumes between one and five of those slots, so you will always be forced to make trade‑offs. High‑impact effects tend to eat more slots, while universal defensive tools are usually one‑slot fillers you can slip into any setup.
Before each run, you can spend Cealts at the Tavern Master to permanently unlock Starter Boons. Unlockable boons do not cost Cealts to unlock; instead, you trigger their requirement during a run (for example, becoming a Knight or slaying a specific boss). After that, they appear in your boon list like any other and can be equipped as long as you have the slots.
Once a boon is purchased with Cealts, there is no refund option, so prioritizing the strongest universal picks early will save a lot of grinding.
Starter Boons (what each one does and who wants it)
Starter Boons are your early backbone. They cost Cealts and are always available at the Tavern Master once purchased.
| Boon | Effect | Cost |
|---|---|---|
| Trained | Start the game with 3 extra stat points. | 10 |
| Force of Will | Once per run, survive a fatal attack. | 30 |
| Elven Skin | Take 20% less force damage. | 20 |
| The Pinnacle | Take 1.5× more damage but gain 1 stat point after every combat. | 100 |
| Stealthy | 100% crit chance on your first attack and +25% crit damage, but −15% total damage. | 70 |
| Alert | +5 initiative. | 20 |
| Overtime | First 5 turns: 75% damage and +5% damage each round; then +2 energy and +20% damage. | 100 |
| Nobility | Start with 150 gold but −10 HP. | 10 |
| Opprotunist | Deal 25% more damage to untouched enemies, otherwise −10% damage. | 50 |
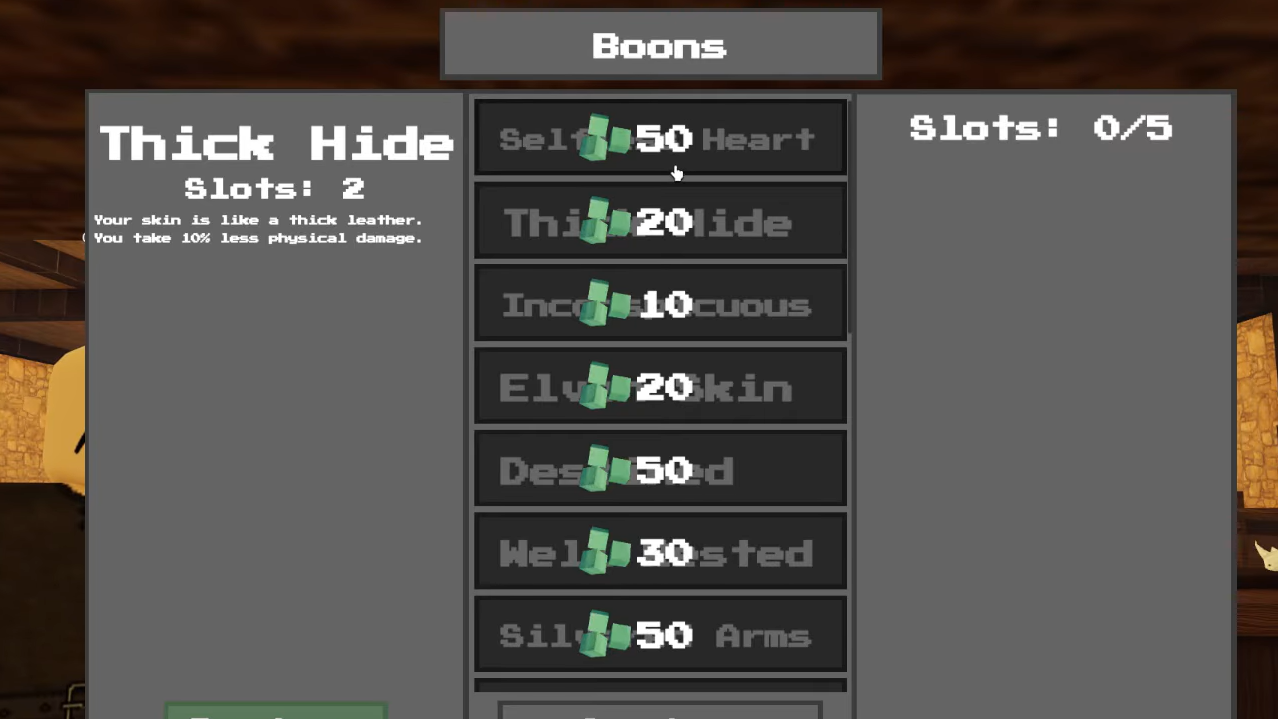
| Thick Hide | Take 10% less physical damage. | 20 |
| Silvered Arms | All physical attacks deal force damage and gain 0.5% INT scaling. | 50 |
| Selfless Heart | +20% outgoing healing, but −10% incoming healing and −10% damage. | 50 |
| Destined | 30% of the damage you take is delayed to the start of your next turn. | 50 |
| Well Rested | Heal an additional 5 HP after each combat. | 30 |
| Bulk Up | Start with +10 HP, but −3 initiative. | 20 |
| Inconspicuous | −15% aggro generation. | 10 |
| Summoner Supreme | Summons gain 30% HP and 10% more damage. | 50 |
Not all of these are equal. Some broad patterns:
- Universal early unlocks: Trained is cheap and smooths the first few runs by effectively giving a free level. Force of Will is a powerful safety net for any class.
- Speed and tank staples: Alert and Thick Hide give flat survivability or tempo with no real downside and work on any build.
- High‑risk scaling: The Pinnacle and Overtime pay off over long runs but punish mistakes or short fights, so they fit best on experienced players and coordinated groups.
- Support‑only picks: Selfless Heart and Summoner Supreme shine on Priest, Necromancer, or Druid, and are effectively dead weight on others.
- Economy and meme options: Nobility, Opprotunist, and some of the niche defensive picks are overshadowed by stronger, more consistent boons once you have a solid roster unlocked.

Unlockable boons and how to get them
Unlockable boons are tied to in‑run achievements or quest‑like conditions. Once triggered, they become permanent options in your pre‑run loadout.
| Boon | Slots | Effect | Unlock condition |
|---|---|---|---|
| The Chosen One | 4 | +5 STR, stats 20% more effective in checks, guaranteed to pull the sword from the stone. | Pull the sword in the Sword in the Stone event. |
| Potential Bunny | 5 | Deal 75% less damage but start with a bunny. | Have a bunny deliver the last hit on a dungeon boss. |
| Flow State | 4 | Each dodge grants permanent crit damage and dodge chance (up to 50 stacks); after 40 dodges your dodge cap increases, but you take 15% more damage. | Win against the two gunmen in Deadend Saloon. |
| Vampiric Bloodline | 2 | 7.5% lifesteal on attacks; take 25% more fire and holy damage. | Kill a vampire and become a bloodkin warlock. |
| Well Prepared | 1 | Start with 2 minor health potions and 1 minor energy potion. | Obtain the true potion from the potion seller. |
| Mage Birthsign | — | +15% INT, start with a random low‑level scroll, but take 25% more damage. | Equip a scroll as a mage. |
| Natural 20 | — | Crit chance fixed at 5%, base crit damage 200% with further crit chance converted into crit damage. | Slay the Giant in the Forest and enter the dungeon. |
| Ourpled | 1 | Take 5% less necrotic and force damage. | Small chance from eating sweets from Granny. |
| Cleansing | 2 | Healing removes 1 stack of all damage‑over‑time effects, but total healing is reduced by 20%. | Become a Druid. |
| Energy Conserver | 2 | 15% chance to gain additional energy at the start of your turn. | Get the Elementalism subclass. |
| Weak Points | 1 | Flat increase to critical strike damage. | Unlock the Assassin subclass once. |
| Perseverance | 2 | 10% damage reduction when below 50% HP. | Obtain the Knight class. |
| Honed Mind | 2 | Focusing lasts an additional turn as a debuff, but grants a 15% damage boost and you take 25% more damage. | Kill Nedyak after choosing the Void portal event. |
| Daredevil Impulse | — | Dealing damage builds Impulse stacks for damage and lifesteal at the cost of lower base damage and higher damage taken. | Defeat Devilman. |
| Keen Eye | 1 | Flat 5% critical strike chance. | Unlock Drifter. |
Some unlocks double‑dip: subclasses such as Assassin, Knight, Druid, Drifter, and Elementalist give you a new playstyle and quietly drop a powerful global boon into your pool. Others, like Potential Bunny and The Chosen One, are more like alternate campaigns you opt into for an entirely different rhythm.
High‑impact boons that are strong in almost any build
Certain boons are so efficient per slot that they are hard to justify skipping unless you are doing something extremely specific.
- Vampiric Bloodline (2 slots): Lifesteal on every attack plus increased incoming healing turns any high‑damage class into a self‑sustaining engine. The increased fire and holy damage taken matters in a few fights, but the upside usually wins out.
- Energy Conserver (2 slots): The extra energy proc can completely change turn breakpoints for classes with expensive abilities. Getting a key skill one turn earlier often prevents damage that would otherwise force you to heal or defend.
- Force of Will (1 slot): A single “you should be dead but are not” trigger per run is worth a slot on fragile damage dealers and solo characters.
- Thick Hide (1 slot): Flat physical damage reduction is always on and becomes more valuable the longer the run goes.
- Alert (1 slot): Going first means deleting threats before they act, or landing taunts and debuffs before the enemy turn. Initiative is especially important on tanks and Rogues.
- Weak Points and Keen Eye (1 slot each): These boost crit damage and crit chance and are particularly good on high‑DEX builds such as Rogue or other crit‑stacking setups.
Combination boons are where things start to snowball. For example, a Rogue running both Keen Eye and Weak Points with Stealthy or other crit tools can open fights with an extremely reliable burst. A Warrior or Brawler with Vampiric Bloodline and Perseverance becomes much harder to kill without spending extra party resources.

Class‑specific standout boons
Some boons are essentially class features disguised as optional perks. They are mediocre off‑class, but defining when used with the right kit.
- Mage Birthsign: This is a defining boon for mage runs. The INT boost, plus a free scroll at the start, overcompensate for the higher incoming damage when you have a party to protect you. It is much weaker in solo runs, where that penalty is harder to manage.
- Perseverance: As a Knight, you are expected to sit at lower HP while absorbing damage for the party. The damage reduction kicks in exactly where you need it and stacks nicely with armor and defensive skills.
- Summoner Supreme: For Necromancer and Druid, this is essentially a direct buff to your primary “weapon.” Stronger, tankier summons mean more board control and less pressure on your backline.
- Selfless Heart: On Priest, the outgoing healing boost far outweighs the loss in personal damage output. Pairing it with Cleansing creates a strong, if very specialized, anti‑dot healer.
- Silvered Arms: This rewires how a GloomStalker builds stats by allowing physical attacks to scale with INT. It lets you lean fully into intellect gear and boons while still getting full value from your weapon skills.
There are also “fantasy enablers” like Potential Bunny and Jack of All Trades–style boons that reframe the run around a pet or multi‑class access. These require more game knowledge and planning, but can be some of the most rewarding ways to play once you understand the baseline systems.
Boons that are niche or generally low value
Not every boon is worth your limited slots. Some are deliberately tuned as challenge or flavor picks.
- Flow State: Scaling off dodges looks good on paper, but the low starting dodge chance means you may never reach meaningful stacks before the run ends. The increased damage taken works against you in the fights where it should shine most.
- Natural 20: Turning crit chance into raw crit damage and locking the chance at 5% creates occasional huge hits, but it removes the consistency that most builds want. The result is high variance without a reliable benefit.
- Nobility and Ourpled: Economic and very narrow mitigation effects are difficult to justify in place of stronger global defense or damage tools, especially once you have access to better gear and boons.
- Wild Ride‑style randomness: Anything that simply randomizes damage in a small band without a strong upside tends to be worse than just taking more controlled offense or defense.
- Cleansing without synergies: Reducing damage‑over‑time stacks can trivialize specific enemies, but the flat healing reduction is noticeable. It only starts to feel acceptable when combined with other outgoing‑healing boosts.
These boons are not useless; they just sit in a different category. They work best when you are pursuing a specific challenge, role‑playing angle, or extremely focused build rather than trying to optimize clear speed or win rate.
Practical pairing: boons by class archetype
Every class has stat priorities that inform boon choices:
- Rogue: Abilities scale better with Dexterity, which also boosts crit chance and dodge. Offense‑oriented rogues lean hard into Keen Eye, Weak Points, and crit‑focused starters like Stealthy or Overtime. Assassin, in particular, makes good use of Stealthy even after changes that removed super crits, while Drifter is more comfortable with Overtime and other long‑setup tools.
- Warrior: Strength first, Constitution second. Straightforward picks like The Chosen One, Perseverance, Thick Hide, Bulk Up, and Alert push you further into the tank role. More aggressive Rampager‑style setups pair well with Vampiric Bloodline to turn self‑damage and high output into sustain.
- Mage: Intelligence is everything. Mage Birthsign is a natural anchor, with Energy Conserver smoothing out expensive casts and Vampiric Bloodline or defensive boons covering survivability. Constitution investment is rarely needed when gear and a Priest can keep you alive.
- Brawler: Strength and Constitution, especially on Beast, which is naturally squishy. Opportunist‑like boons that reward high opening damage can carry trash fights, while Daredevil Impulse‑style stacking damage may fit multi‑hit combos in longer encounters.
- Priest: Faith first, with some Constitution for safety. Selfless Heart, plus class‑specific unlocks such as Cleansing or Druid boons, create extremely strong healer identities. Potential Bunny occupies every boon slot by itself, but can be abused with Druid tools to turn the bunny into a boss‑melter.
The key is alignment: match your boon effects to the stats your abilities scale on, and to the role you expect to play in the party. If a boon pushes you toward a stat or play pattern your kit does not support, it is usually a trap.

The game’s balance shifts often, but the underlying logic of boons stays the same: flat, always‑on effects that line up with your class stats and party role will carry more runs than high‑variance gambles or extremely narrow counters. Treat your five boon slots like a second talent tree, plan around them, and the difference in how your campaigns feel will be immediate.