
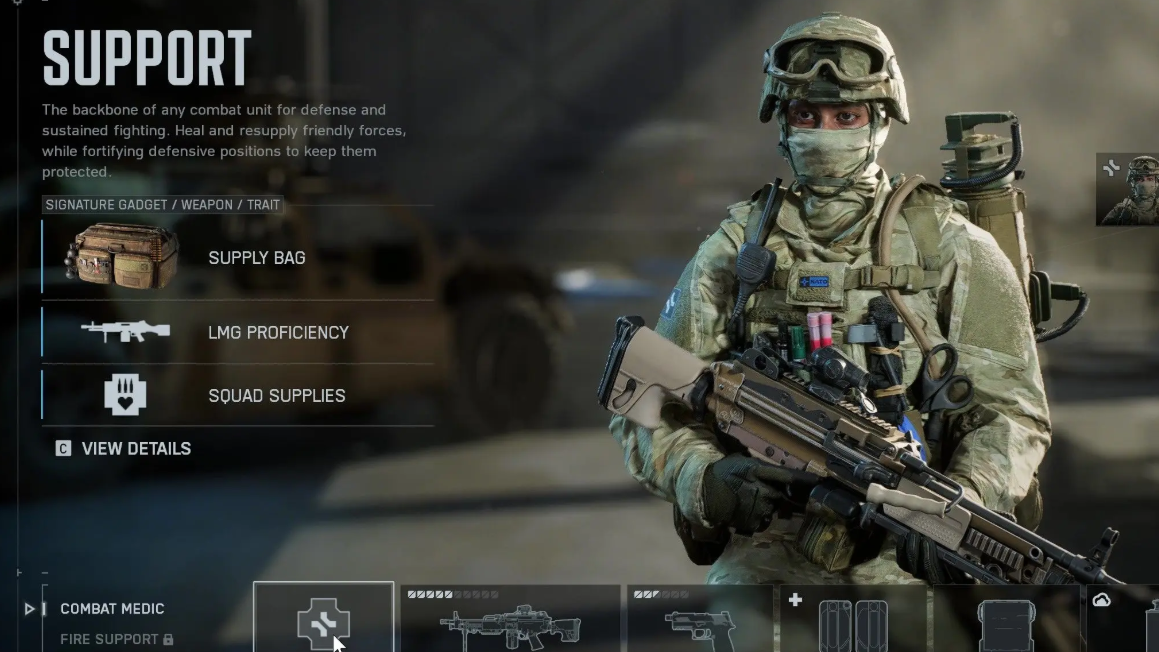
The L110 is the Support class starter LMG in Battlefield 6, and it’s stronger than “just the default” once it’s built with intent. Support also gets unique handling perks with LMGs (no sprint speed penalty and faster ADS), and in the Open Weapons playlist, you can bring the L110 to any class—though Support benefits from it most.
Every attachment spends from a 100‑point weapon budget. Most guns can equip up to ten attachments, but you don’t have to fill every slot; leaving budget on the table is fine if the next piece doesn’t solve a problem. Below are loadouts that fit the budget and unlock curve, plus two proven competitive alternates.
Best L110 early‑game loadout (steady mid‑range, low unlocks)
| Slot | Attachment (points) |
|---|---|
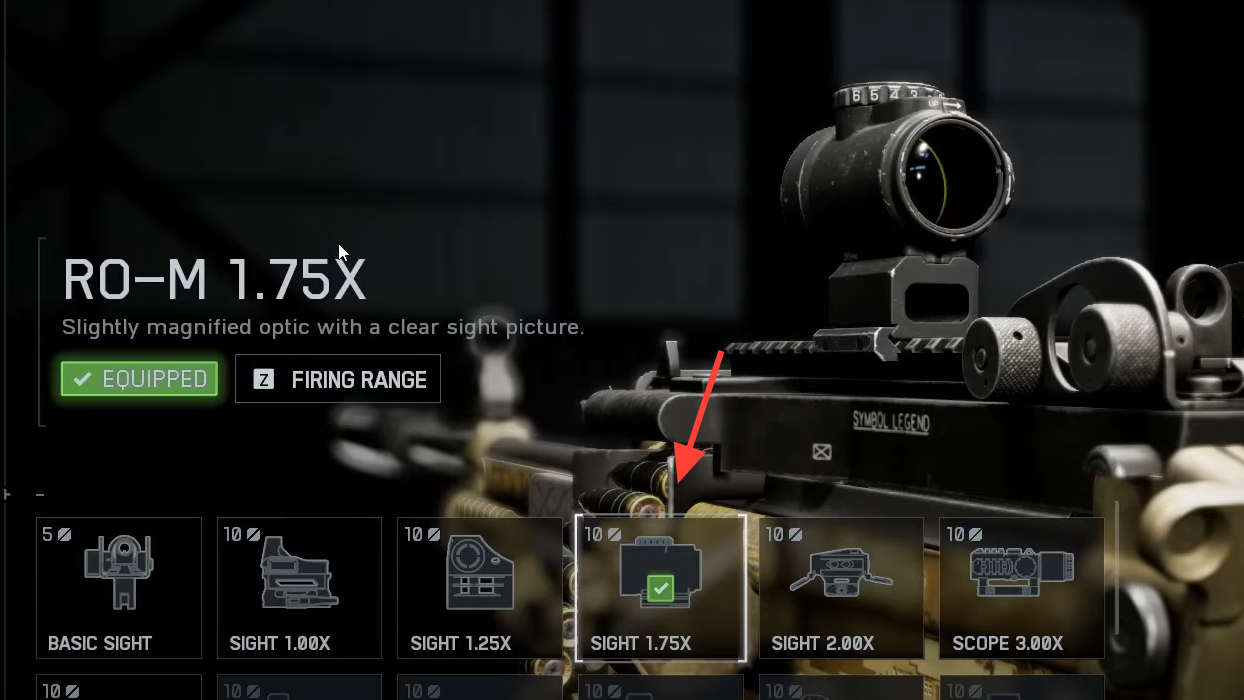
| Optic | RO‑M 1.75X (10) |
| Top accessory | 5 MW Red (10) |
| Barrel | Heavy 349MM SB (10) |
| Muzzle | Flash Hider (10) |
| Underbarrel | Alloy Vertical (20) |
| Magazine | 100RND Belt Pouch (5) |
| Ammunition | Penetration Tungsten Core (5) |
| Total | 70 points |
This is a clean, forgiving starter build for medium sightlines. The RO‑M 1.75X adds light magnification without overcommitting, and the Alloy Vertical Grip delivers recoil control with no meaningful downsides. Flash Hider keeps you off 3D spotting and shrinks your minimap reveal radius while you hold angles. The standard Heavy 349MM barrel is a stable baseline, and the default 100‑round belt suits the L110’s moderate rate of fire. Tungsten Core is the key pickup here—extra penetration makes your sustained fire dangerous through light cover, with a manageable recoil tradeoff.
Best L110 mid‑game loadout (posted up, bipod control)
| Slot | Attachment (points) |
|---|---|
| Optic | Baker 3.00X (10) |
| Top accessory | 5 MW Red (10) |
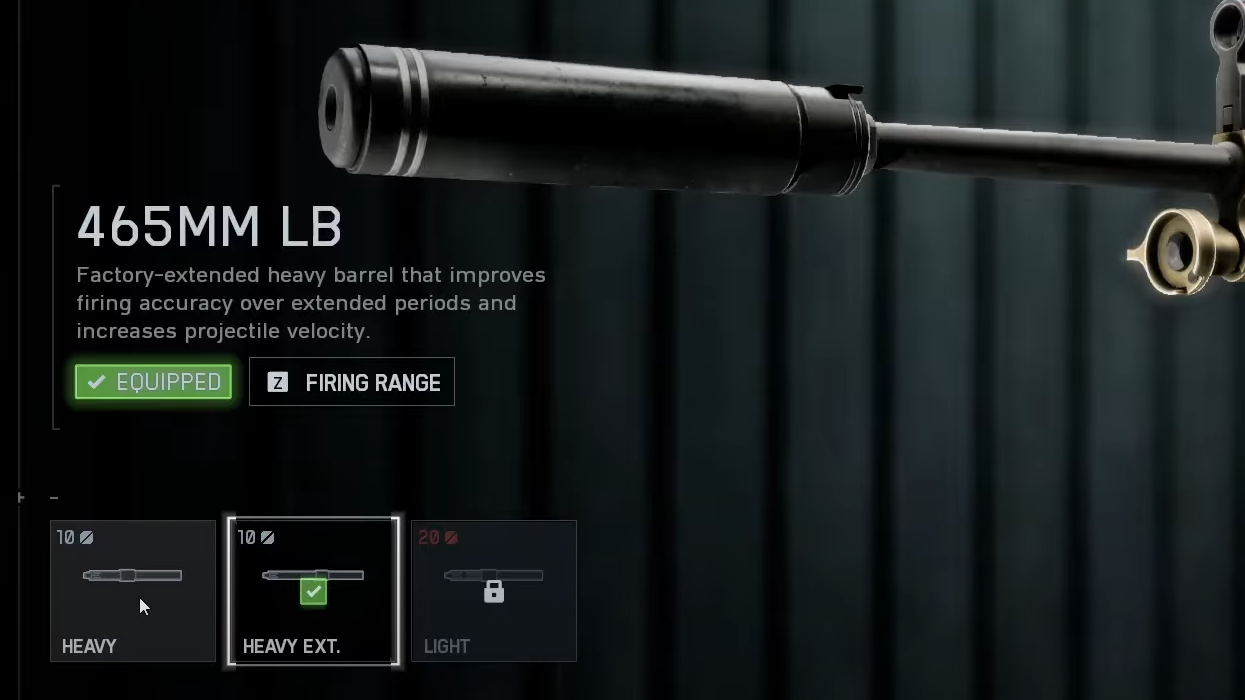
| Barrel | Heavy Extended 465MM LB (10) |
| Muzzle | Flash Hider (10) |
| Underbarrel | Classic Grip Pod (30) |
| Magazine | 100RND Belt Pouch (5) |
| Ammunition | Penetration Tungsten Core (5) |
| Total | 80 points |
Build for range and consistency, then leverage LMG strengths. The Classic Grip Pod is the centerpiece: mount on cover edges or deploy prone for laser‑steady recoil, and it even helps ADS speed versus basic bipods. With that stability, a 3.00X optic becomes practical for long lanes. The 465MM LB extends effective range and bullet speed; Flash Hider remains the most budget‑friendly concealment pick for a sit‑and‑hold style. Tungsten Core continues to reward posted play by punching through light cover while you anchor objectives.

Best L110 late‑game loadout (suppressive “fire hose”)
| Slot | Attachment (points) |
|---|---|
| Optic | Mini Flex 1.00X (10) |
| Top accessory | 5 MW Green (10) |
| Barrel | Heavy 349MM SB (10) |
| Muzzle | Single‑Port Brake (5) |
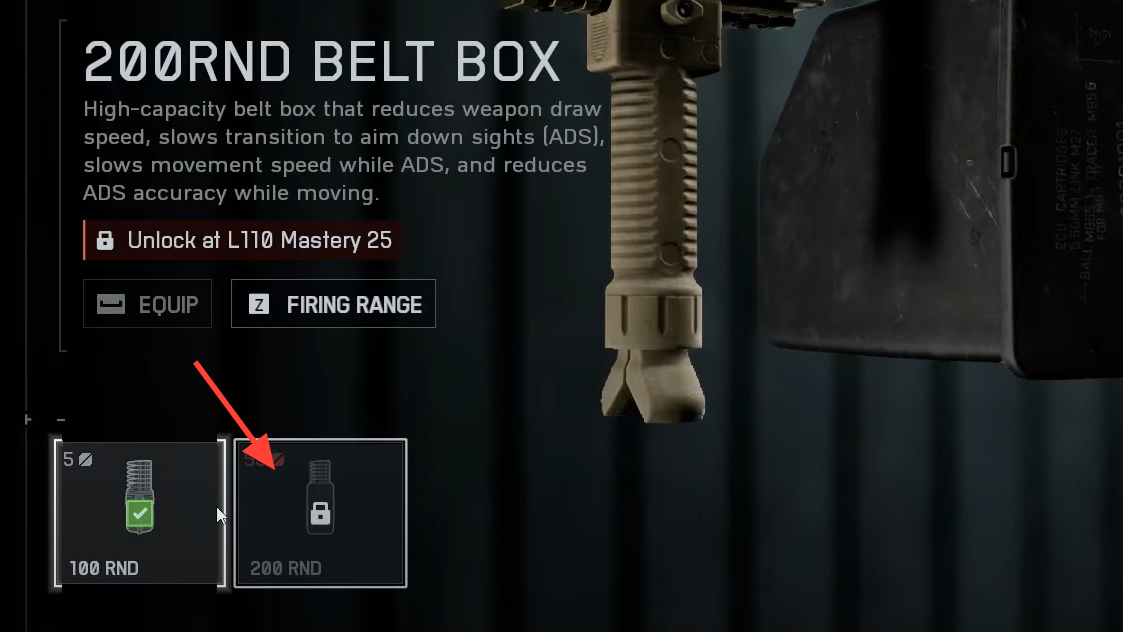
| Magazine | 200RND Belt Box (55) |
| Ammunition | Penetration Tungsten Core (5) |
| Total | 95 points |
When you want to drown pushes in bullets, the 200‑round Belt Box is the late unlock that changes roles. Expect heavier recoil and slower handling, so keep the sight picture simple with a 1.00X and add the Single‑Port Brake for a touch more control. The 5 MW Green laser boosts hipfire at close range (and is visible to enemies), which fits the aggressive, suppressive intent of this setup. Stick with the Heavy barrel to stay within budget. Tip: if you prefer snappier handling, drop the optic and swap to the Light 349MM Fluted barrel to reallocate points without exceeding 100.
Alternate L110 competitive builds (proven variants)
Balanced 100‑point precision (ADS + control)
| Slot | Attachment (points) |
|---|---|
| Muzzle | Compensated Brake (20) |
| Barrel | 465MM LB (10) |
| Underbarrel | Stippled Stubby (35) |
| Magazine | 100RND Belt Pouch (5) |
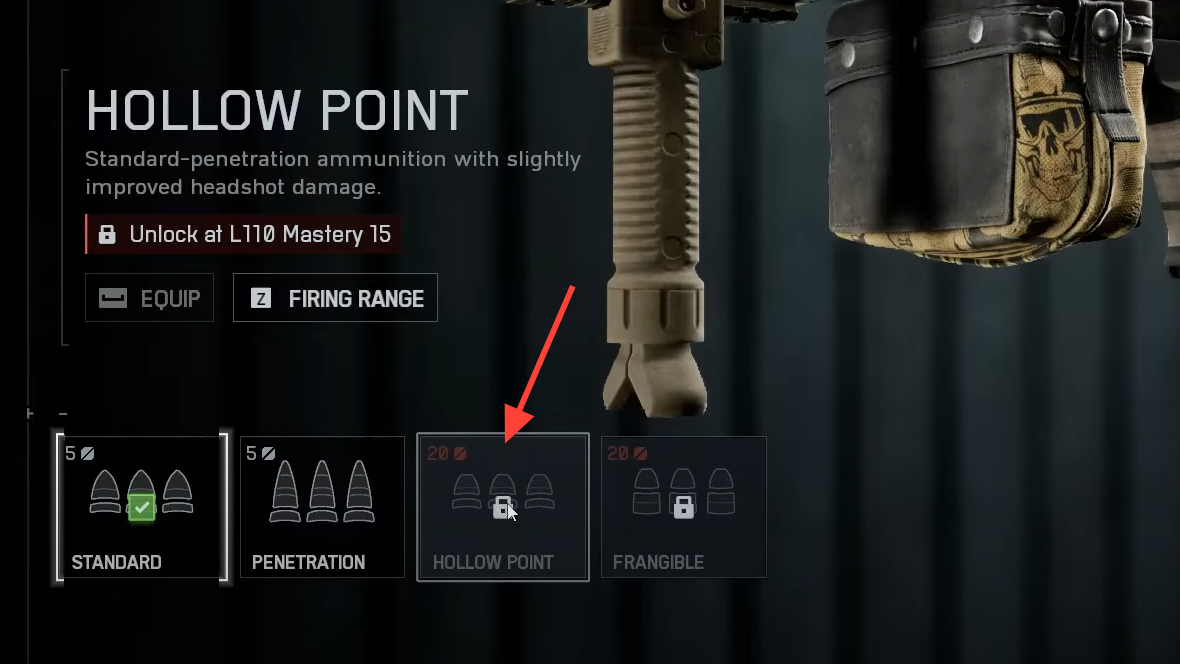
| Ammunition | Hollow Point (20) |
| Optic | RO‑M 1.75X (10) |
| Total | 100 points |
This all‑round build tames vertical/horizontal climb and keeps ADS brisk. The Stippled Stubby is a high‑value underbarrel for precision and control, while the 465MM LB adds reach. Hollow Point is the twist: it boosts headshot lethality if you’re landing bursts at mid‑range. The 100‑round belt preserves handling; the 200‑round box hurts ADS substantially.
High‑zoom recoil control (penetration focus)
| Slot | Attachment |
|---|---|
| Muzzle | Linear Compensator |
| Barrel | 465MM LB |
| Underbarrel | Stippled Stubby |
| Magazine | 100RND Belt Pouch |
| Ammunition | Full Metal Jacket |
| Optic | ST Prism 2.50X |
Pick this when you’re holding longer corridors and want rounds to keep chewing through light cover and into vehicles. The Linear Compensator and Stippled Stubby stack recoil control; FMJ leans into through‑cover reliability. The 2.50X optic suits posted play—swap down to 1.75X if you’re struggling to track targets at mid‑range.
Ammunition choices for L110 (when to use what)
- Penetration Tungsten Core: Best general pick for LMG roles that involve shooting through light cover. Expect a modest recoil penalty; the trade favors holding lanes and team fire.
- Hollow Point: Rewards consistent headshots with faster downs at mid‑range. Works well with stable, ADS‑focused builds.
- Full Metal Jacket: Improves damage persistence through surfaces and helps chip vehicles. Pair with higher zoom and strong recoil control if you anchor objectives.
Support class pairing and squad utility
Run L110 on Support to capitalize on faster ADS and no sprint penalty with LMGs. For a team‑first setup that complements suppression and revives:
- Class: Support
- Field Spec: Combat Medic
- Gadget 1: Defib
- Gadget 2: Deployable Cover
- Throwable: Smoke Grenade
This package lets you clear sightlines with sustained fire, then safely close space to revive and stabilize fights with smoke and cover.
Keep building within the 100‑point budget, and don’t force an attachment that doesn’t solve a problem. The L110 thrives when you commit to a lane—pick the variant that fits how your squad moves, and let the belt do the rest.