
Shiny hunting in Pokémon Legends: Z‑A is faster when you can reset spawns quickly and check lots of Pokémon in tight loops. Wild Zones make that simple: they’re compact, clearly bounded spaces that you can scan in seconds, then reset to roll the dice again.
How shiny spawns work in Legends: Z‑A
Shinies use the modern 1/4,096 base odds, improved to roughly 1/1,365 with the Shiny Charm. Spawns are dynamic and the game can track up to 10 shiny Pokémon at once in the world. If a new, 11th shiny appears somewhere, the oldest shiny on that list will despawn.
- Fast travel and time passing do not clear existing shinies. If you hear the chime and can’t grab it immediately, you’re generally safe to loop back.
- Always save before engaging a shiny that can flee. If it runs or you faint it, that encounter is gone.
- Play with sound effects audible—the sparkle chime is often your first hint.
Fastest shiny-hunting methods (Wild Zones)
Fast travel resets (works in any Wild Zone)
This is the most consistent option. Open the map, fast travel into your target Wild Zone, make a quick lap for checks, then fast travel again. Each arrival refreshes the zone’s spawns, giving you a new roll on shiny outcomes without lengthy cutscenes or downtime.
- Because existing shinies persist, you can chain fast travels several times in a row for efficiency.
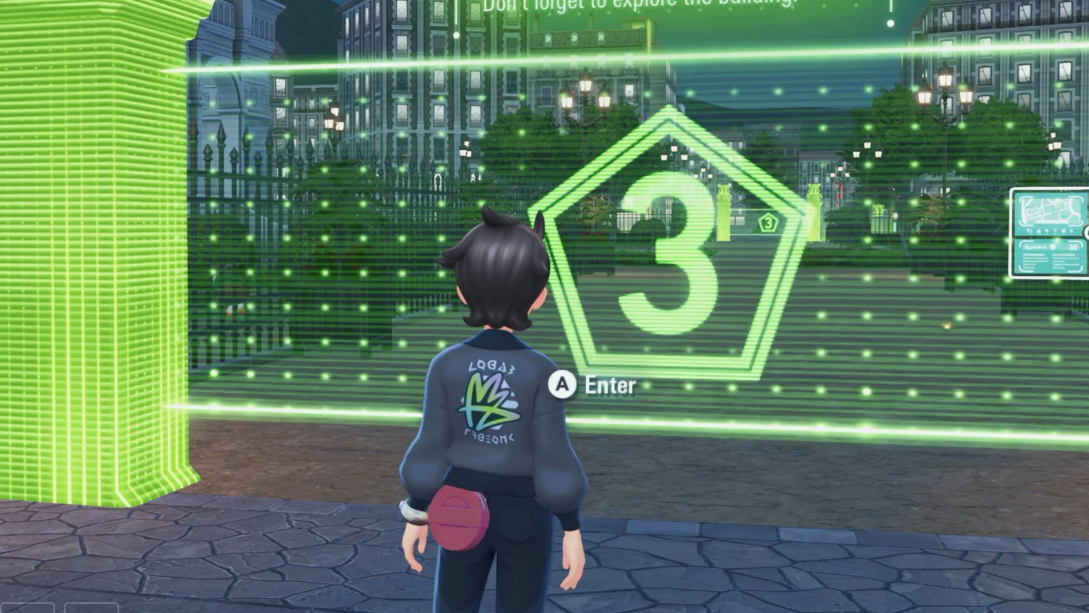
Stair resets in Wild Zone 3
Inside the large building in Wild Zone 3, moving up and down the stairs refreshes local spawns. It’s ideal if you want repeated checks without leaving the zone, and it conveniently targets an area that also features Pikachu.
- You can loop the motion by gently holding the stick to bounce between floors, then step outside for quick visual checks.
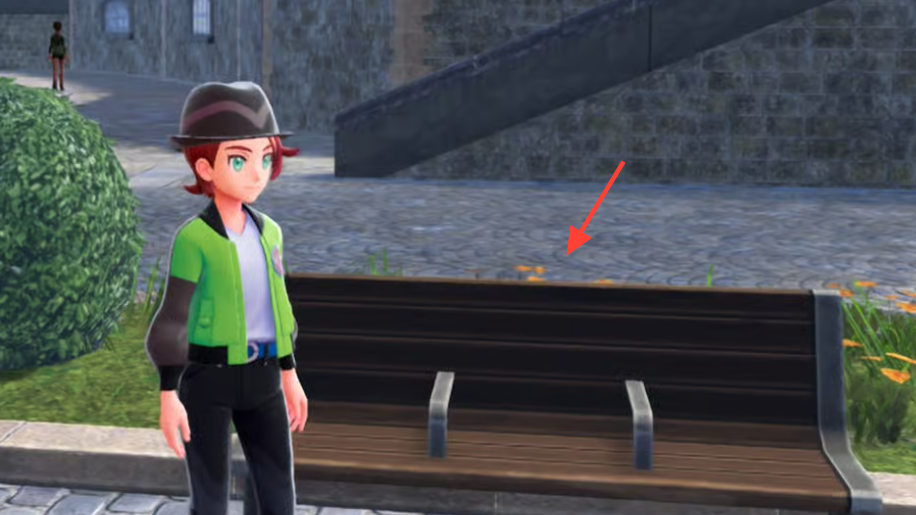
Bench time-skip (Wild Zone 12 and nearby benches)
Sitting on specific benches advances time and resets spawns for that nearby Wild Zone. The bench does not have to be inside the zone; being within roughly 50 meters is enough to trigger local respawns.
- Wild Zone 12’s bench time-skip unlocks later in the story (after Mission 14). Expect slower cycles due to the day/night transition animation.
Easiest Wild Zones to shiny hunt
The zones below are compact, readable at a glance, and either include benches or have natural loops that make resets painless.
| Wild Zone | Why it’s easy | Notable shiny targets | Reset convenience |
|---|---|---|---|
| 1 | Early access, low-level catches, varied roster, quick to reach and scan. | Pichu, Pidgey, Fletchinder | Benches just down the road near the Pokémon Center; close restocks if you run out of balls. |
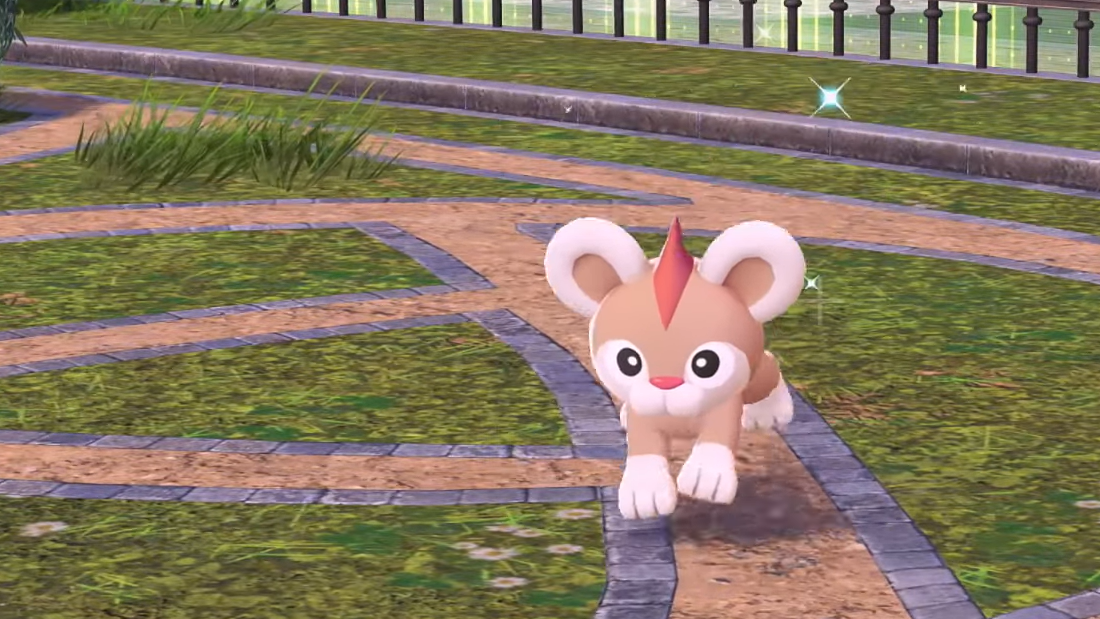
| 3 | Great early-game pool with cute, easy-to-spot targets. | Pikachu and others in the area | Benches inside the zone; unique stair-reset exploit in the big building for rapid refreshes. |
| 7 | Tight, enclosed layout with fast laps and strong color-contrast shinies. | Kakuna, Audino, Shuppet | Multiple benches within the zone; quick checks offset the smaller spawn count. |
| 8 | Ground-type cluster in a simple loop; several burrowed targets are easy to sweep. | Gible (standout), other Ground-types | Wake burrowed spawns, then reset and repeat; straightforward pathing keeps cycles short. |
| 11 | Lean roster but all high-value picks; strong additions for most teams. | Gyarados, Inkay, Clauncher, Slowpoke | Benches inside plus multi-level terrain and multiple potential Alpha spawns to check. |
| 16 | Small footprint and fast loops make repeat checks painless. | Froakie, Medicham, Starmie, Falinks, Flaaffy | No benches within the zone; rely on fast travel or a nearby bench within range. |
| 18 | Dense set of fan-favorite lines; ground-level plus rooftop variety without bloating the route. | Fennekin, Bagon, Swablu, Noibat; frequent Alpha Salamence | Standard fast-travel loops work well; rooftops add checks without slowing the scan. |
| 19 | Nearly the entire zone is scannable from the perimeter; quick visual sweeps. | Kangaskhan, Furfrou, Audino; Cleffa/Clefairy or Drampa up the hill | Upper hill often produces Alphas; perimeter checks minimize time in-zone. |
Odds boosters and practical setup
- Shiny Charm: Earned after completing Professor Mable’s research and reaching Research Level 50. It improves odds from 1/4,096 to about 1/1,365, passively.
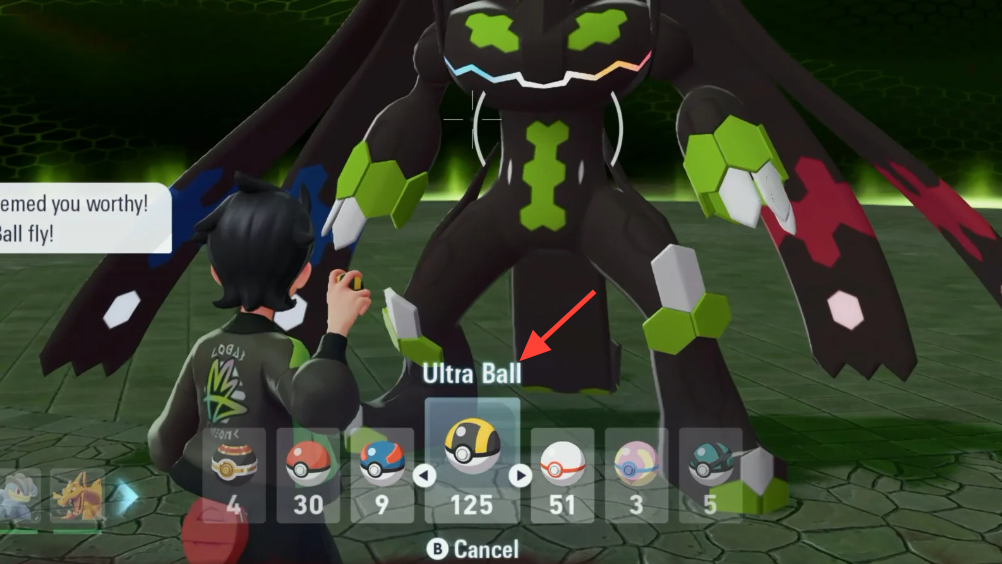
- Balls and space: Bring Great or Ultra Balls for low-level zones to speed catches and avoid blown encounters.
- Safe loops: Save before engaging timid or fast-fleeing species. If it escapes, you can’t rerun that encounter.
- Scope and limits: These reset methods apply to Wild Zones. They don’t reliably target ad‑hoc spawns on structures outside those boundaries.
Which method to use, and when
If you want speed and consistency across any zone, chain fast travel arrivals. If you’re narrowing in on Wild Zone 3 specifically, stair resets keep you in one place with near‑instant refreshes. If you prefer to avoid loading, a bench within range of a zone lets you advance time in place—useful for targeted hunts, albeit slower because of the time-change animation.
From there, match the zone to your target list. For early progress and easy wins, rotate Wild Zones 1 and 3. For compact loops with high-demand lines, favor 16 and 18. When you’re chasing color‑pop standouts or quick perimeter scans, 7 and 19 are hard to beat.