
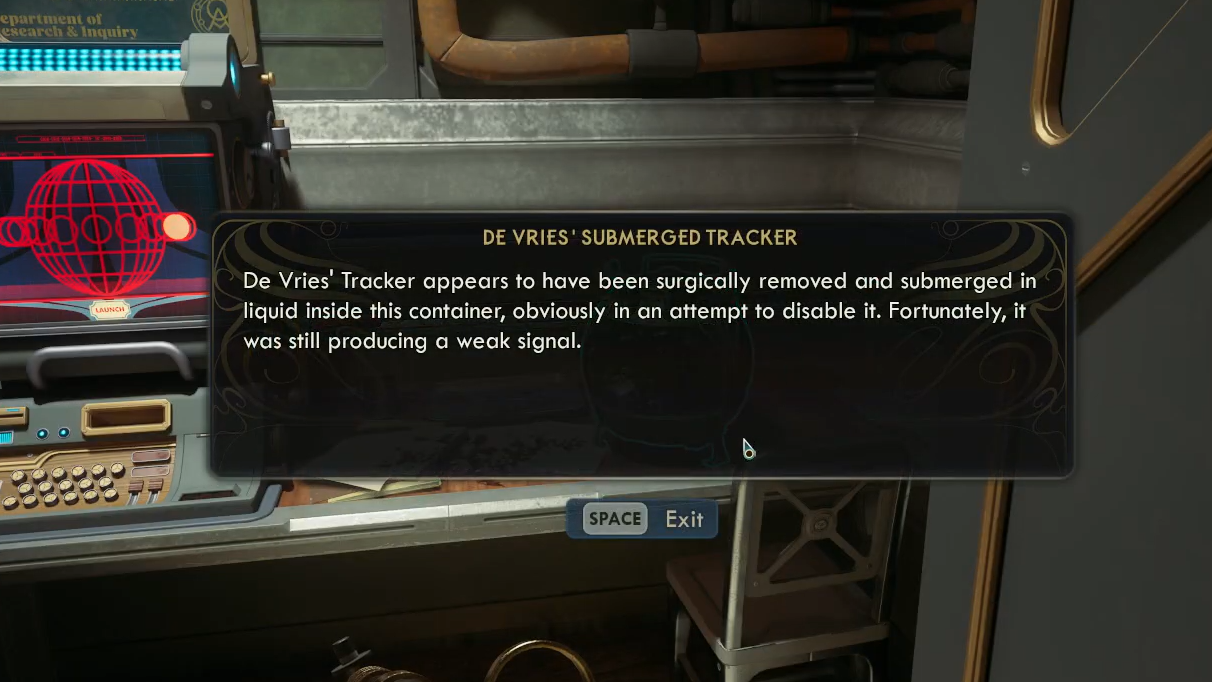
The Saboteur of Paradise is the first big swing in The Outer Worlds 2: you’re tracking Augustine de Vries across Paradise Island, and all roads point to the Vox Relay. Getting there — and deciding what to do with it — sets your party composition, side-quest availability, and the next leg of the story.
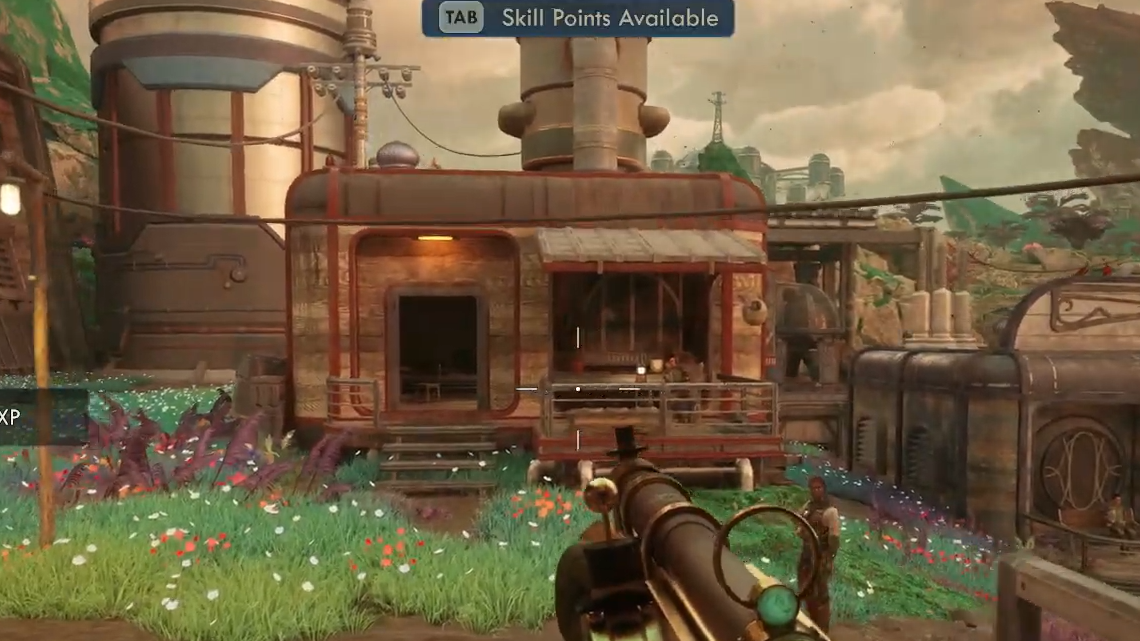
Start the trail in Fairfield
You’ll land near Fairfield and quickly learn Auntie’s Choice and the Protectorate are at odds. Head to the town’s central building to speak with Minister Milverstreet and Acquisitions Officer Kaur. Their quests nudge you toward different support networks and intel, but your main objective remains the same: locate de Vries’ history and access to the Vox Relay.
As you canvass Fairfield, you’ll uncover where de Vries lived, pull basic records, and pick up threads that unlock alternate infiltration routes later. It’s worth clearing early side quests you care about before you commit to the Relay, since the crash decision can lock out content in one settlement.
Four ways into the Vox Relay
There are multiple valid entries to the Relay. The four broad routes below all work; each has different prerequisites and consequences for how you approach the front gate.
| Route | How to reach it | Key requirement(s) | Notes |
|---|---|---|---|
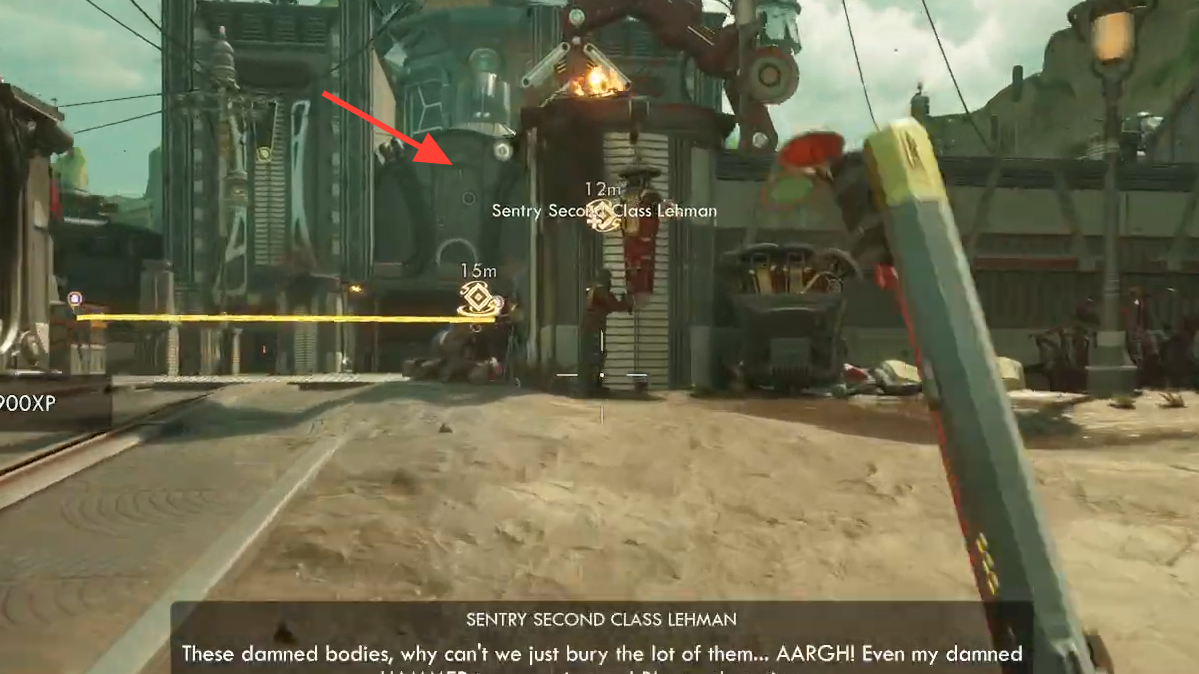
| Bridge of the Reverent (front approach) | Cross the guarded bridge directly toward the Relay compound. | Resolve the side quest that opens the bridge or be ready to fight through Protectorate forces. | Leads to the main gate where Sentry Second Class Lehman blocks entry. |
| Western Zyranium route (gas field) | Skirt west of the Relay through a poisonous gas zone, then loop toward the compound. | Protective shield from the Euphoria Coast Automech Repair Center; complete An Aegis Against the Miasma and The Saga of Malfunctioning Mechanicals. | From here, either swing left through Skycutter A102 and climb to the Relay outskirts, or circle right to the front gate. |
| Drainage pipe (stealth) | Find the unguarded intake that feeds into the Relay’s lower level. | Local intel that reveals the pipe’s location. | Bypasses the gate entirely; expect tighter interior security instead of exterior patrols. |
| Crashed ship jump-in | Approach from a wreck north of Westport and clear a gap to reach the Relay side. | PALE (double jump) unlocked via the gravity-focused questline. | Useful if you’re building for mobility and want to avoid the front and the gas route. |
Getting past the gate without a fight
Both the bridge and western road feed into the same front gate controlled by Sentry Second Class Lehman. You can brute-force a shootout, but there is a safer path: complete The Saga of Malfunctioning Mechanicals to earn Vigilant Hogarth’s writ, then present it to Lehman and pass a moderate Speech check. If you’ve also handled the bridge situation, she’ll work with you and smuggle you inside, avoiding a long firefight.
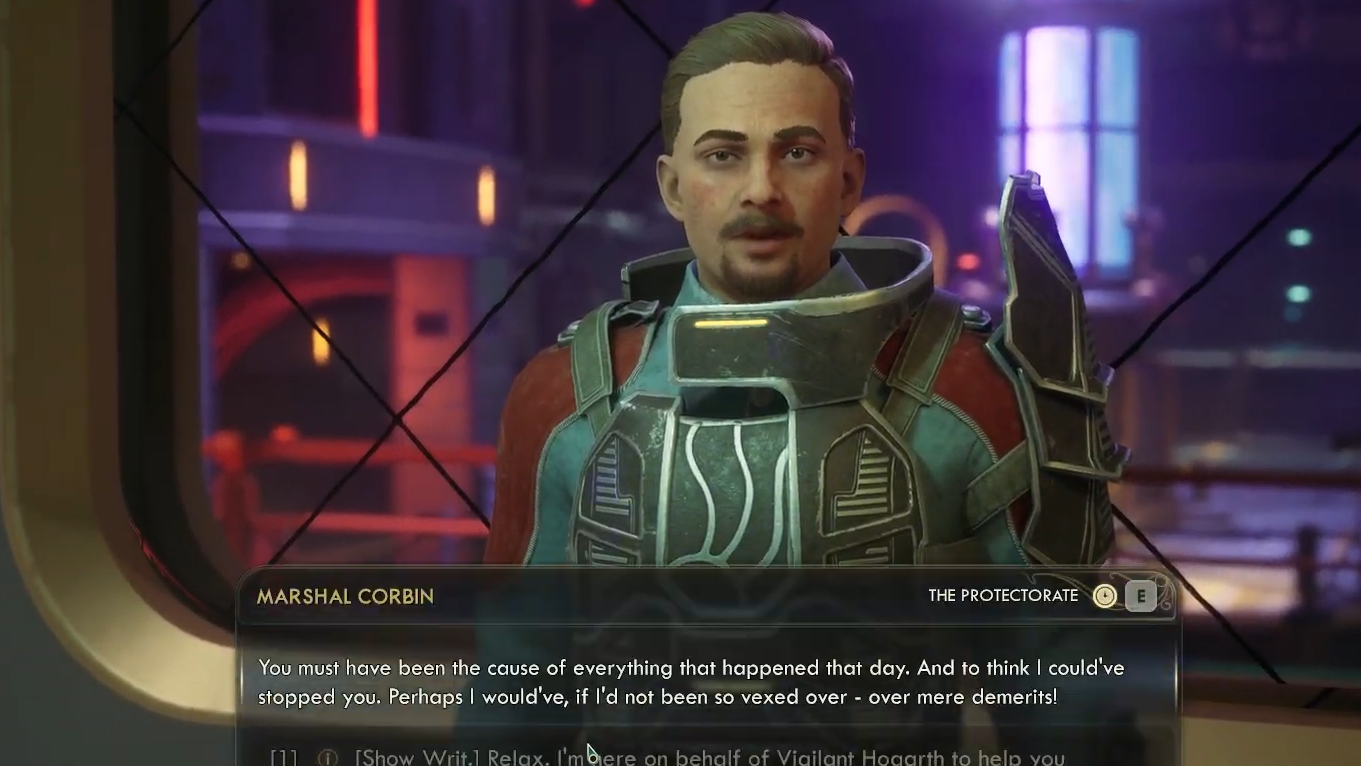
Inside the Vox Relay
A Protectorate officer (Corbin) is your first roadblock. If you helped him earlier, he’ll cooperate and point you at Montelli’s terminal; otherwise, you’ll need either the right details or a solid Speech check. Failing that, you can remove him and proceed.
The interior loop is straightforward once you commit: follow objective markers, secure a blank keycard, encode it at the indicated terminal, and work your way to the command floor.
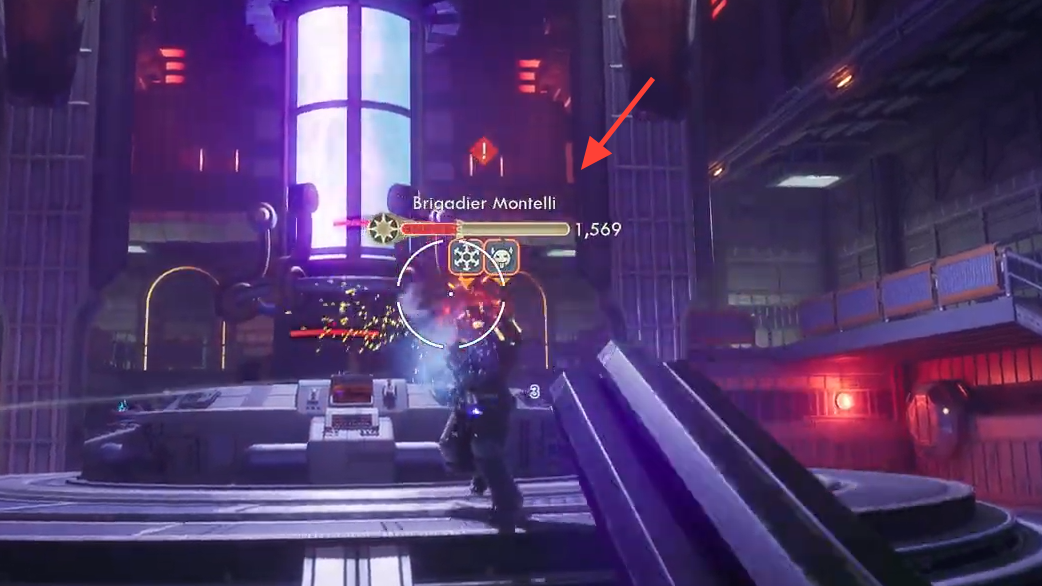
How to beat Montelli
The Montelli fight rewards patience and positioning:
- Open by taking cover at the rear of the arena and chip his health from behind the barriers.
- When he electrifies the catwalks, drop to the floor to avoid the hazard and finish him at close range.
This pattern keeps your incoming damage manageable while you drain his health bar in two safe phases.
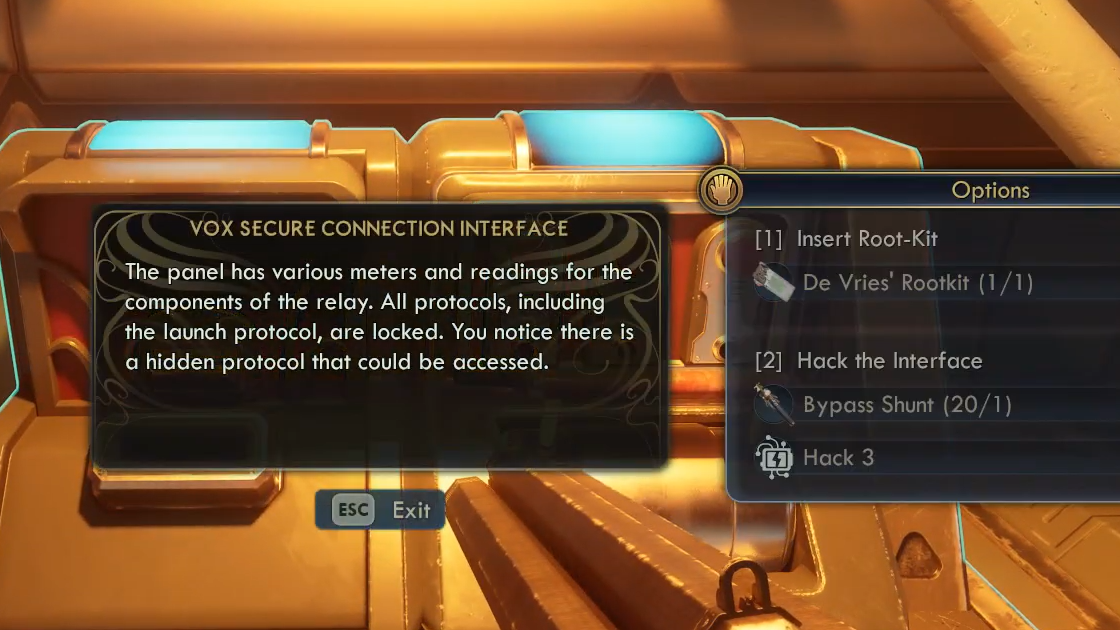
De Vries’ terminal and the crash decision
With Montelli down, access de Vries’ secret room. The terminal code is 15-778 if you don’t already have it. Interacting with the system starts a timed sequence: the Relay is going up — and then coming down onto Paradise Island unless you intervene.
| Terminal choice | Requirement | What happens | Key consequence |
|---|---|---|---|
| Let the Relay hit Fairfield | None | Station crashes into Fairfield. | Inez permanently leaves your party; quests and NPCs in Fairfield are lost. |
| Redirect the Relay to Westport | None | Station crashes into Westport instead. | Westport NPCs and side quests become unavailable; useful if you relocated Westport residents to Fairfield beforehand. |
| Send the Relay to space (save both towns) | Hack 4 and six Bypass Shunts | Pushes the station off-world to avoid casualties. | Preserves companions and side content in both settlements. |
| Gamble prompt unlocked by the Lucky trait | Lucky trait | Enables a one-off “hit it and see” interaction. | Outcome varies and isn’t reliably documented; use at your own risk. |
What completes and what opens next
After the cutscene resolves the crash, The Saboteur of Paradise completes and the next main quest, On the Trail of the Traitor, starts automatically. Finishing this step also unlocks new destinations on your star map, including a major trade station, and expands the path forward in the main storyline.
If you kept casualties to a minimum, you’ll retain access to more vendors, quest turn-ins, and companion interactions in the short term — and one companion won’t walk out on you.