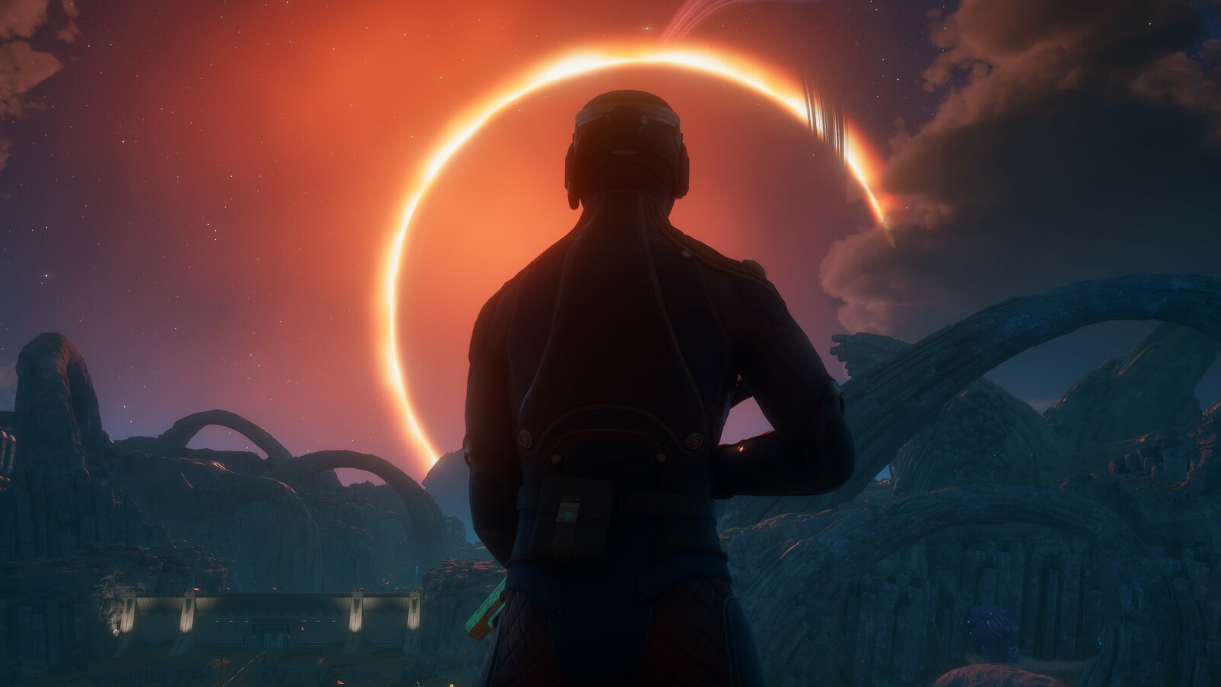
The “Present and Future Company Excluded” quest in The Outer Worlds 2 asks you to mediate a dispute between the Order of the Ascendant and the refugees they call the Displaced. You’ll meet the Voice of the Displaced, gather evidence around Matriarch’s Mercy, and rule on whether to allow an expansion into a fenced-off Exclusion Zone. It’s a clean setup with three outcomes, distinct rewards, and a delayed resolution later in the story.

Where to find the Voice of the Displaced and start the quest
Head to Matriarch’s Mercy in Golden Ridge. The Voice of the Displaced is at the back of the refugee camp, beyond barriers and tents. Speak with her to hear the case for expanding into the Exclusion Zone and to kick off the mediation.
From there, enter the Order’s main building; Administrant Agarwal is to the right as you step in. She’ll outline the counterargument: the Order’s forecasts point to a coming disaster if the zone is occupied.
What to investigate before you decide
The quest encourages a quick survey of camp conditions before you render a verdict. Two stops matter:
- The medics’ situation: The camp’s doctor explains he can treat cases but supplies are tight and prevention is impossible in cramped, makeshift housing. He may offer a separate task to recruit additional doctors; completing it earns approval in dialogue but does not change this quest’s outcomes.
- The collapsed structure: Around the side of the main building near the bounty terminal, examine a caved-in stack of shelters. With enough Observation and Engineering (helped by a brawny build), you can draw your own conclusions; if not, speak with Violet Muncey nearby. She’ll spell out the obvious: overcrowding and poor materials are driving unsafe construction.
Return to Administrant Agarwal when you’re done reviewing the evidence.
How the mediation works
Agarwal convenes the discussion with the Voice of the Displaced and walks through your findings. The order you present the evidence doesn’t matter, and Agarwal will comment on which way you seem to lean. That impression does not lock you into a side; you can still choose freely among the three options.
When prompted, you can:
- Rule in favor of the Displaced and open the Exclusion Zone
- Rule in favor of the Order and keep the zone closed
- Decline to rule
Outcomes, rewards, and reputation changes
| Decision | Immediate rewards | Reputation effect | Later consequences | Quest state |
|---|---|---|---|---|
| Side with the Displaced | 500 bits, Burst SMG | +1 with the Order | After a later main quest in the northwest, a rockfall strikes the expanded settlement; several refugees die. Key NPCs express regret. | Complete |
| Side with the Order | 500 bits, Supportive Scholar armor set | +3 with the Order | No rockfall casualties since the Exclusion Zone remains closed. | Complete |
| Decline to rule | None | None | No changes at the camp tied to this decision. | Fails |
When you’ll see the results of your choice
The camp doesn’t change immediately after your ruling. Continue the main story and clear the N-Ray Range in the northwest; when you return to Matriarch’s Mercy after that mission, the camp state updates. If you approved the expansion, you’ll find the aftermath of a rockfall in the Exclusion Zone. If you kept it closed, the refugee settlement remains intact.
How to think about the trade-offs
This is a contained moral calculus with simple incentives. Opening the Exclusion Zone addresses overcrowding right now and pays out a Burst SMG, but it leads to fatalities later. Keeping the zone closed is safer for the refugees, offers a larger reputation bump with the Order, and comes with a named armor set. Refusing to decide ends the quest with no benefit.
Because the ripple effects are limited to Matriarch’s Mercy and your Order standing, the “best” answer depends on what you value more: short-term relief and a weapon, or caution and a larger reputation gain. Either path preserves the rest of your run.
Plan on a short loop: meet the Voice at the back of the camp, hear Agarwal in the main hall, check the medics and that collapsed stack of housing, then render your verdict. Keep moving through the main quest; your choice pays off in a return visit after the N-Ray Range, not in the moment.

